If you’re like me you have had an aircon unit that needs regassing each year or so due to what seems to be a common issue – in my case a leaking evaporator (diagnosed by the amazing crew at Aura Auto Electrical and Air Conditioning). Or maybe you have discovered coolant within the car due to a leaking heater core. Or also like every other mx5/miata owner after a number of years you’ve had foam thrown at you from the vents or stuck inside the blower. I have a little bit of time – let’s sort this out.
There’s not a lot of information online about how to do this as it seems to be done by commercial places rather than DIY at this point. I haven’t figured out why – possibly due to this model not being as popular as the others? However it’s gaining more interest now that it’s a bit cheaper and easily modified.
First job is to get to the aircon assembly which this car seems to have its dashboard designed around it. So big task of removing the dashboard needs to happen first.
Note: It took two afternoons and only one person to remove, clean, repair, and reassemble the aircon assembly apart while documenting it all.
Why the leaking evaporator is a common issue.
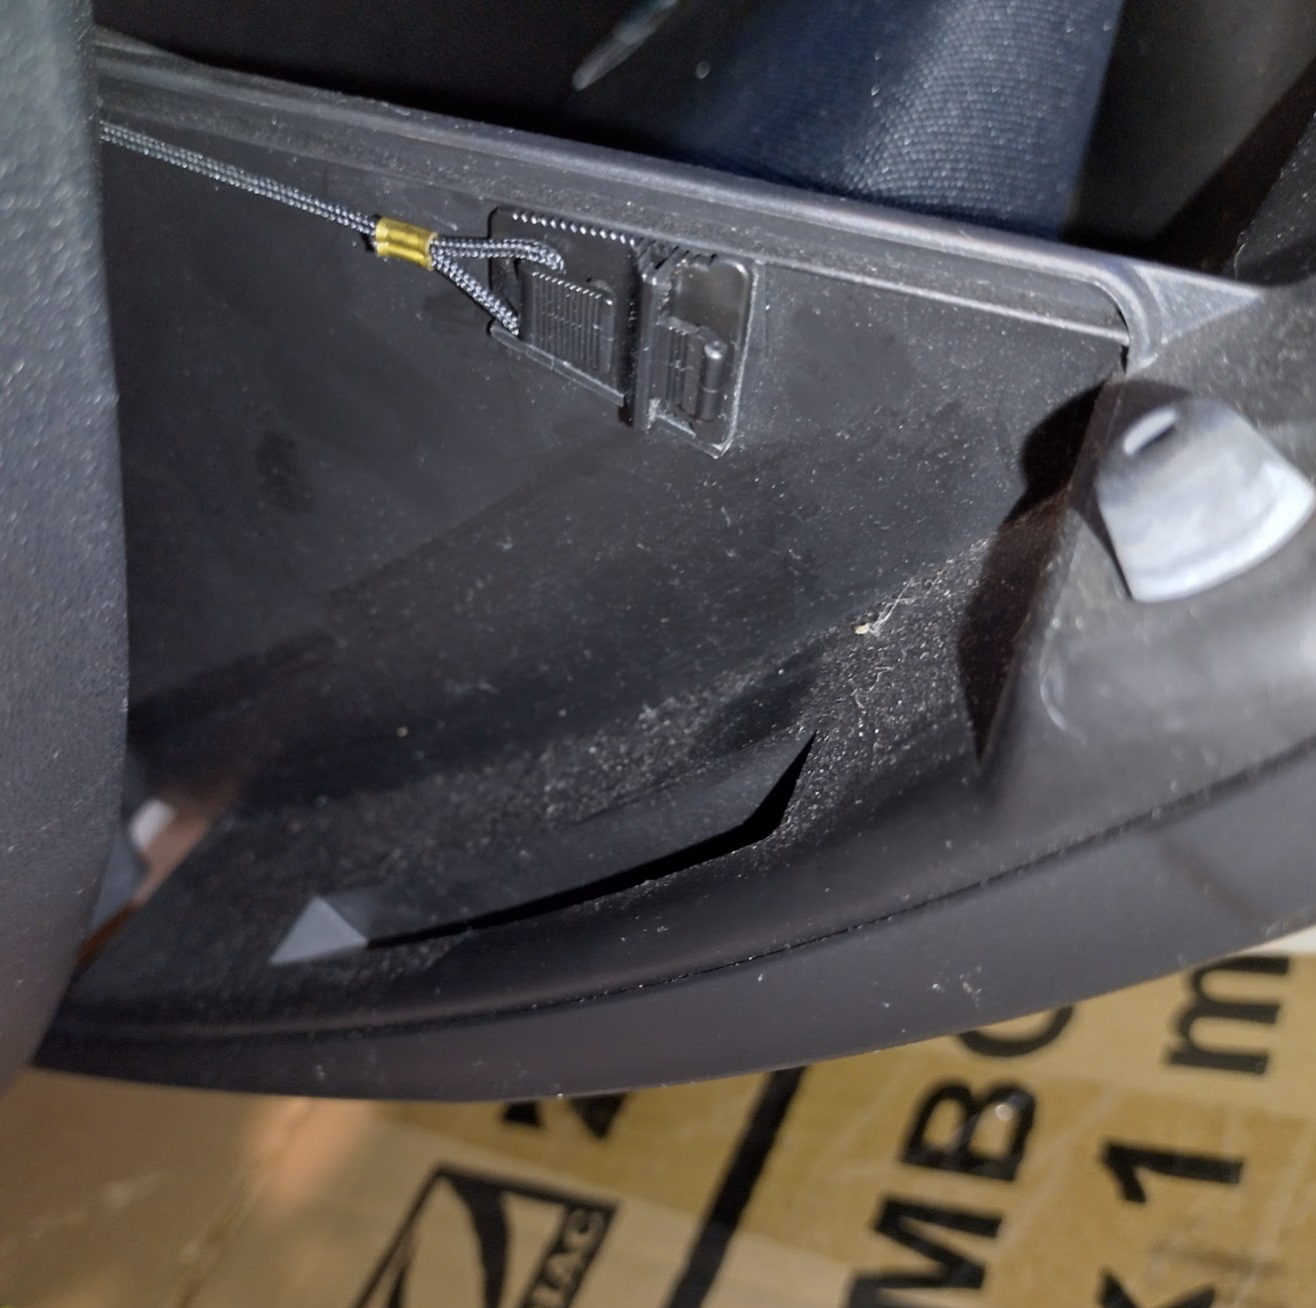
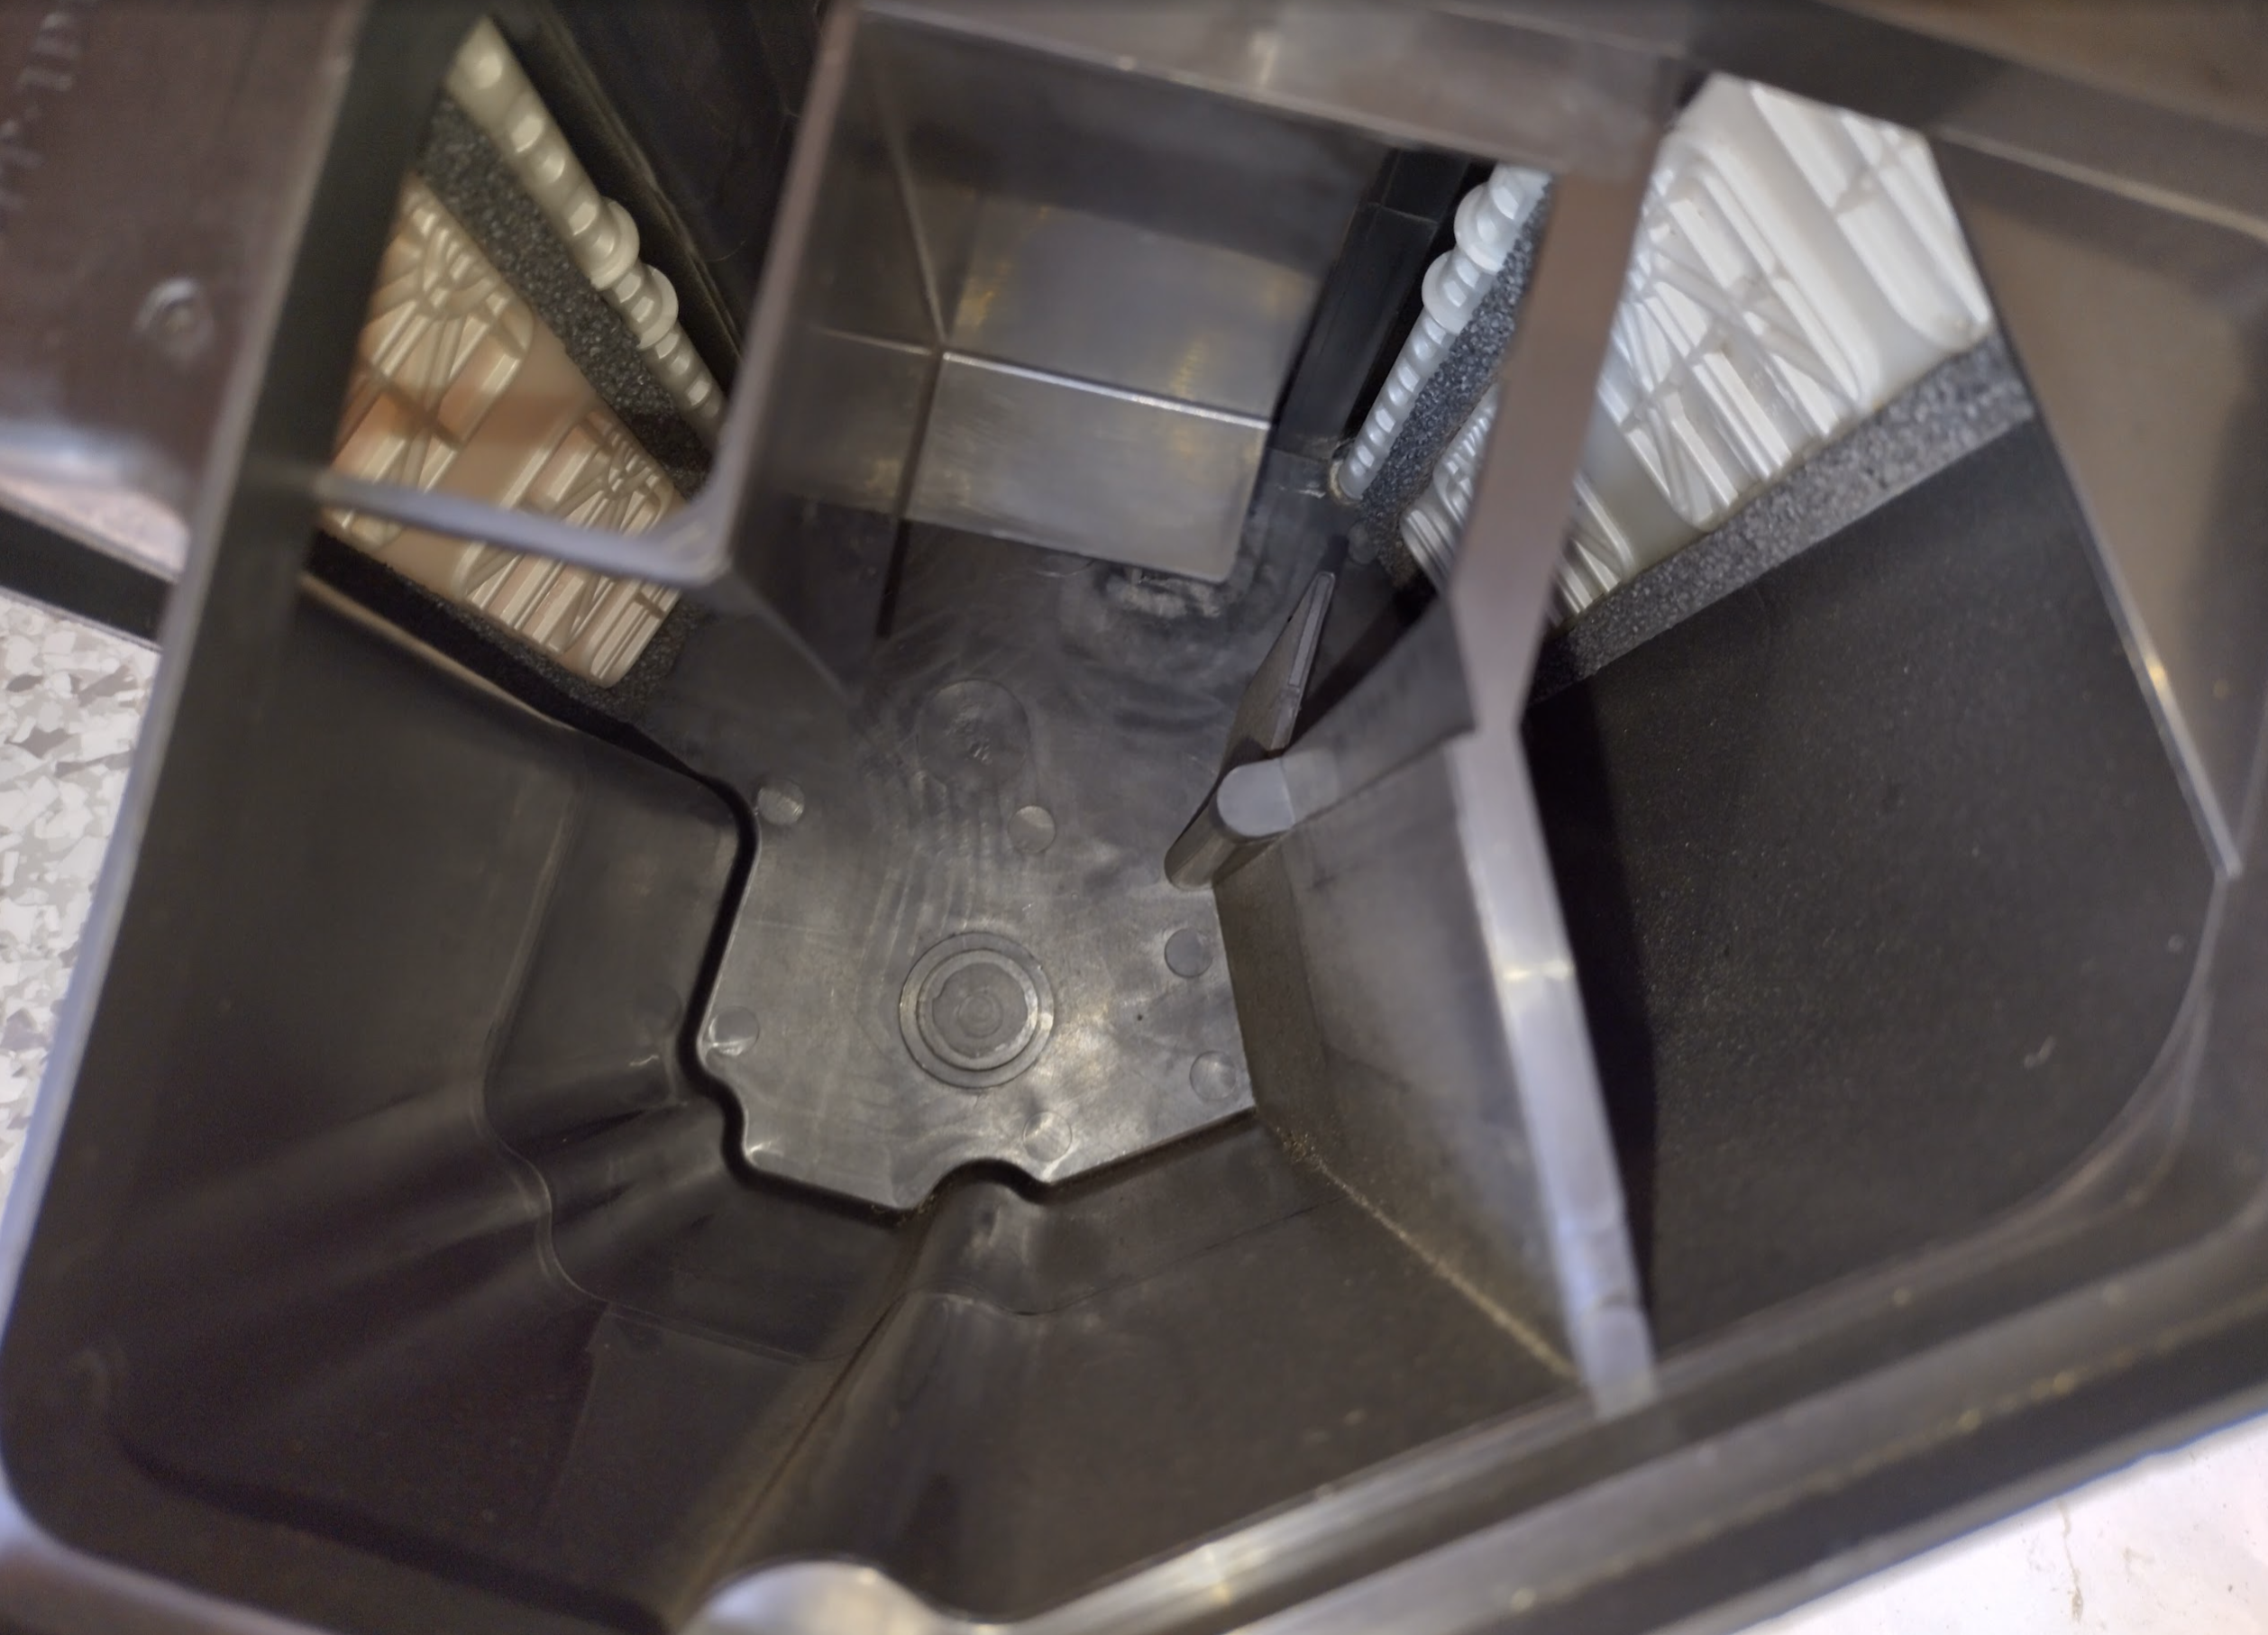
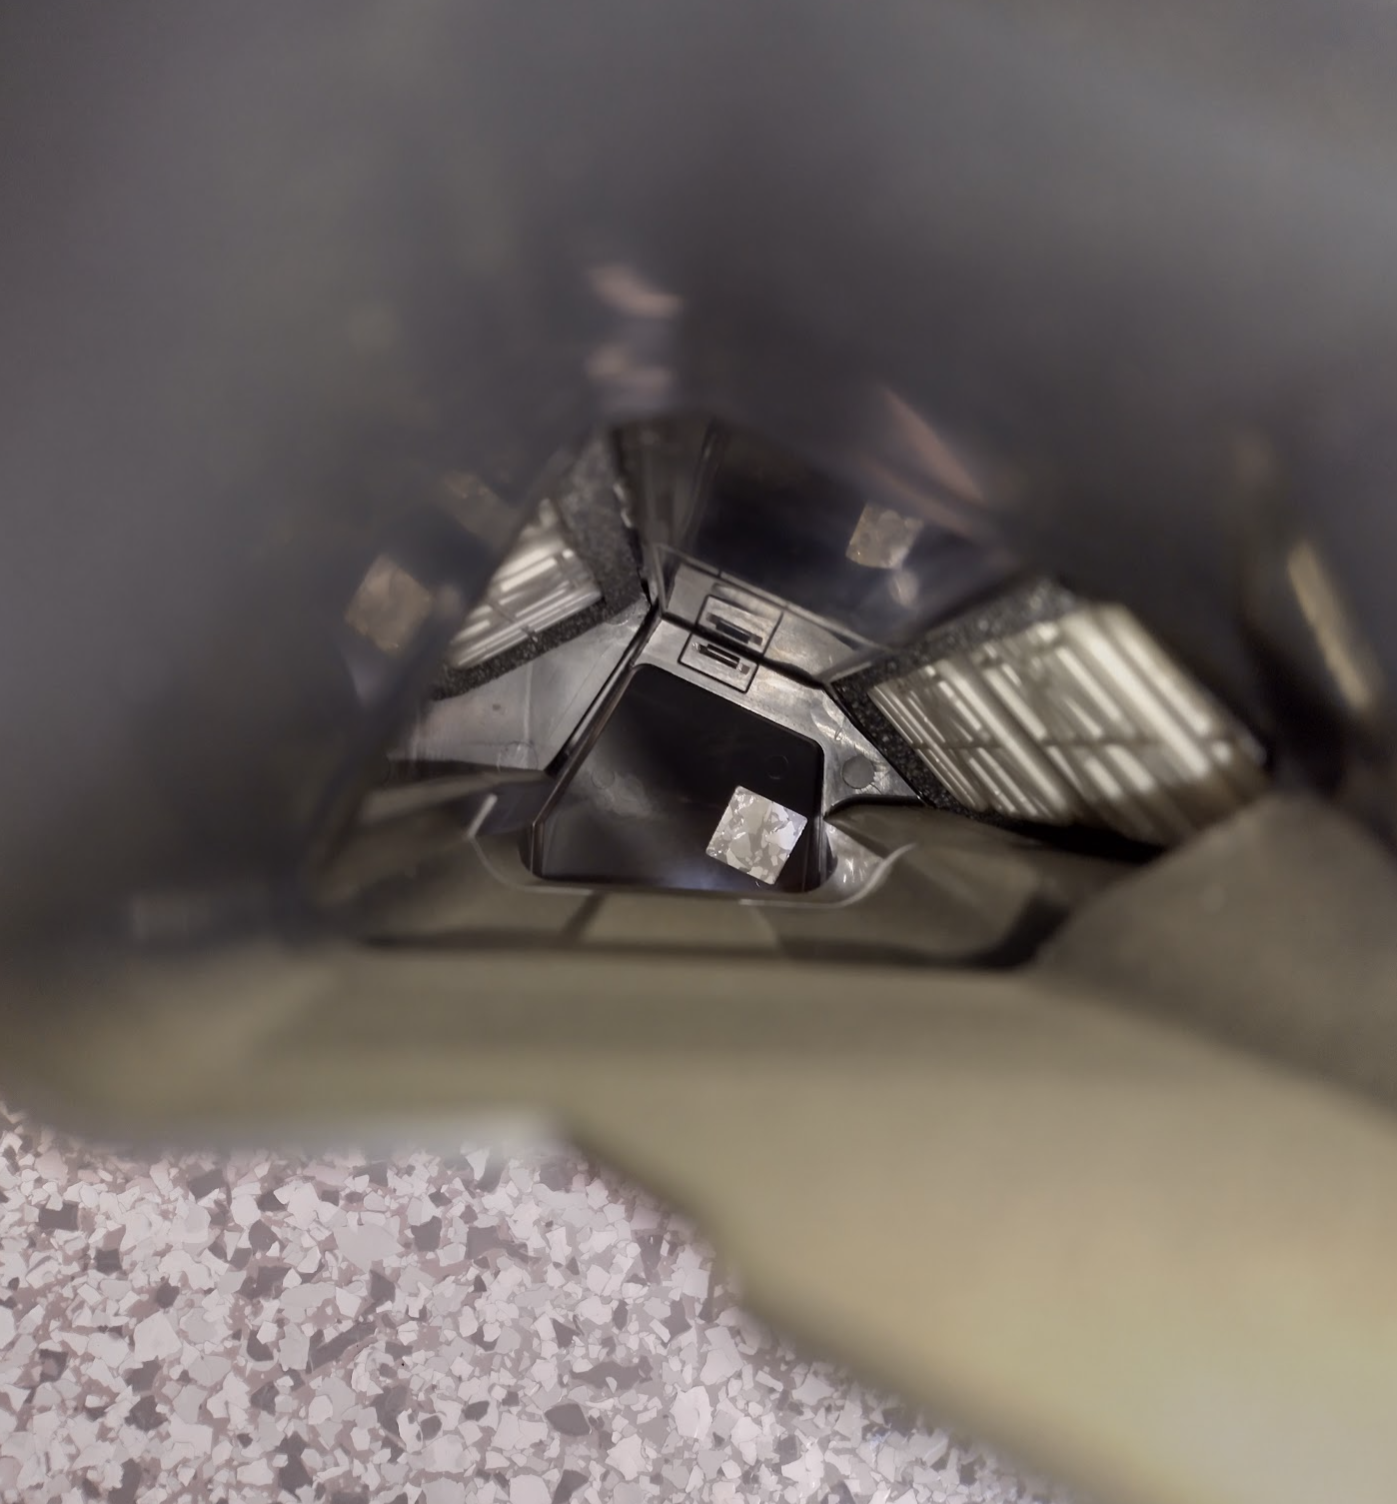
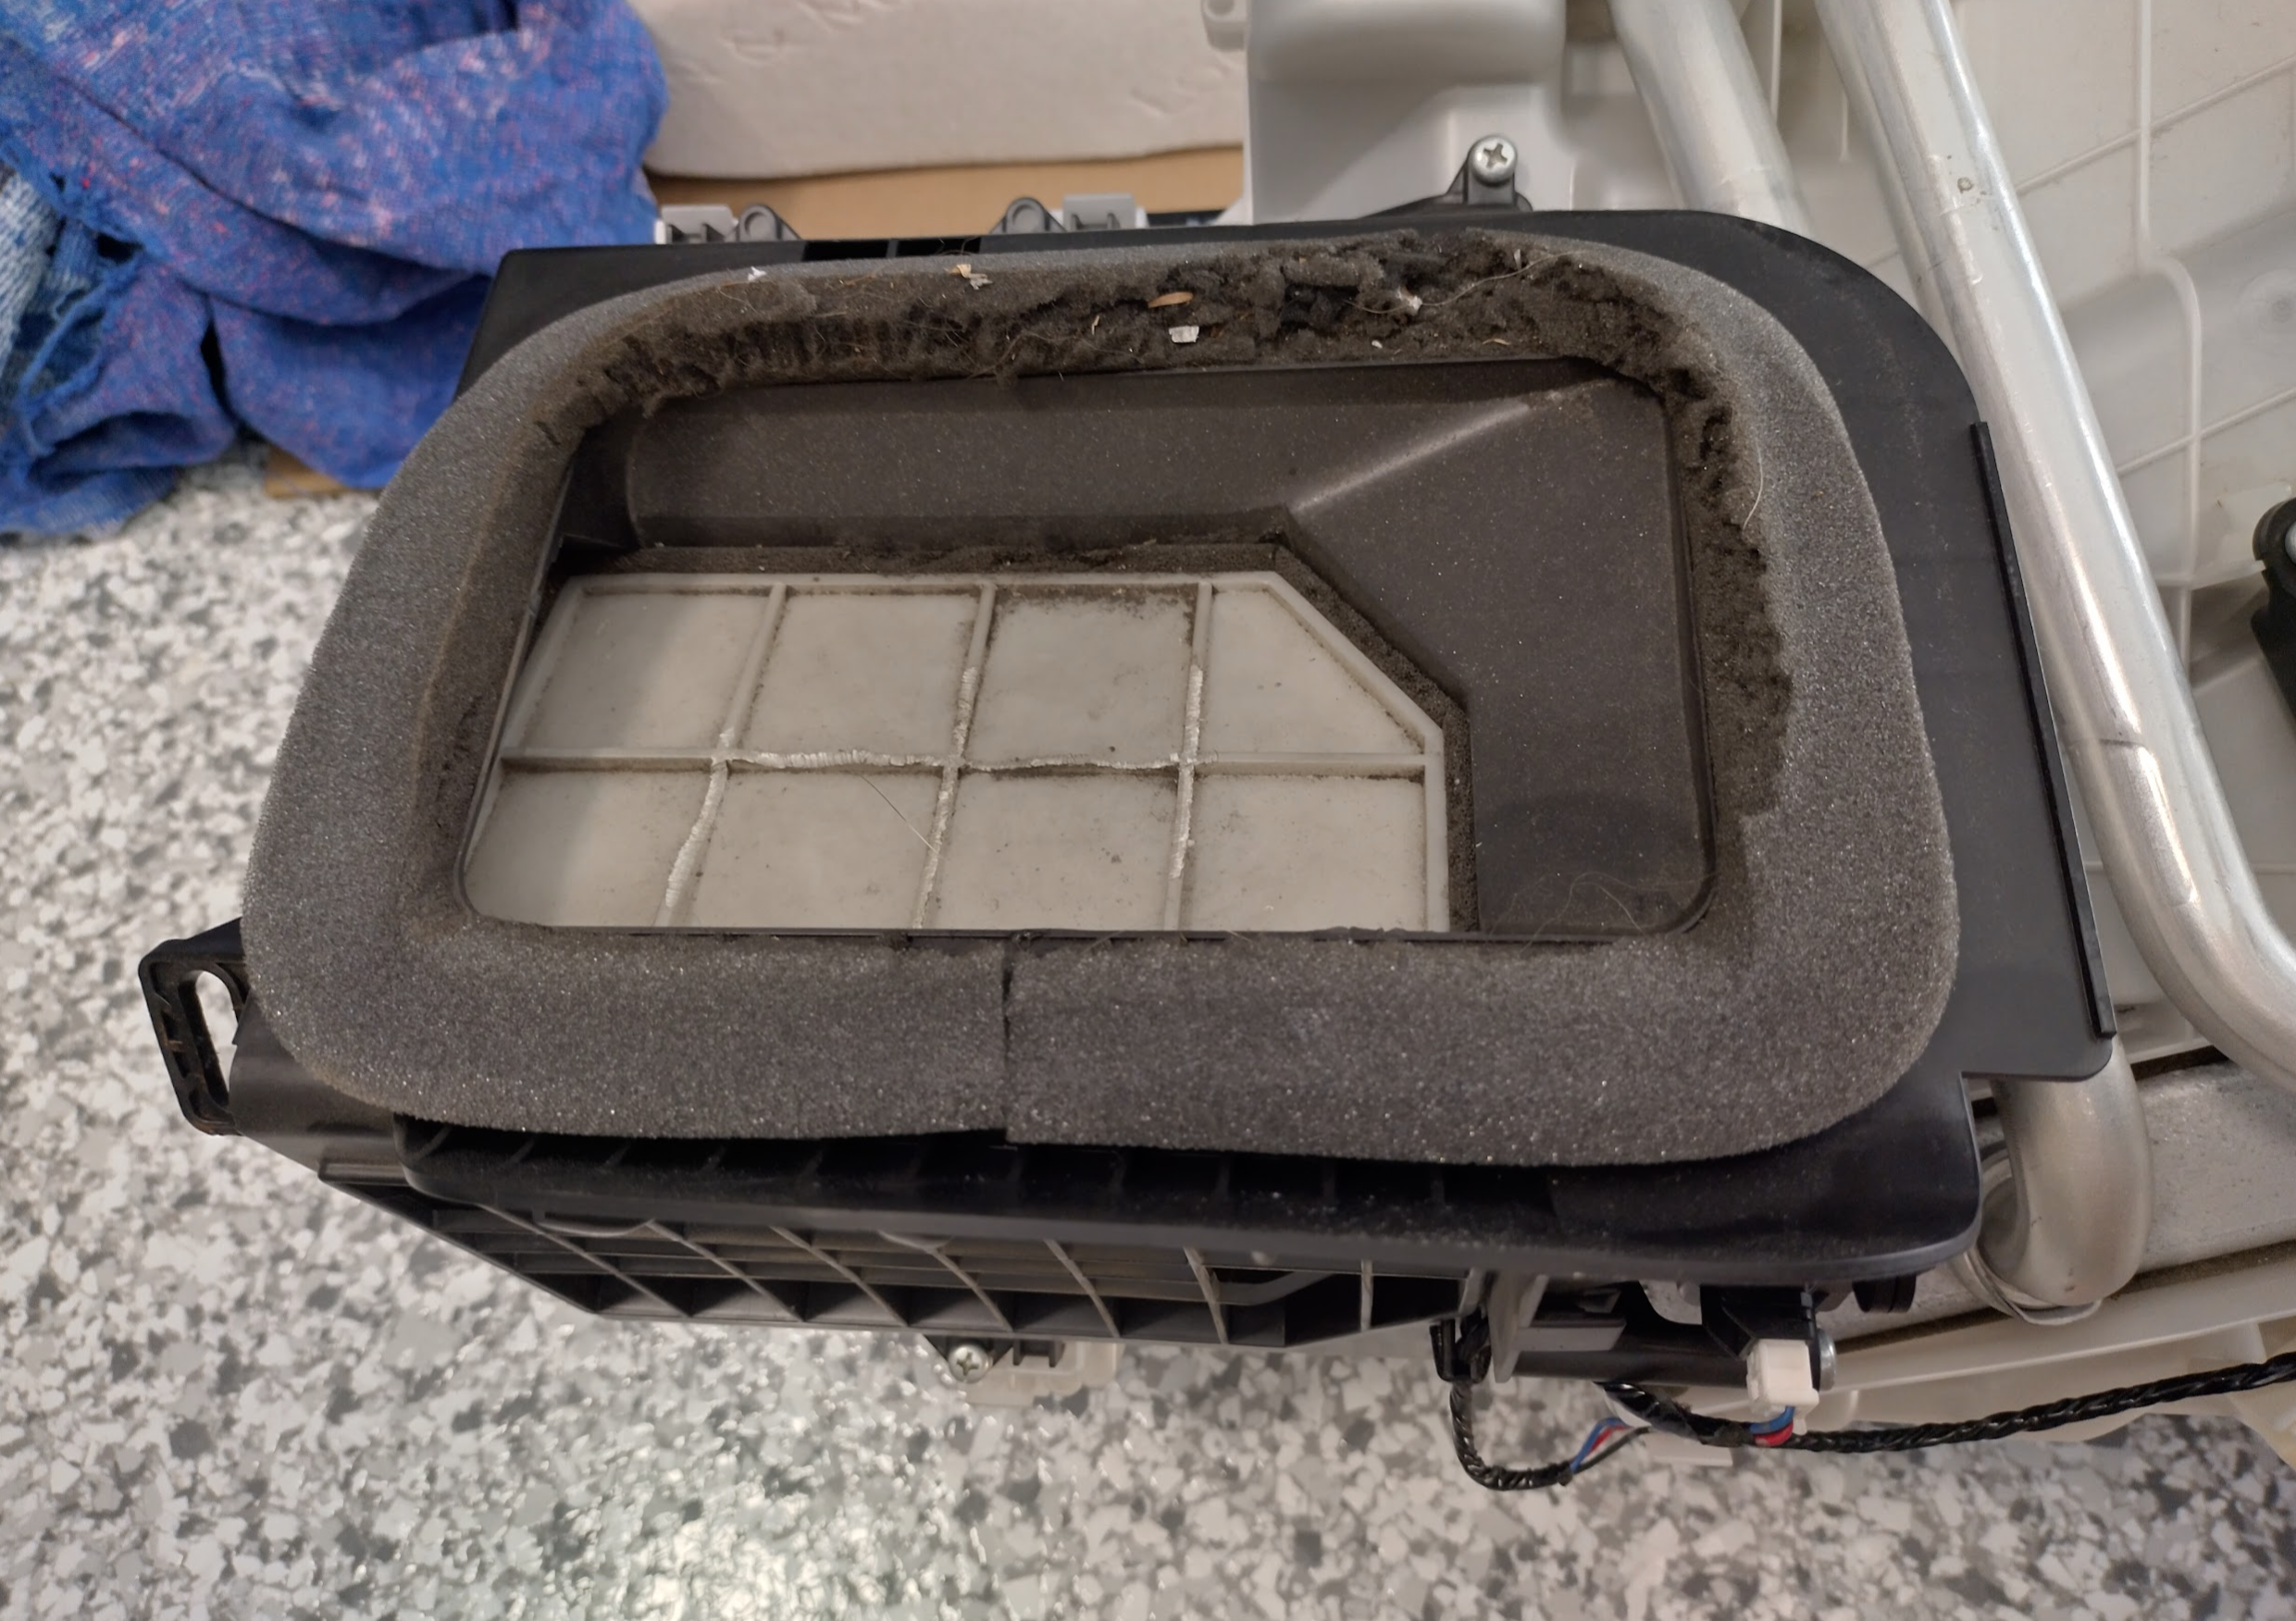
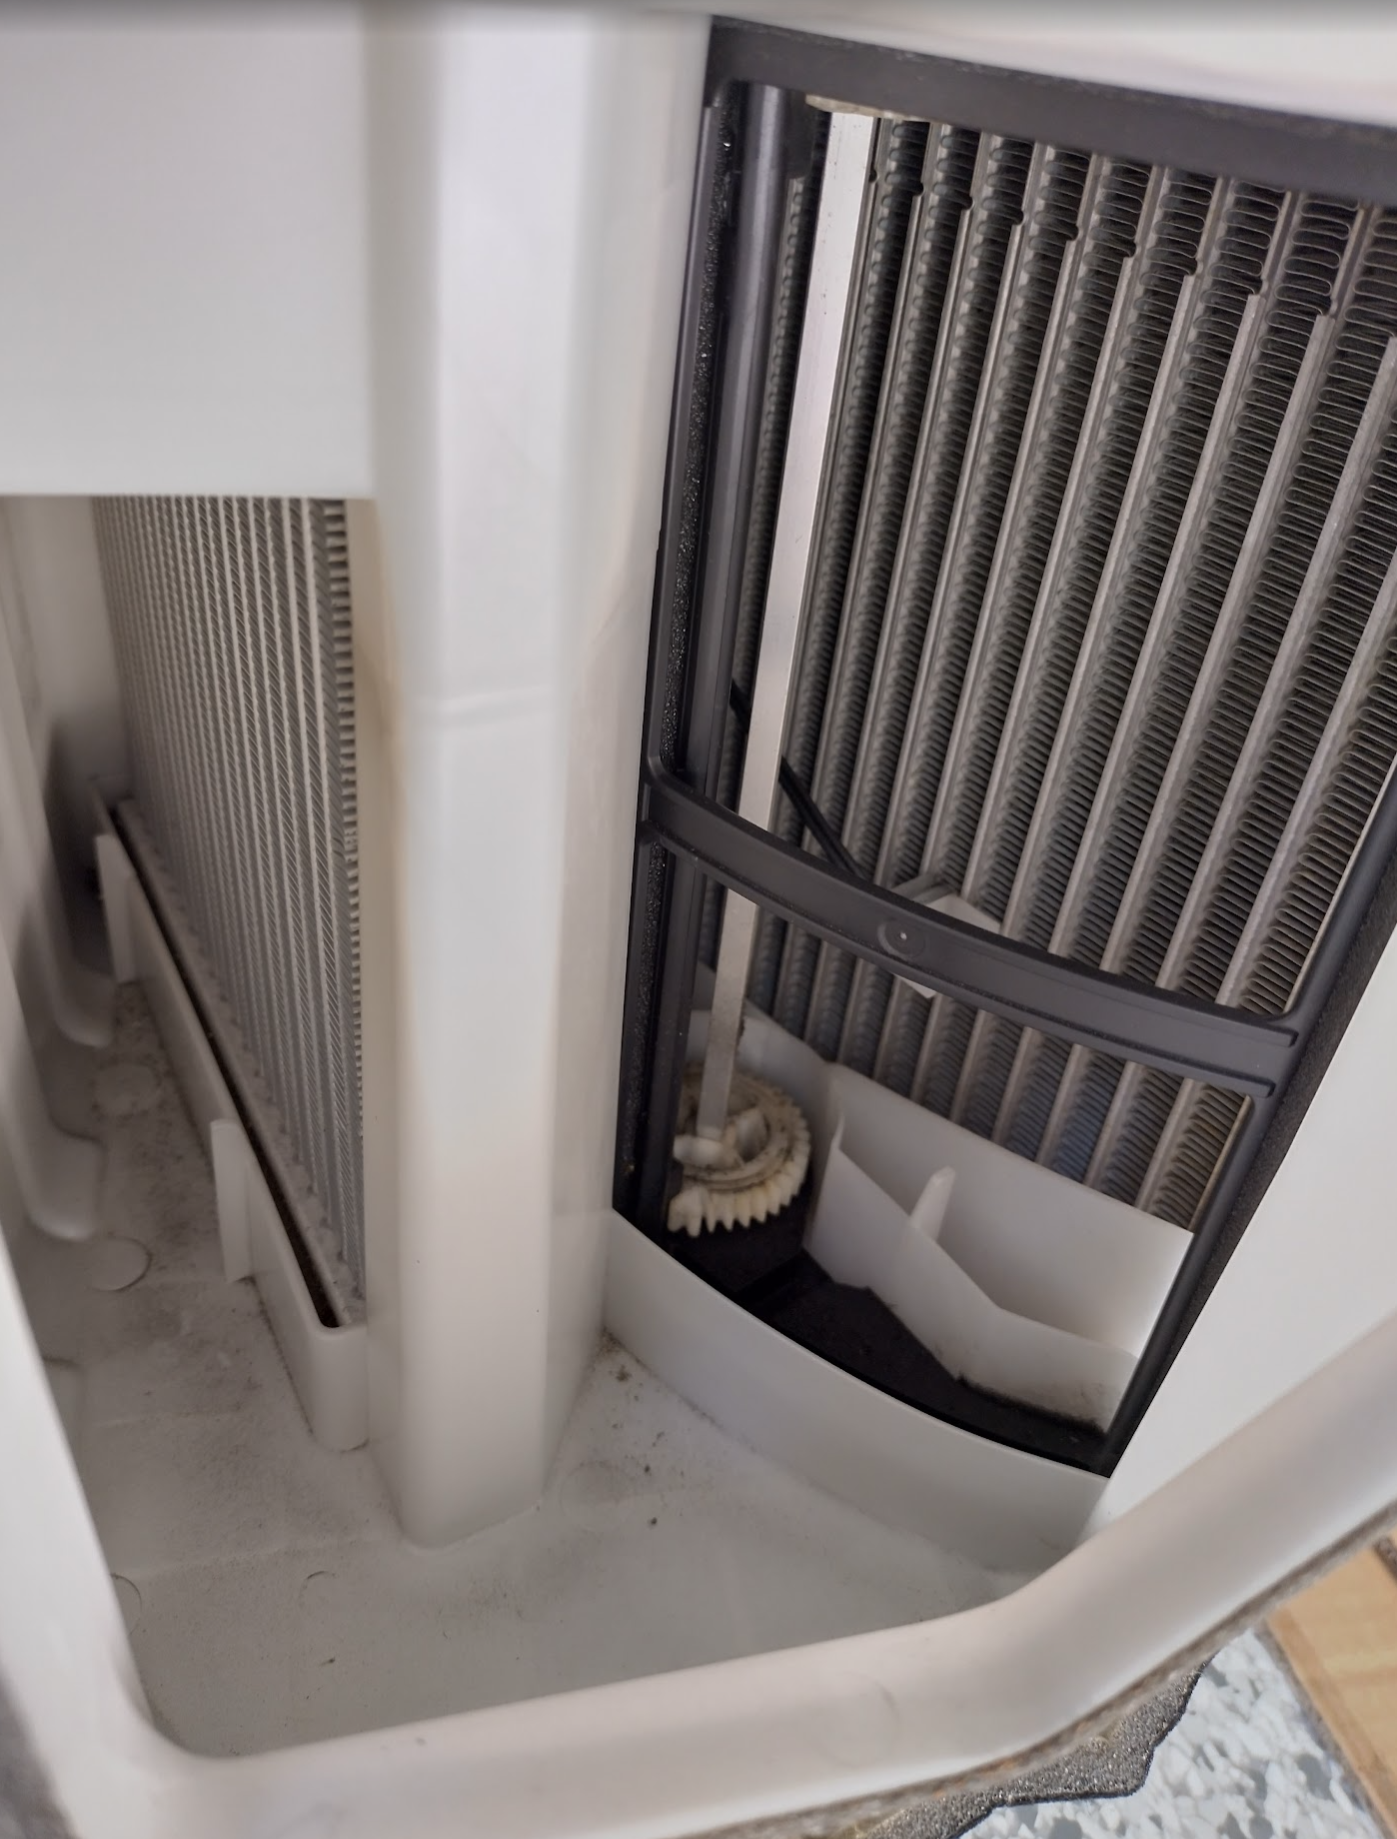
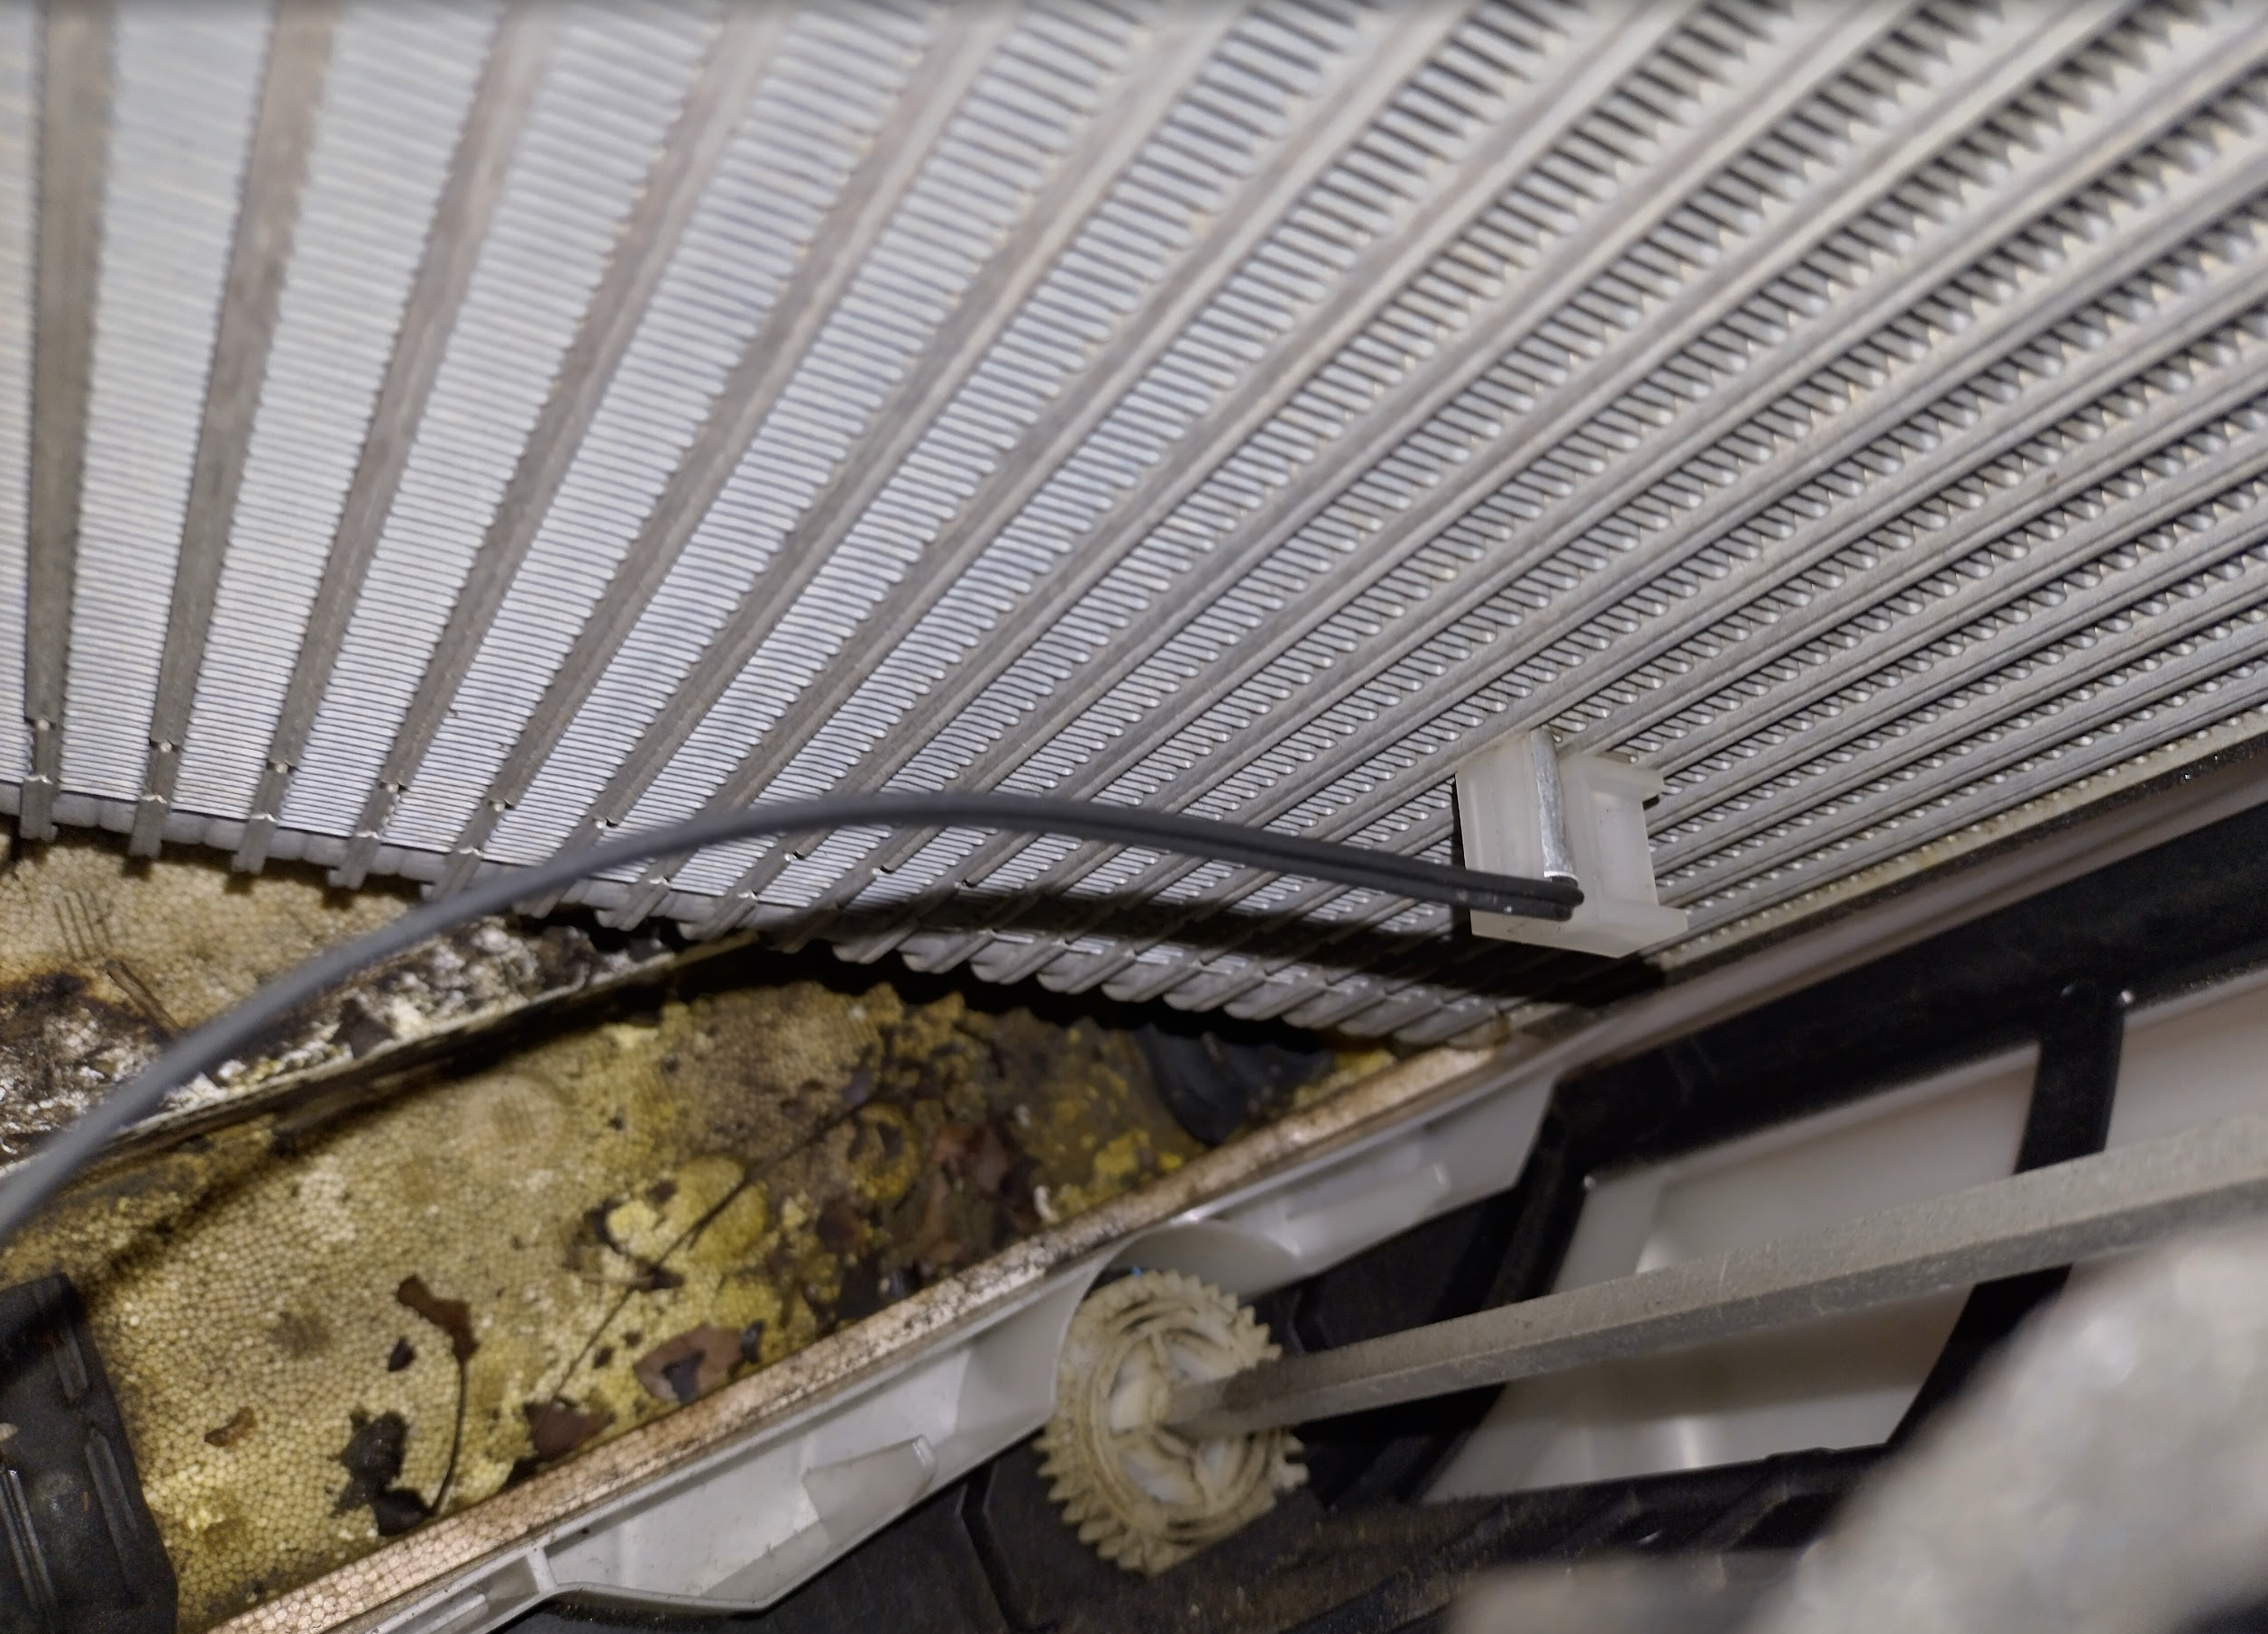
I suspect it’s down to the debris that sits in against it, in combination with it being constantly damp. This would cause it to corrode and create leaks. The debris are due to a quirk in the mx5 / miata where it doesn’t contain a cabin air filter from the outside. This is the hole where one should be – you can see the black windscreen cowl through the second hole.
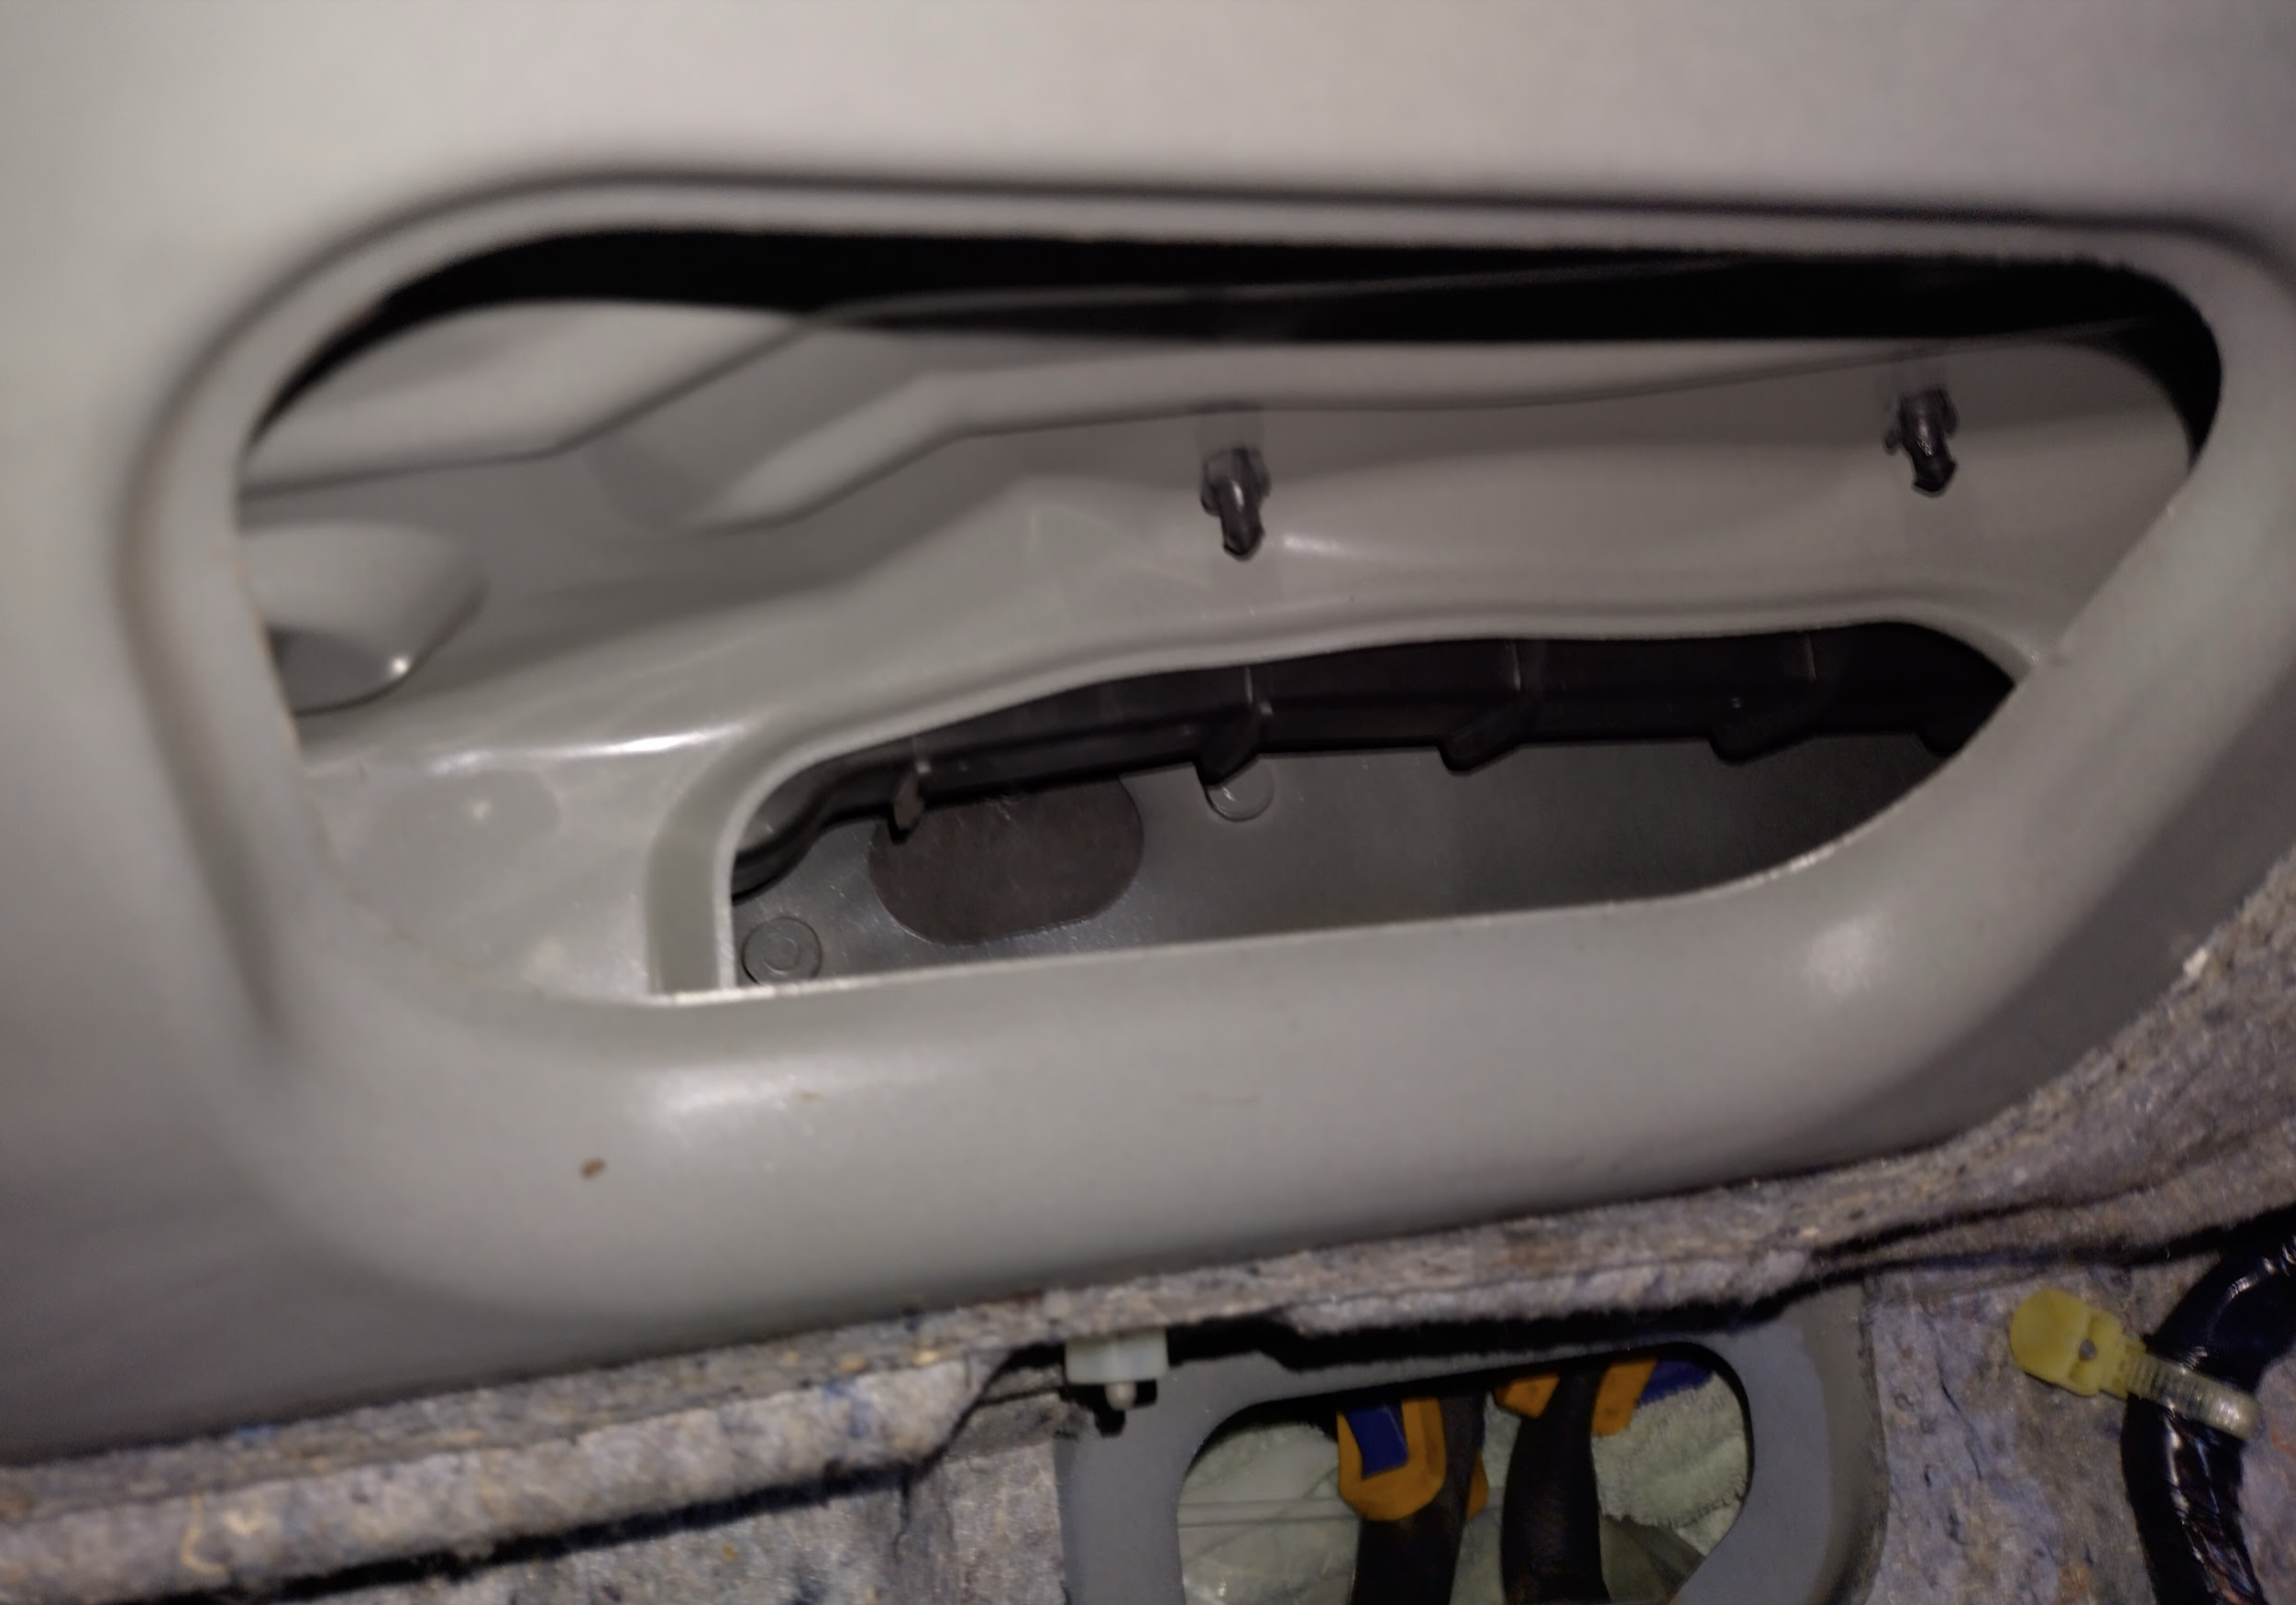
The theory behind this is that it’s a convertible – the roof is meant to be open so why filter anything? But it would ultimately prevent leaves and whatnot from getting in the system and resting against the evaporator.
So if you have an mx5 / miata and want to get through your life without having to do this whole exercise, just don’t turn outside air on!
Does the dashboard absolutely have to come out first?
Now that I have it apart, I have a sneaking suspicion that it might actually be designed to get the white section removed with the dashboard still in place. If anyone wants to give it a go this should do it…

In theory the whole white section can be pulled out once you lift the centre console end a little to unhook it from the black section. Let me know how you go!
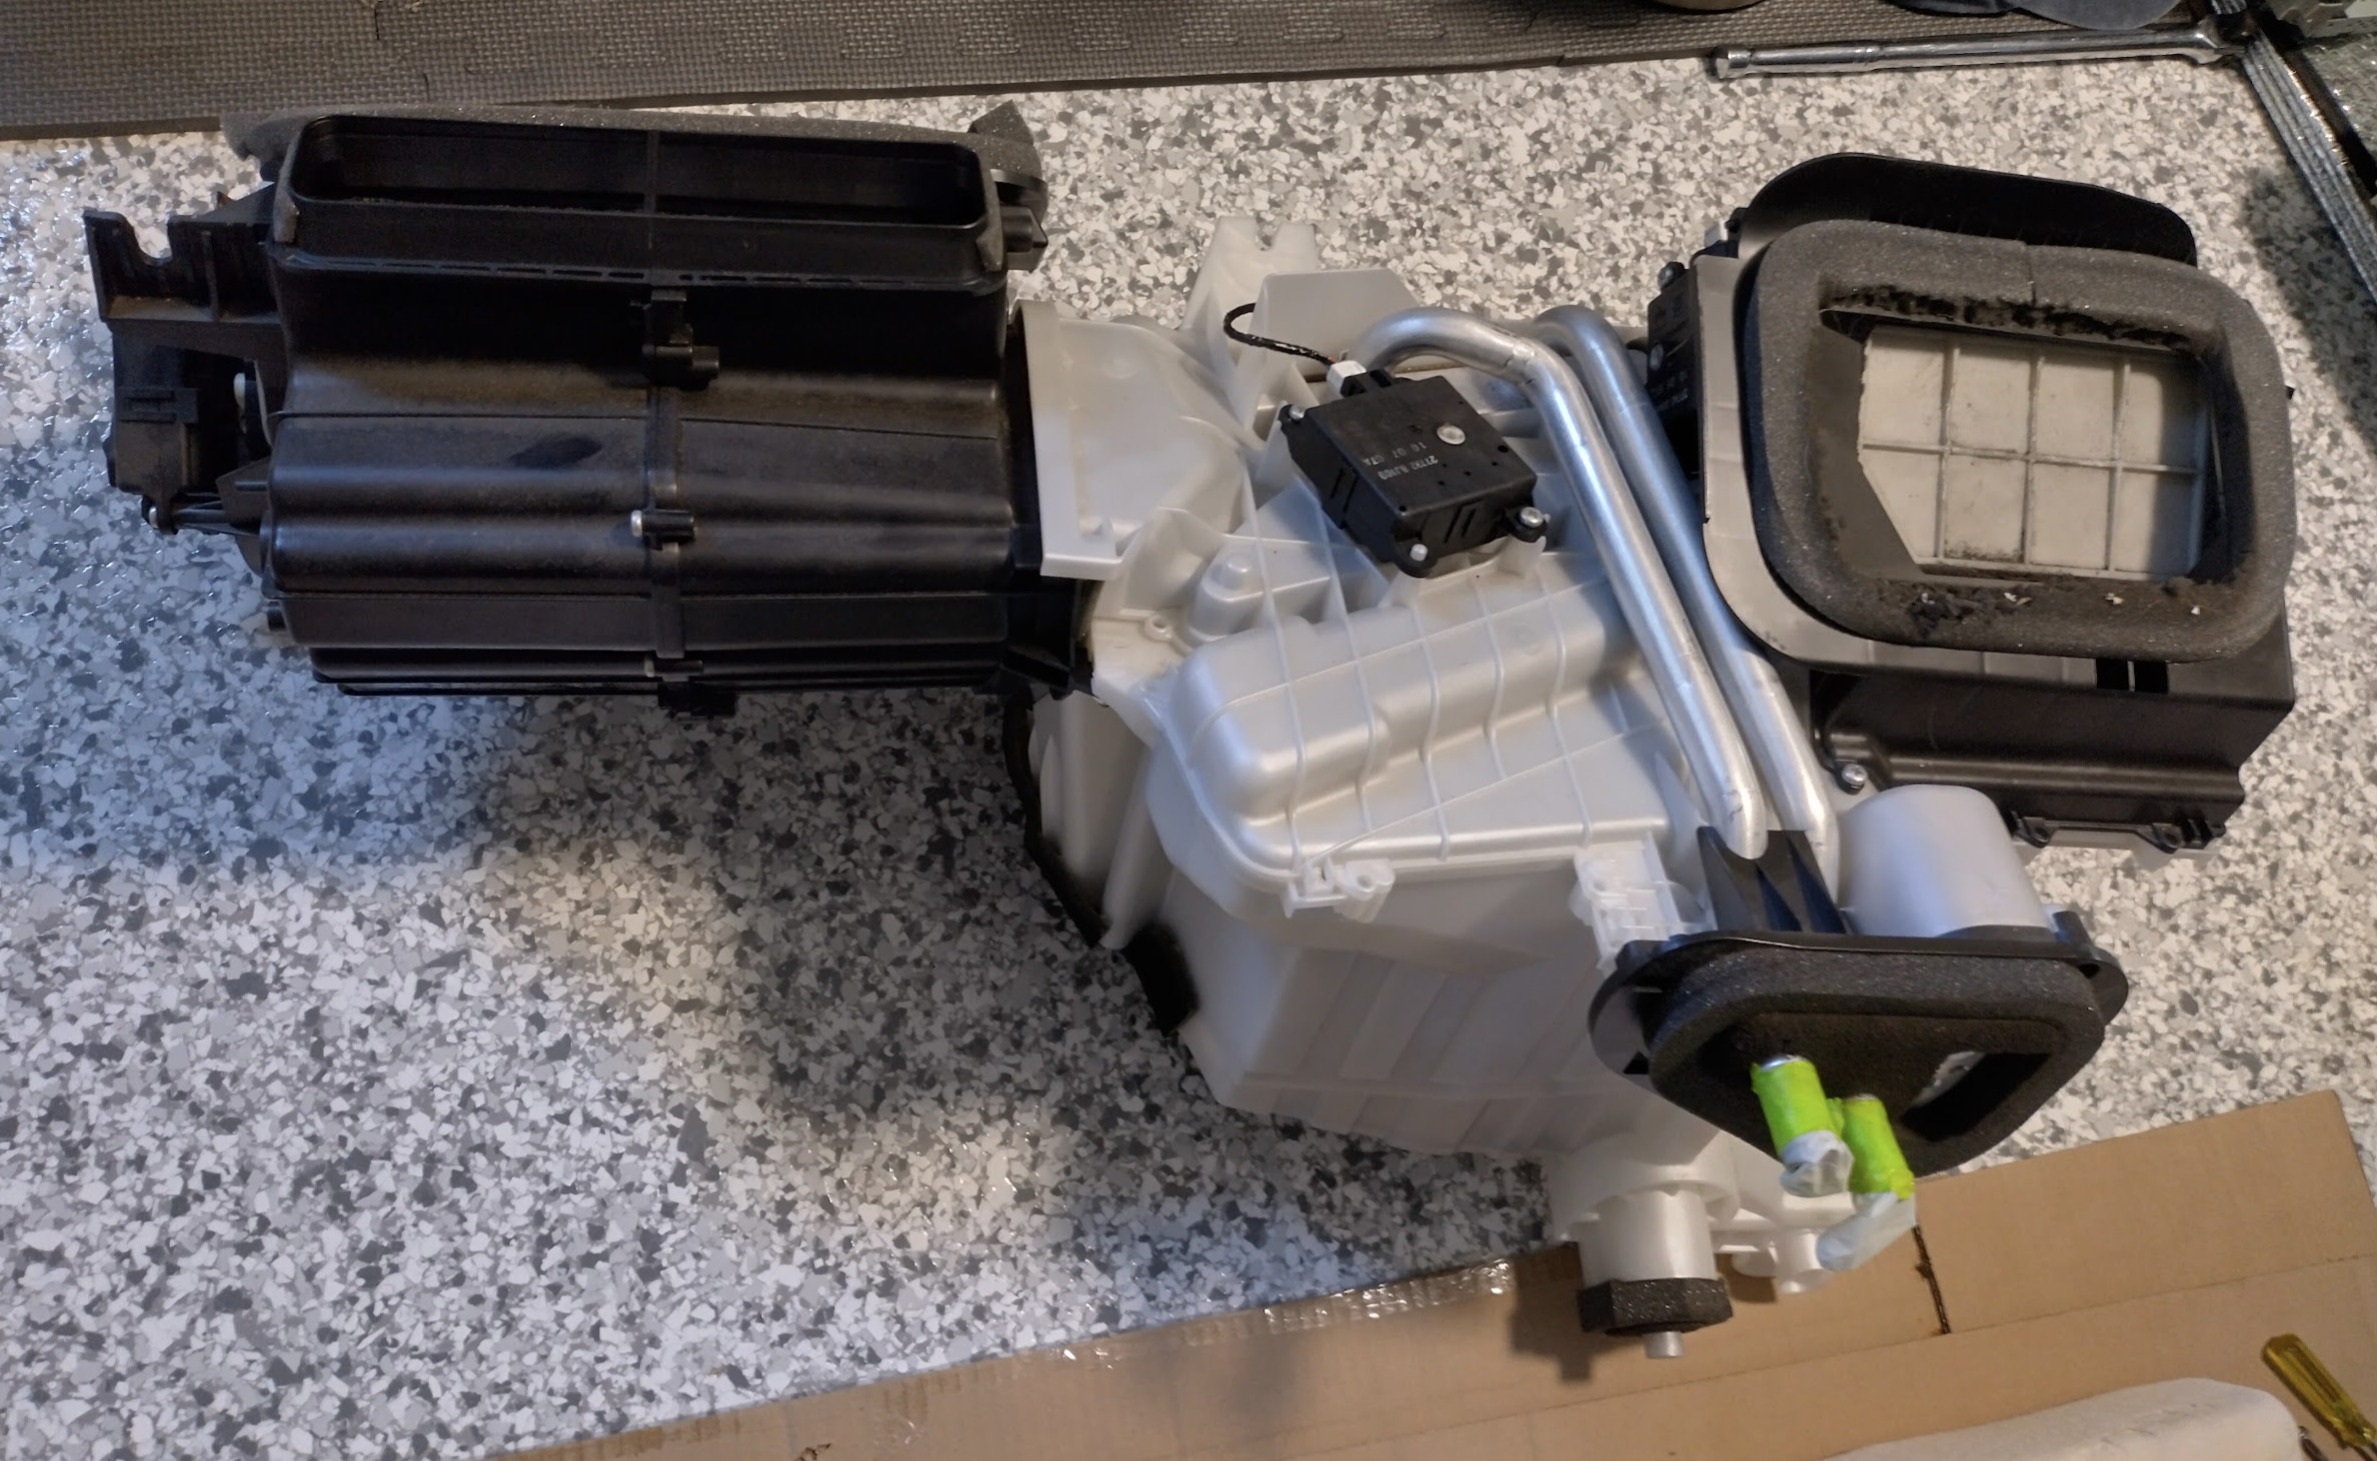
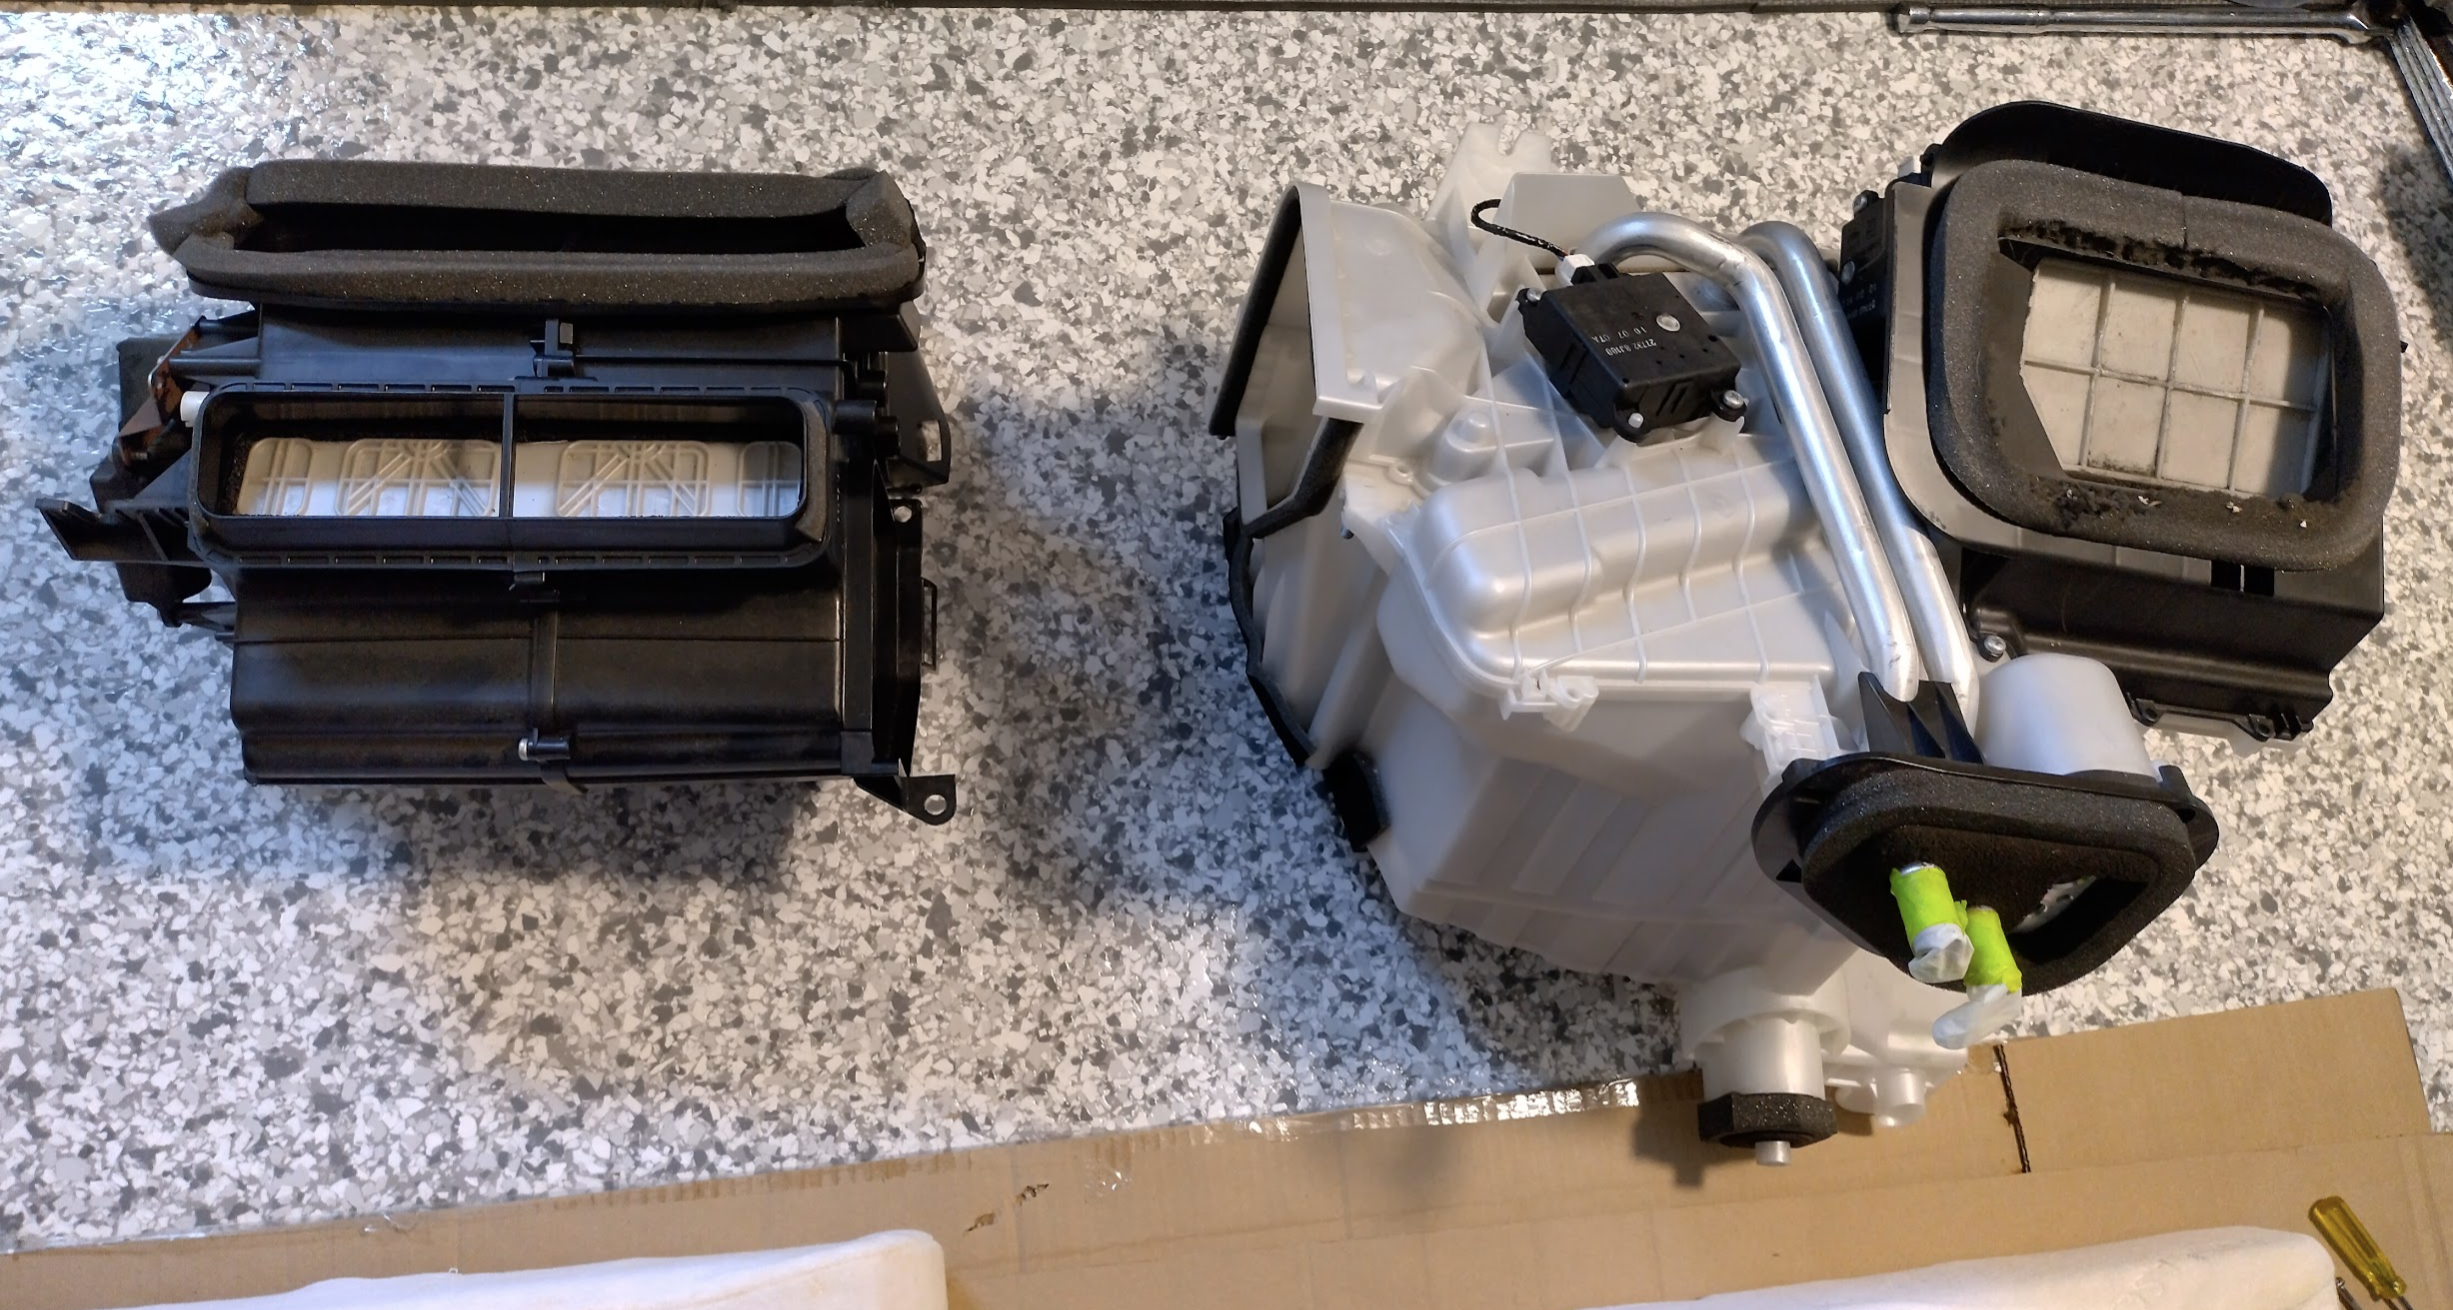
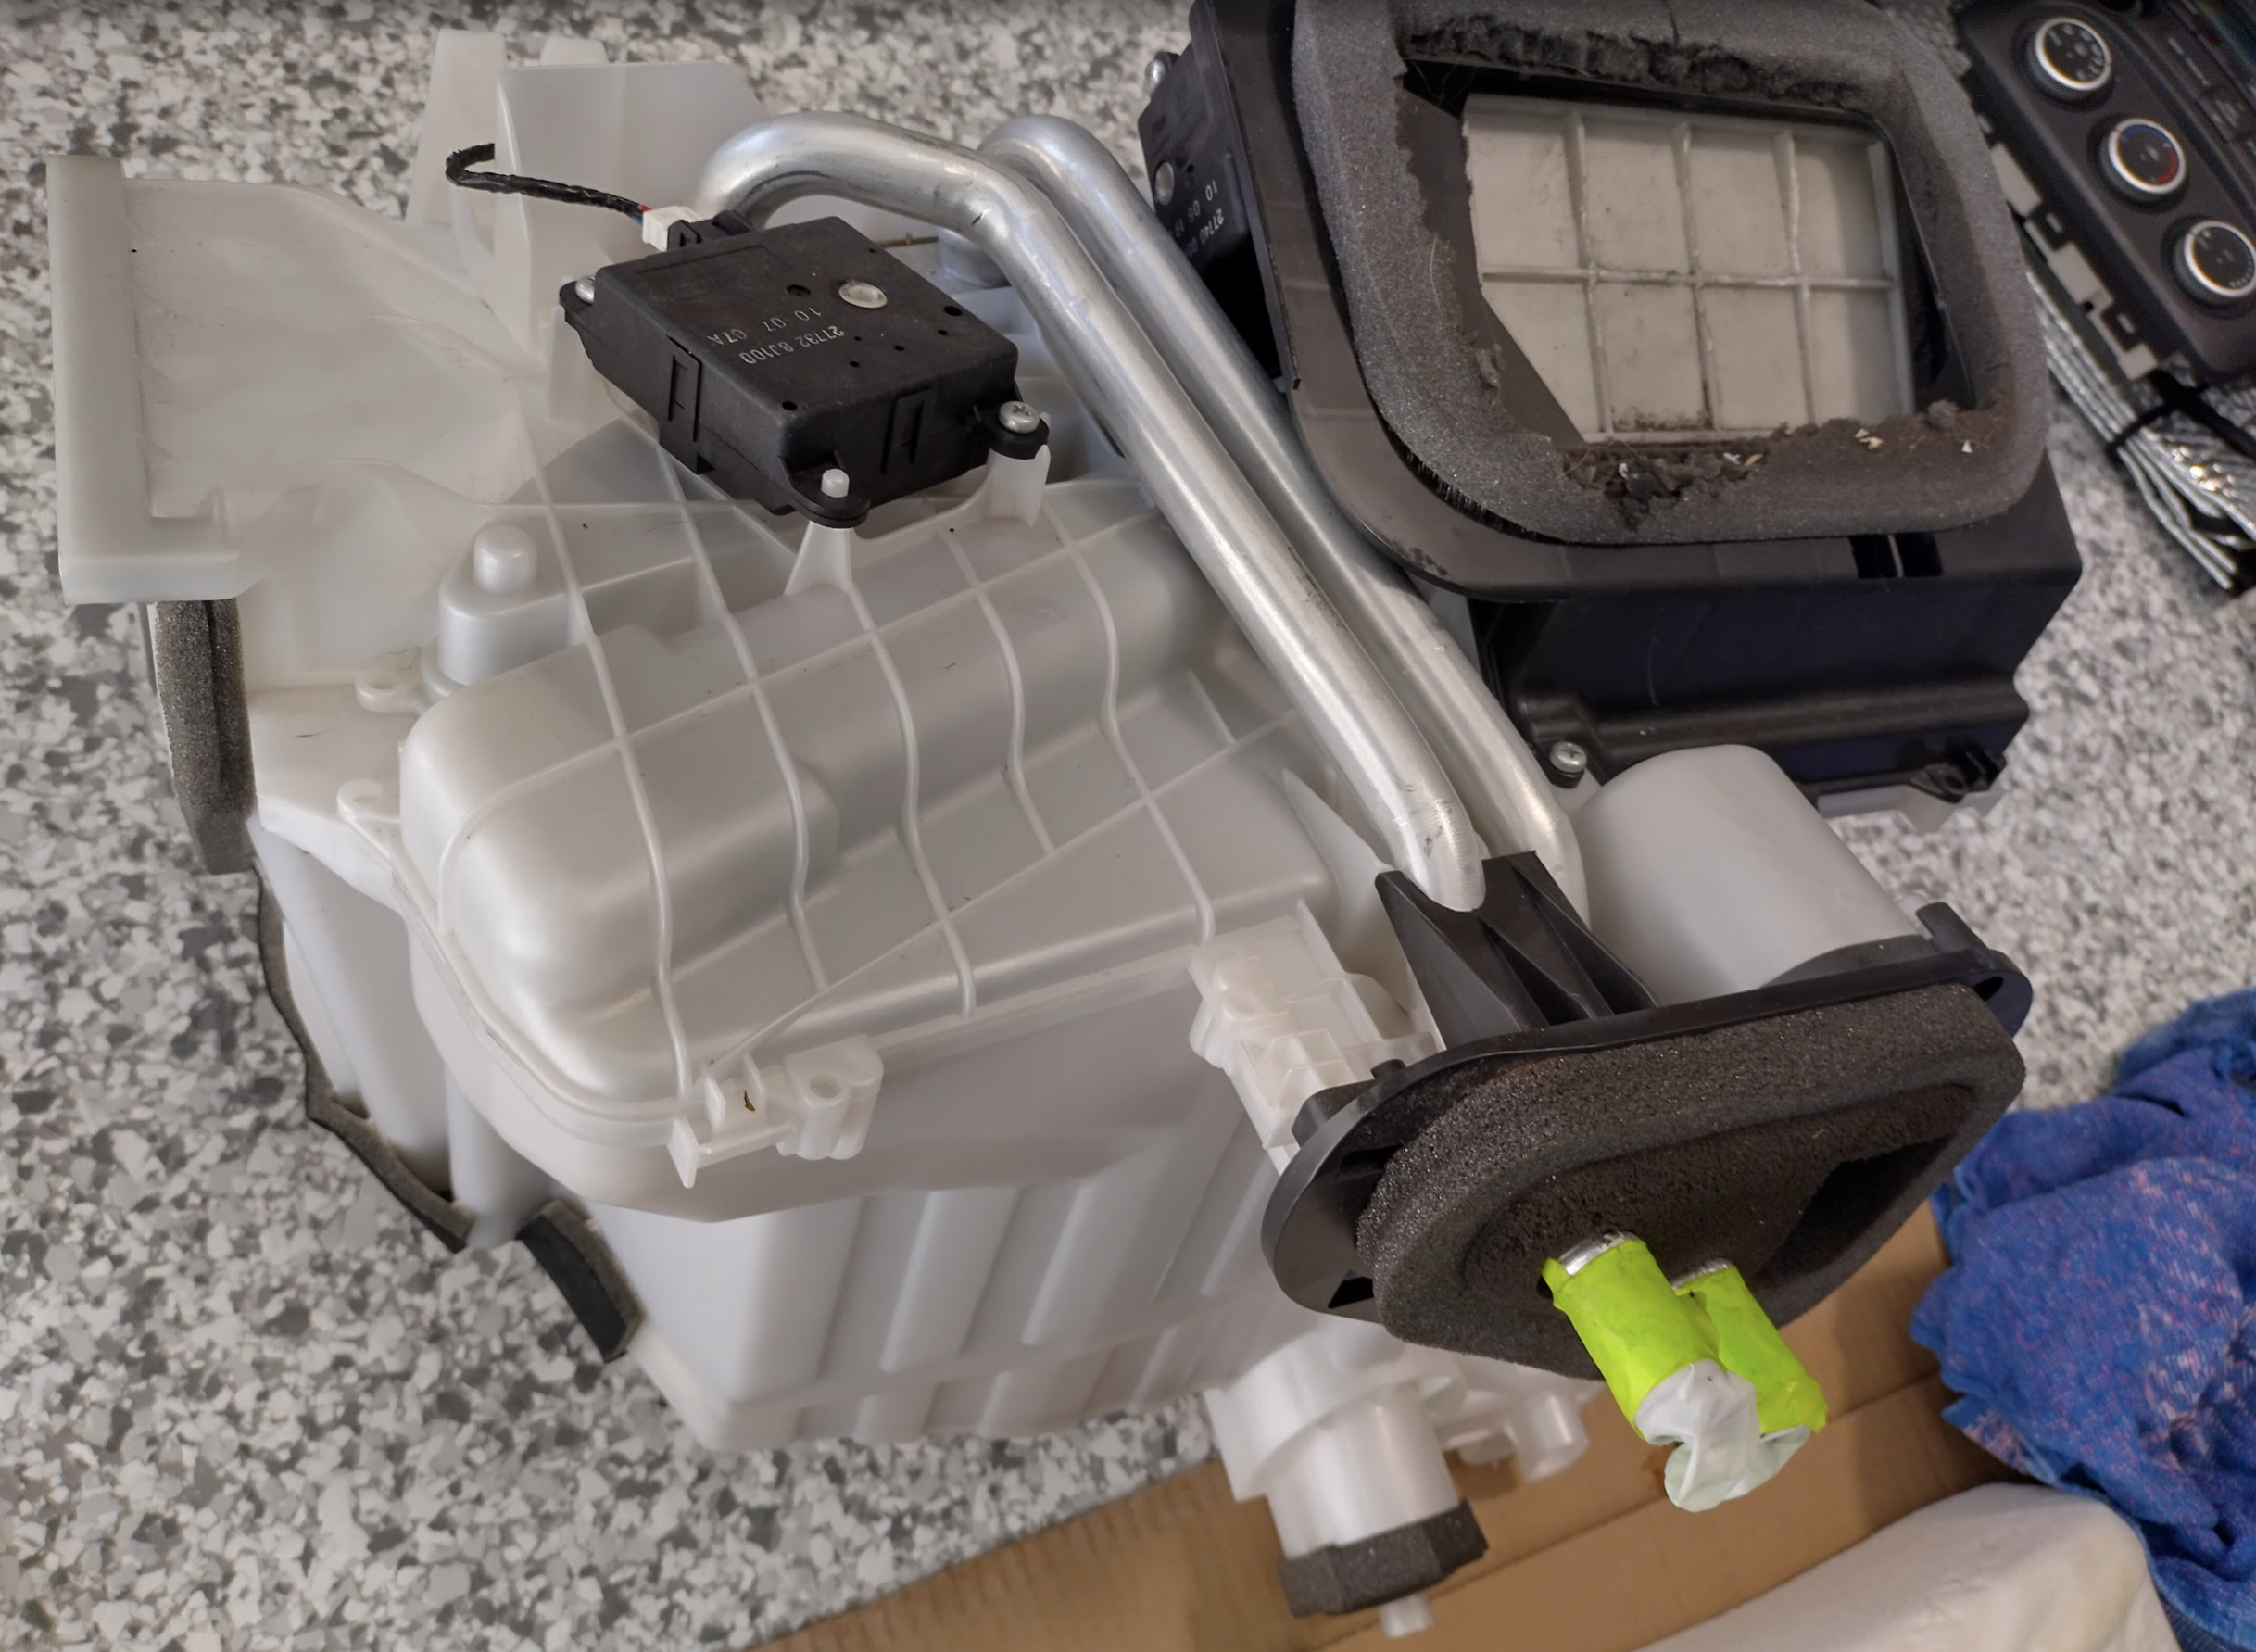
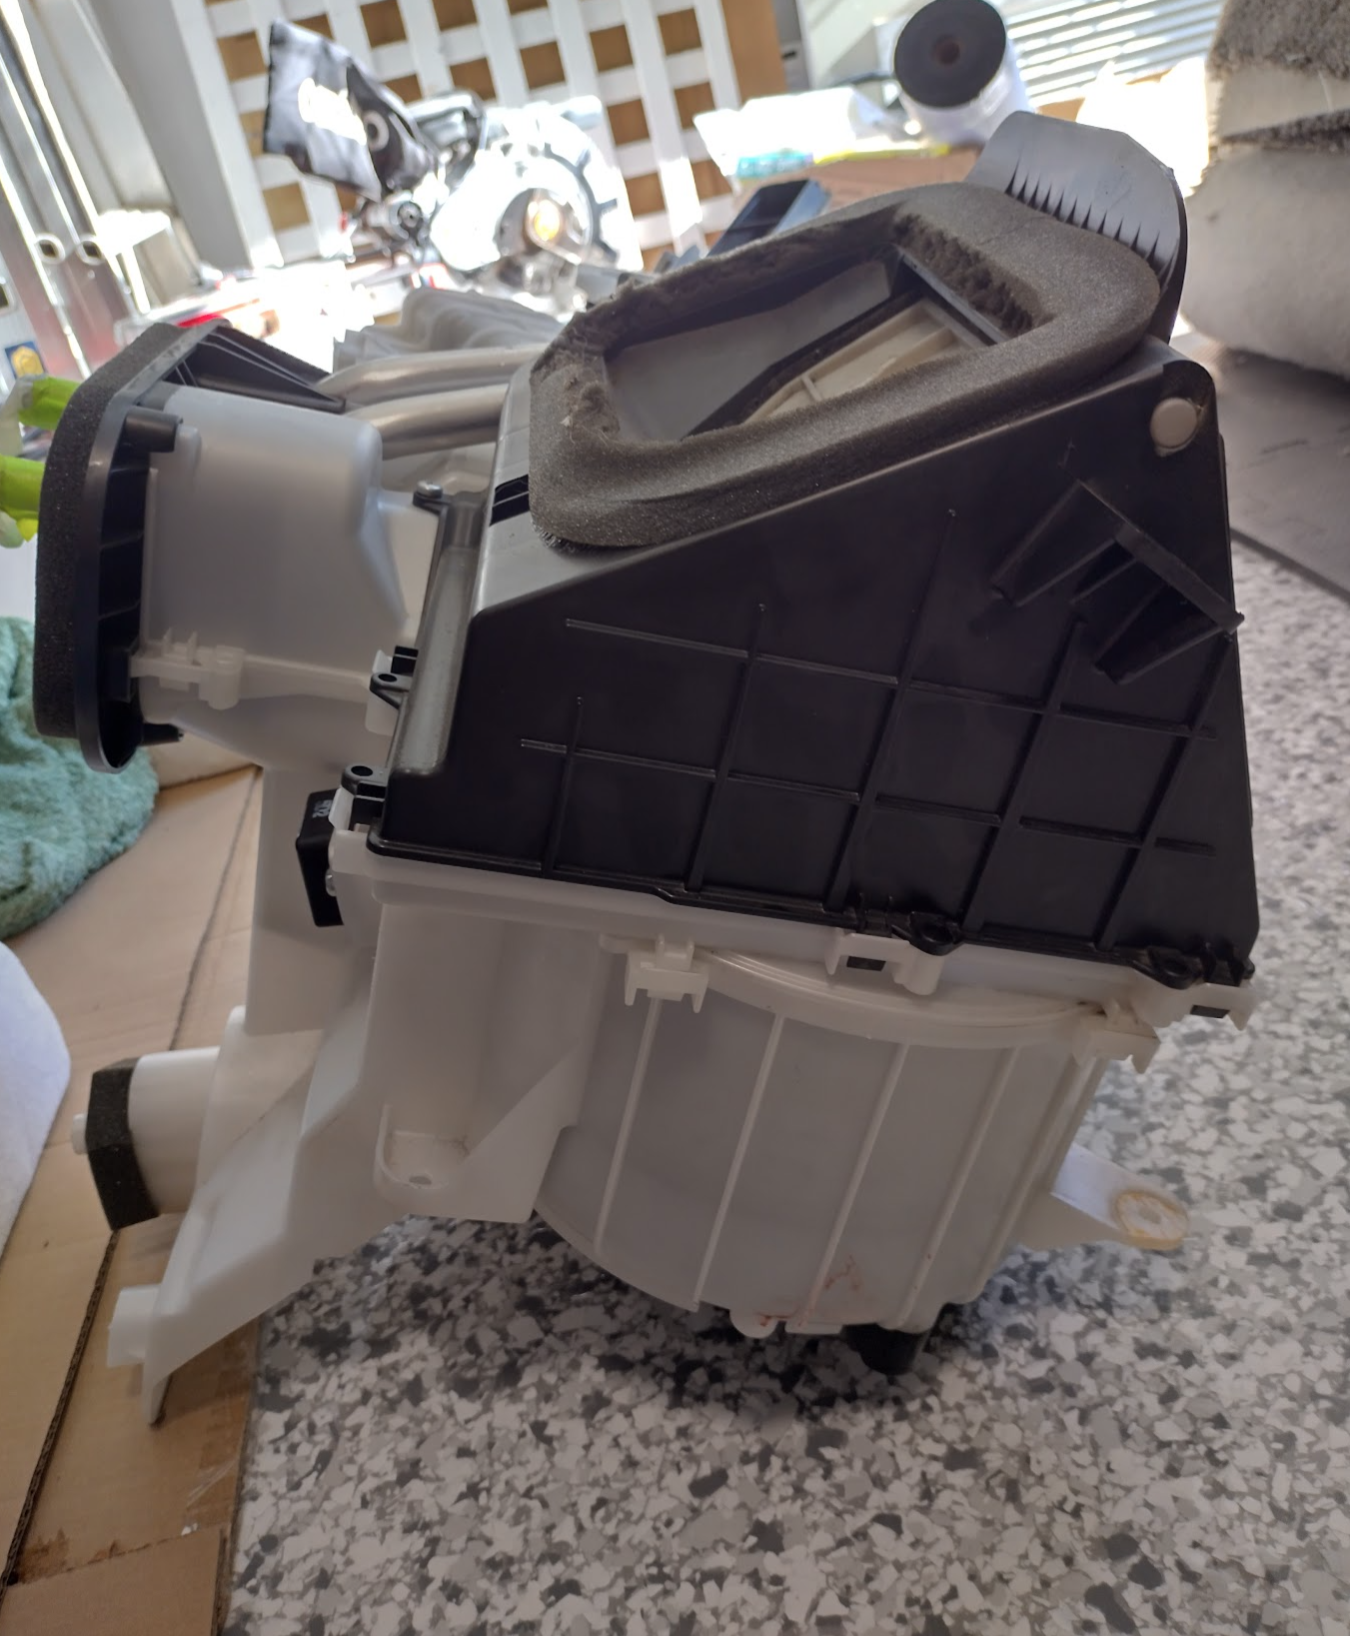
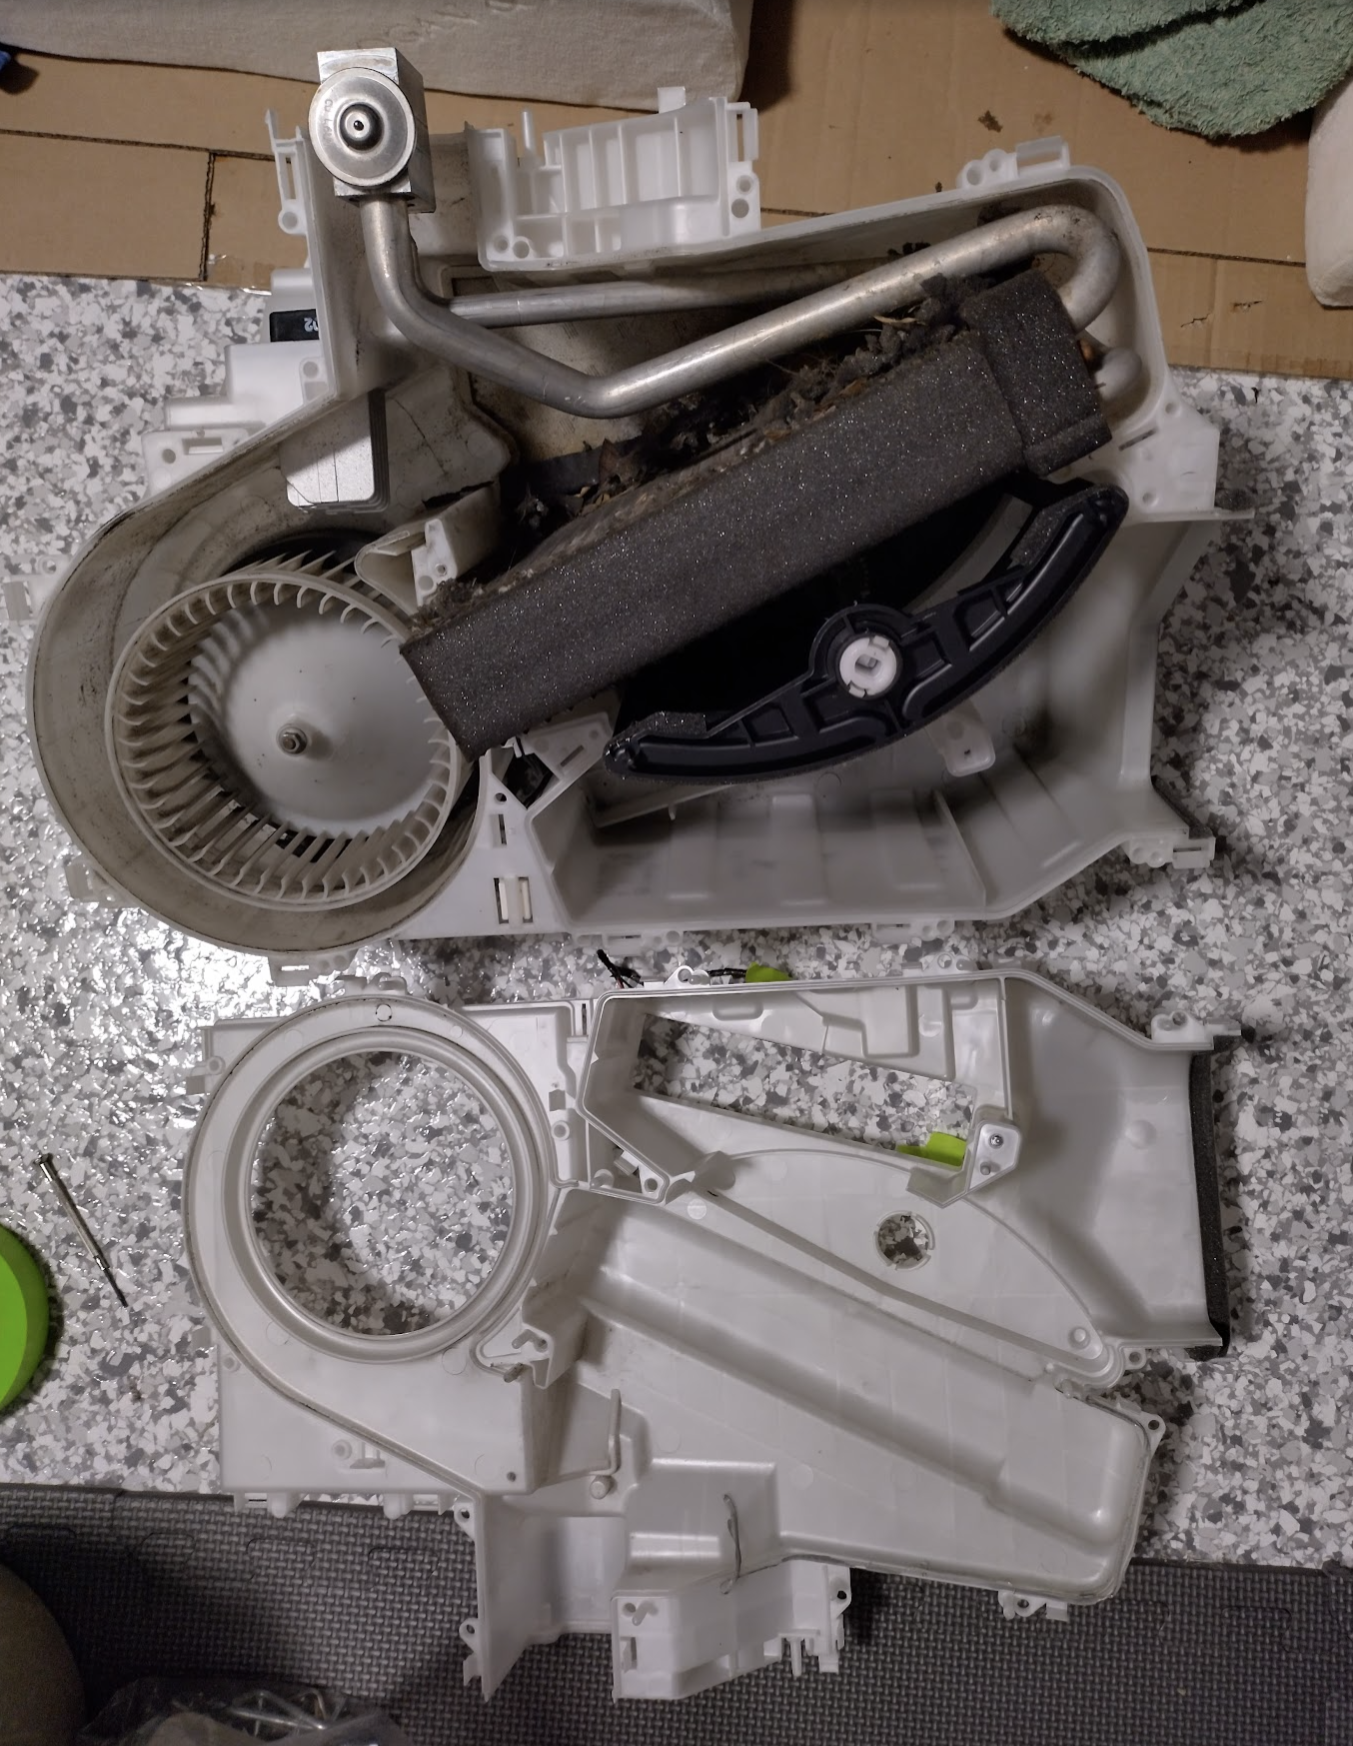
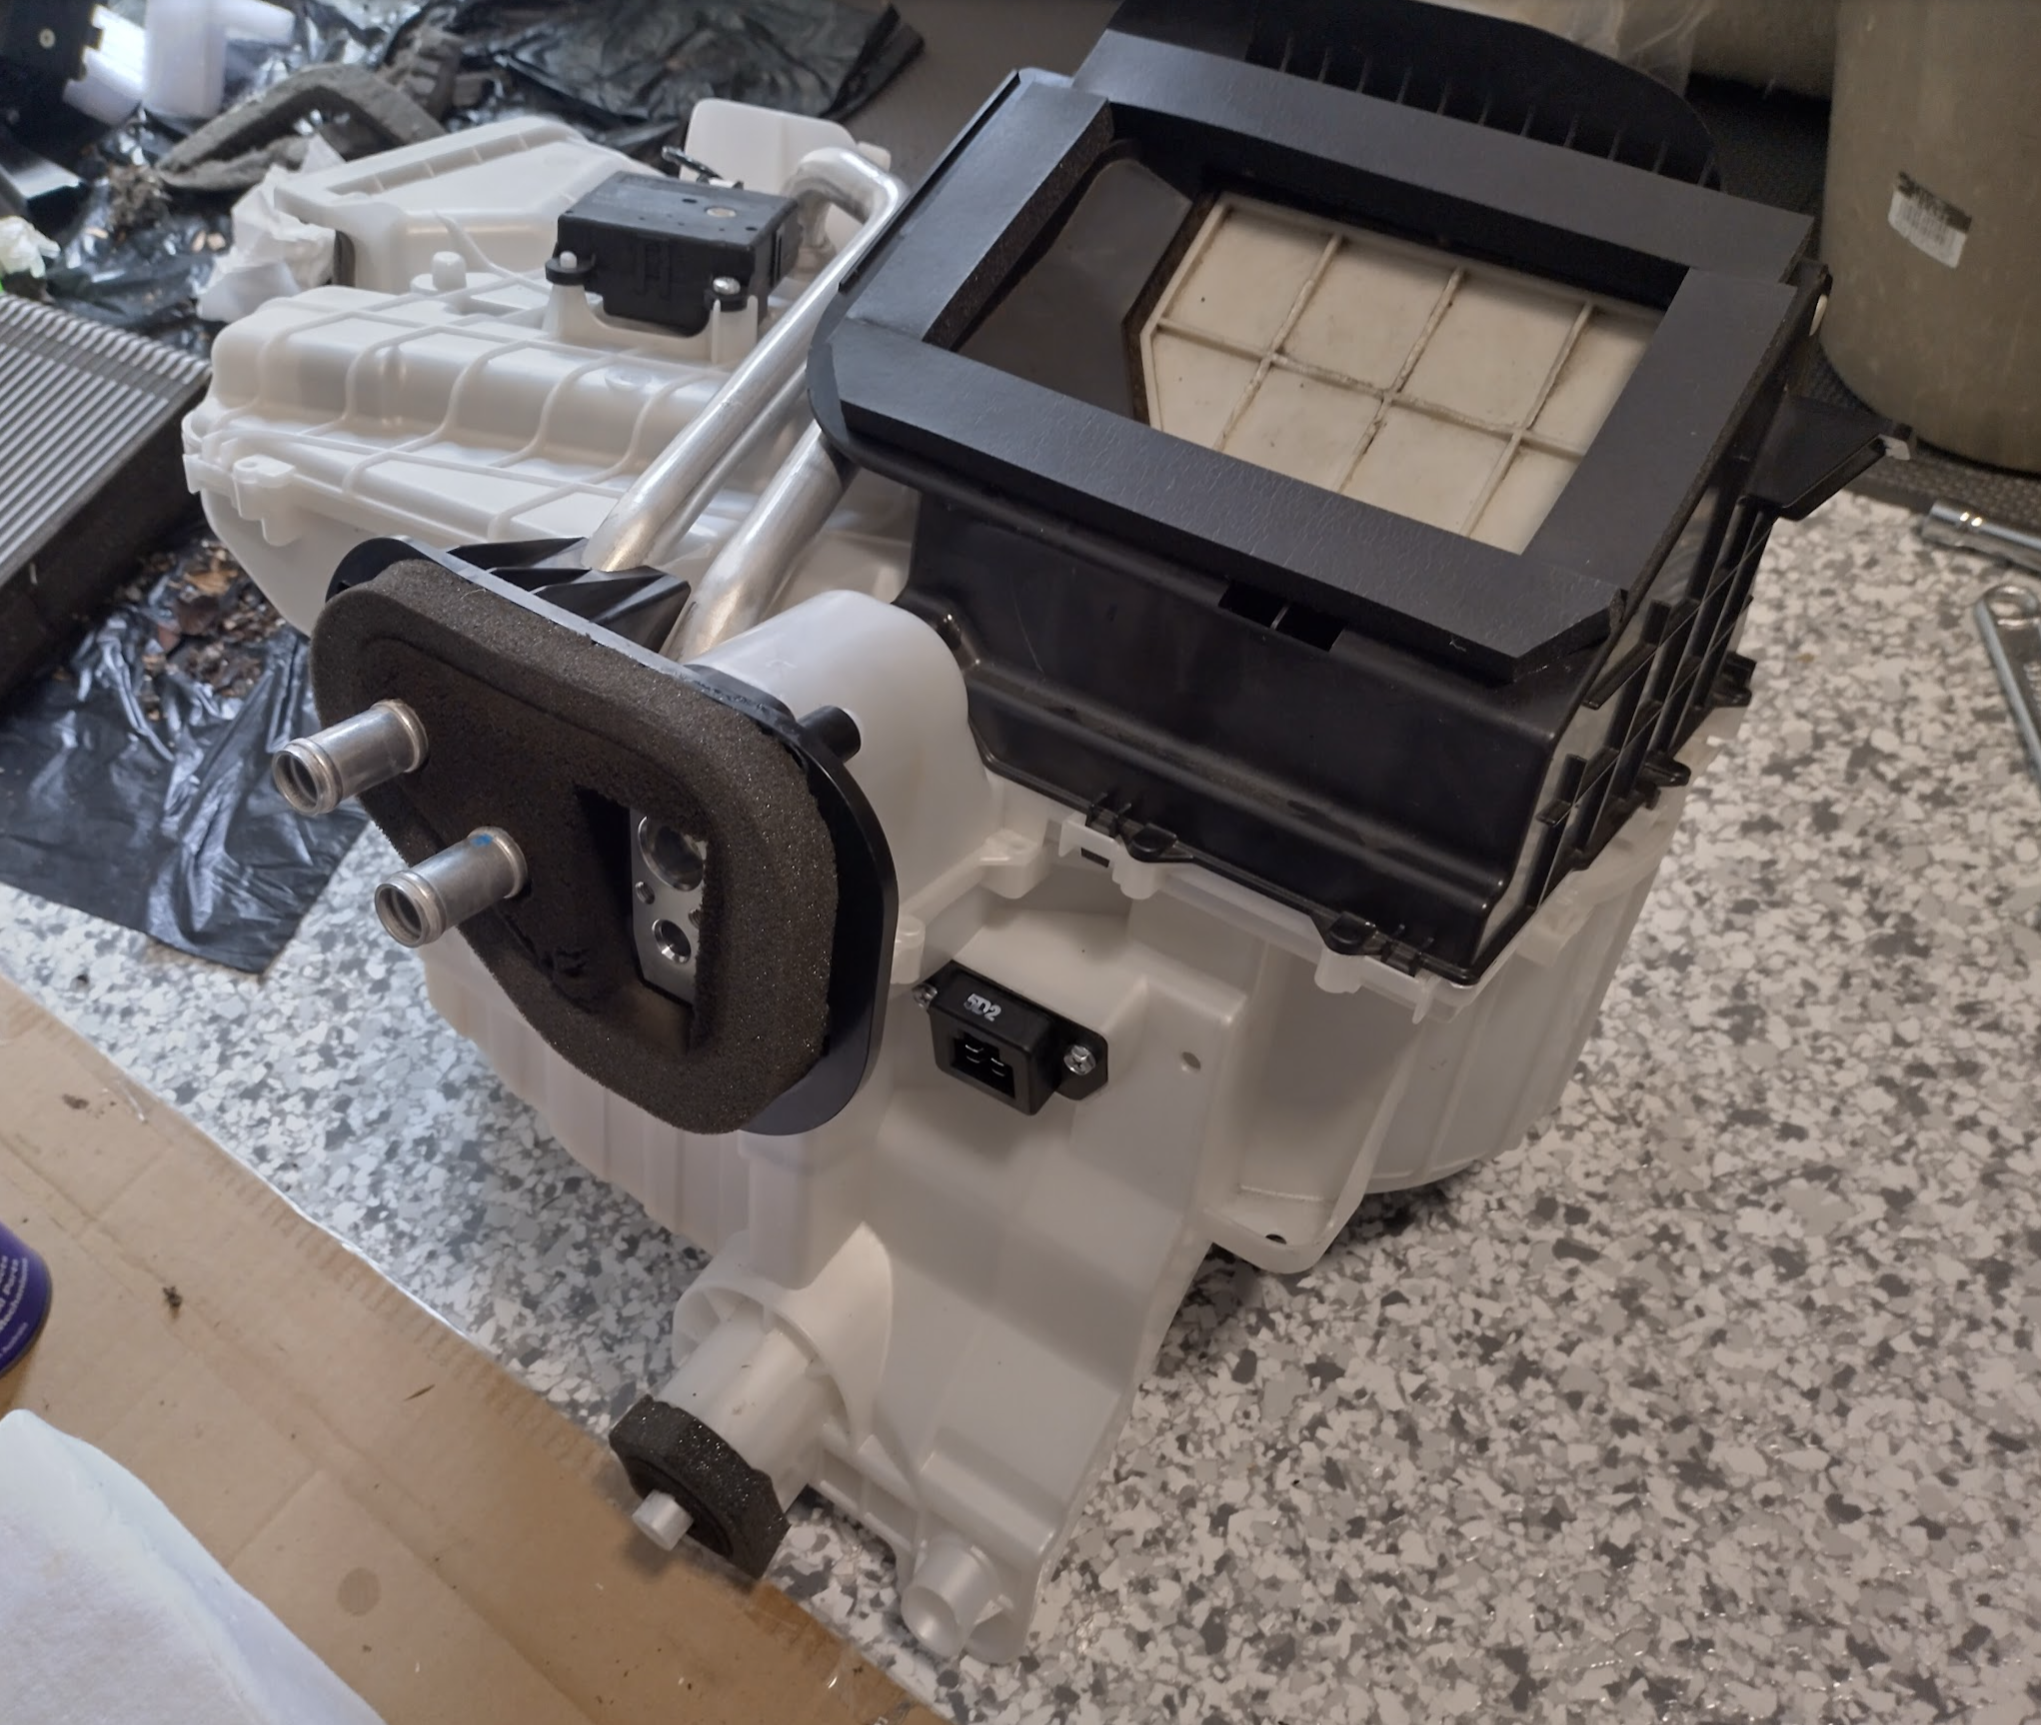
How it looks once removed.
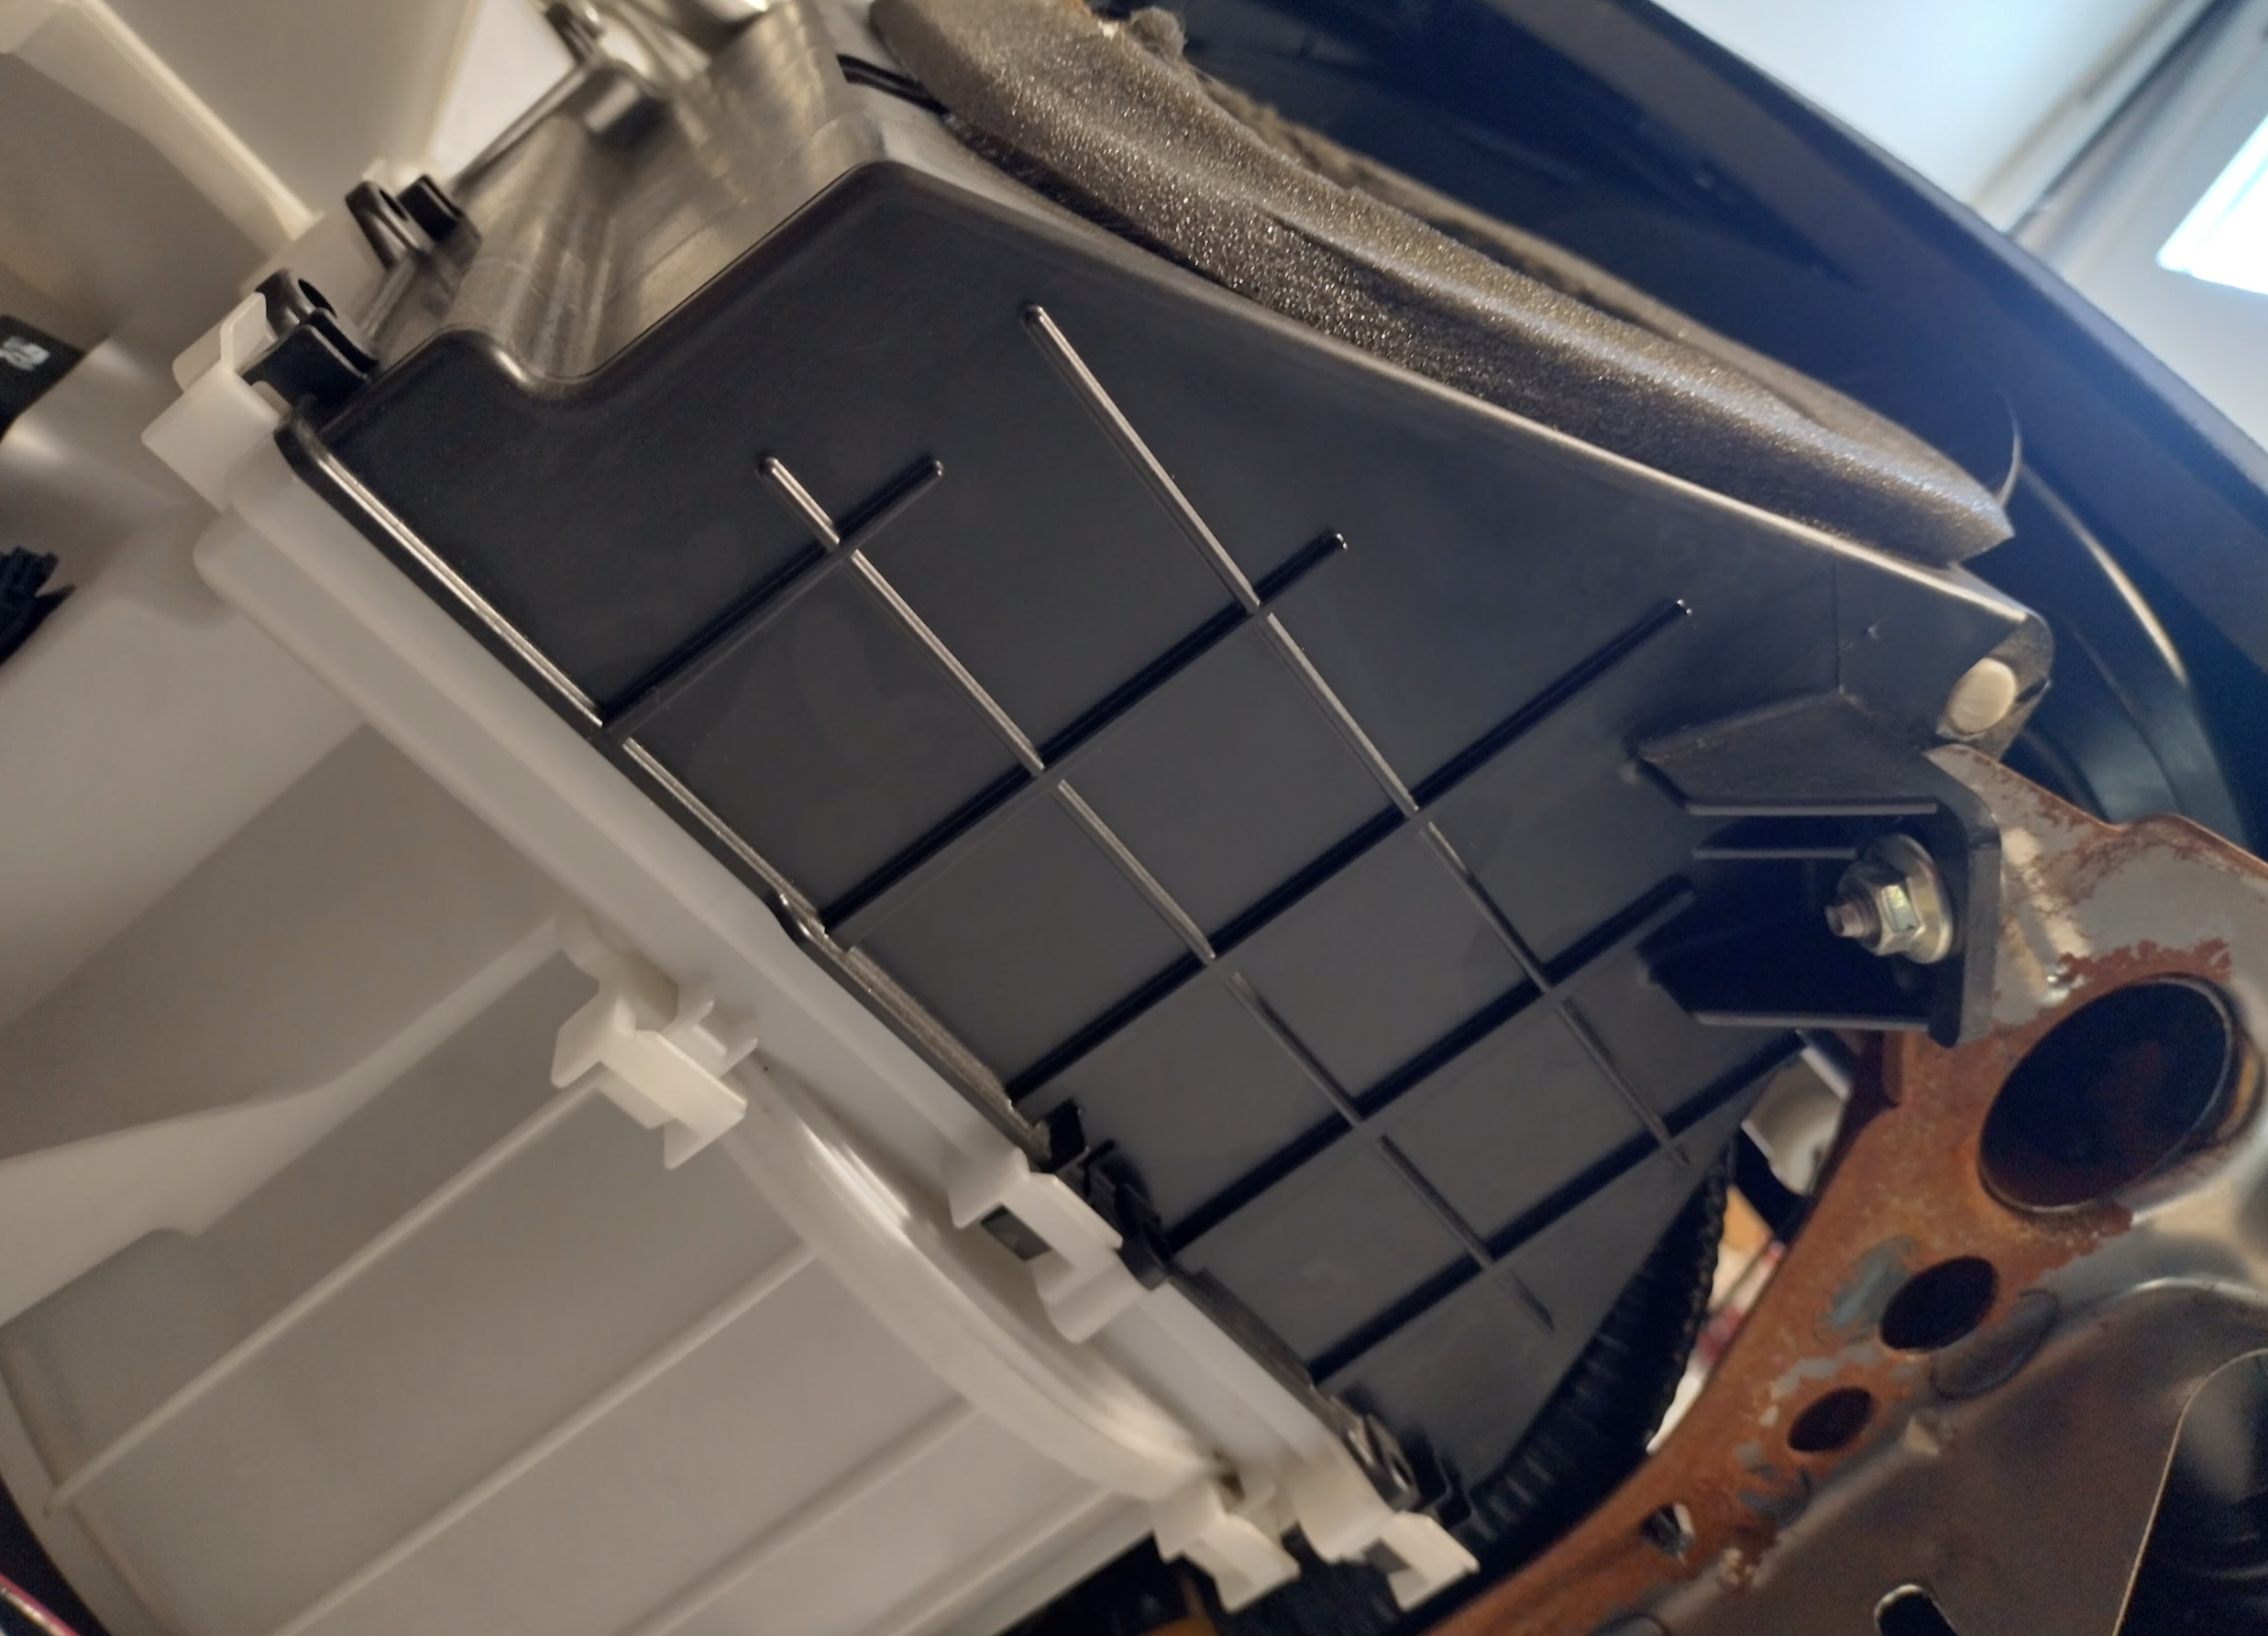
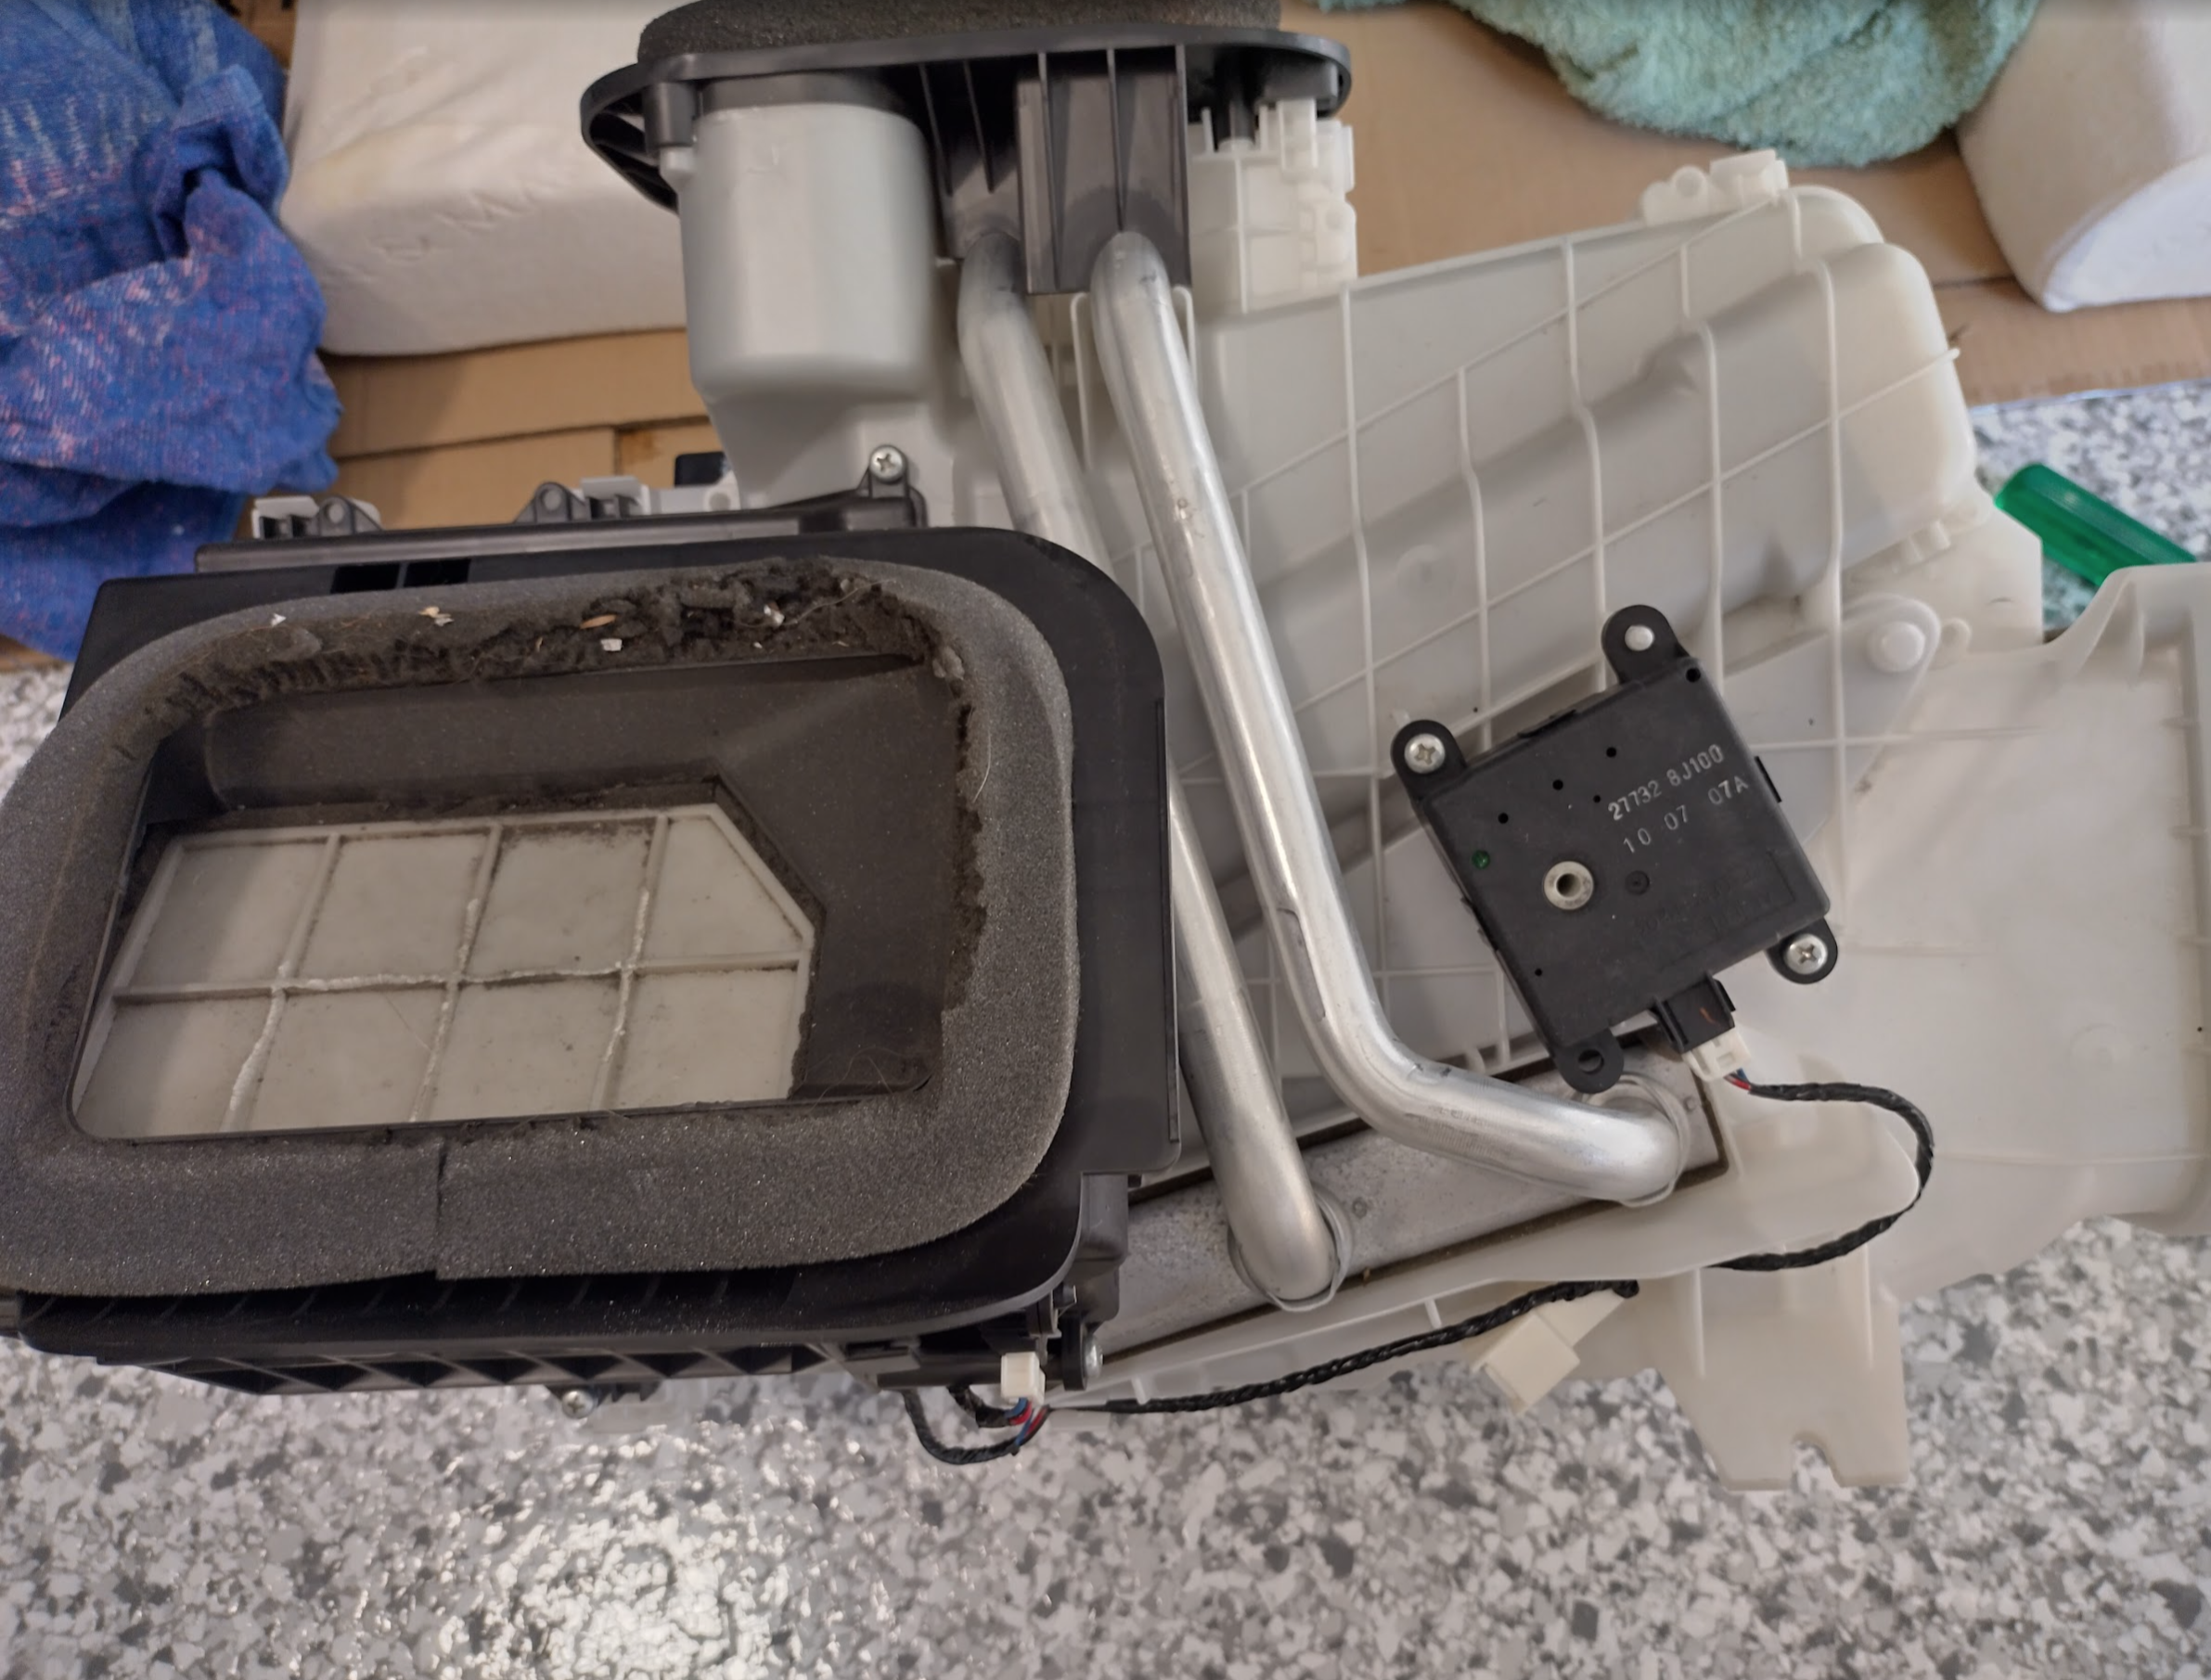
Here’s the dashboard & aircon assembly freshly removed from the car. The aircon comprises of both the right hand white section, and the attached smaller black section.
The black section is the one mentioned in articles that splits in half.
You can see the visible foam actually isn’t too bad for a 15 year old car that has lived outside for half of it’s life, however internally I think there’s an entire section missing & I’m unsure of the state of the internal foam-covered metal flaps and seals. I was shown a picture of the evaporator covered in debris from outside – it’s clear that mice have had a go at the foam and the flap seen on the right hand side so they must have wandered in at some stage, or maybe just made a nest on top of it that got sucked in.
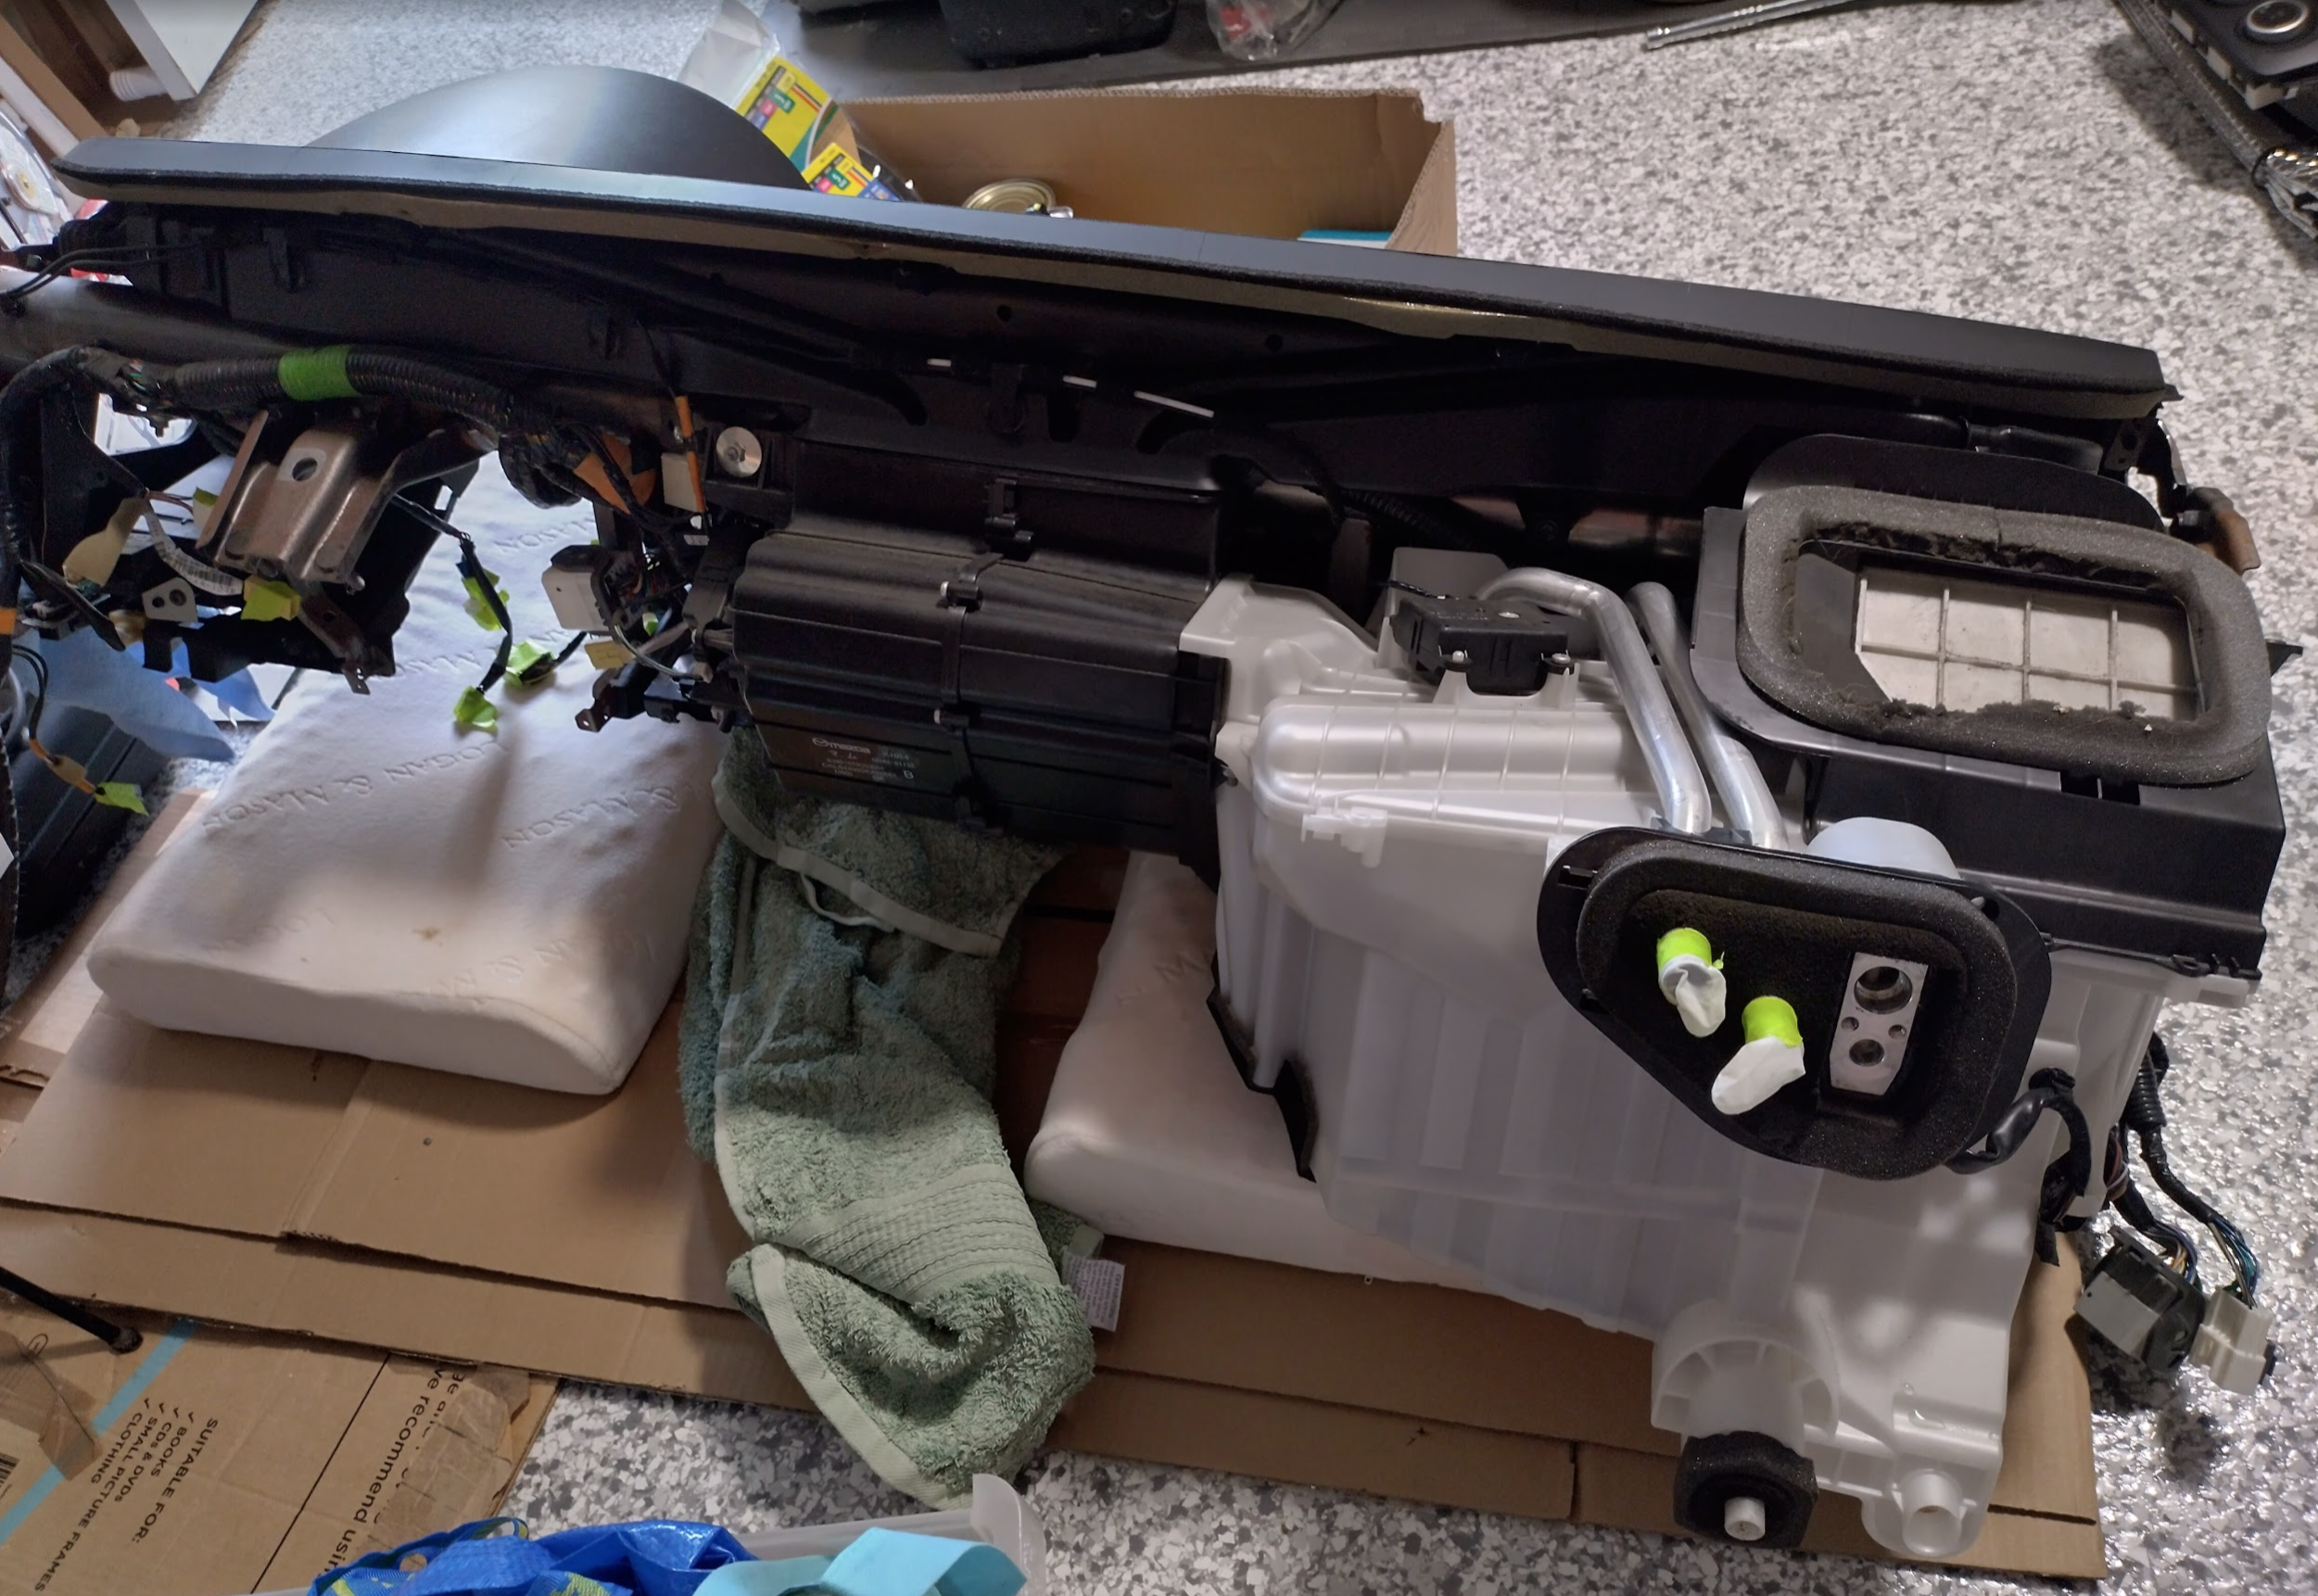
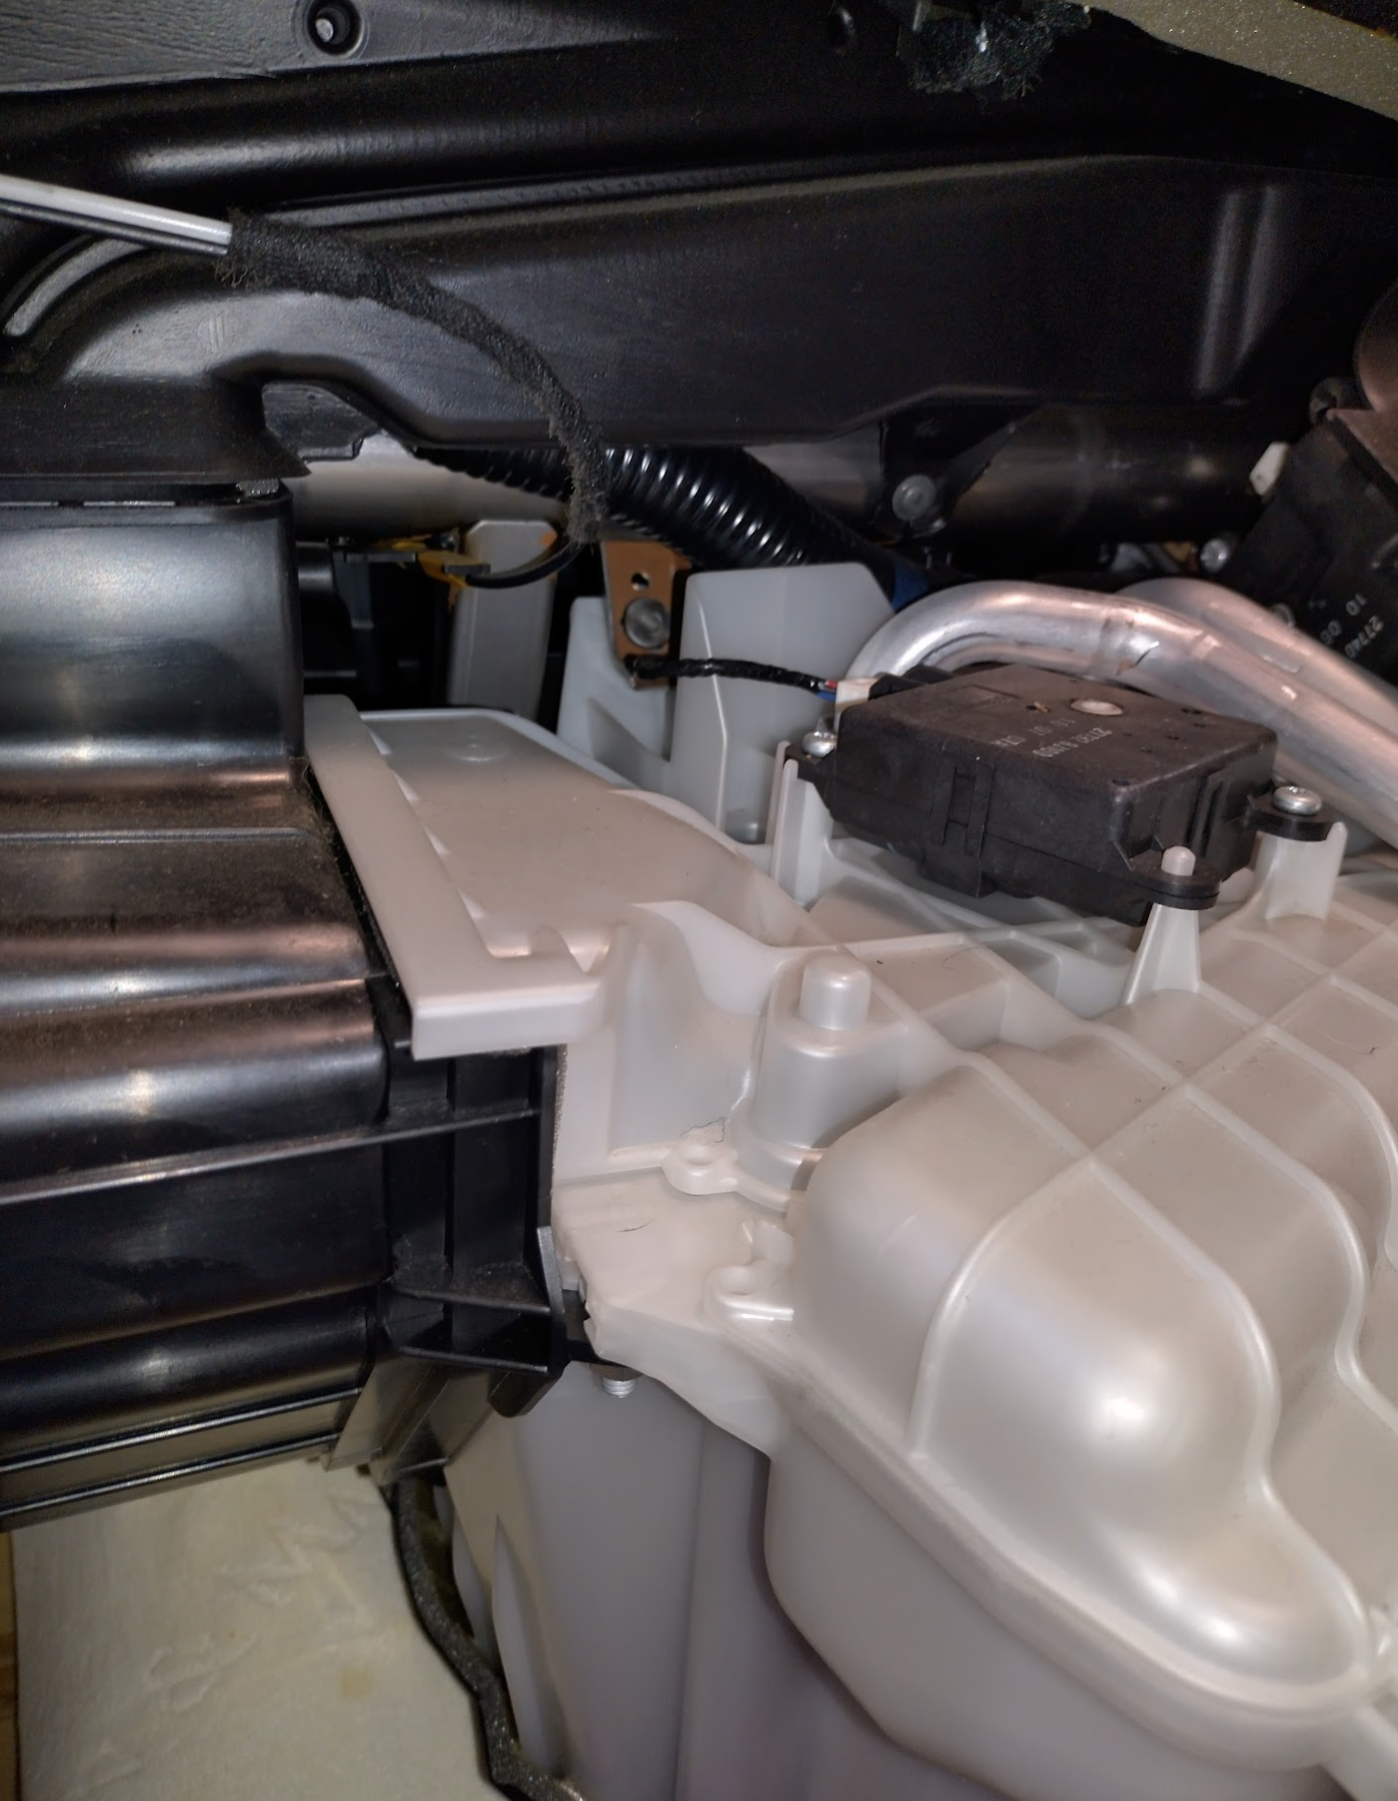
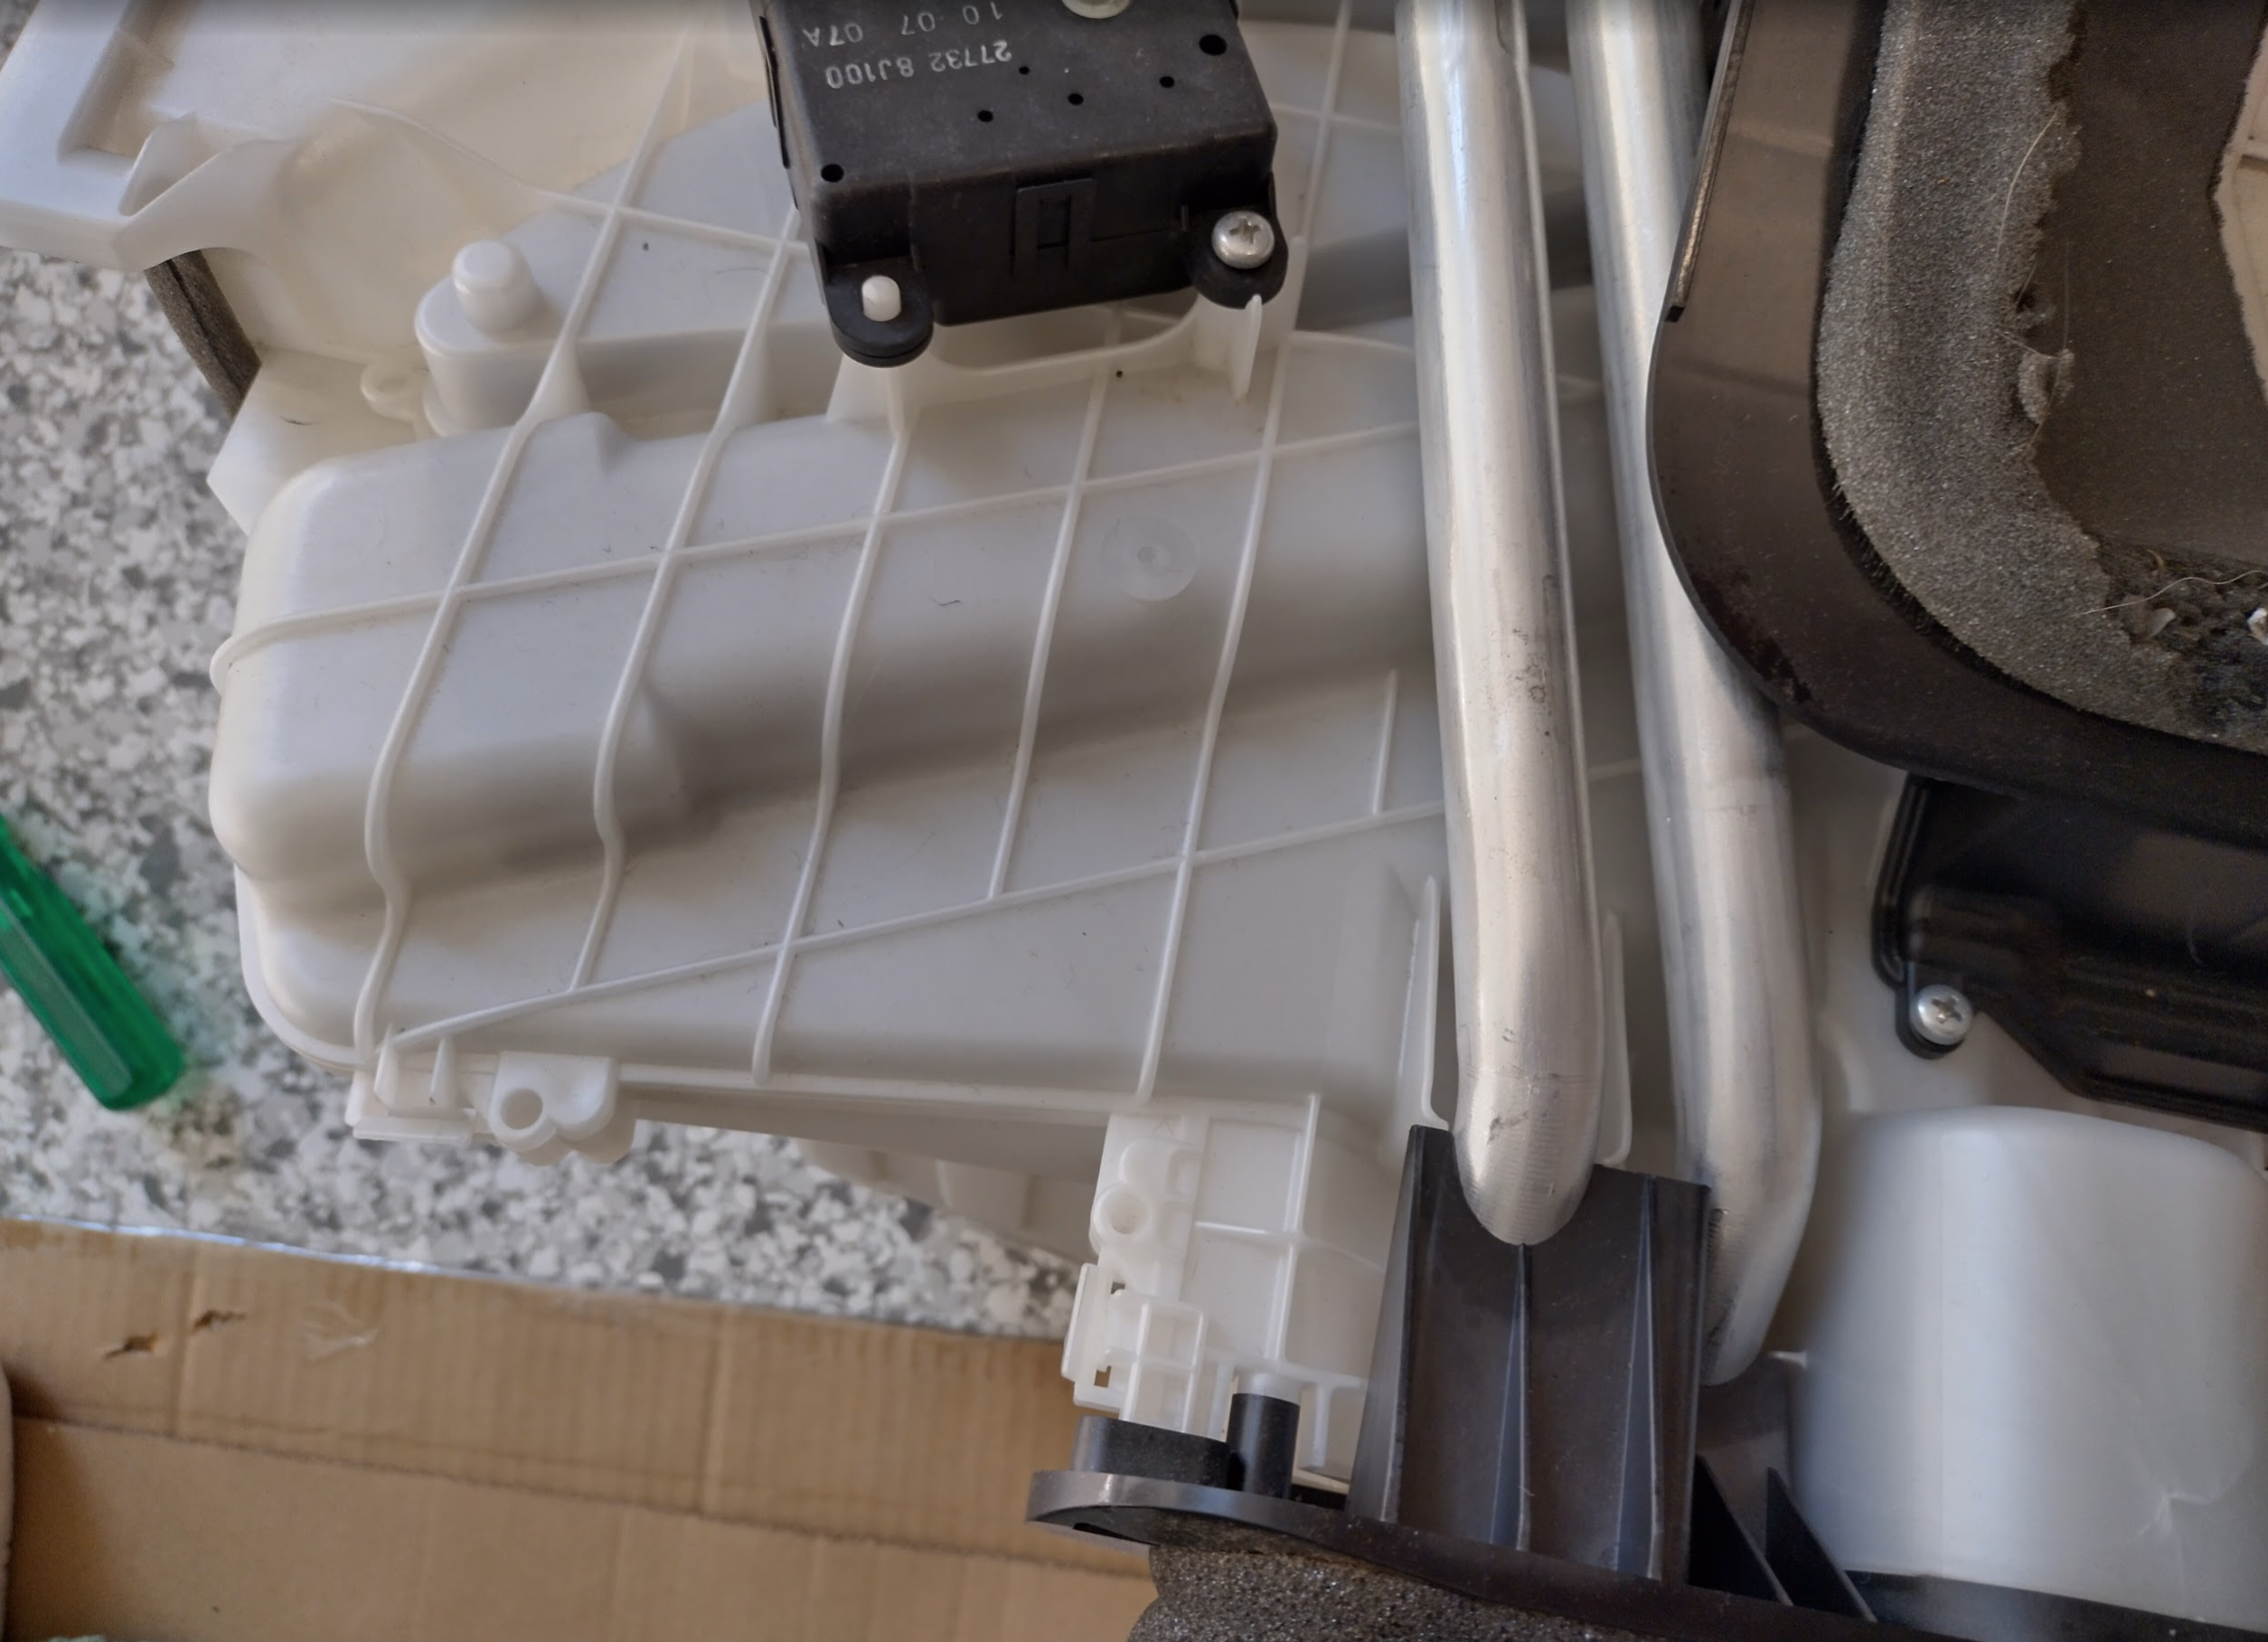
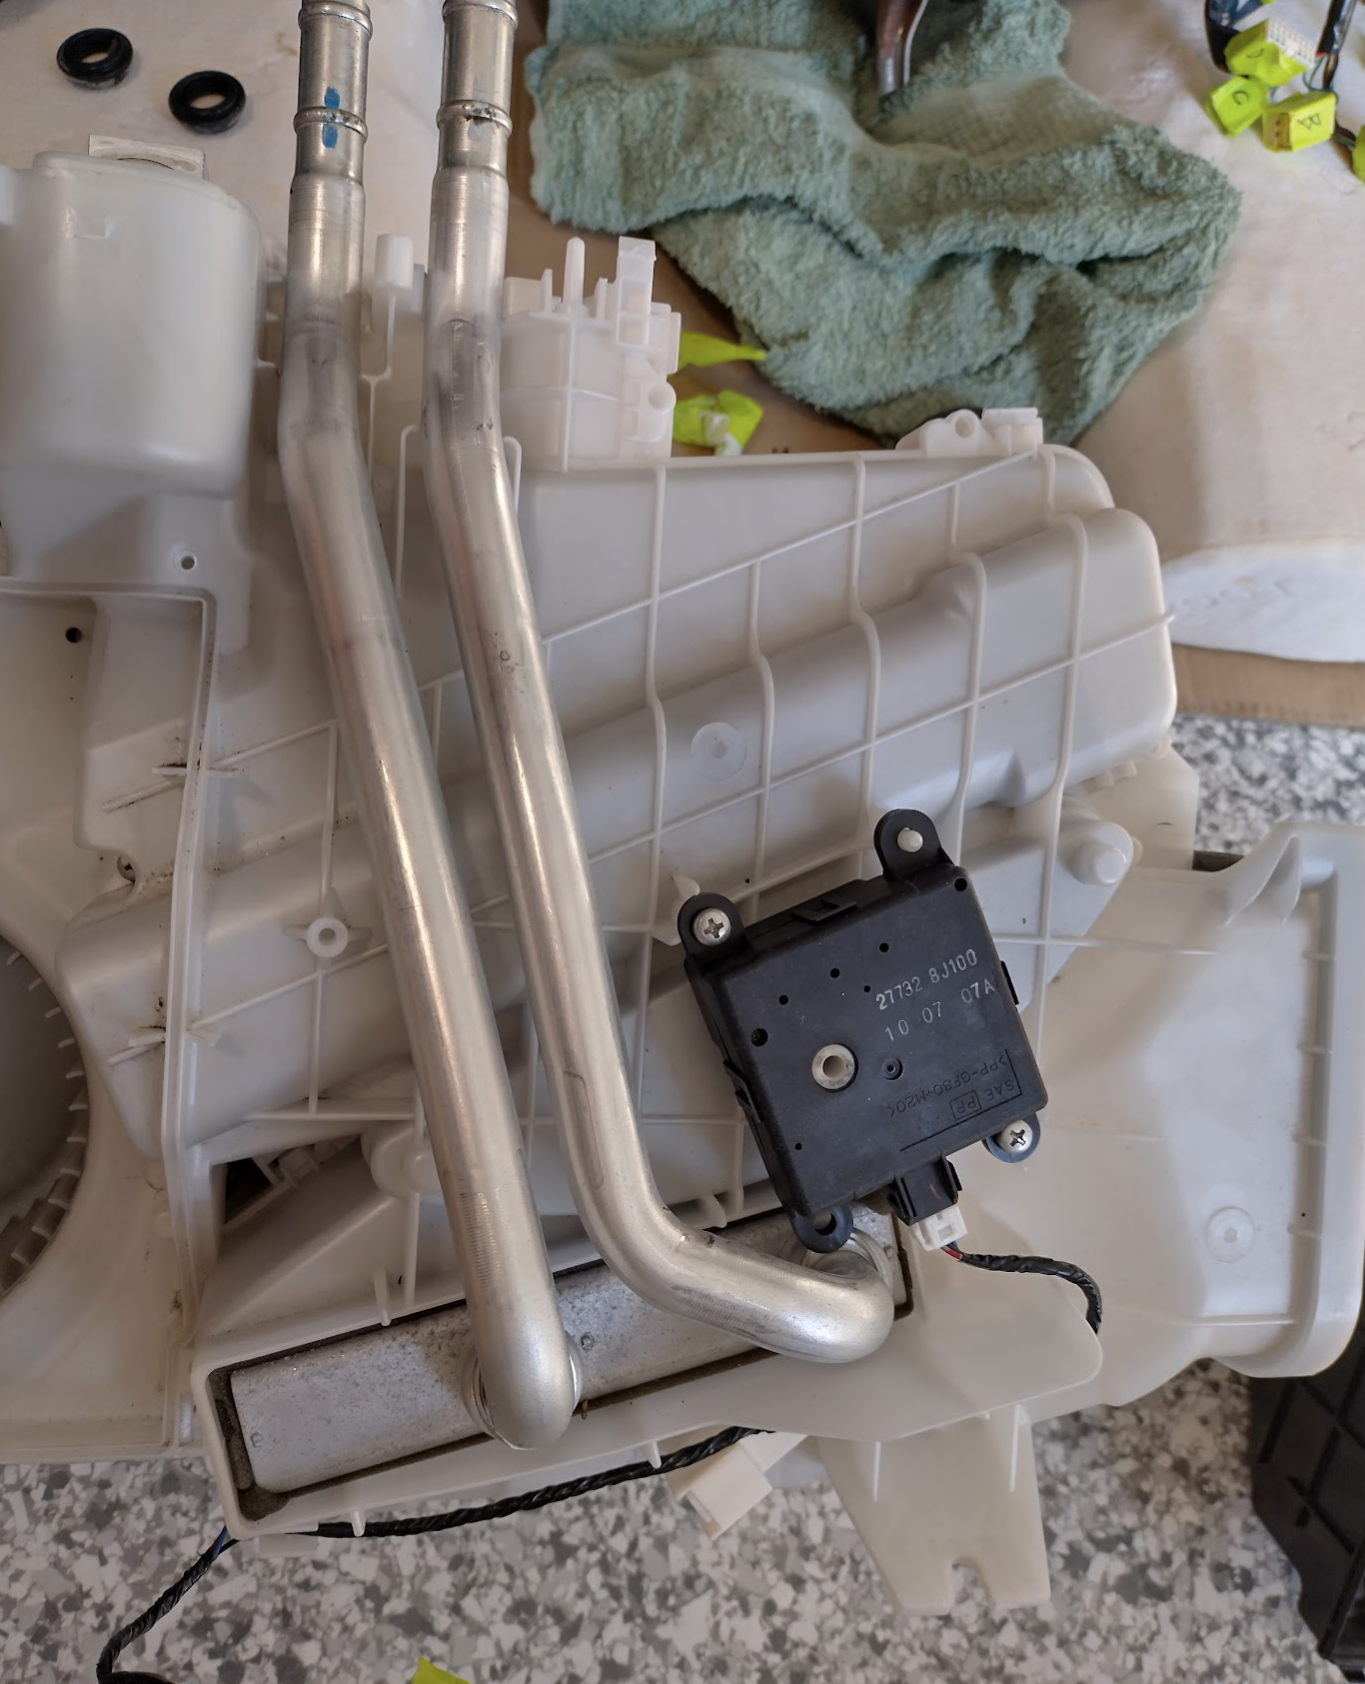
Basically everything to the left of this bar is the aircon.
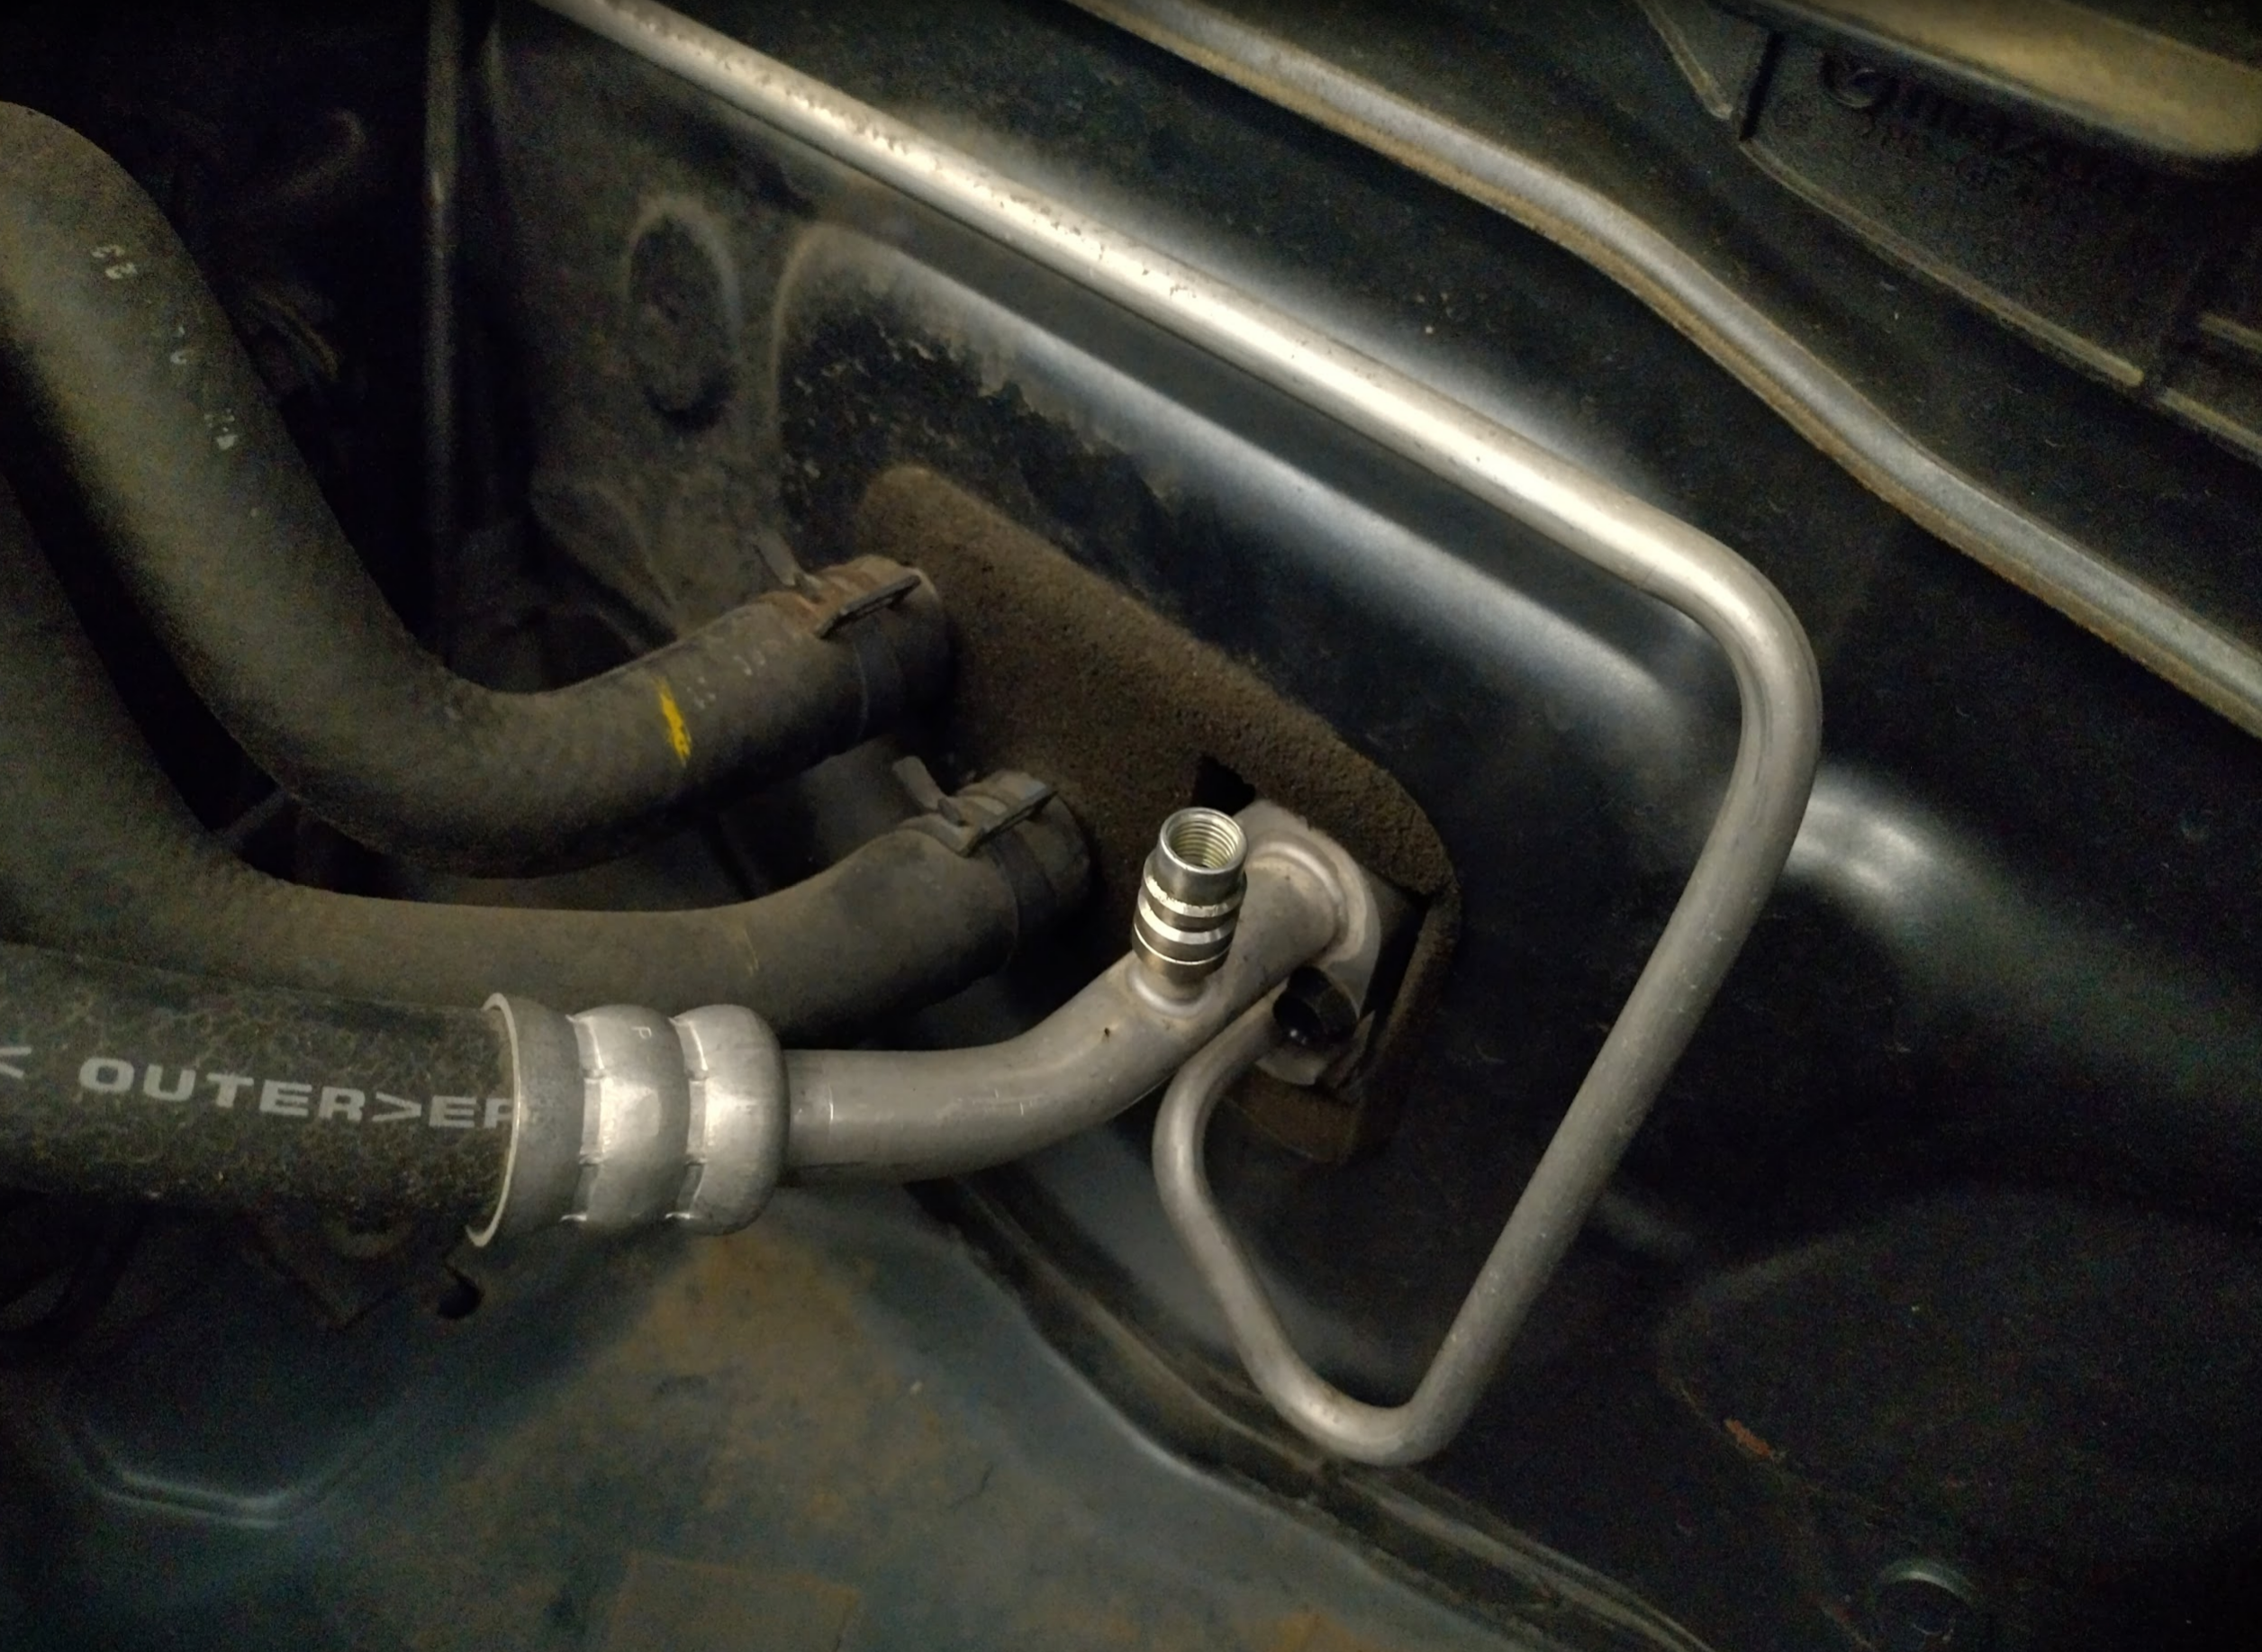
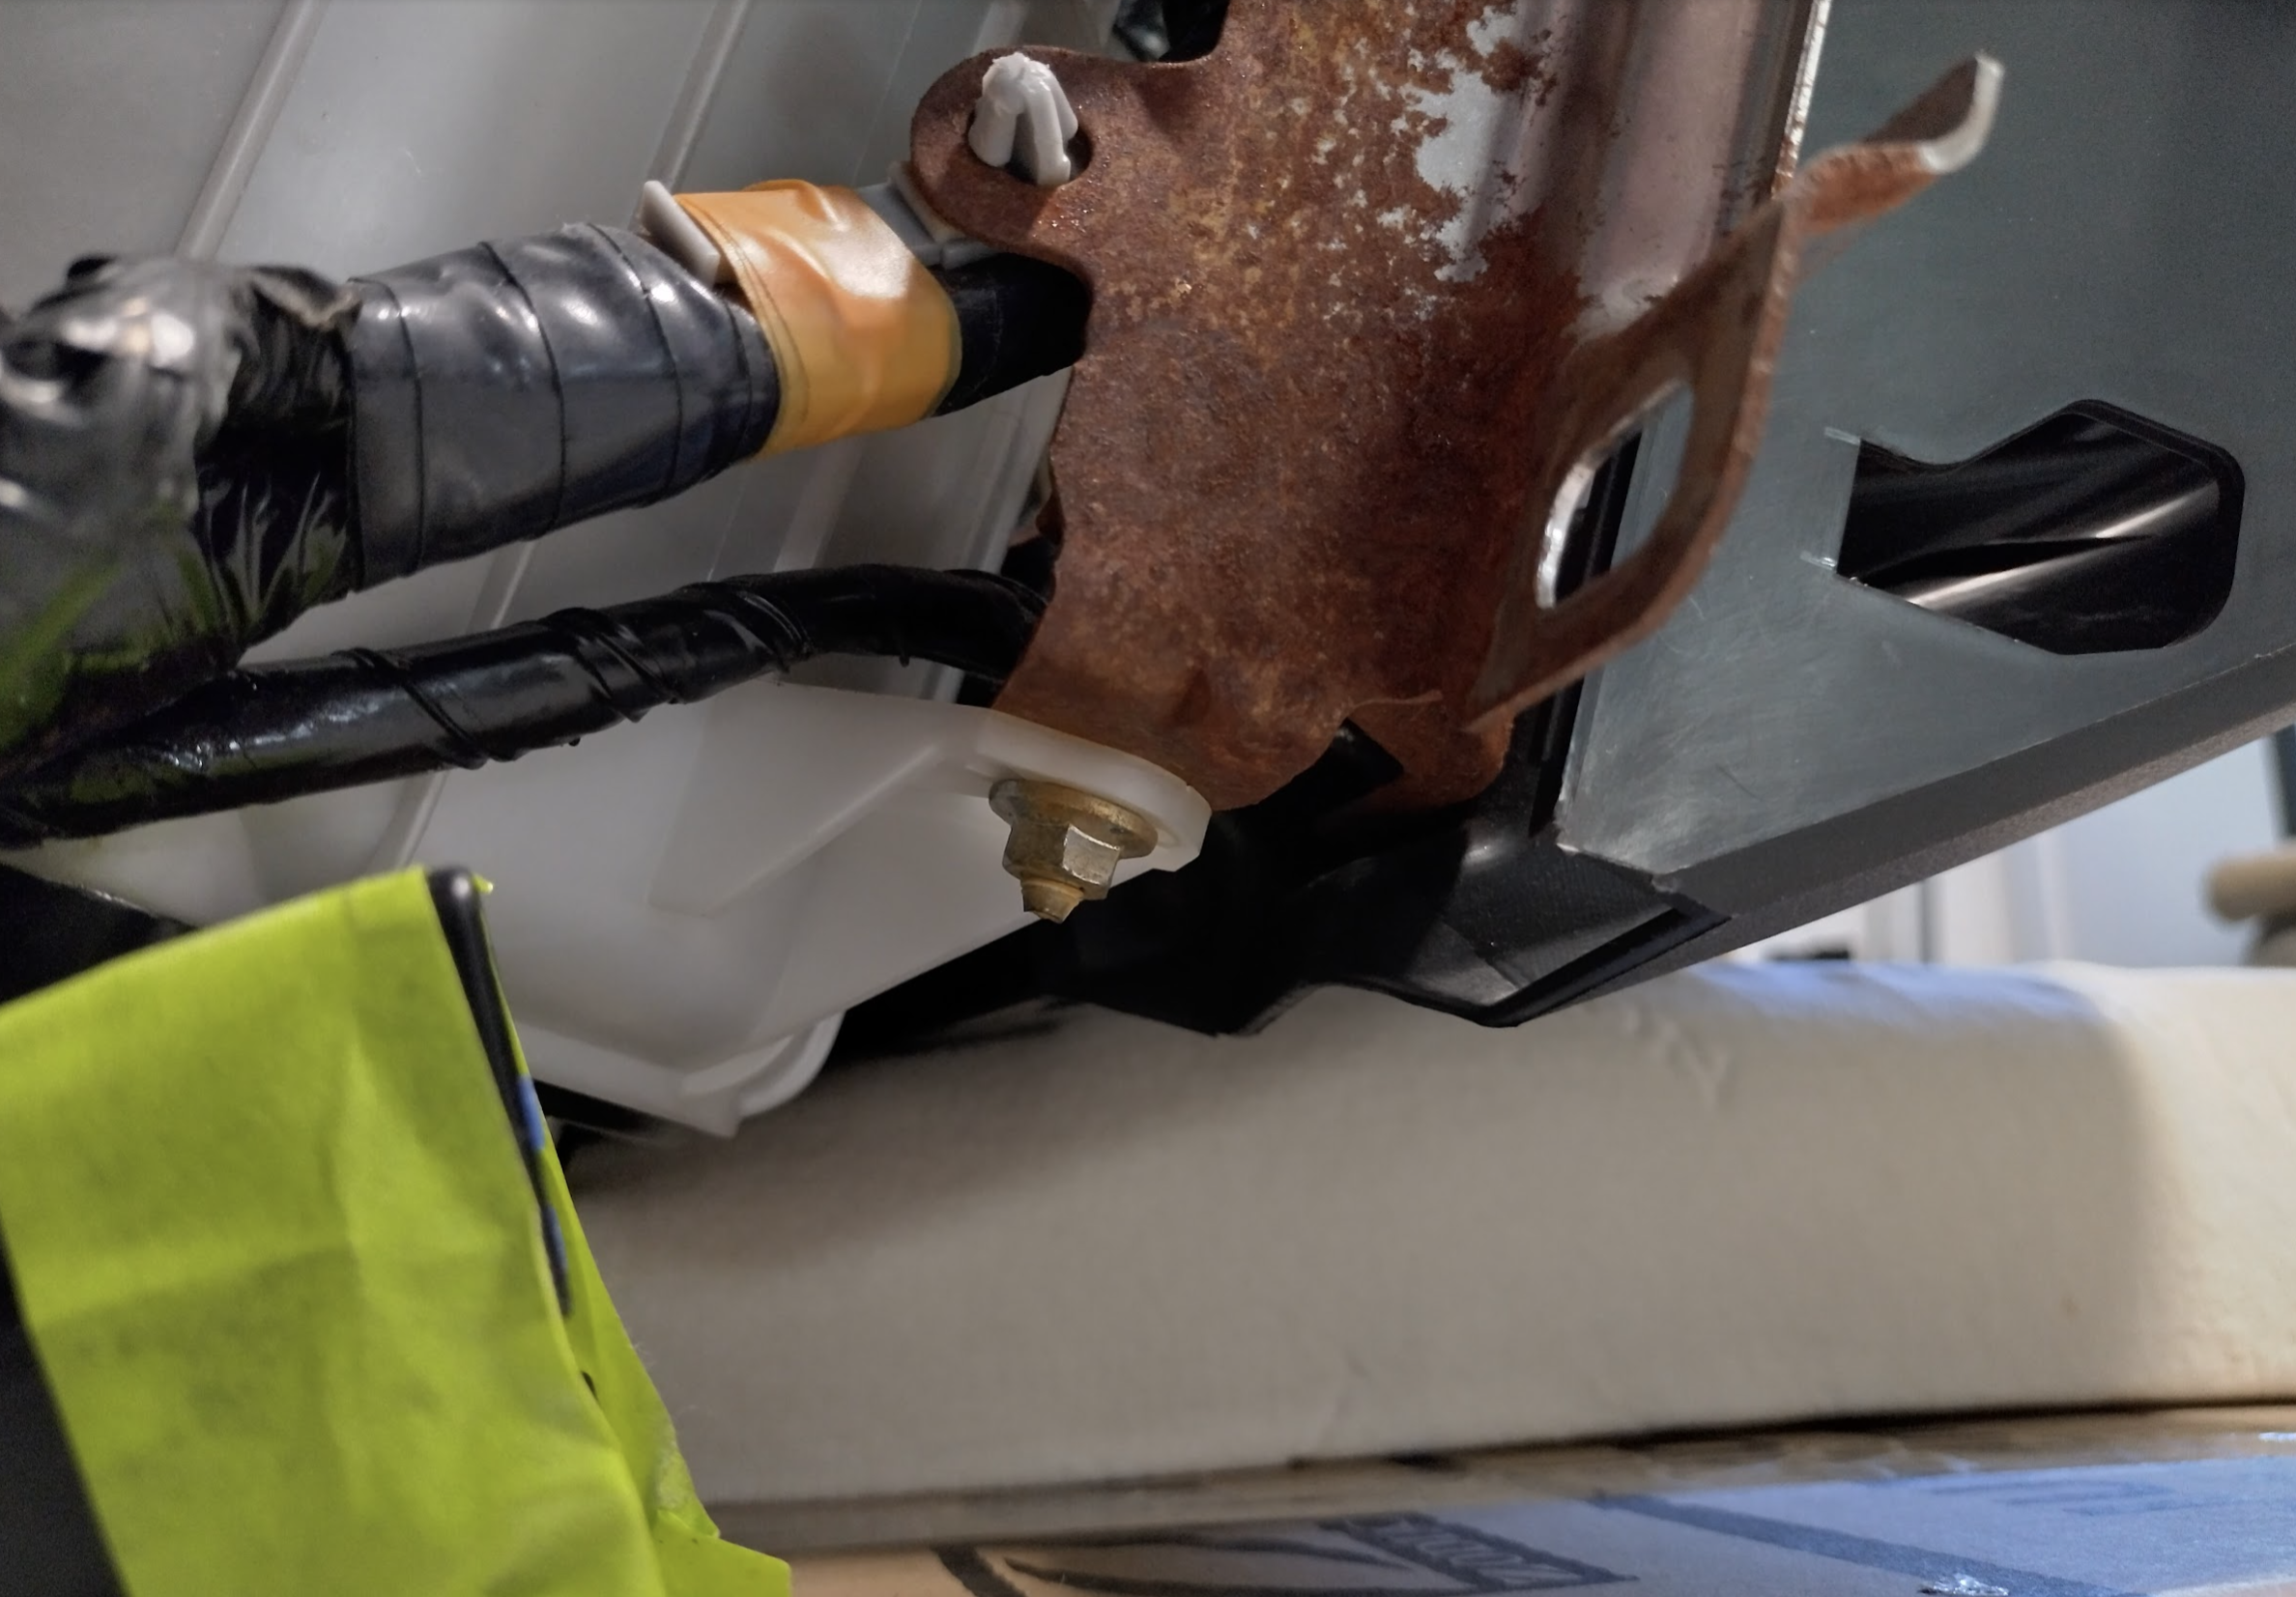
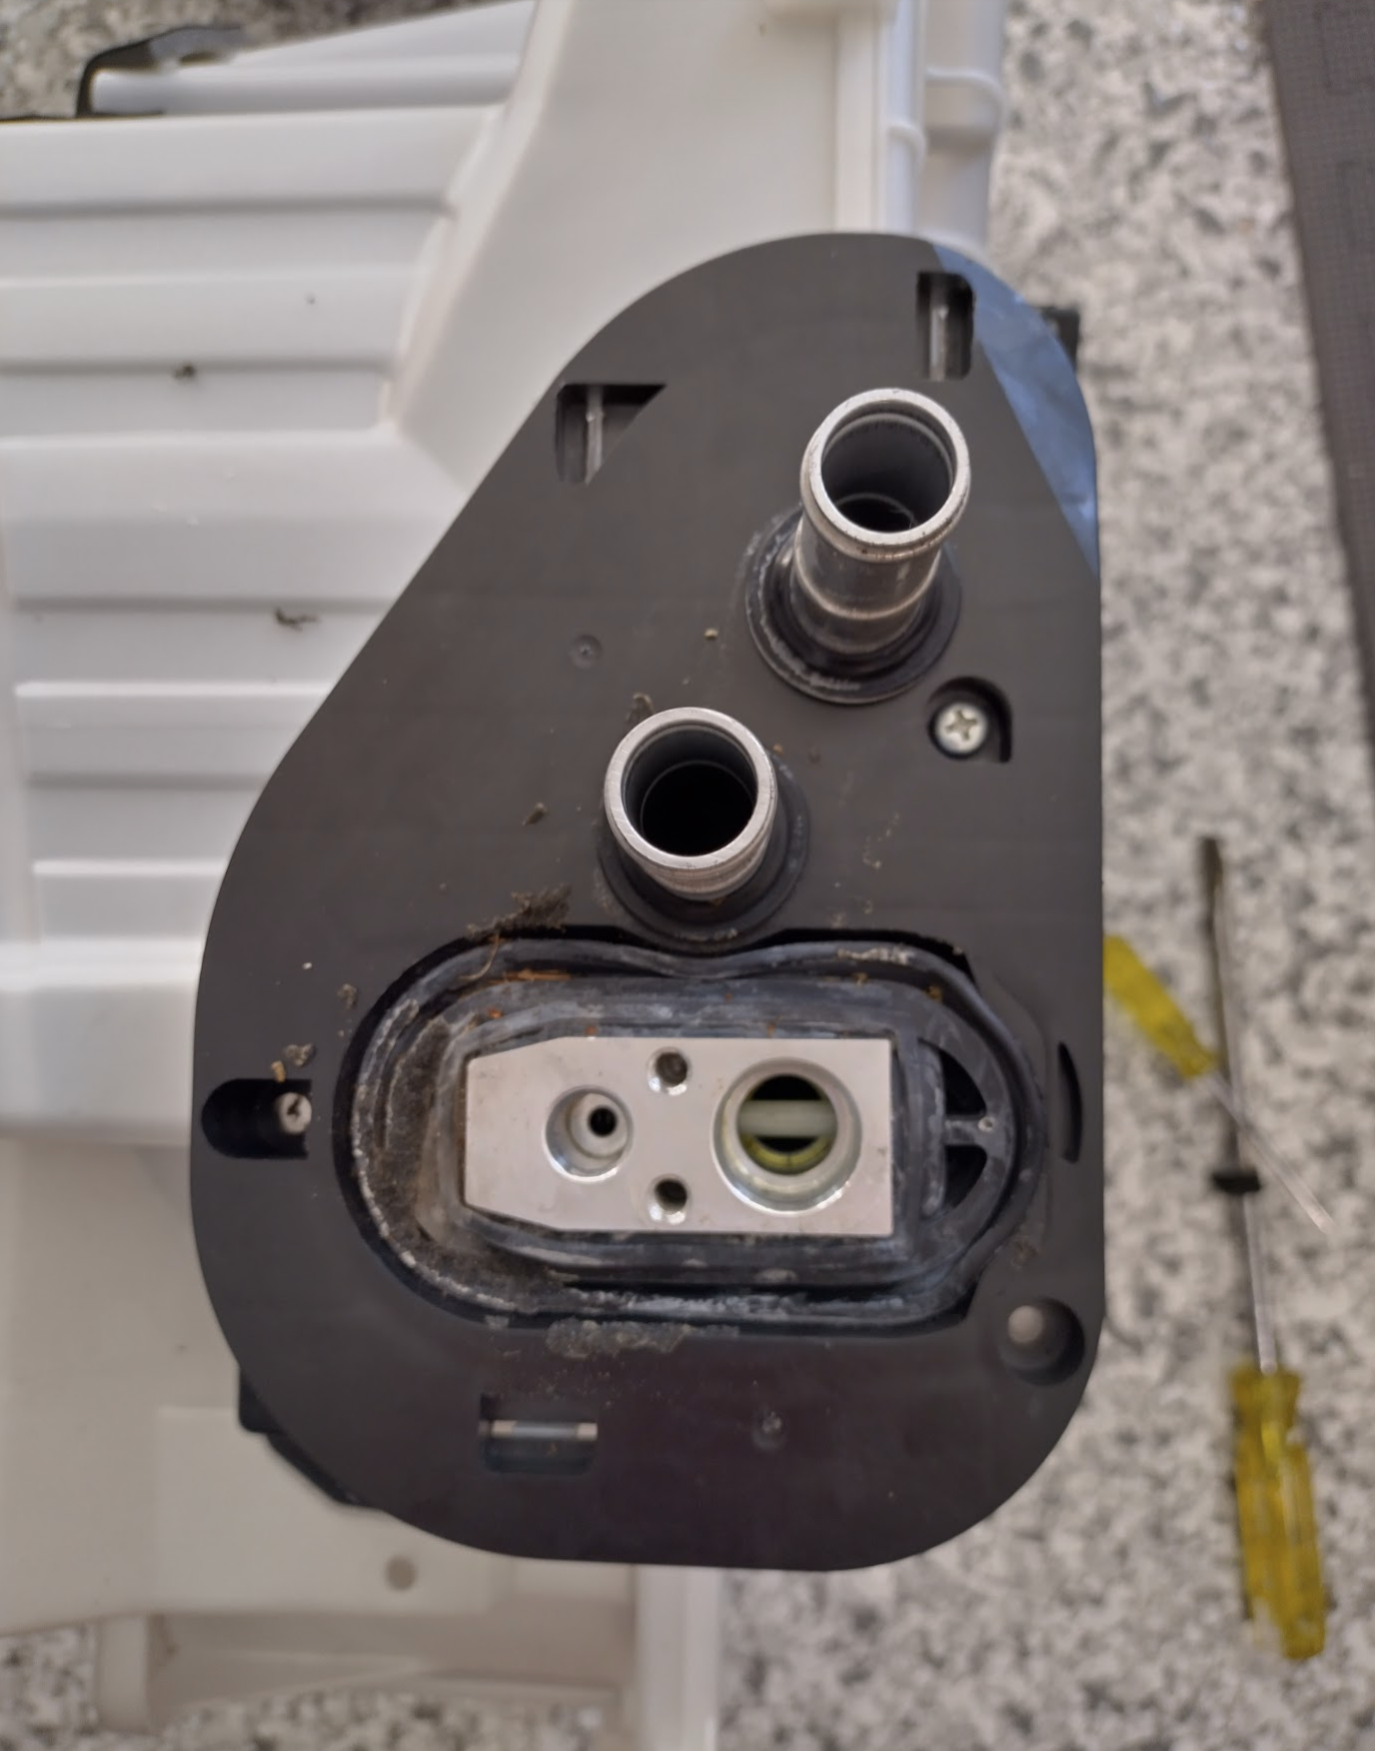
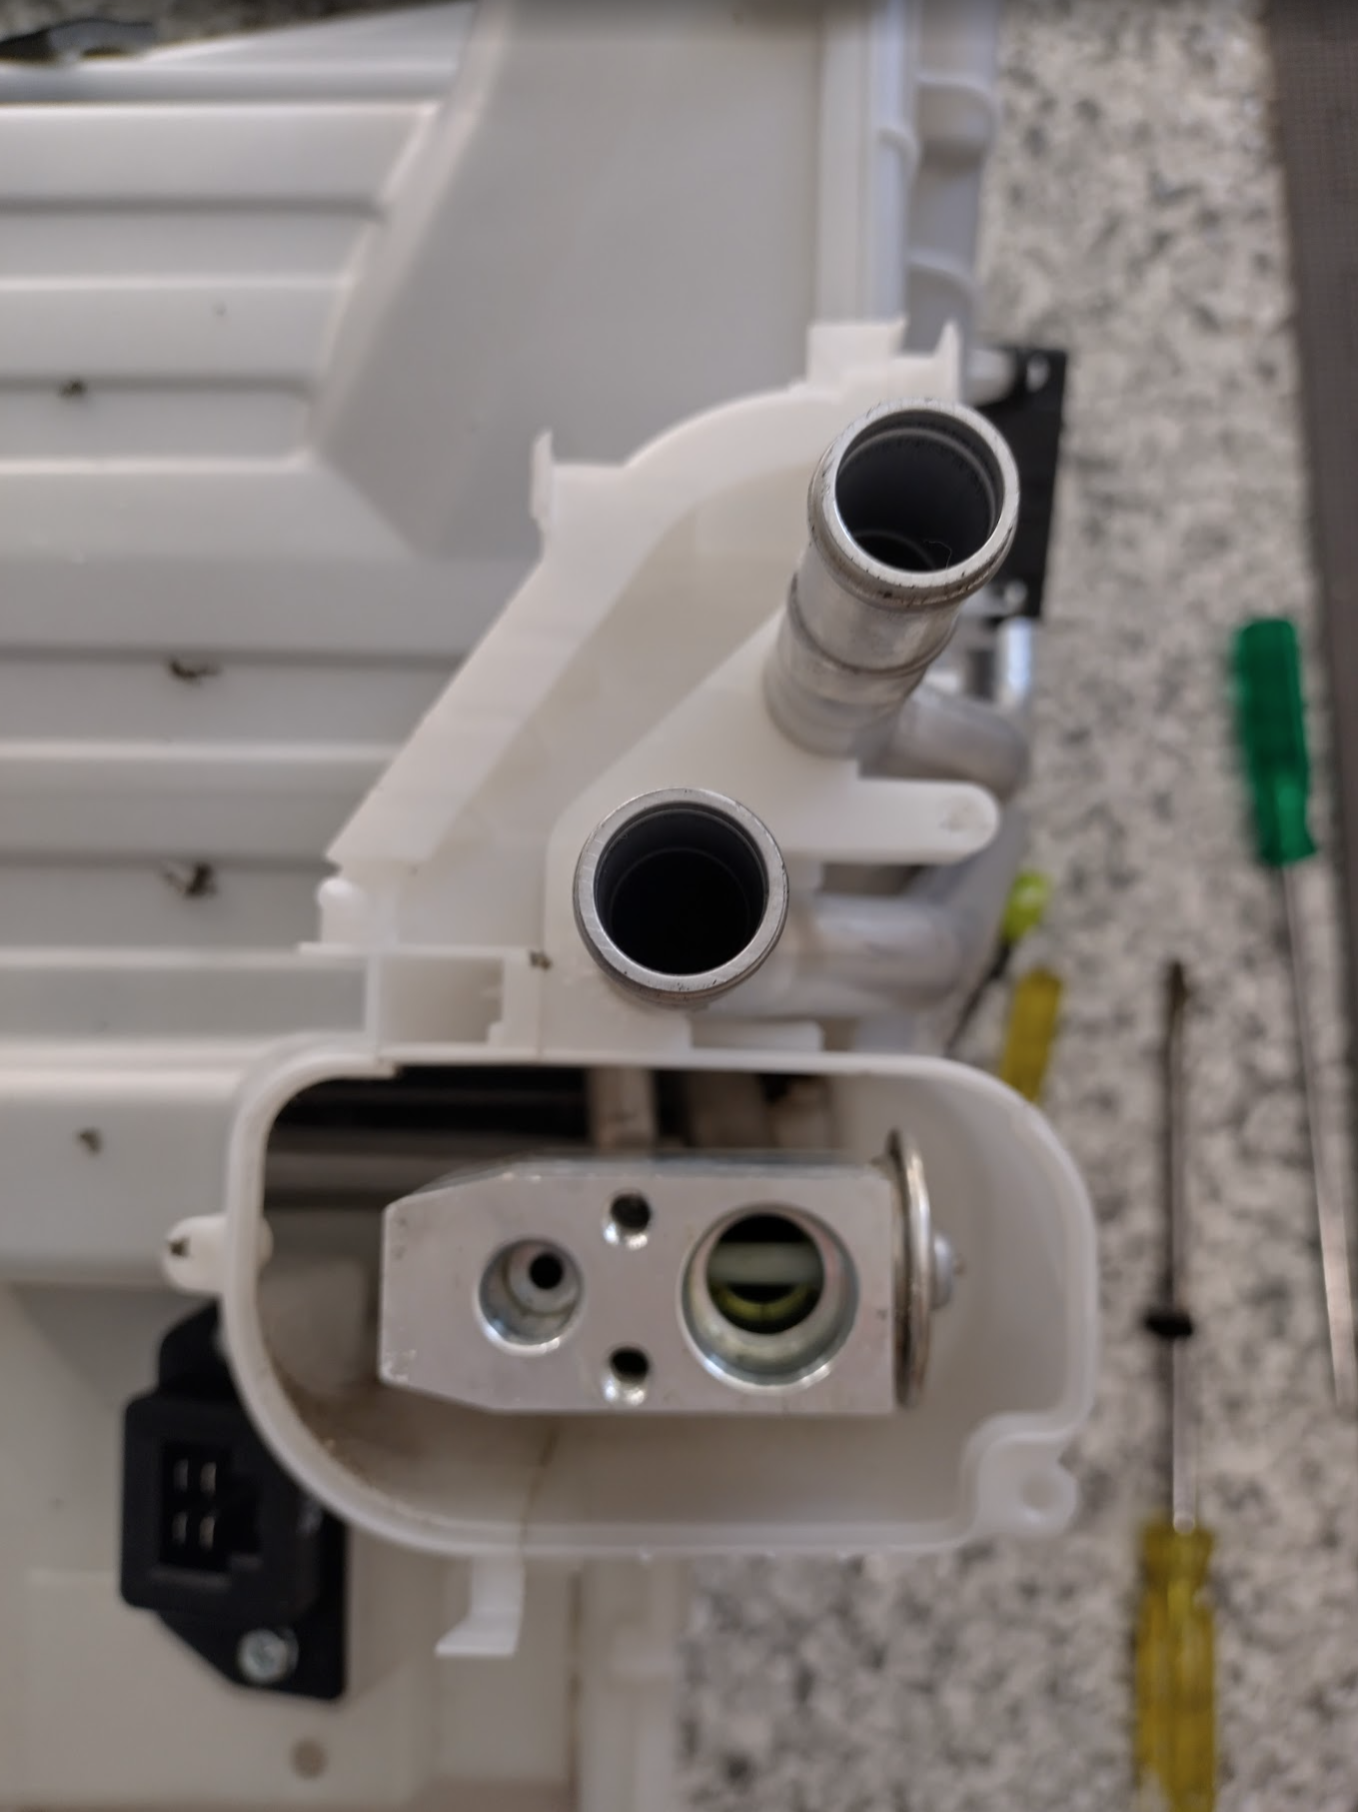
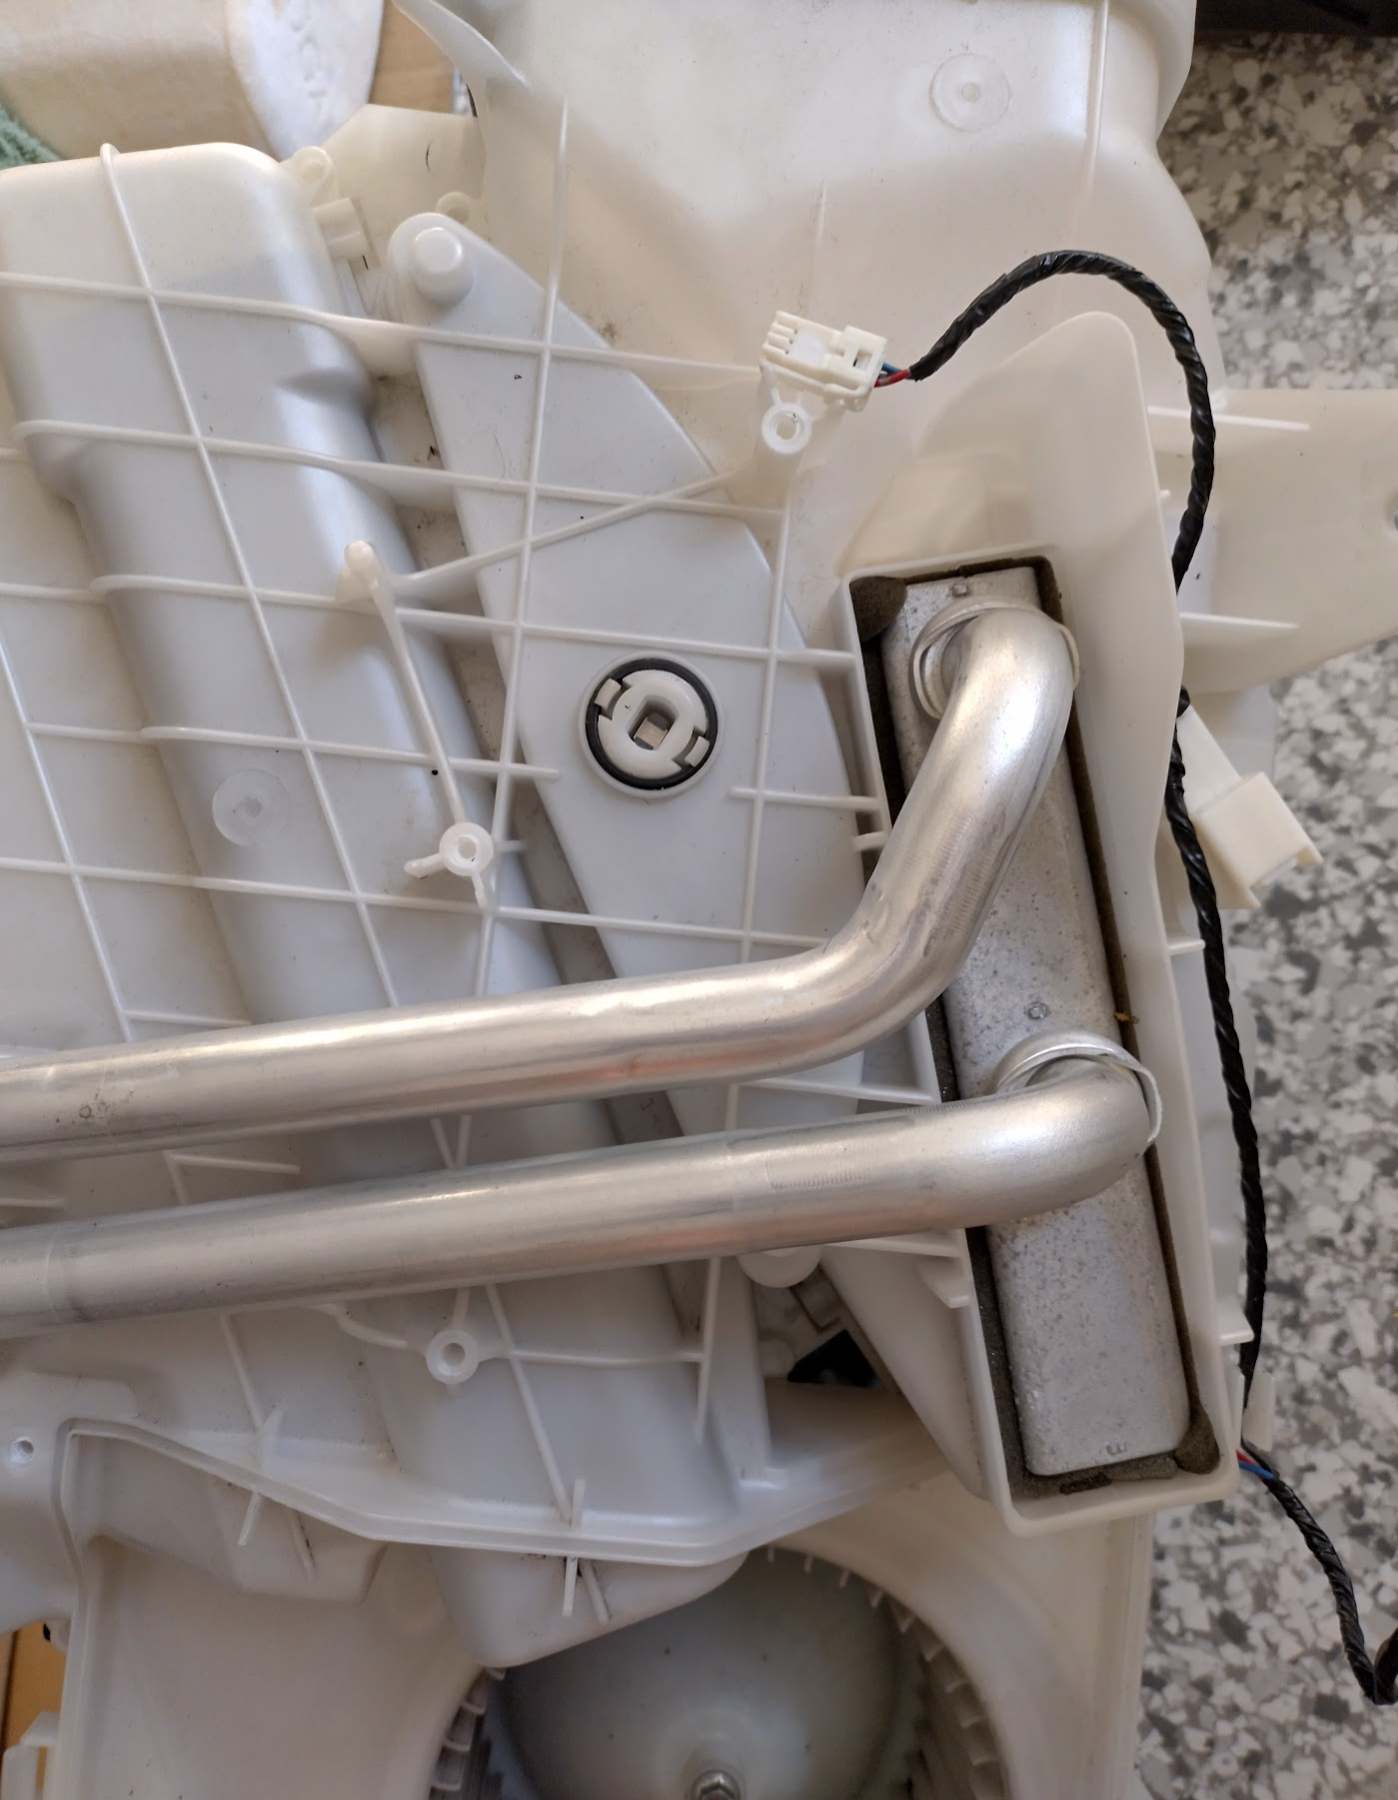
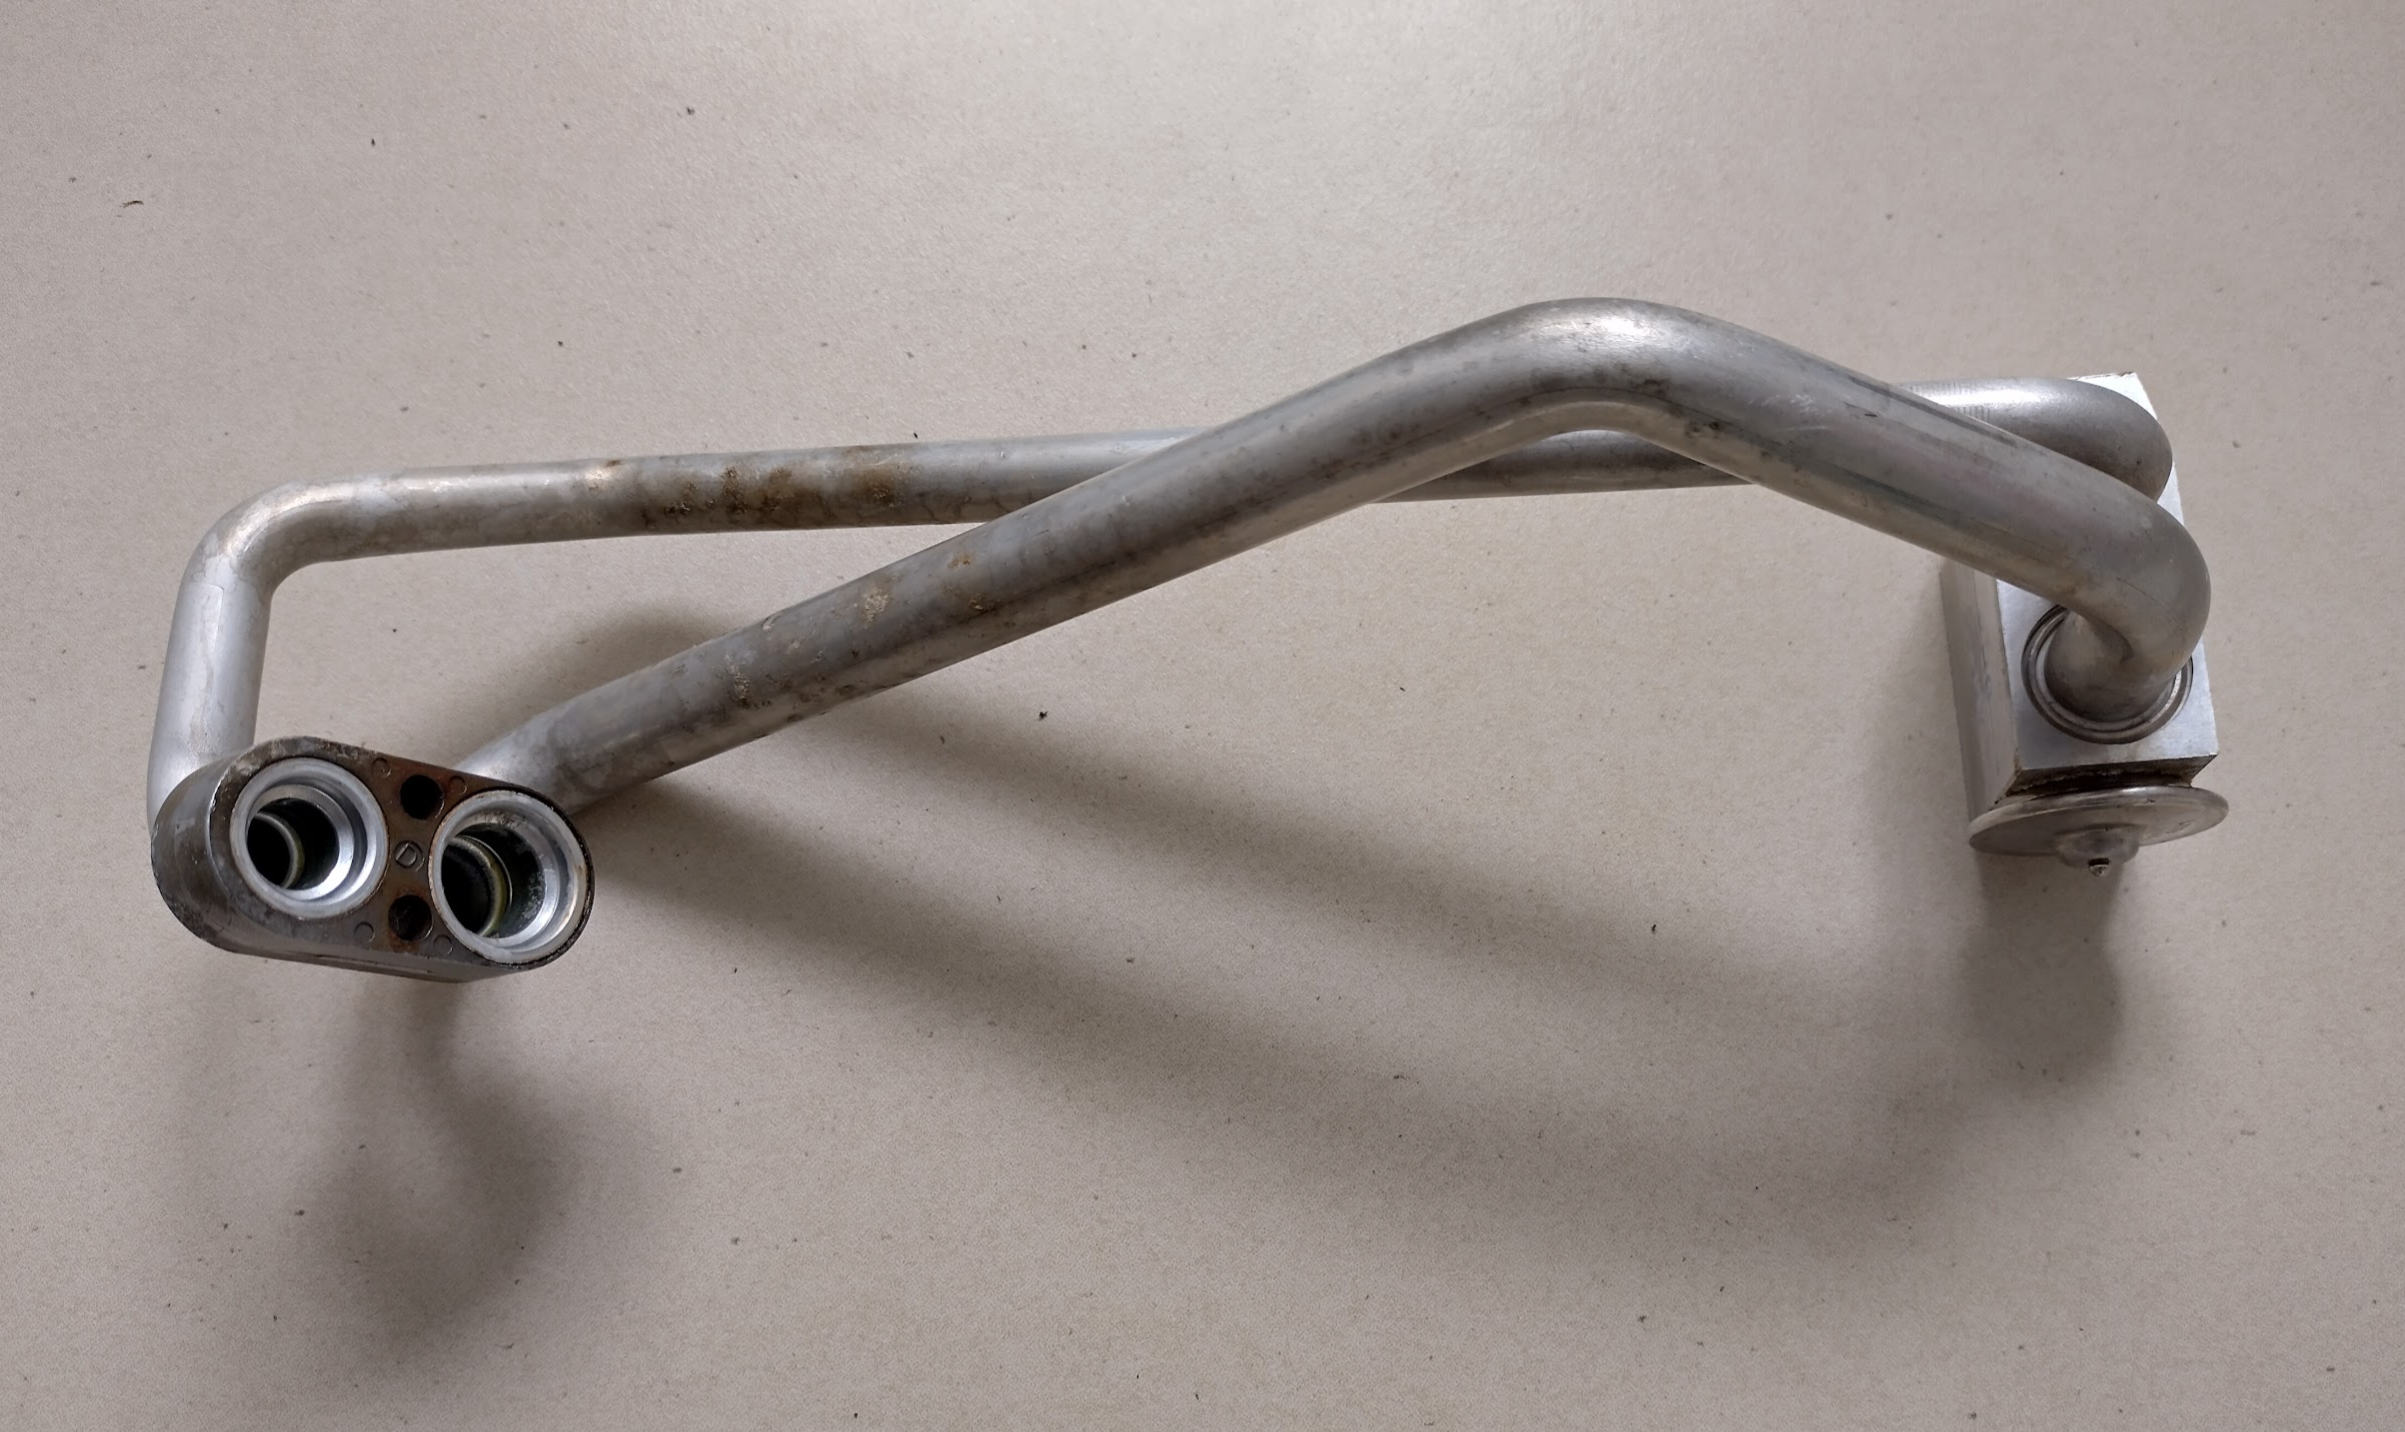
The heater core is at the end of the silver pipes.

The evaporator is the darker area right behind the white plastic here. This shows what pokes through the firewall, and my very makeshift glove finger stoppers.
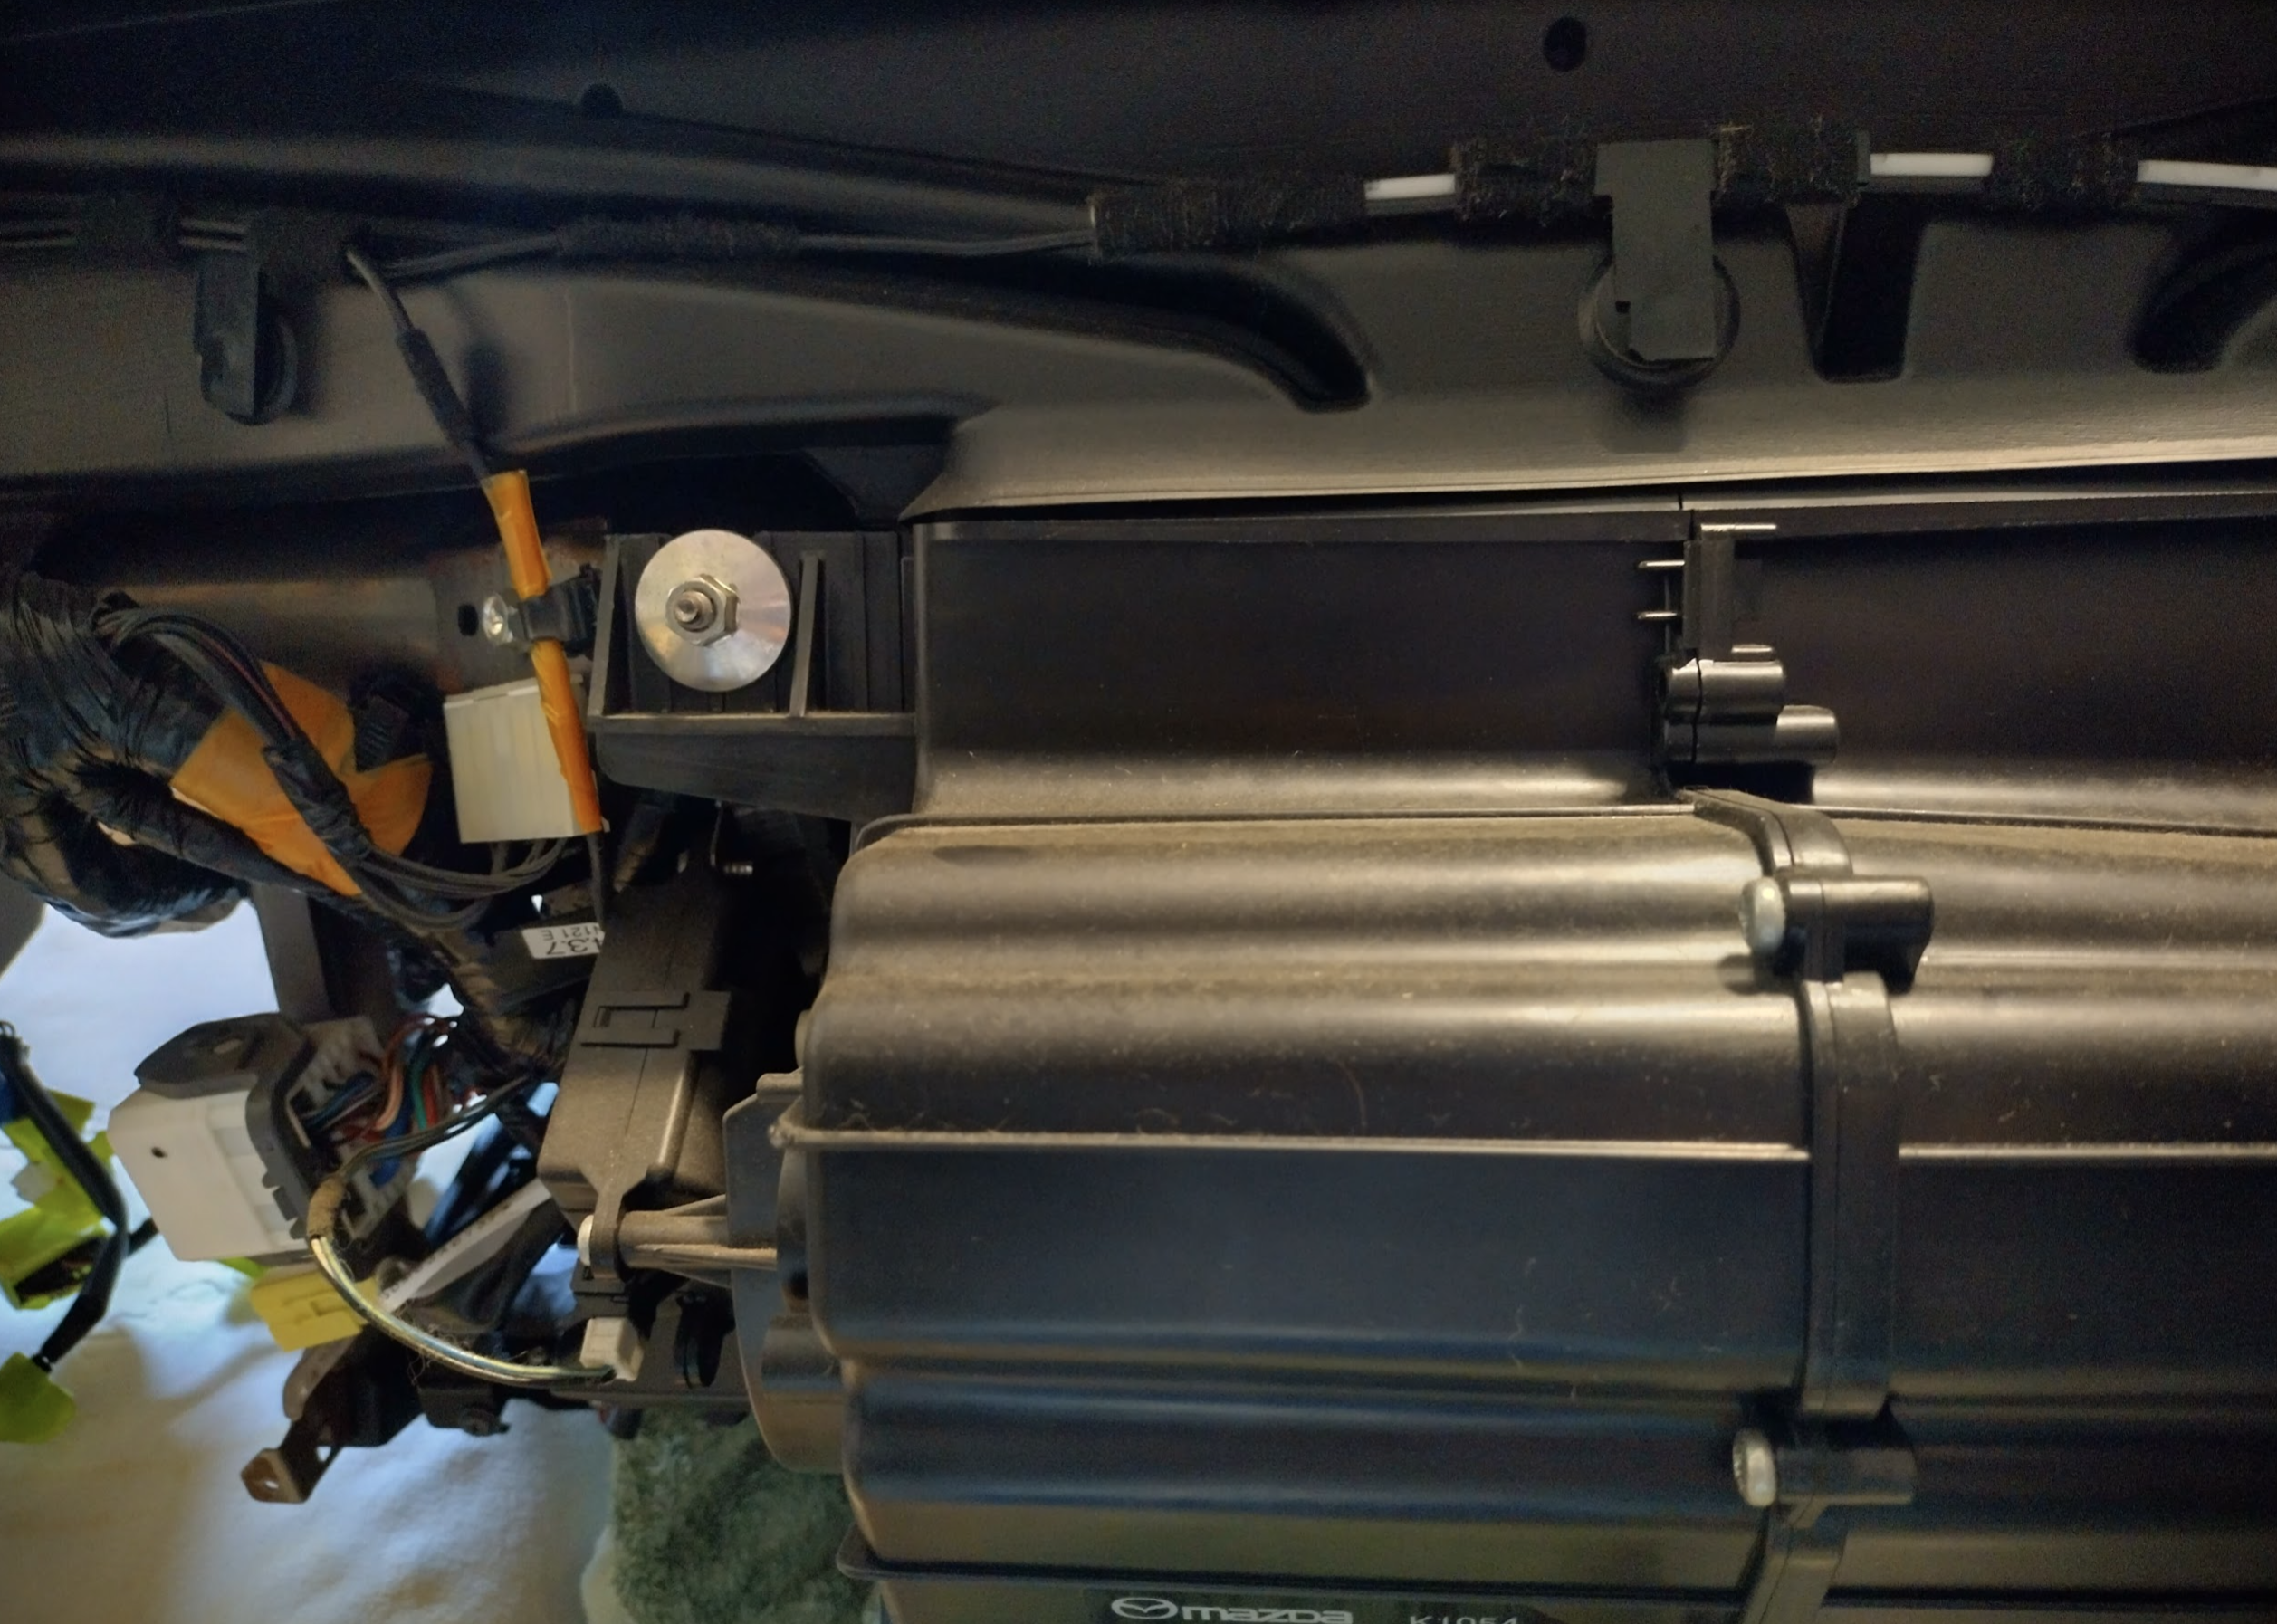
Removing the aircon assembly from the dashboard
Remove the glovebox by unhooking the smoothing wire (it just pushes forward), pulling the glovebox’s sides in so it opens further and just unhooks.
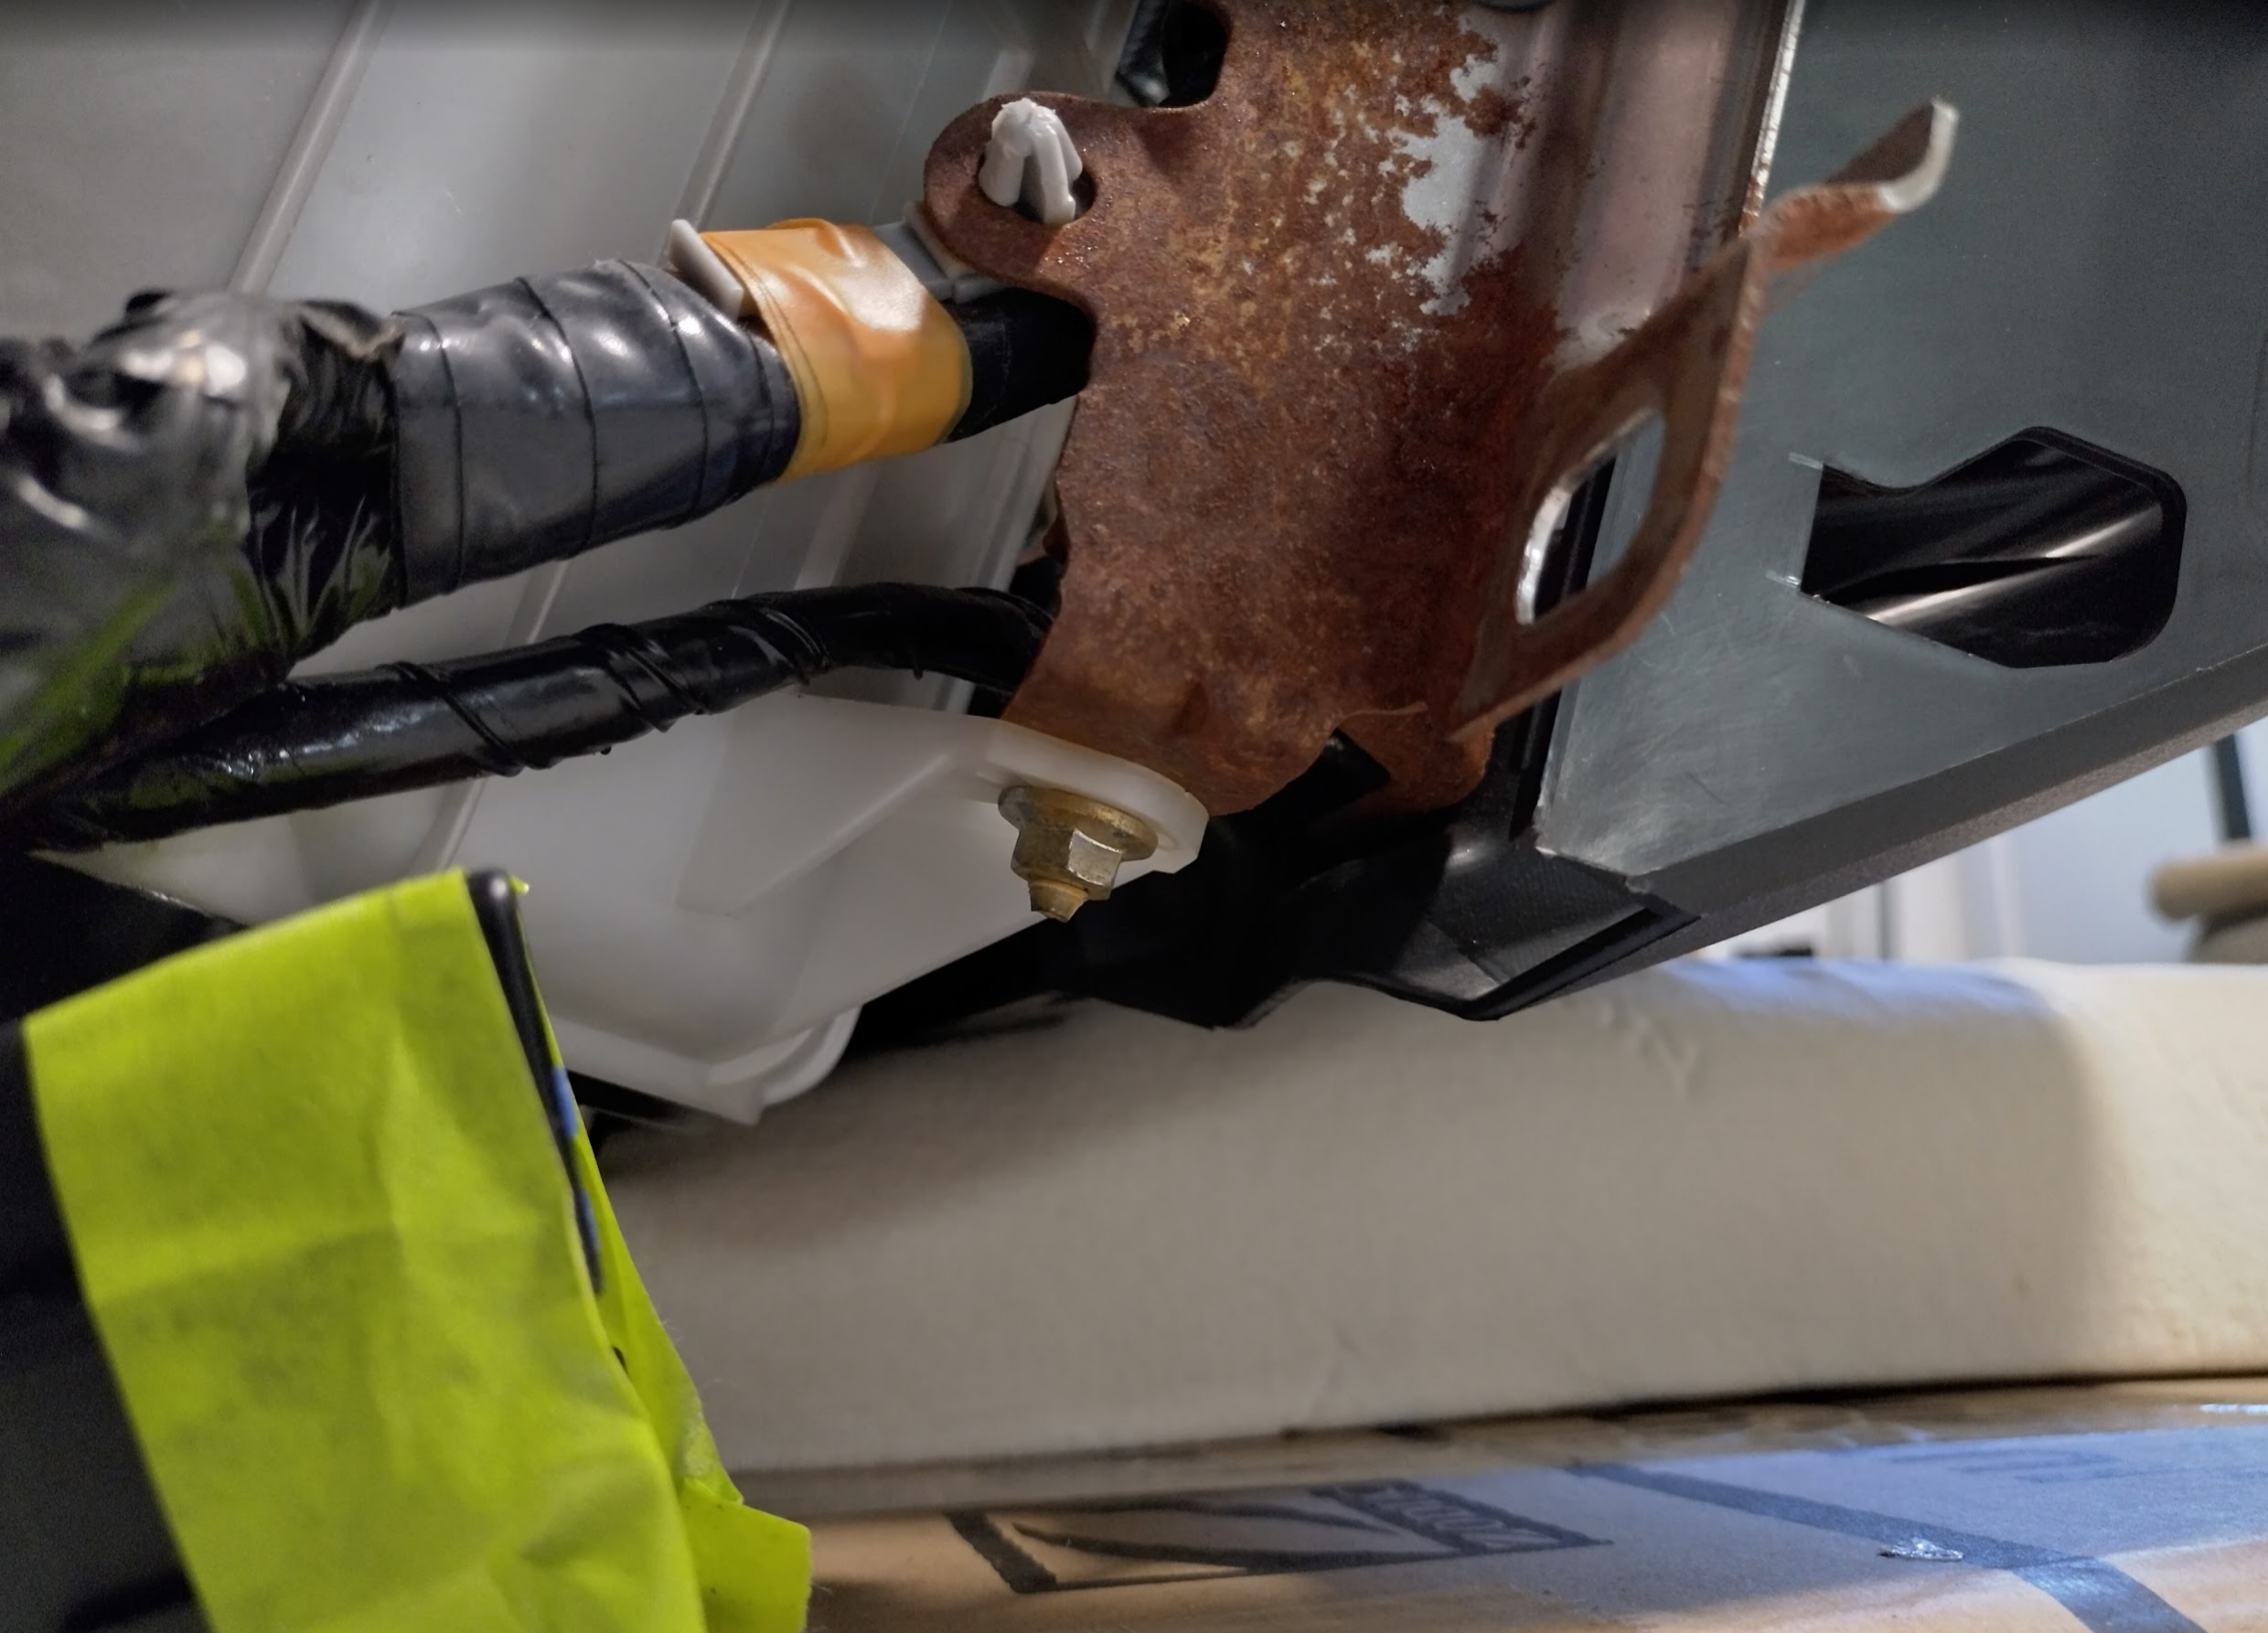
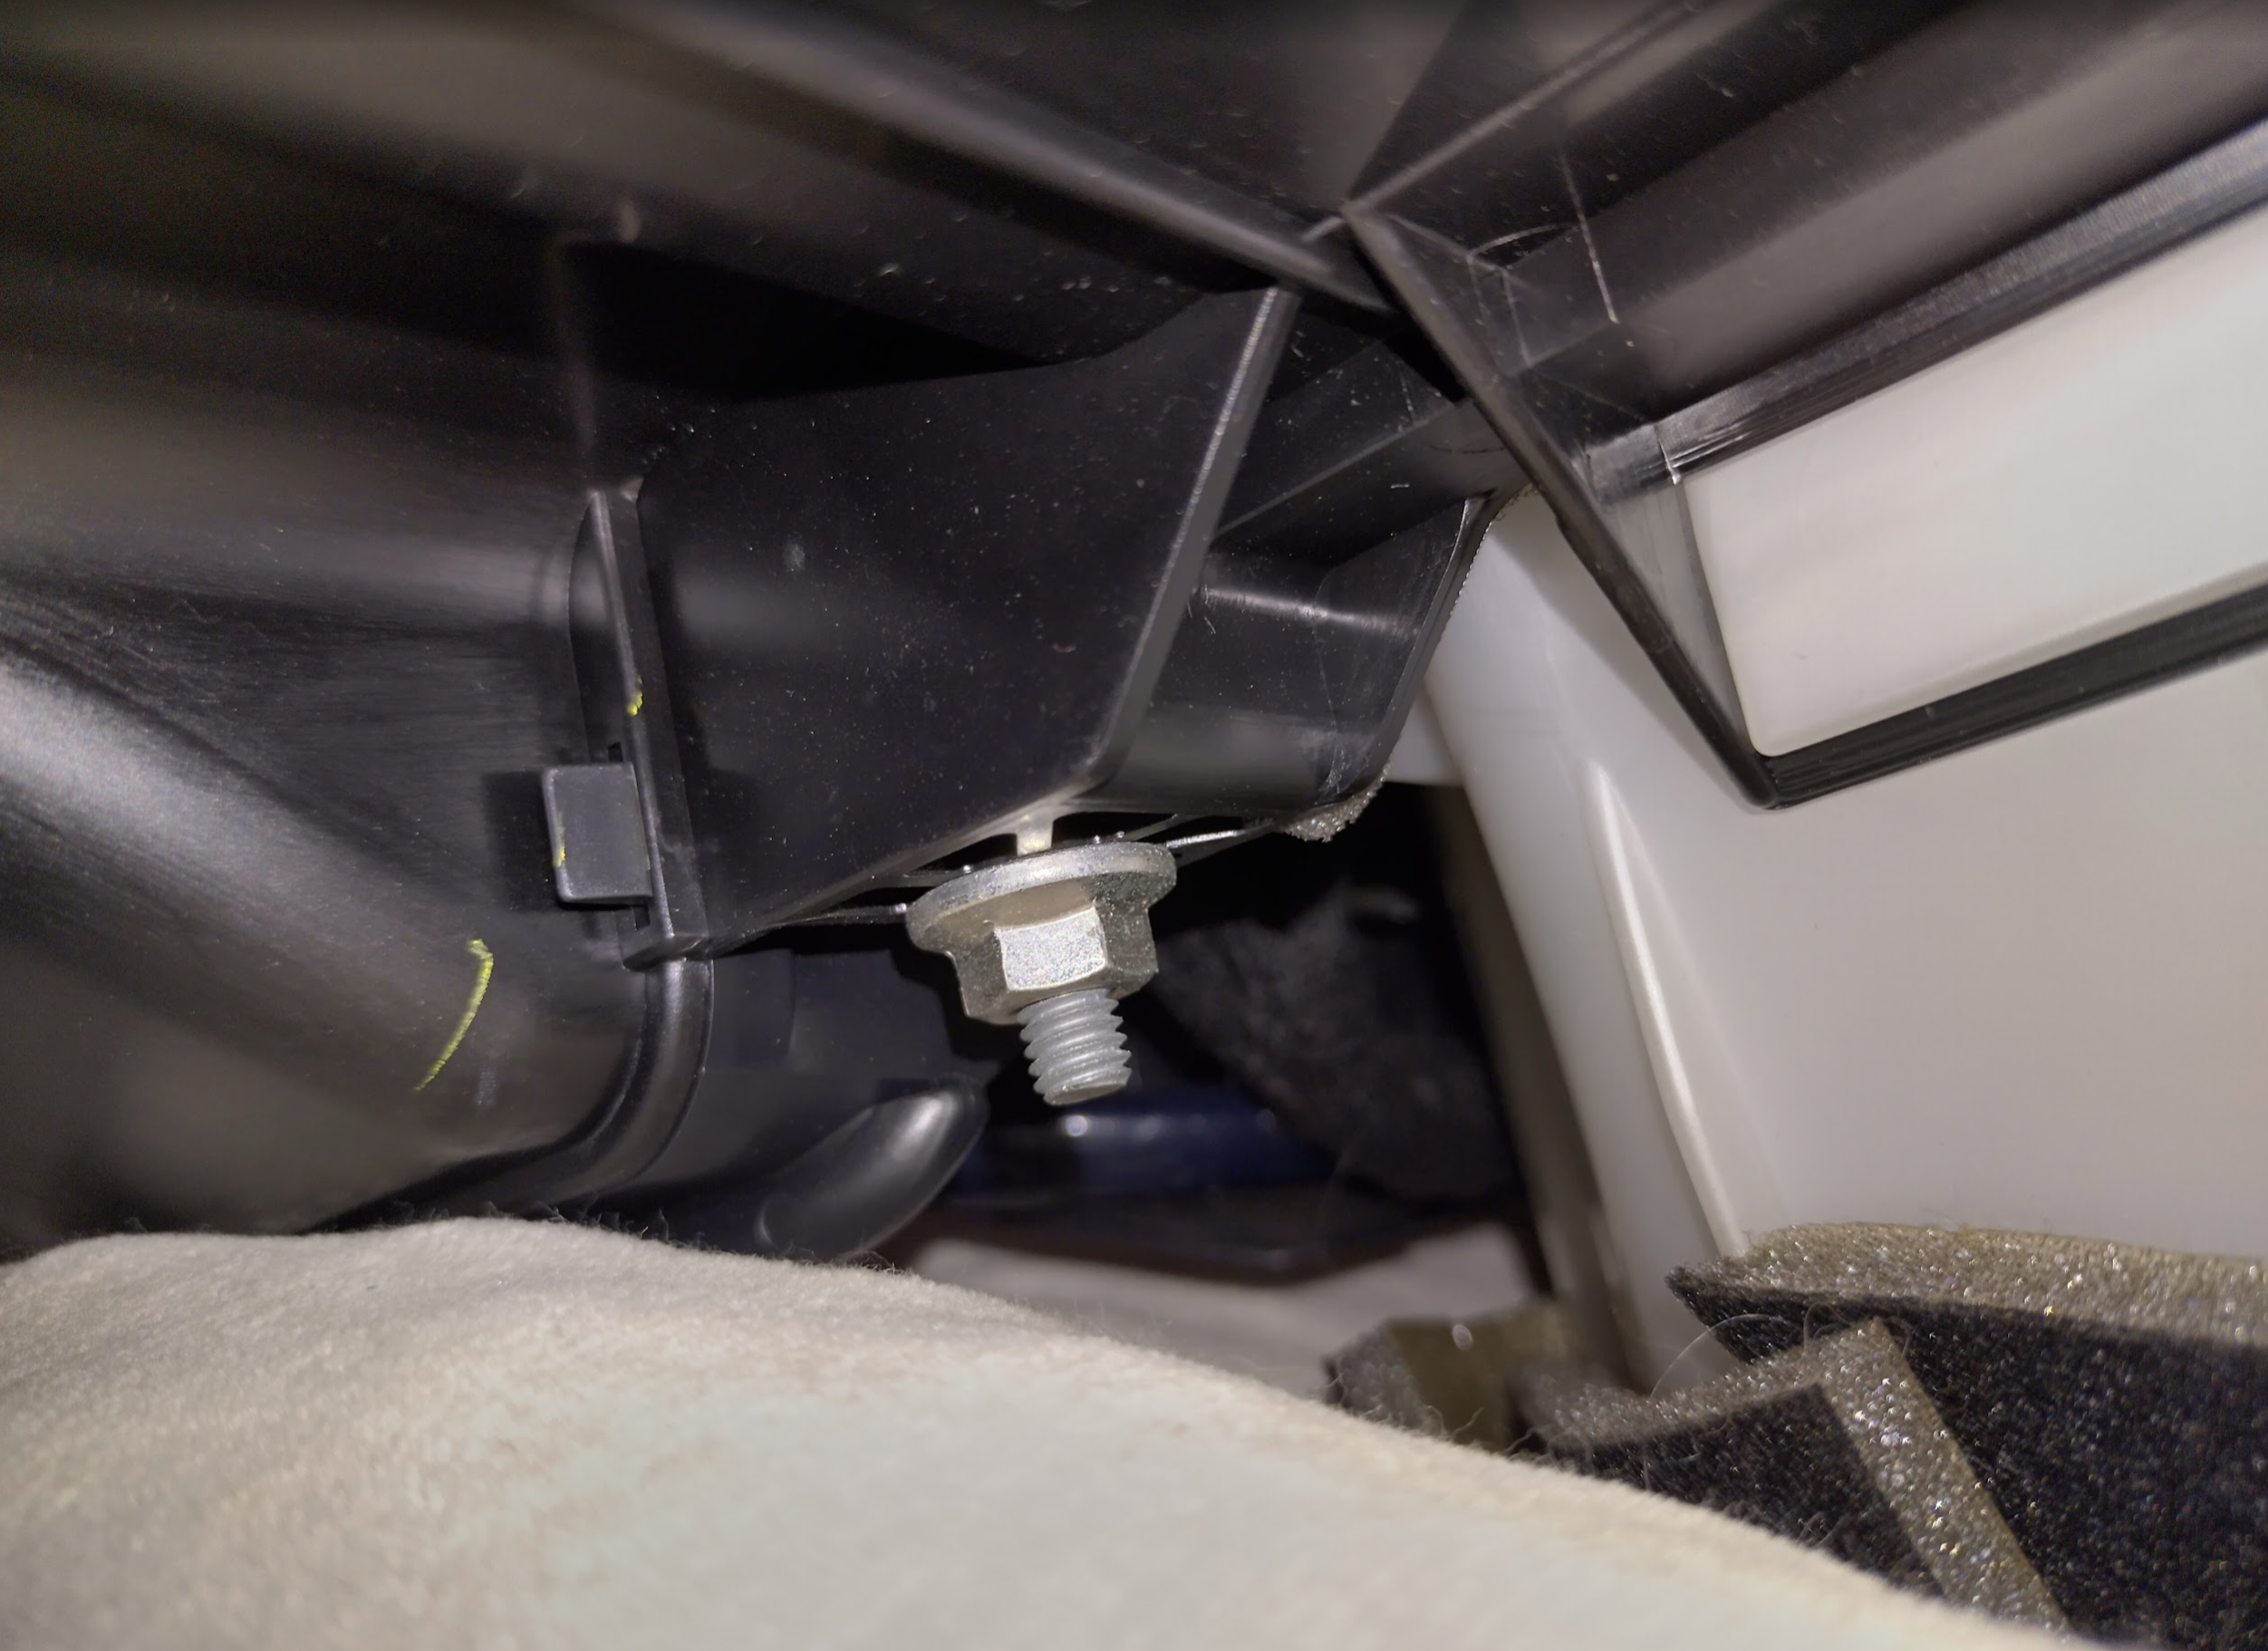
The bolt on the side
Bolt underneath the glovebox on the side holding the blower on
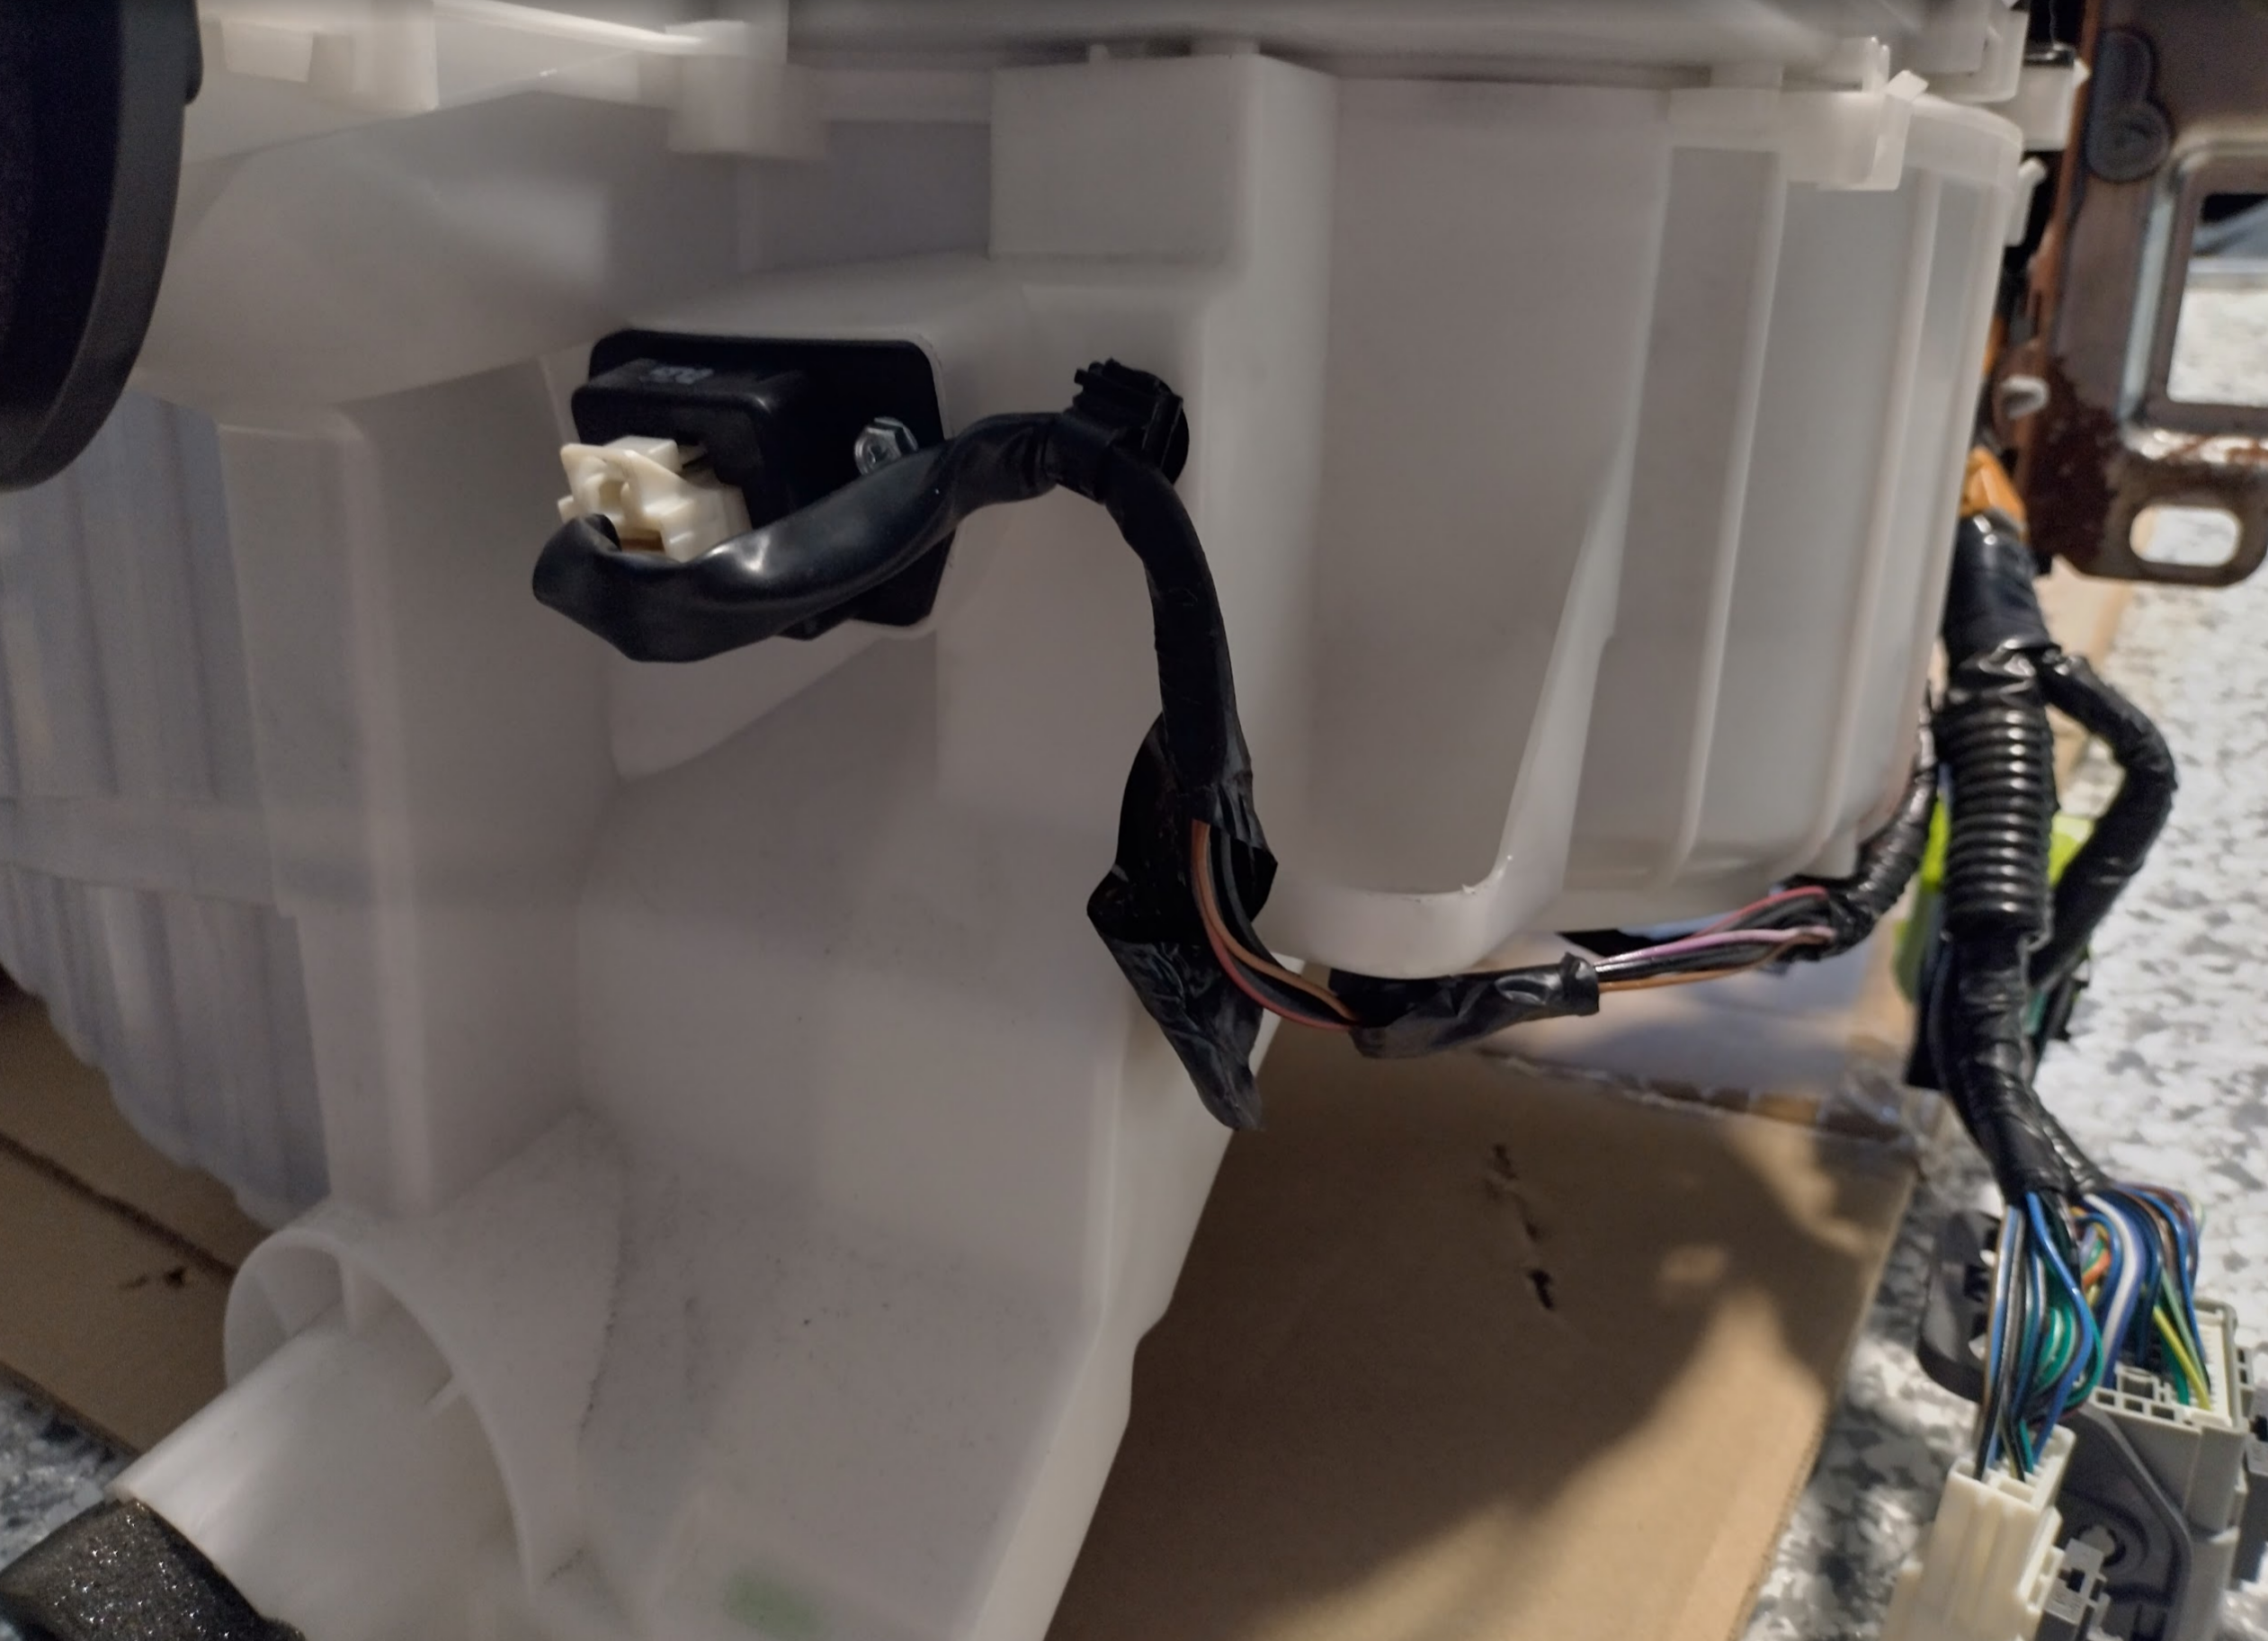
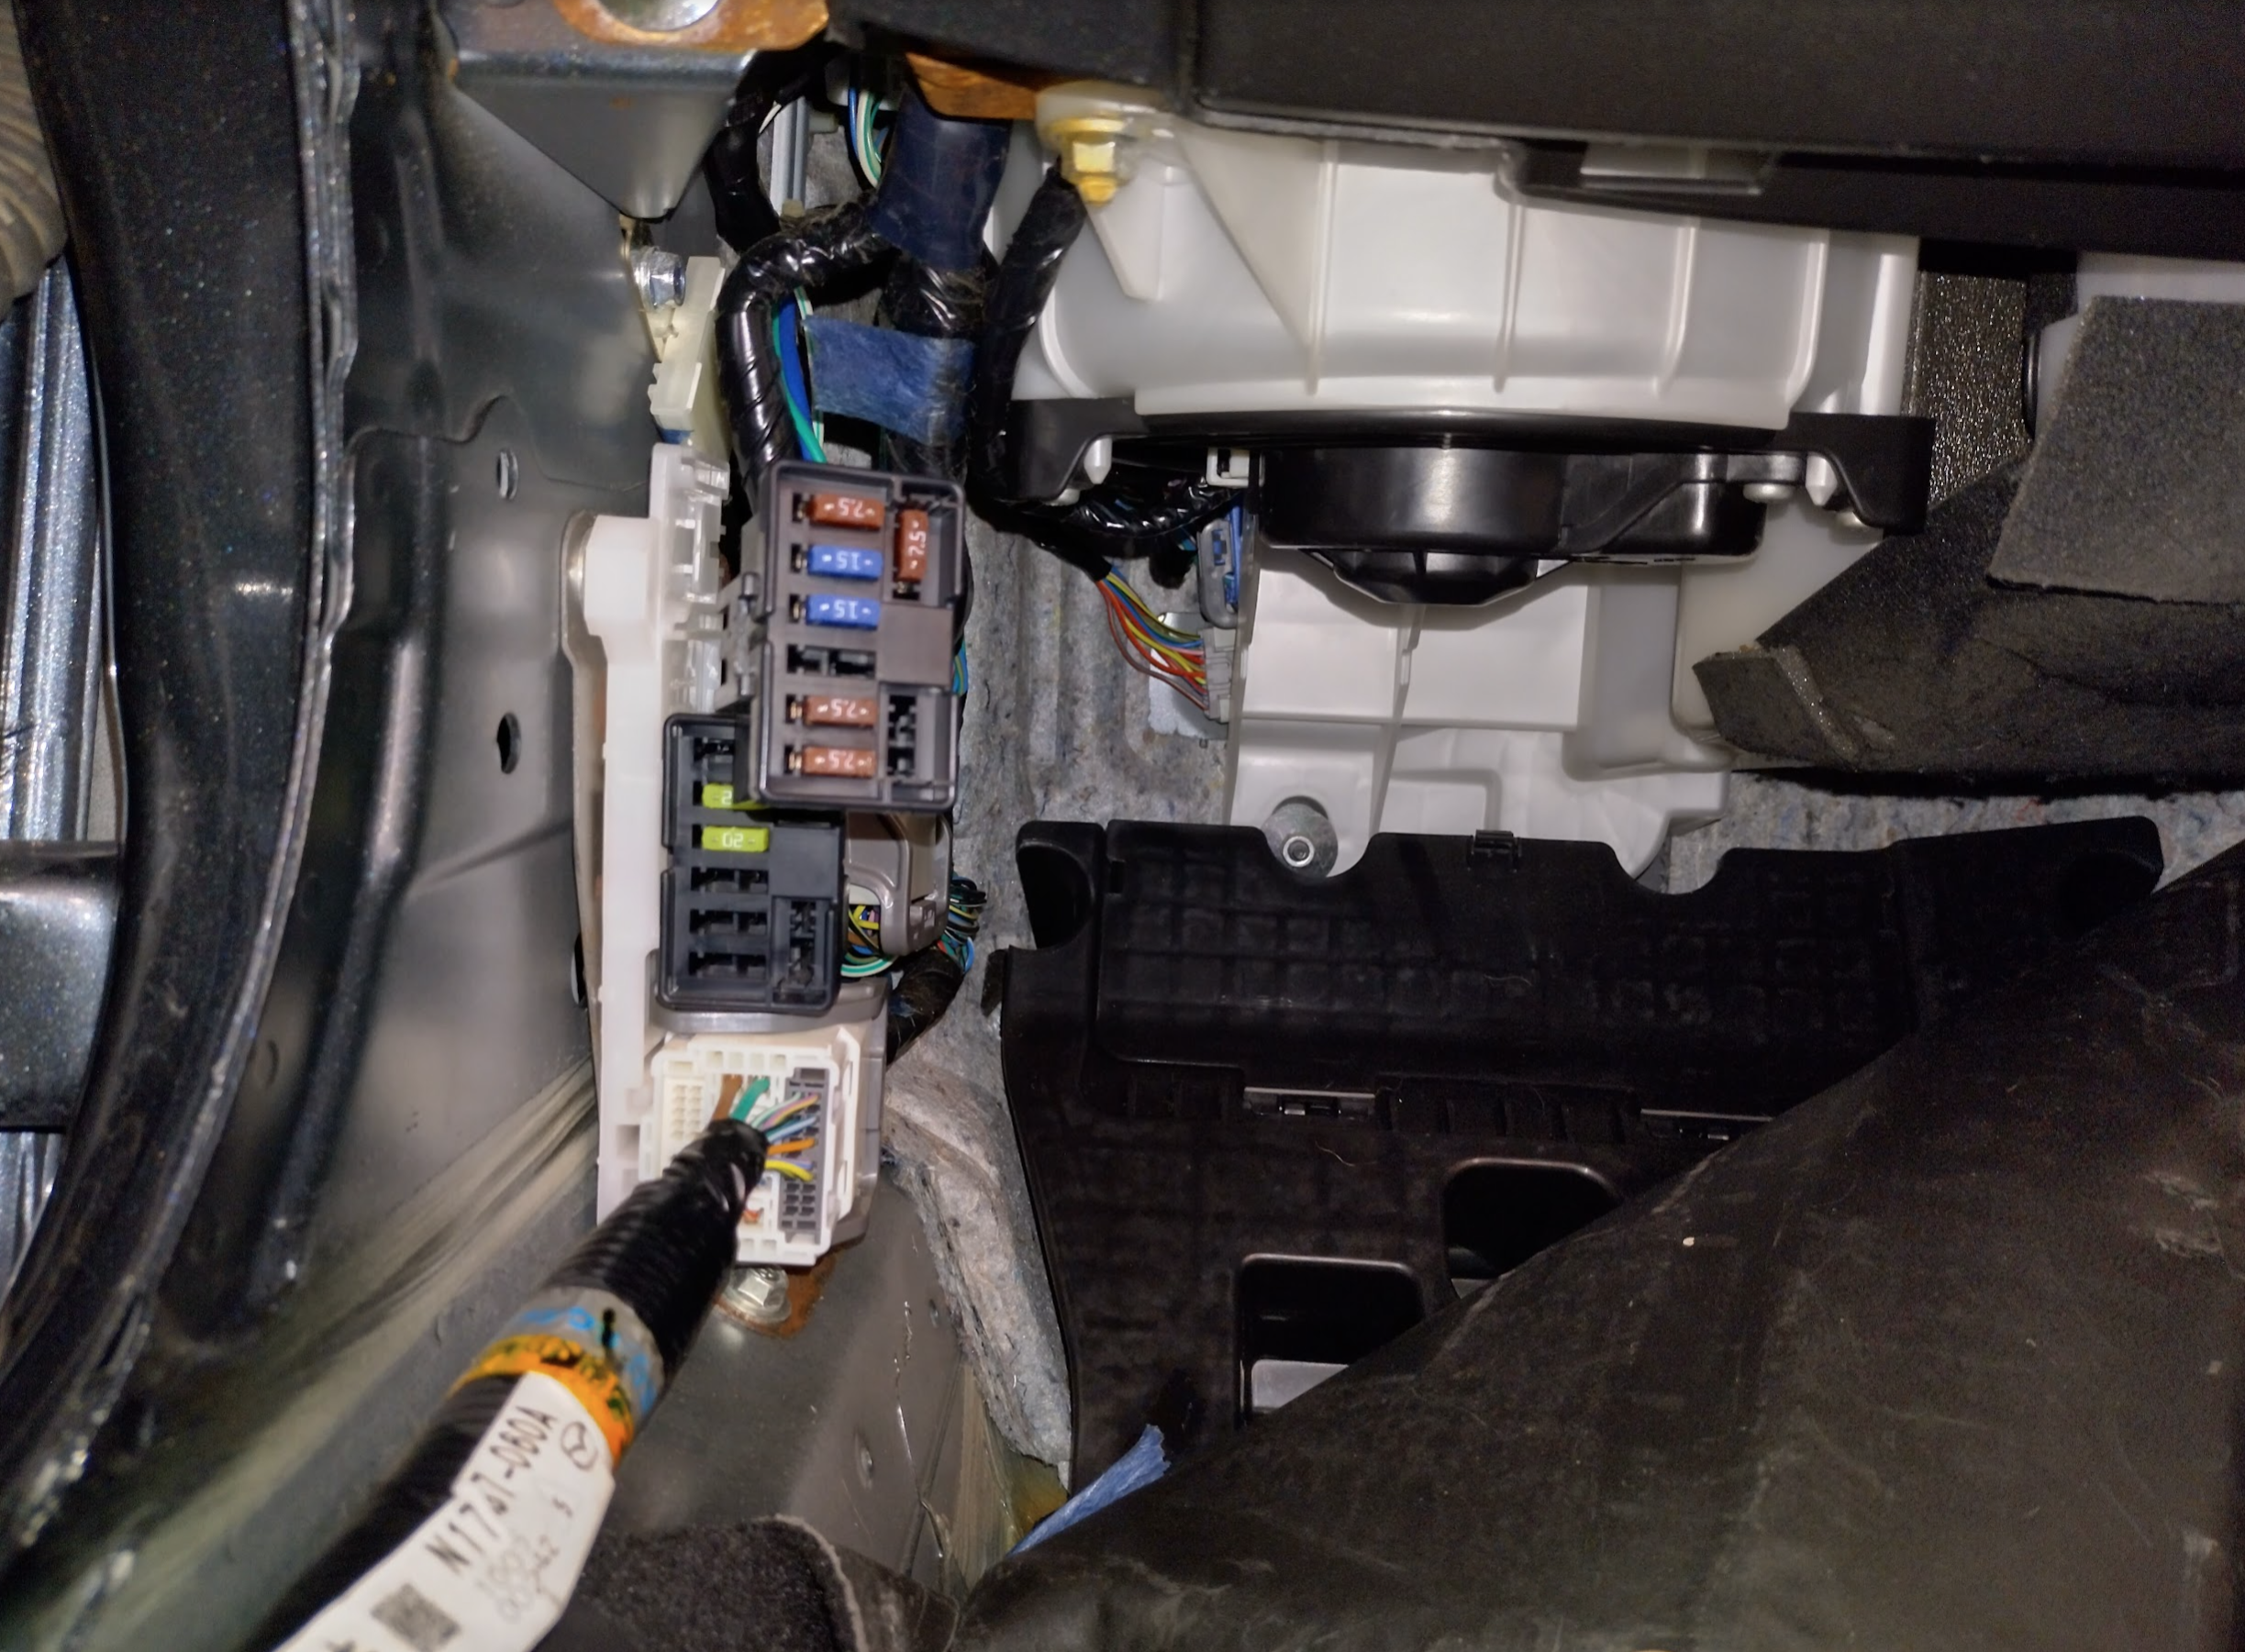
disconnect blower plug
Disconnect rear plug & plastic clips

Disconnect plug attached to black motor
undo bolt holding black to dashboard
Remove the bolt behind the glovebox and two cables
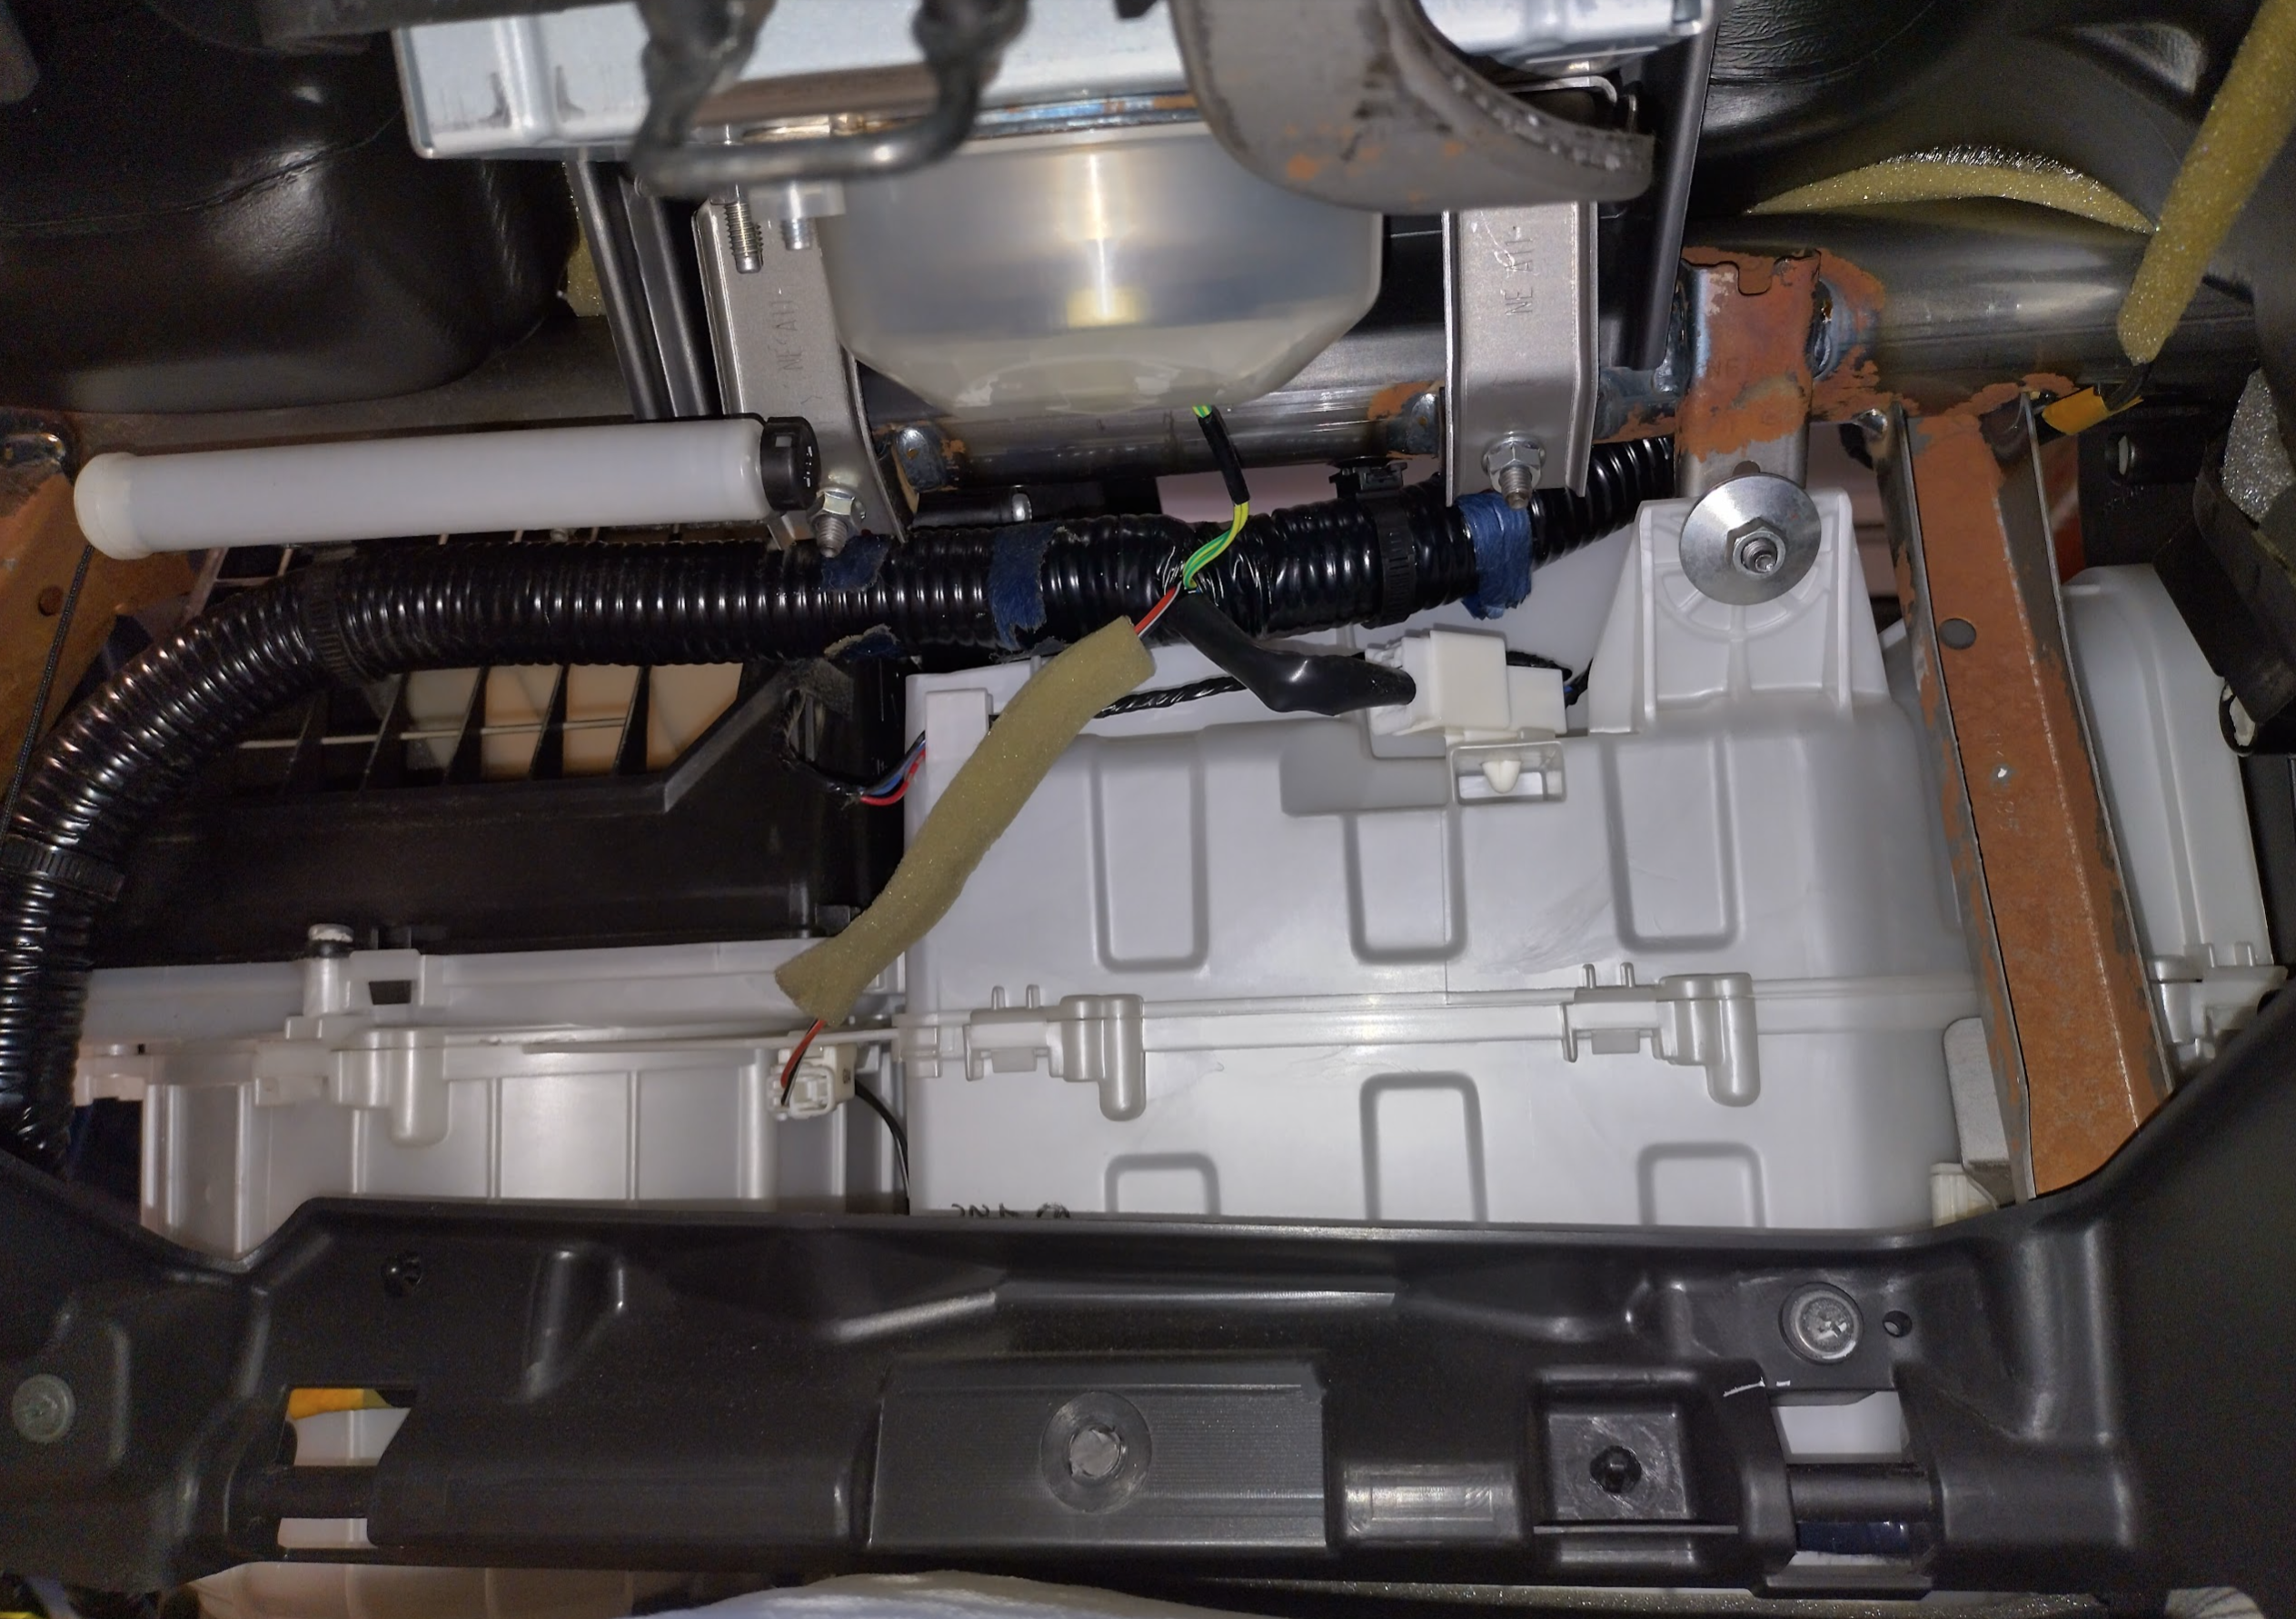
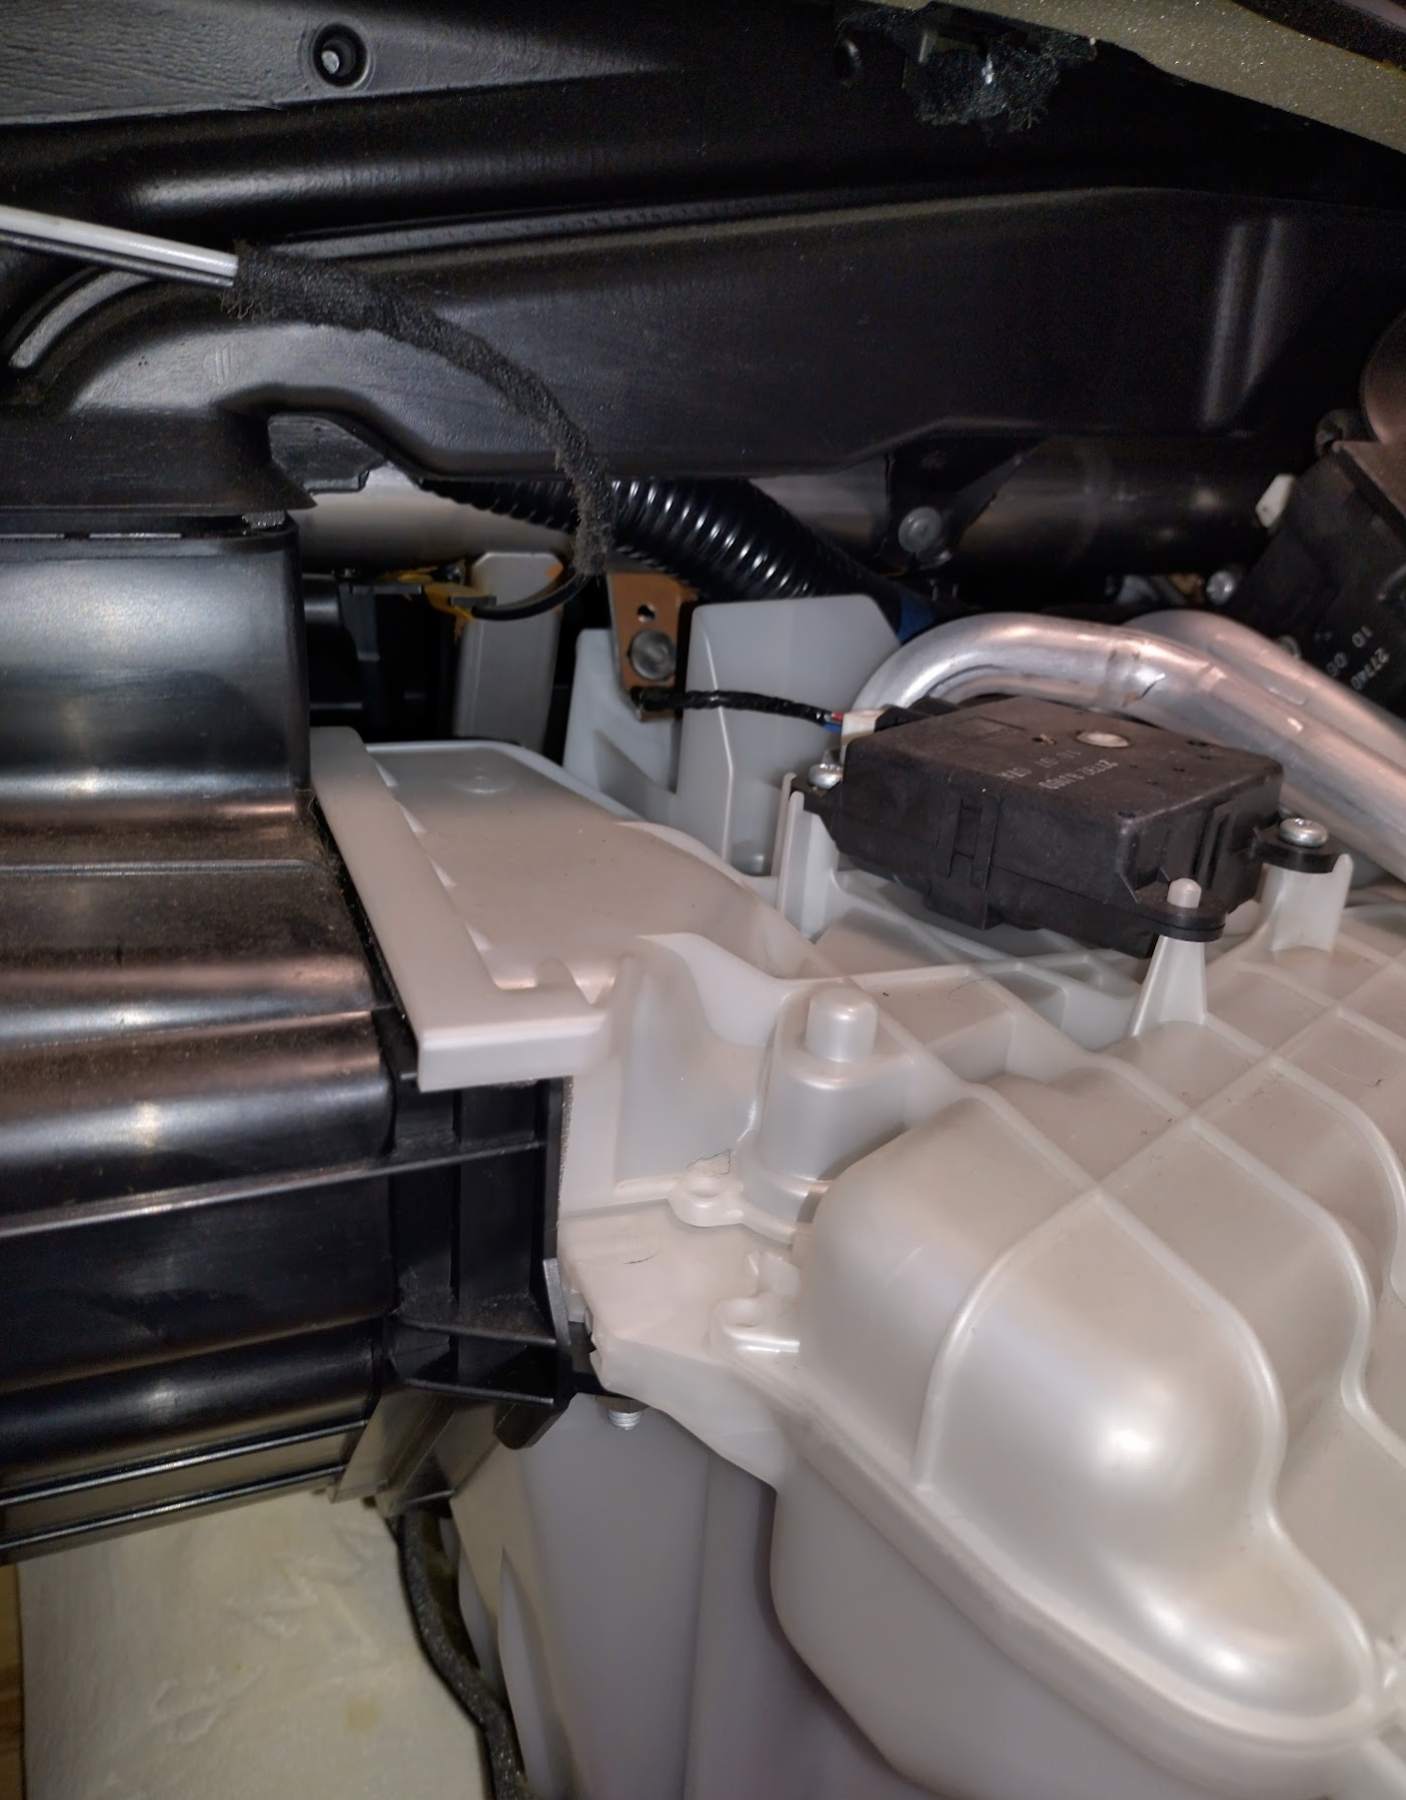
Separating the sections
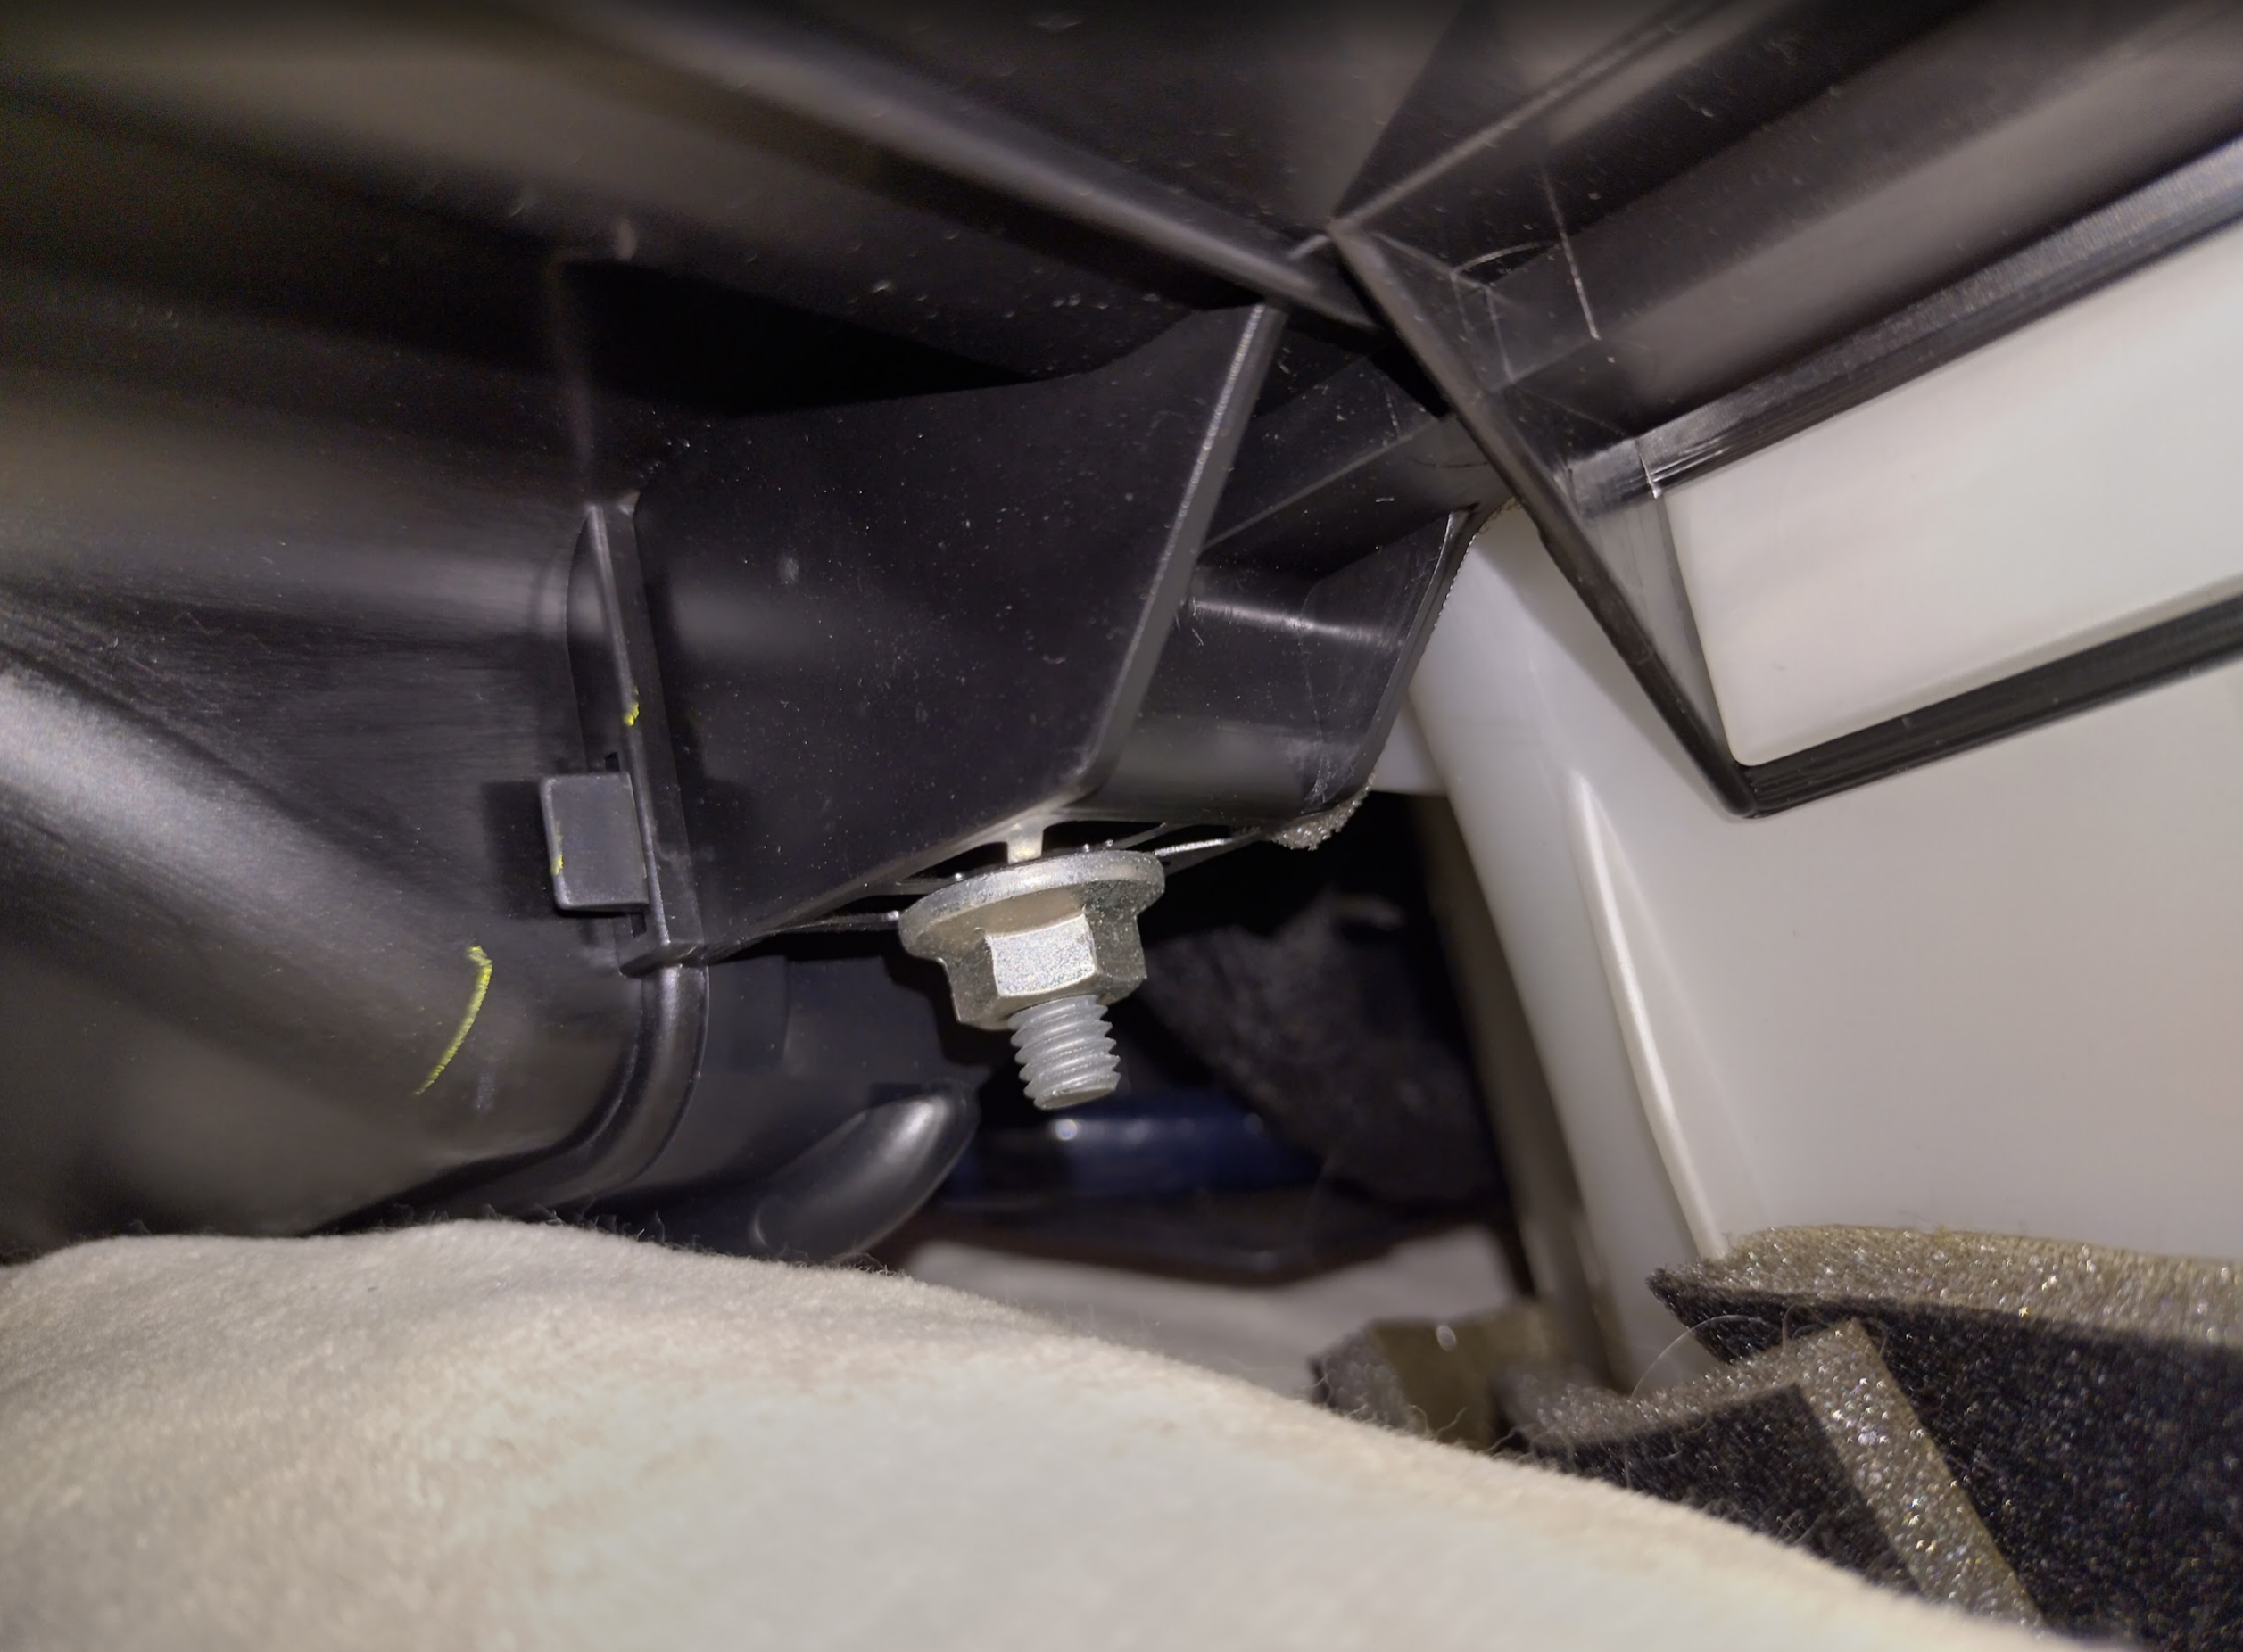
The bolt at the back holding the black and white sections together.
Undo bolt underneath join between black and white sections
Then they will be separate.
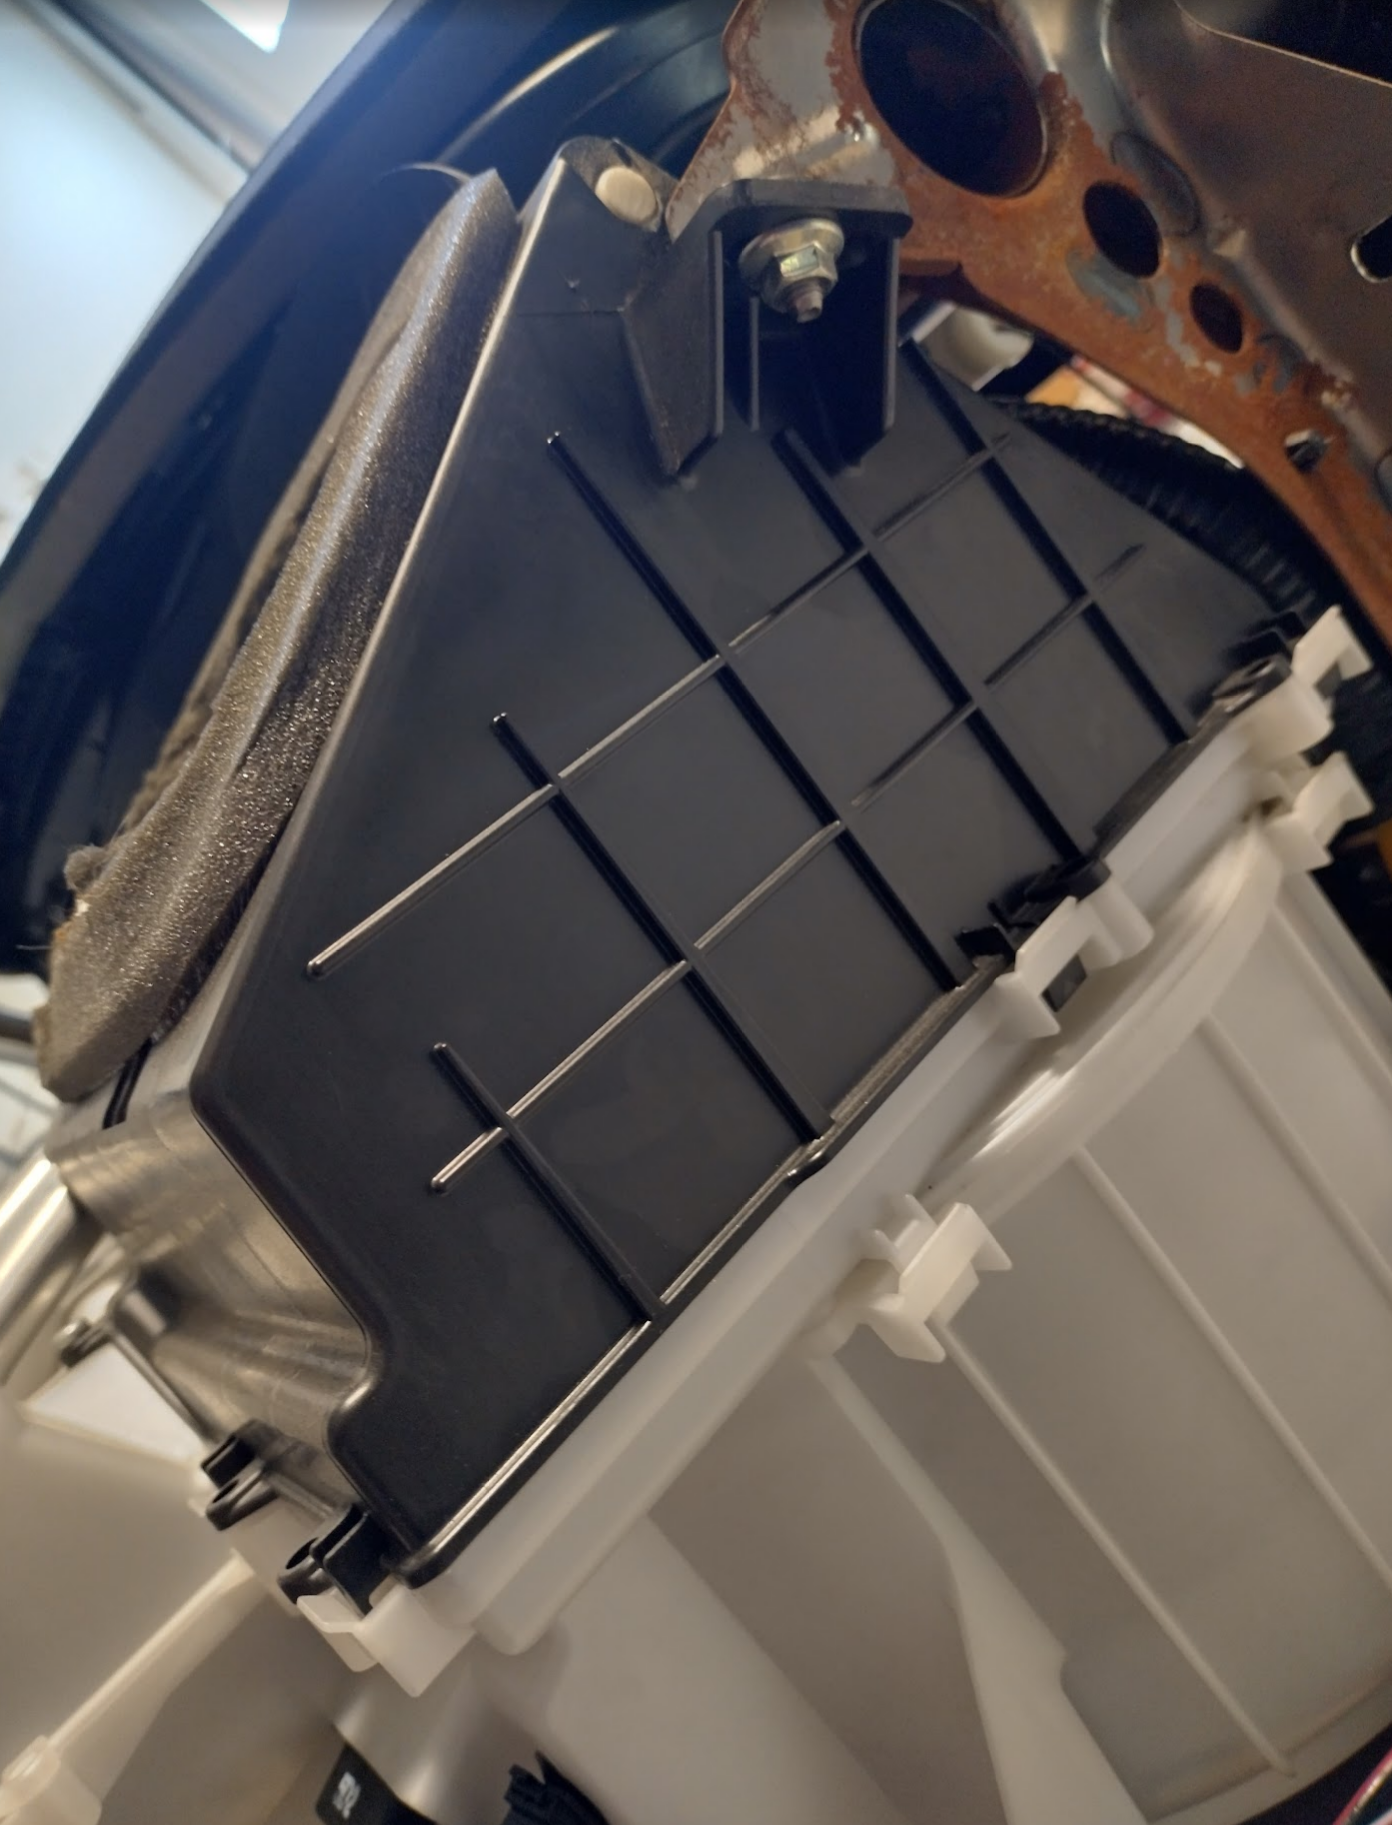
Black section
This has nothing significant internally, just a few flaps to direct air to the different channels. There’s a number of very fragile feeling foam seals along with thicker foam seals externally.

Everything looked in really good shape, no foam needs replacing on it. Just a quick dust off the outside and it’ll be ready to go back in.
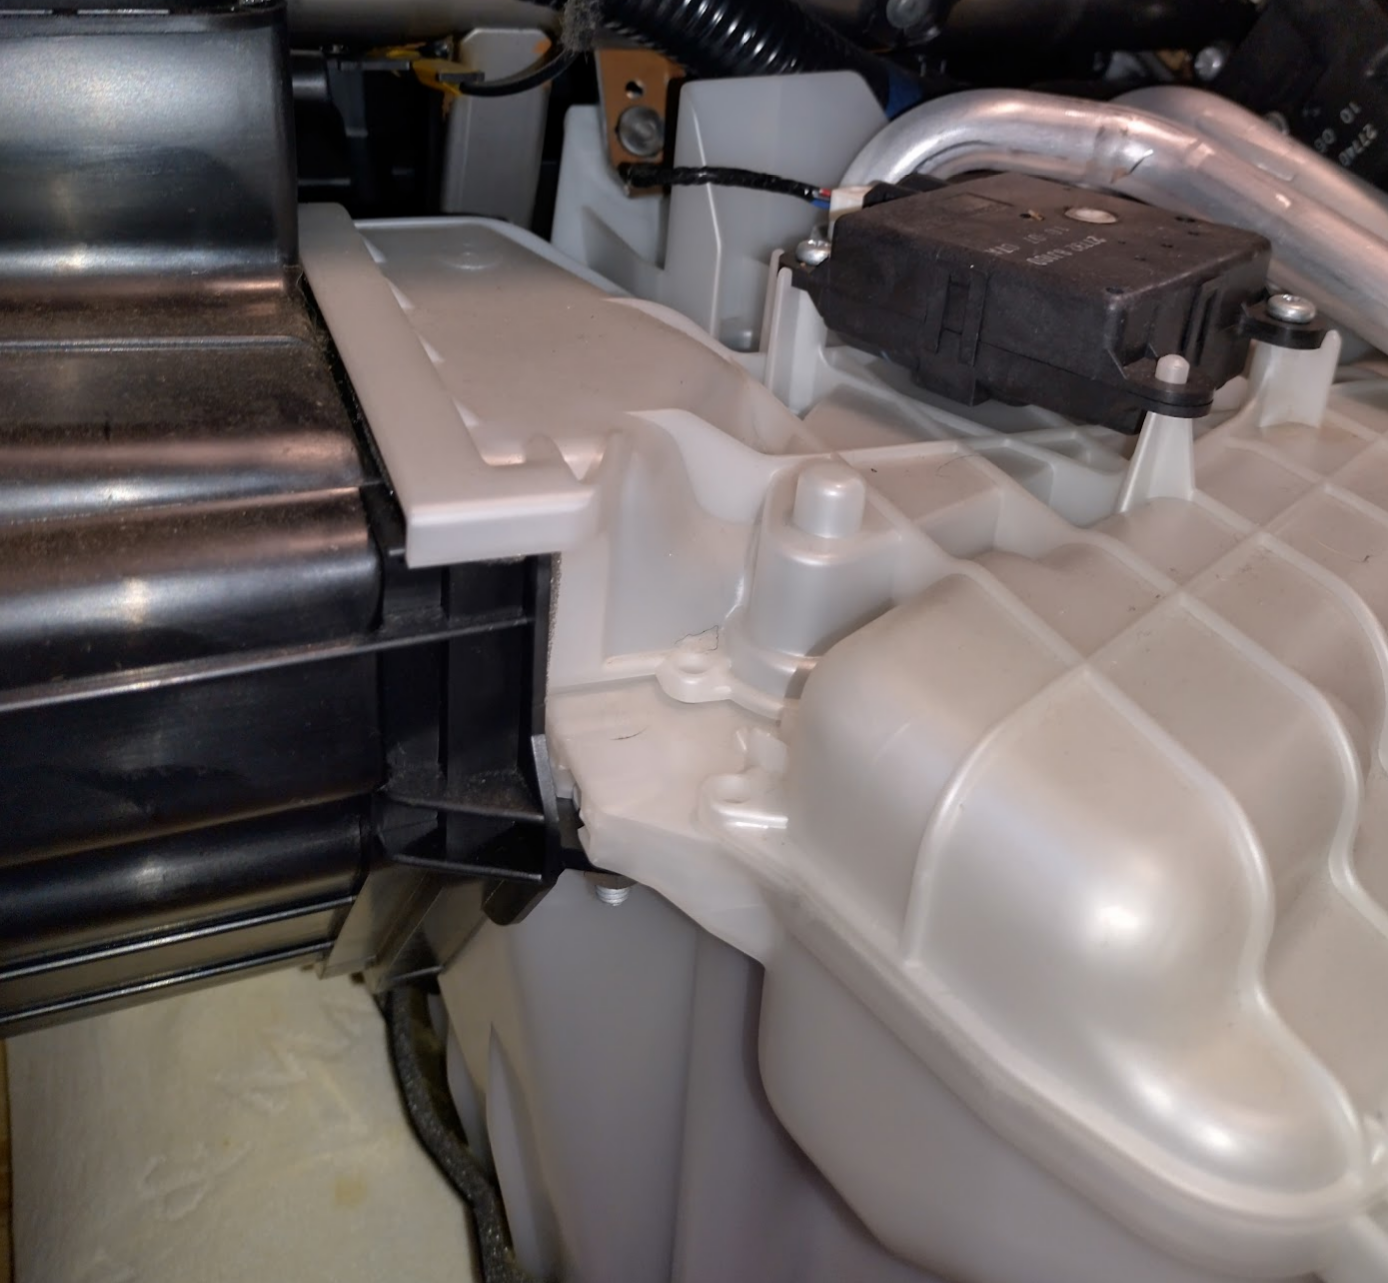
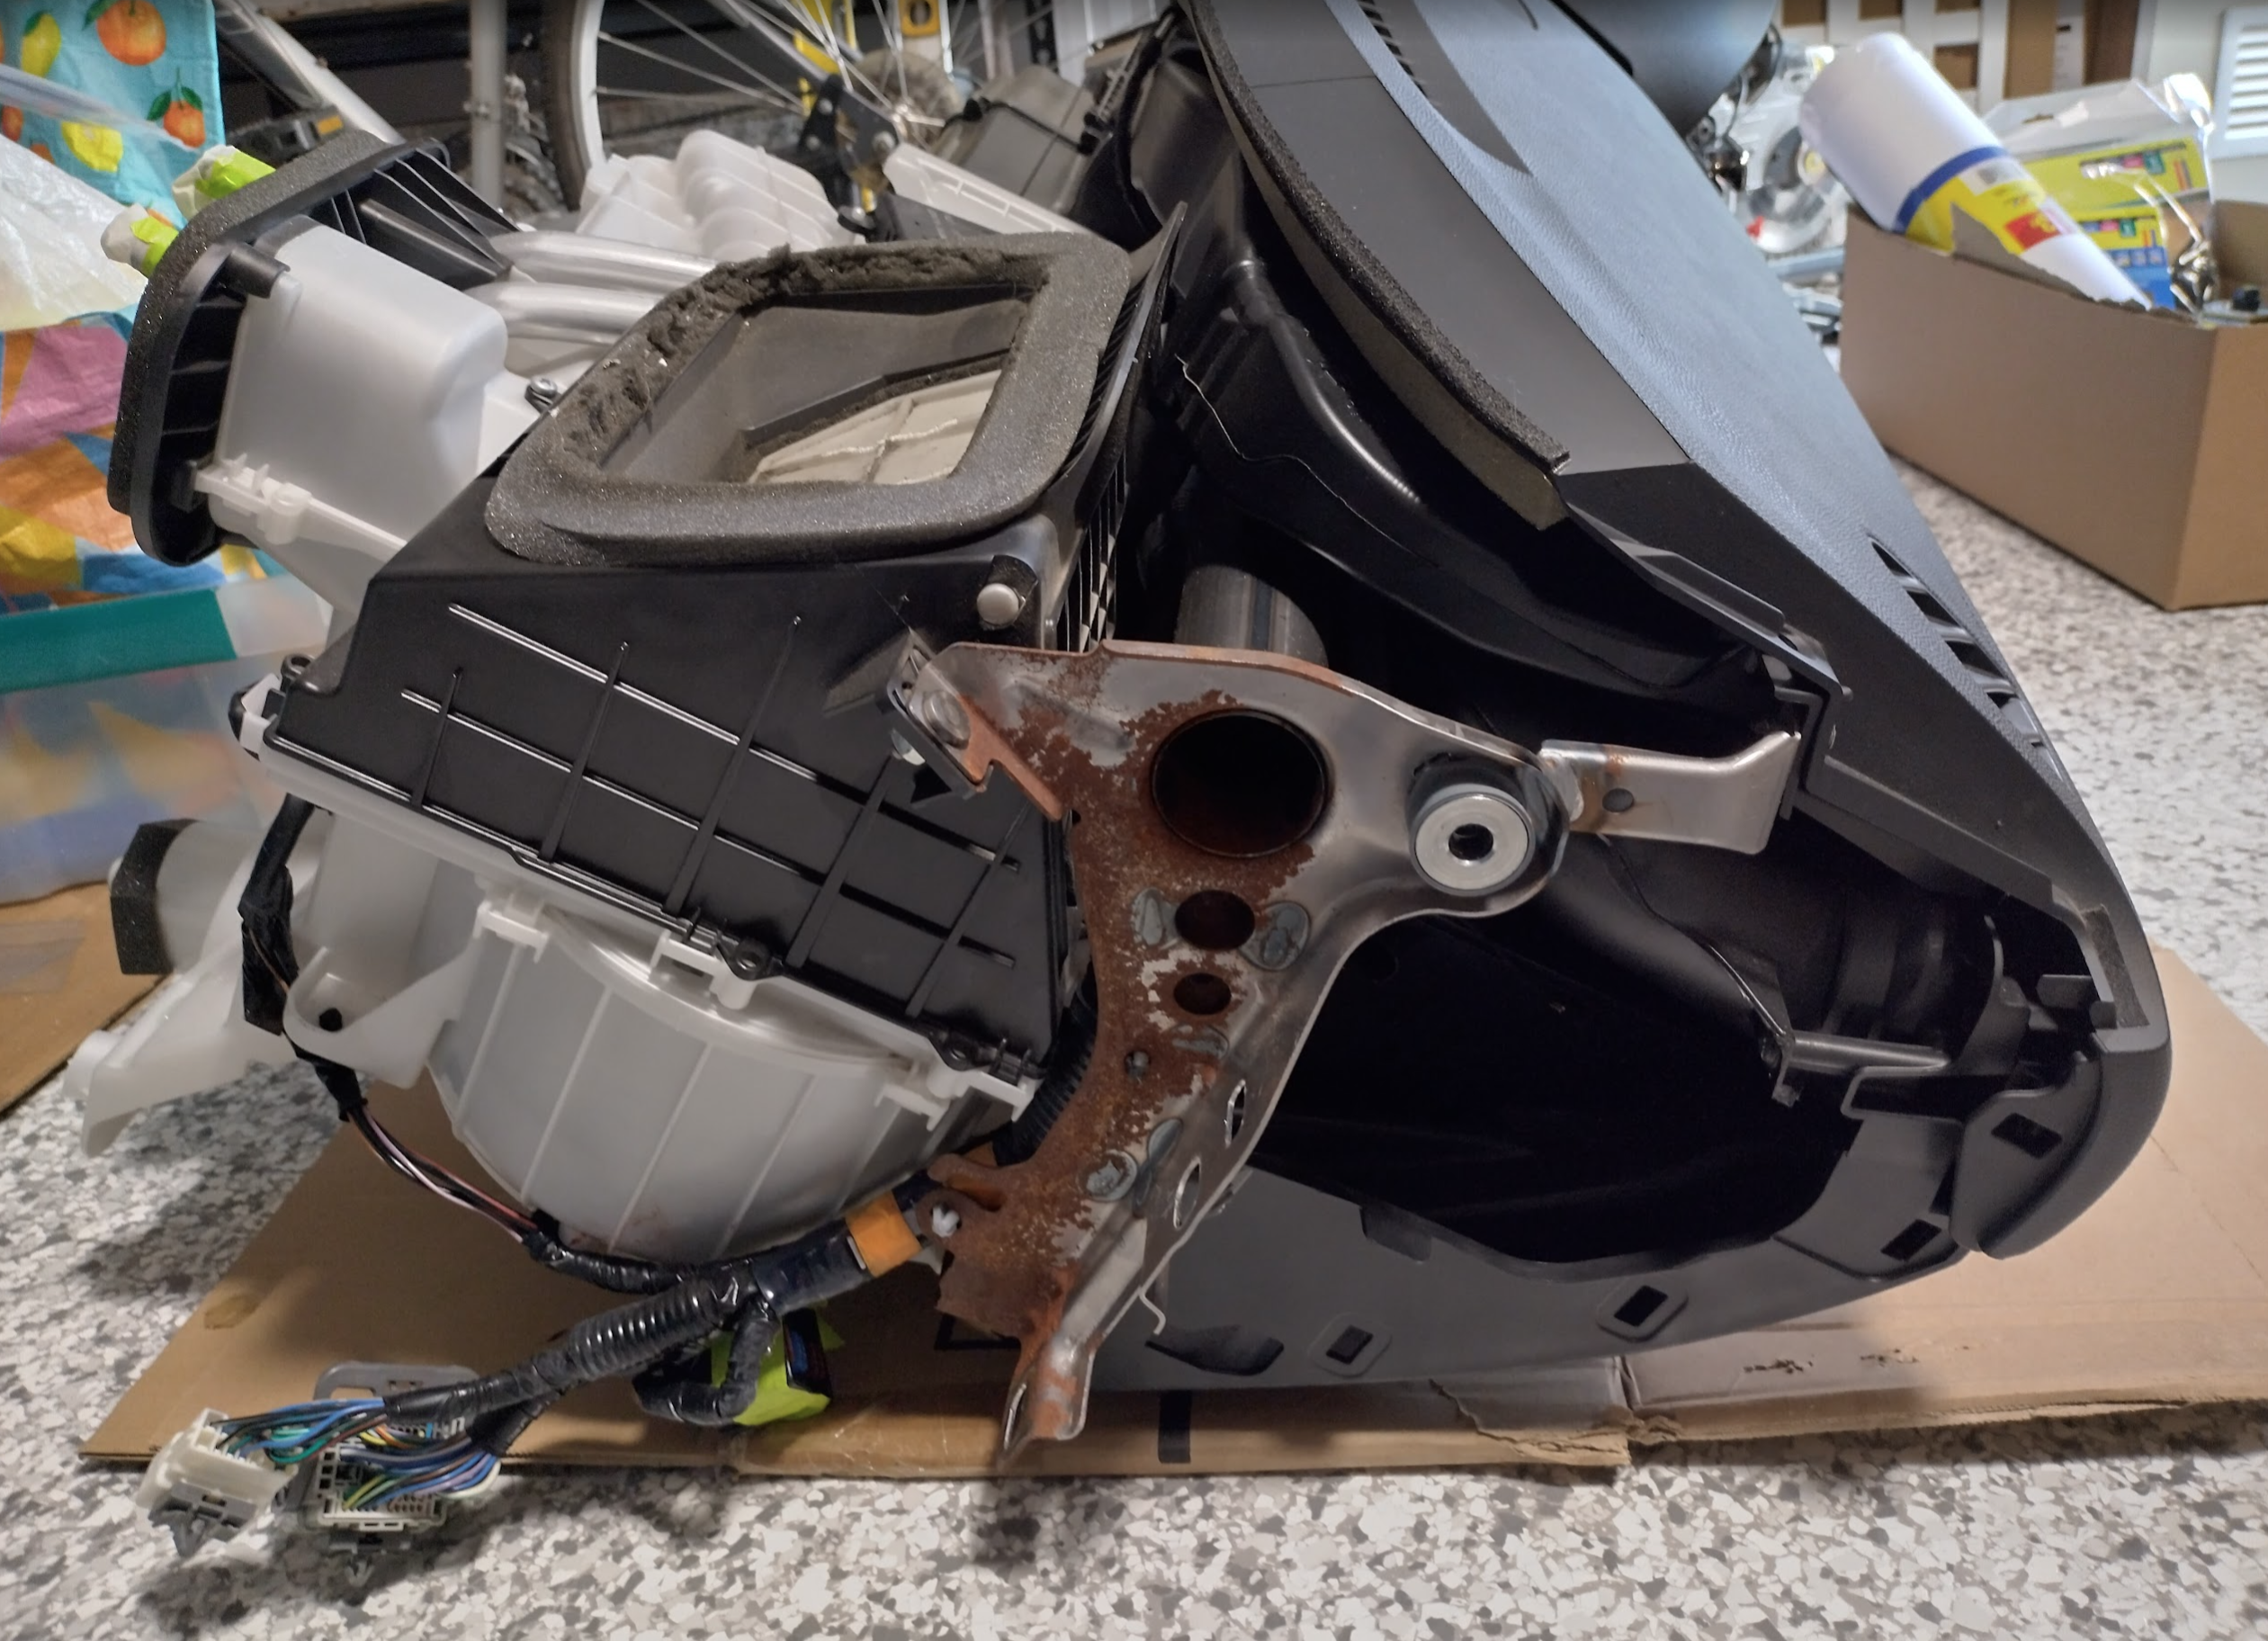
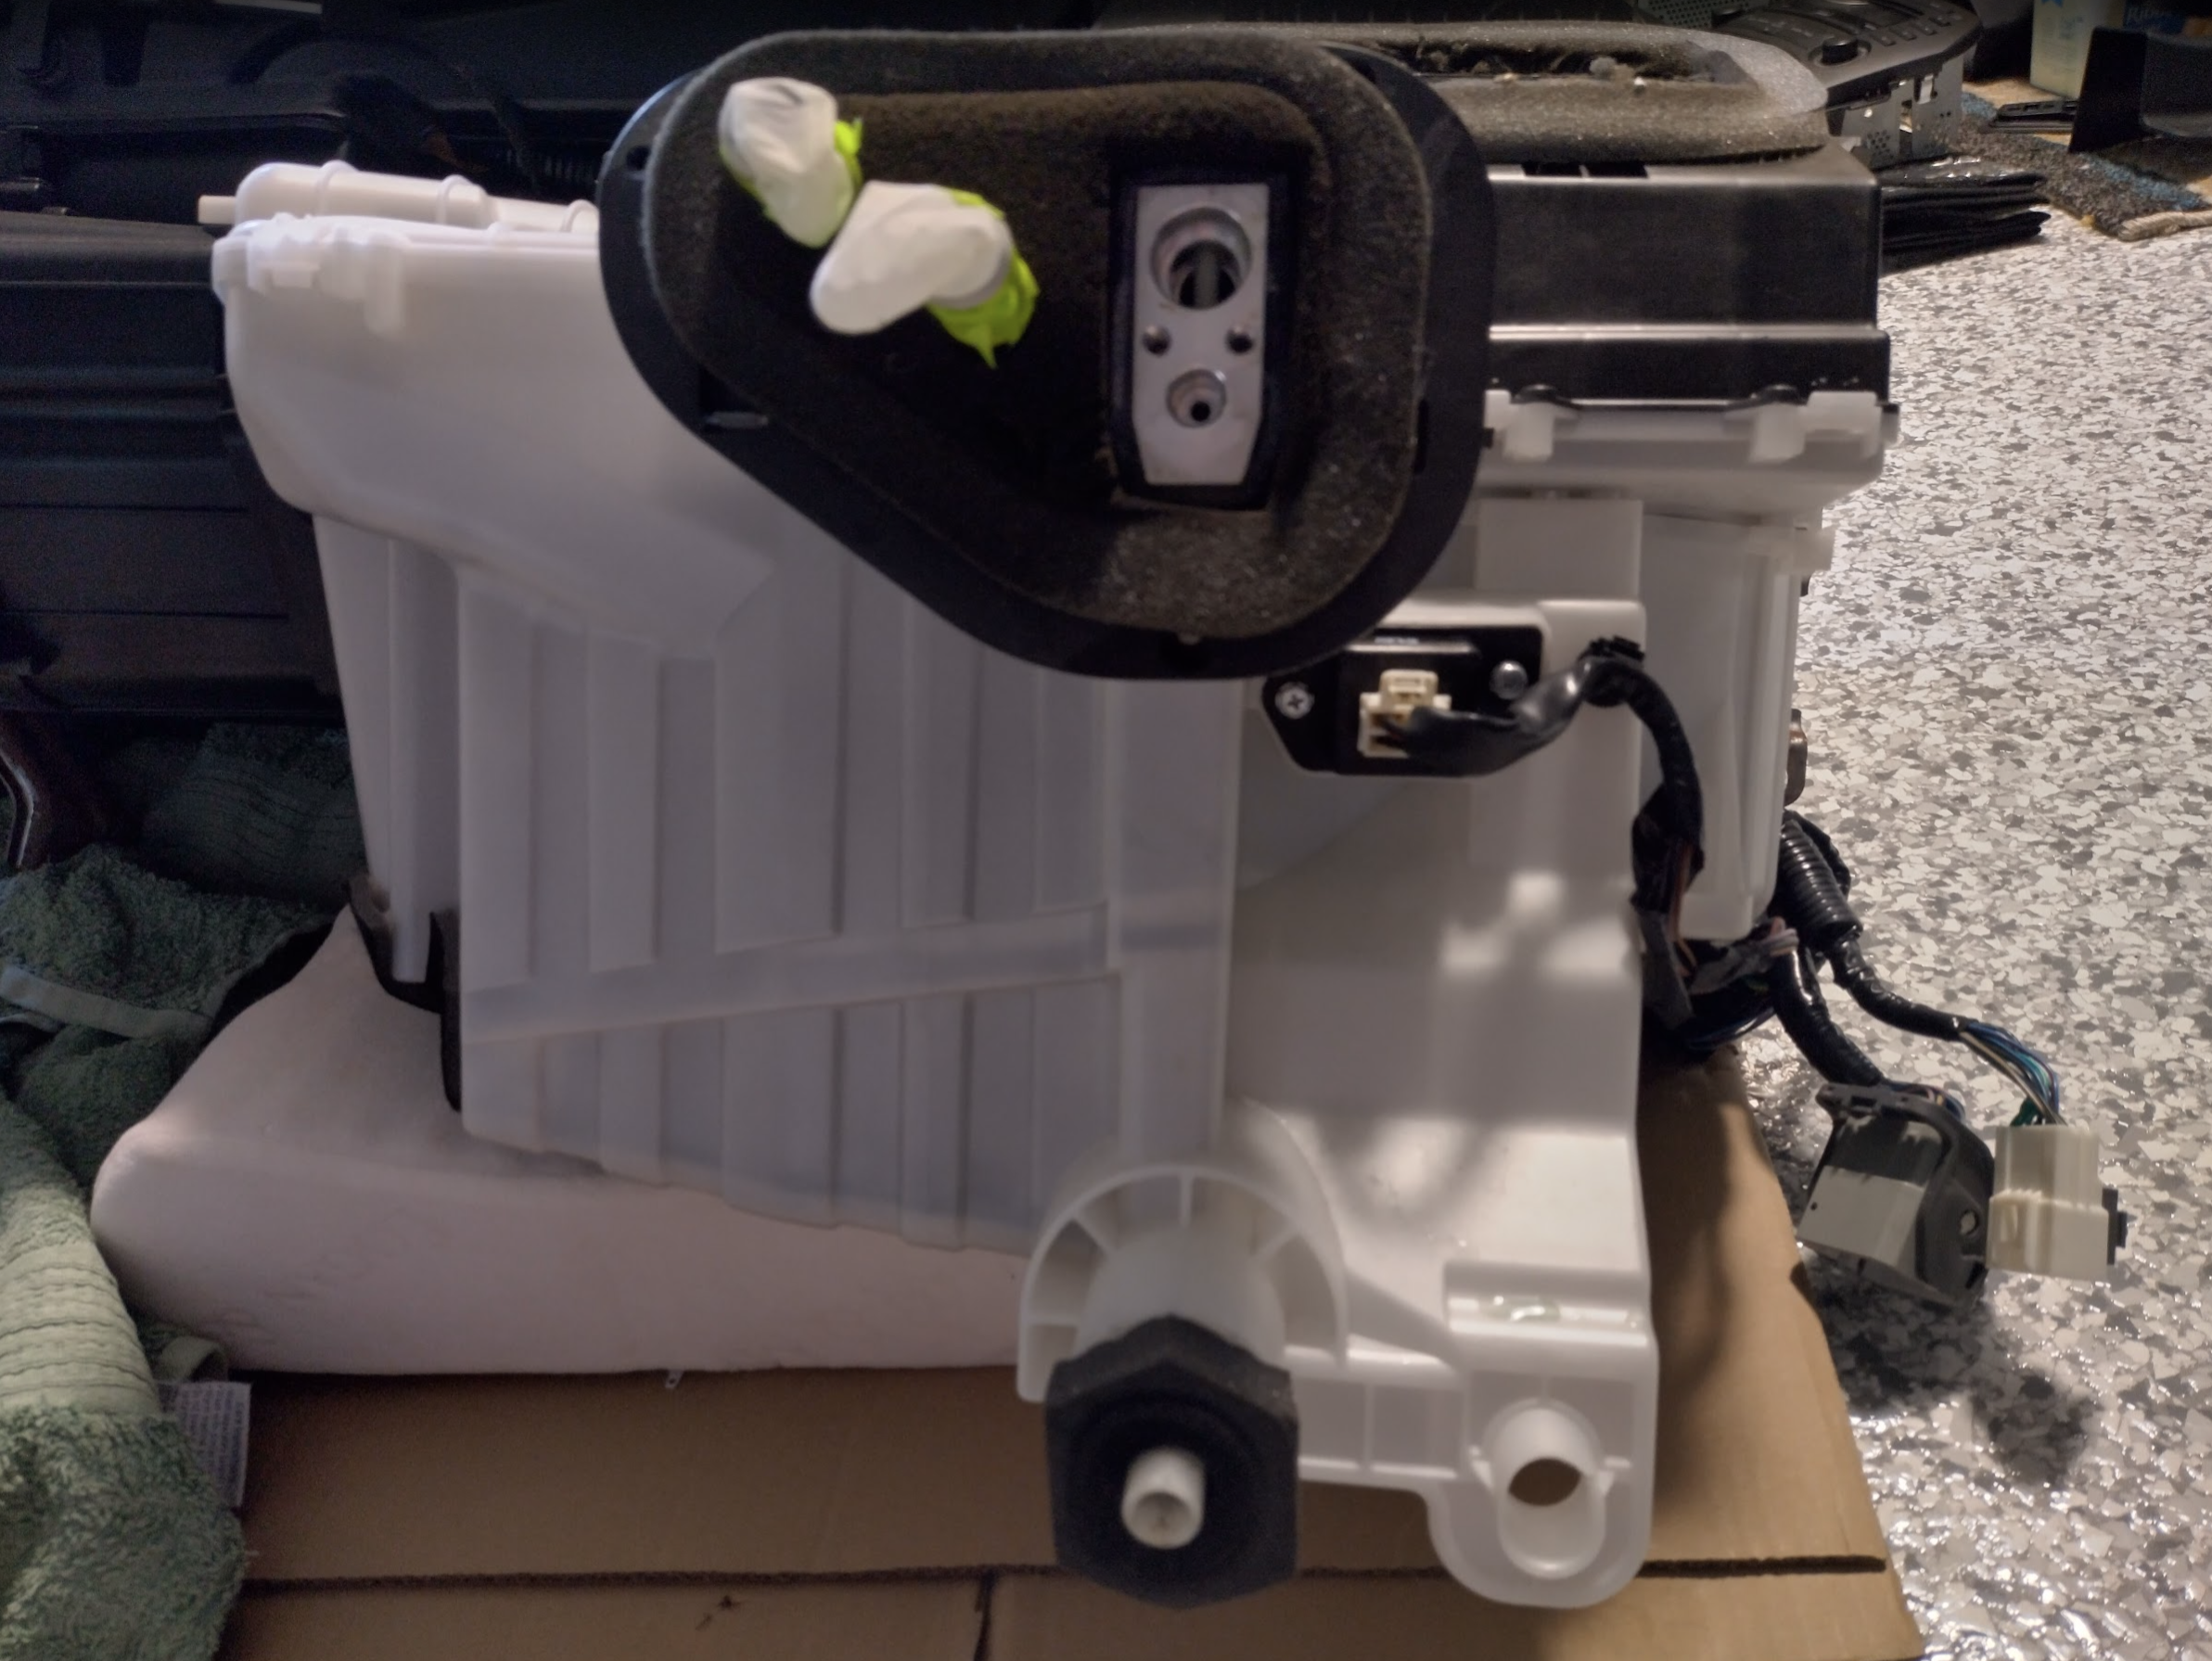
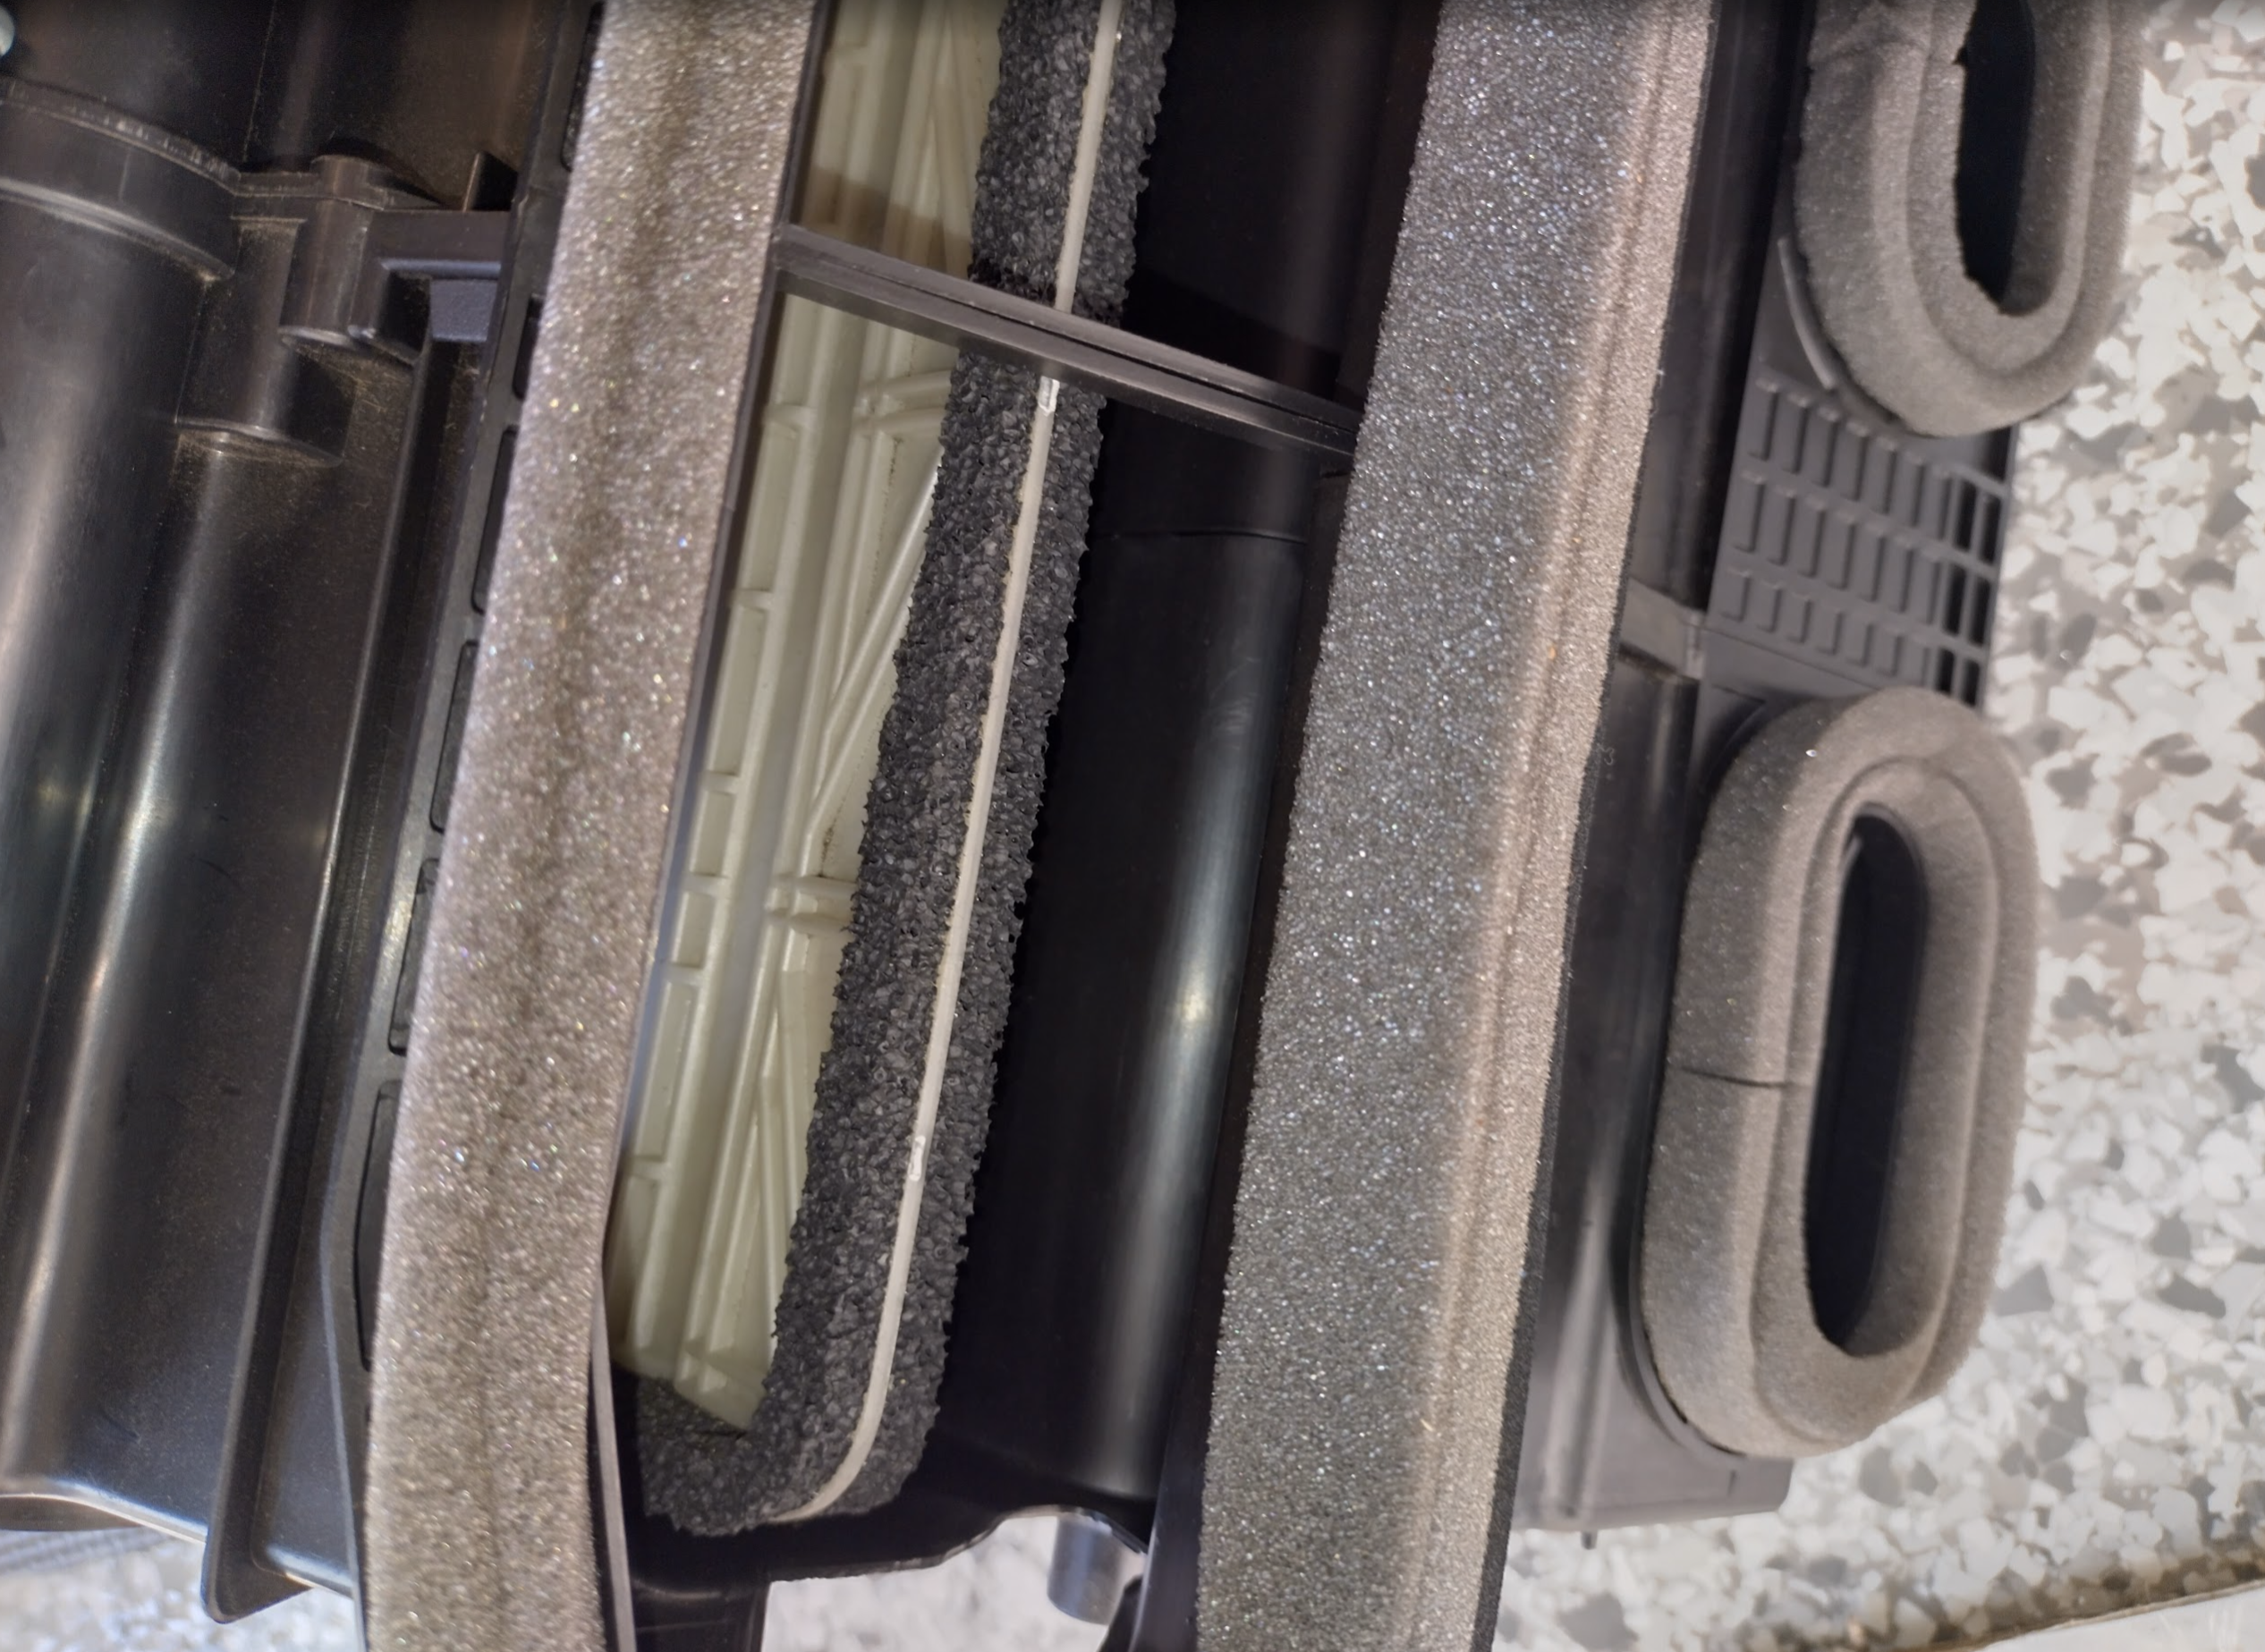
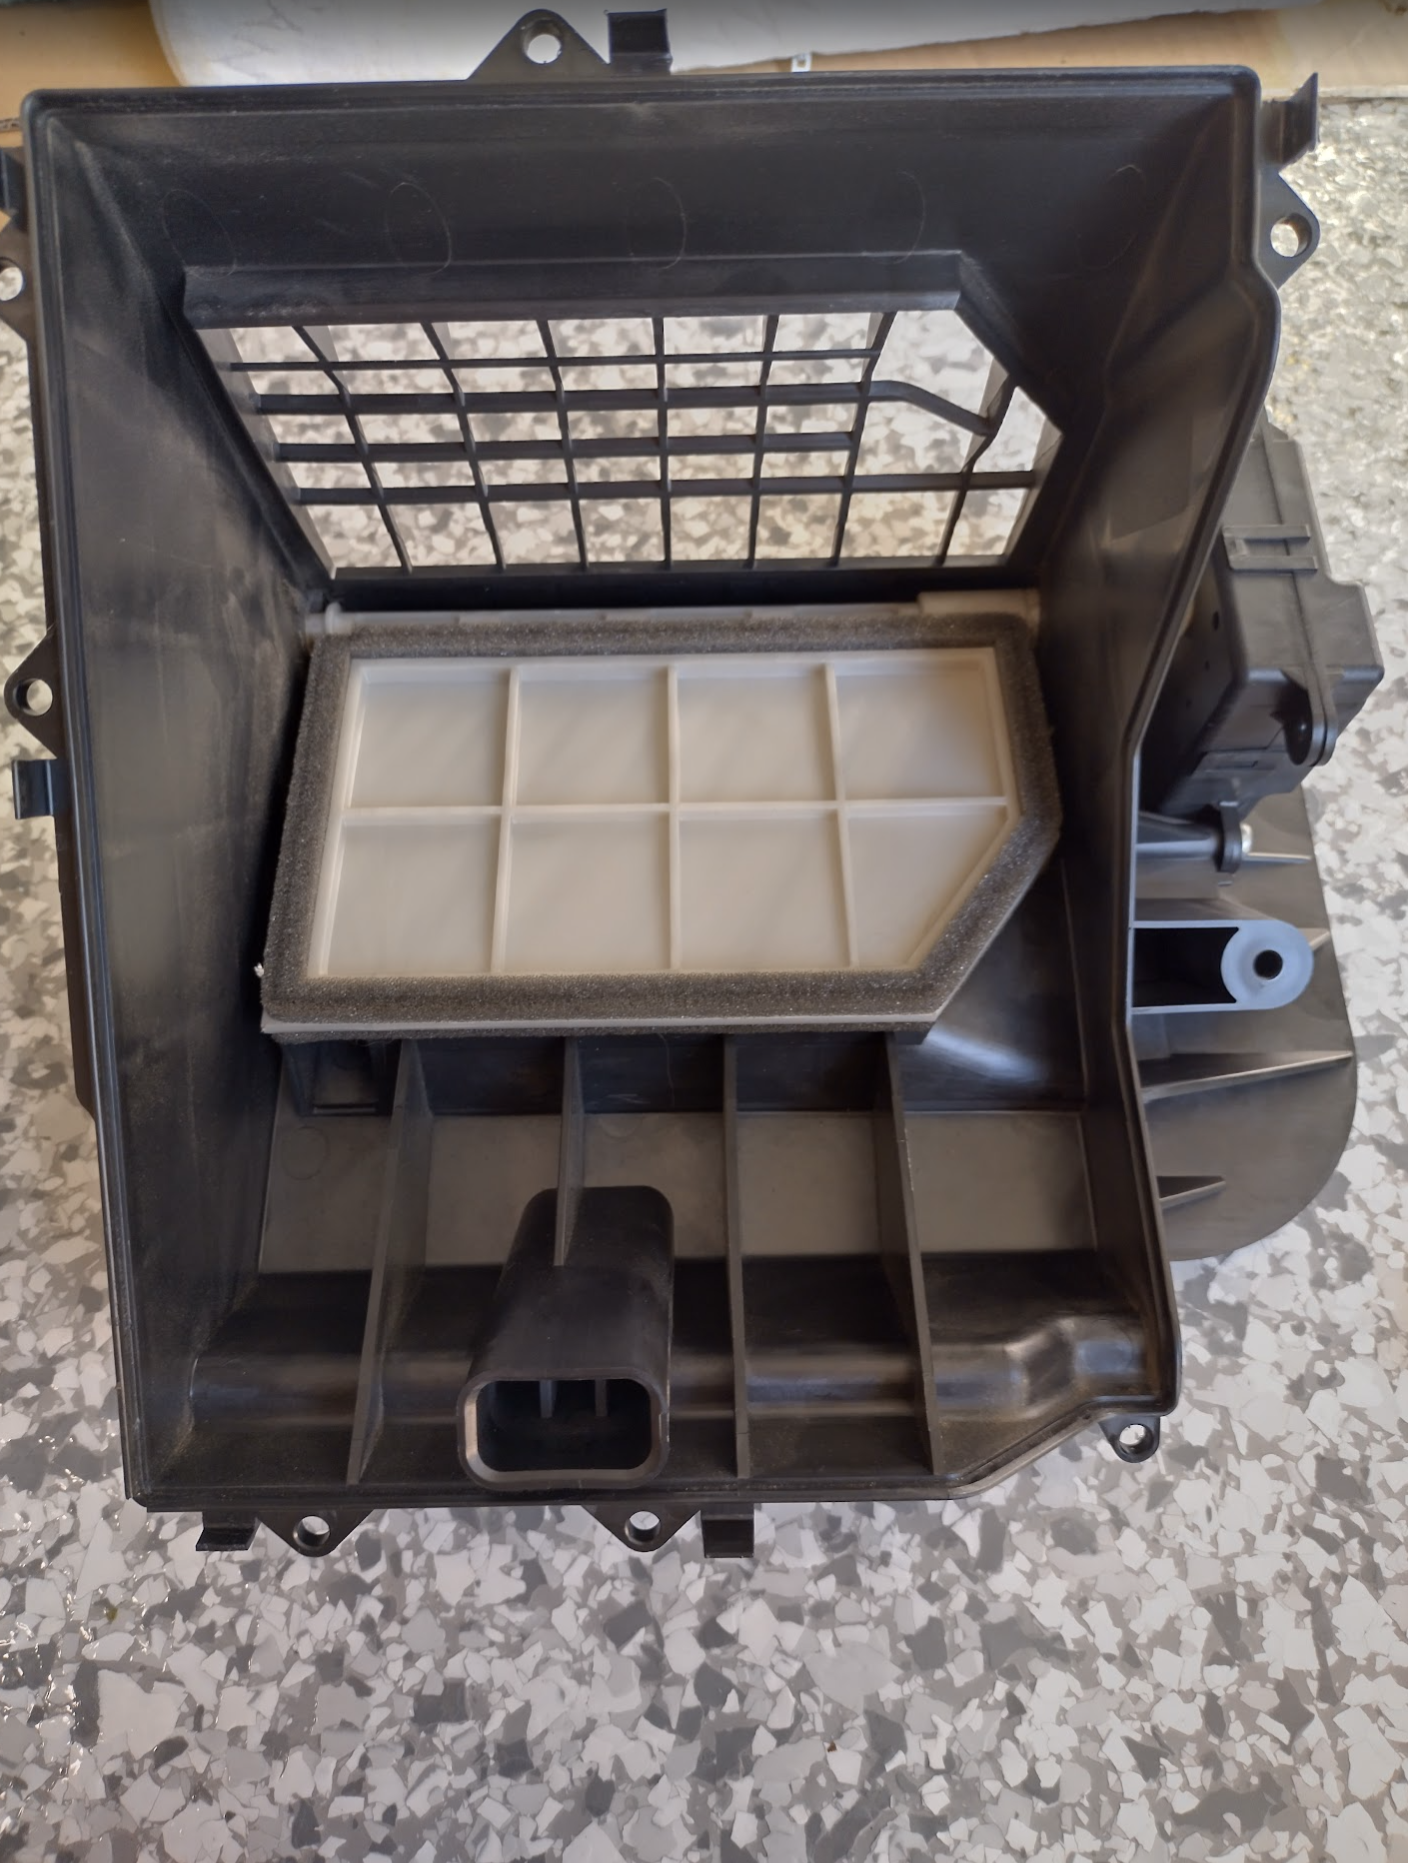
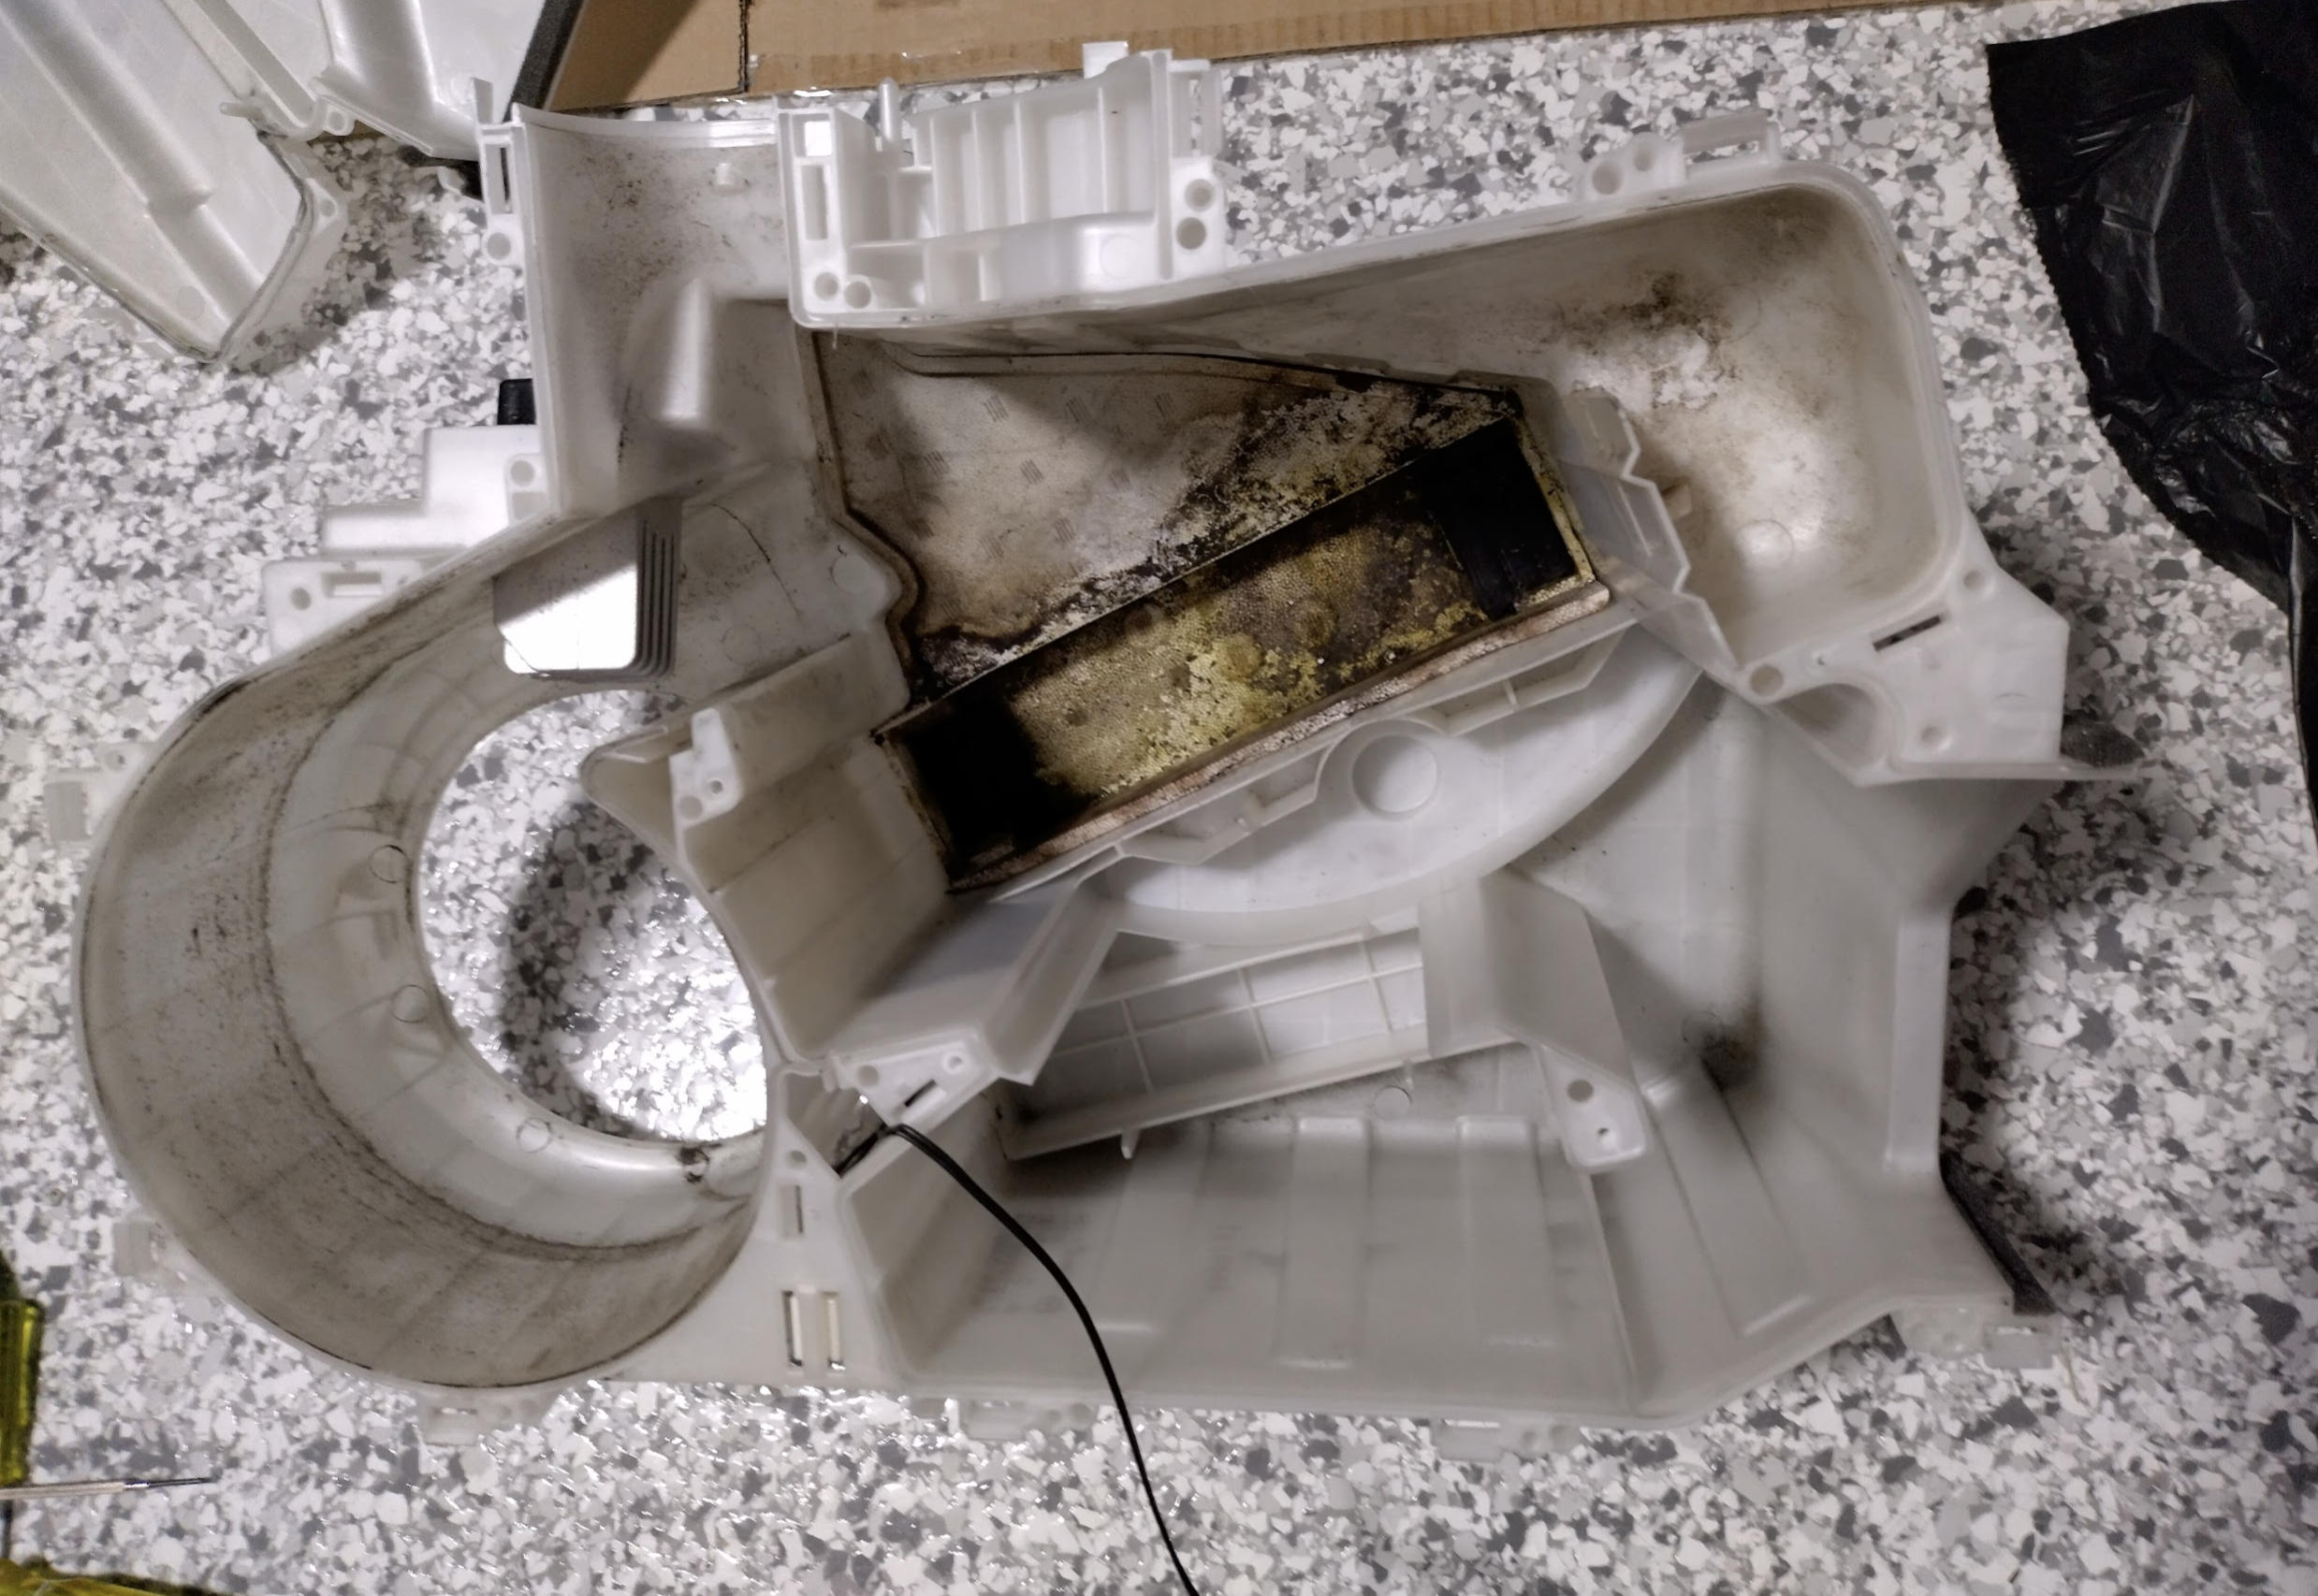
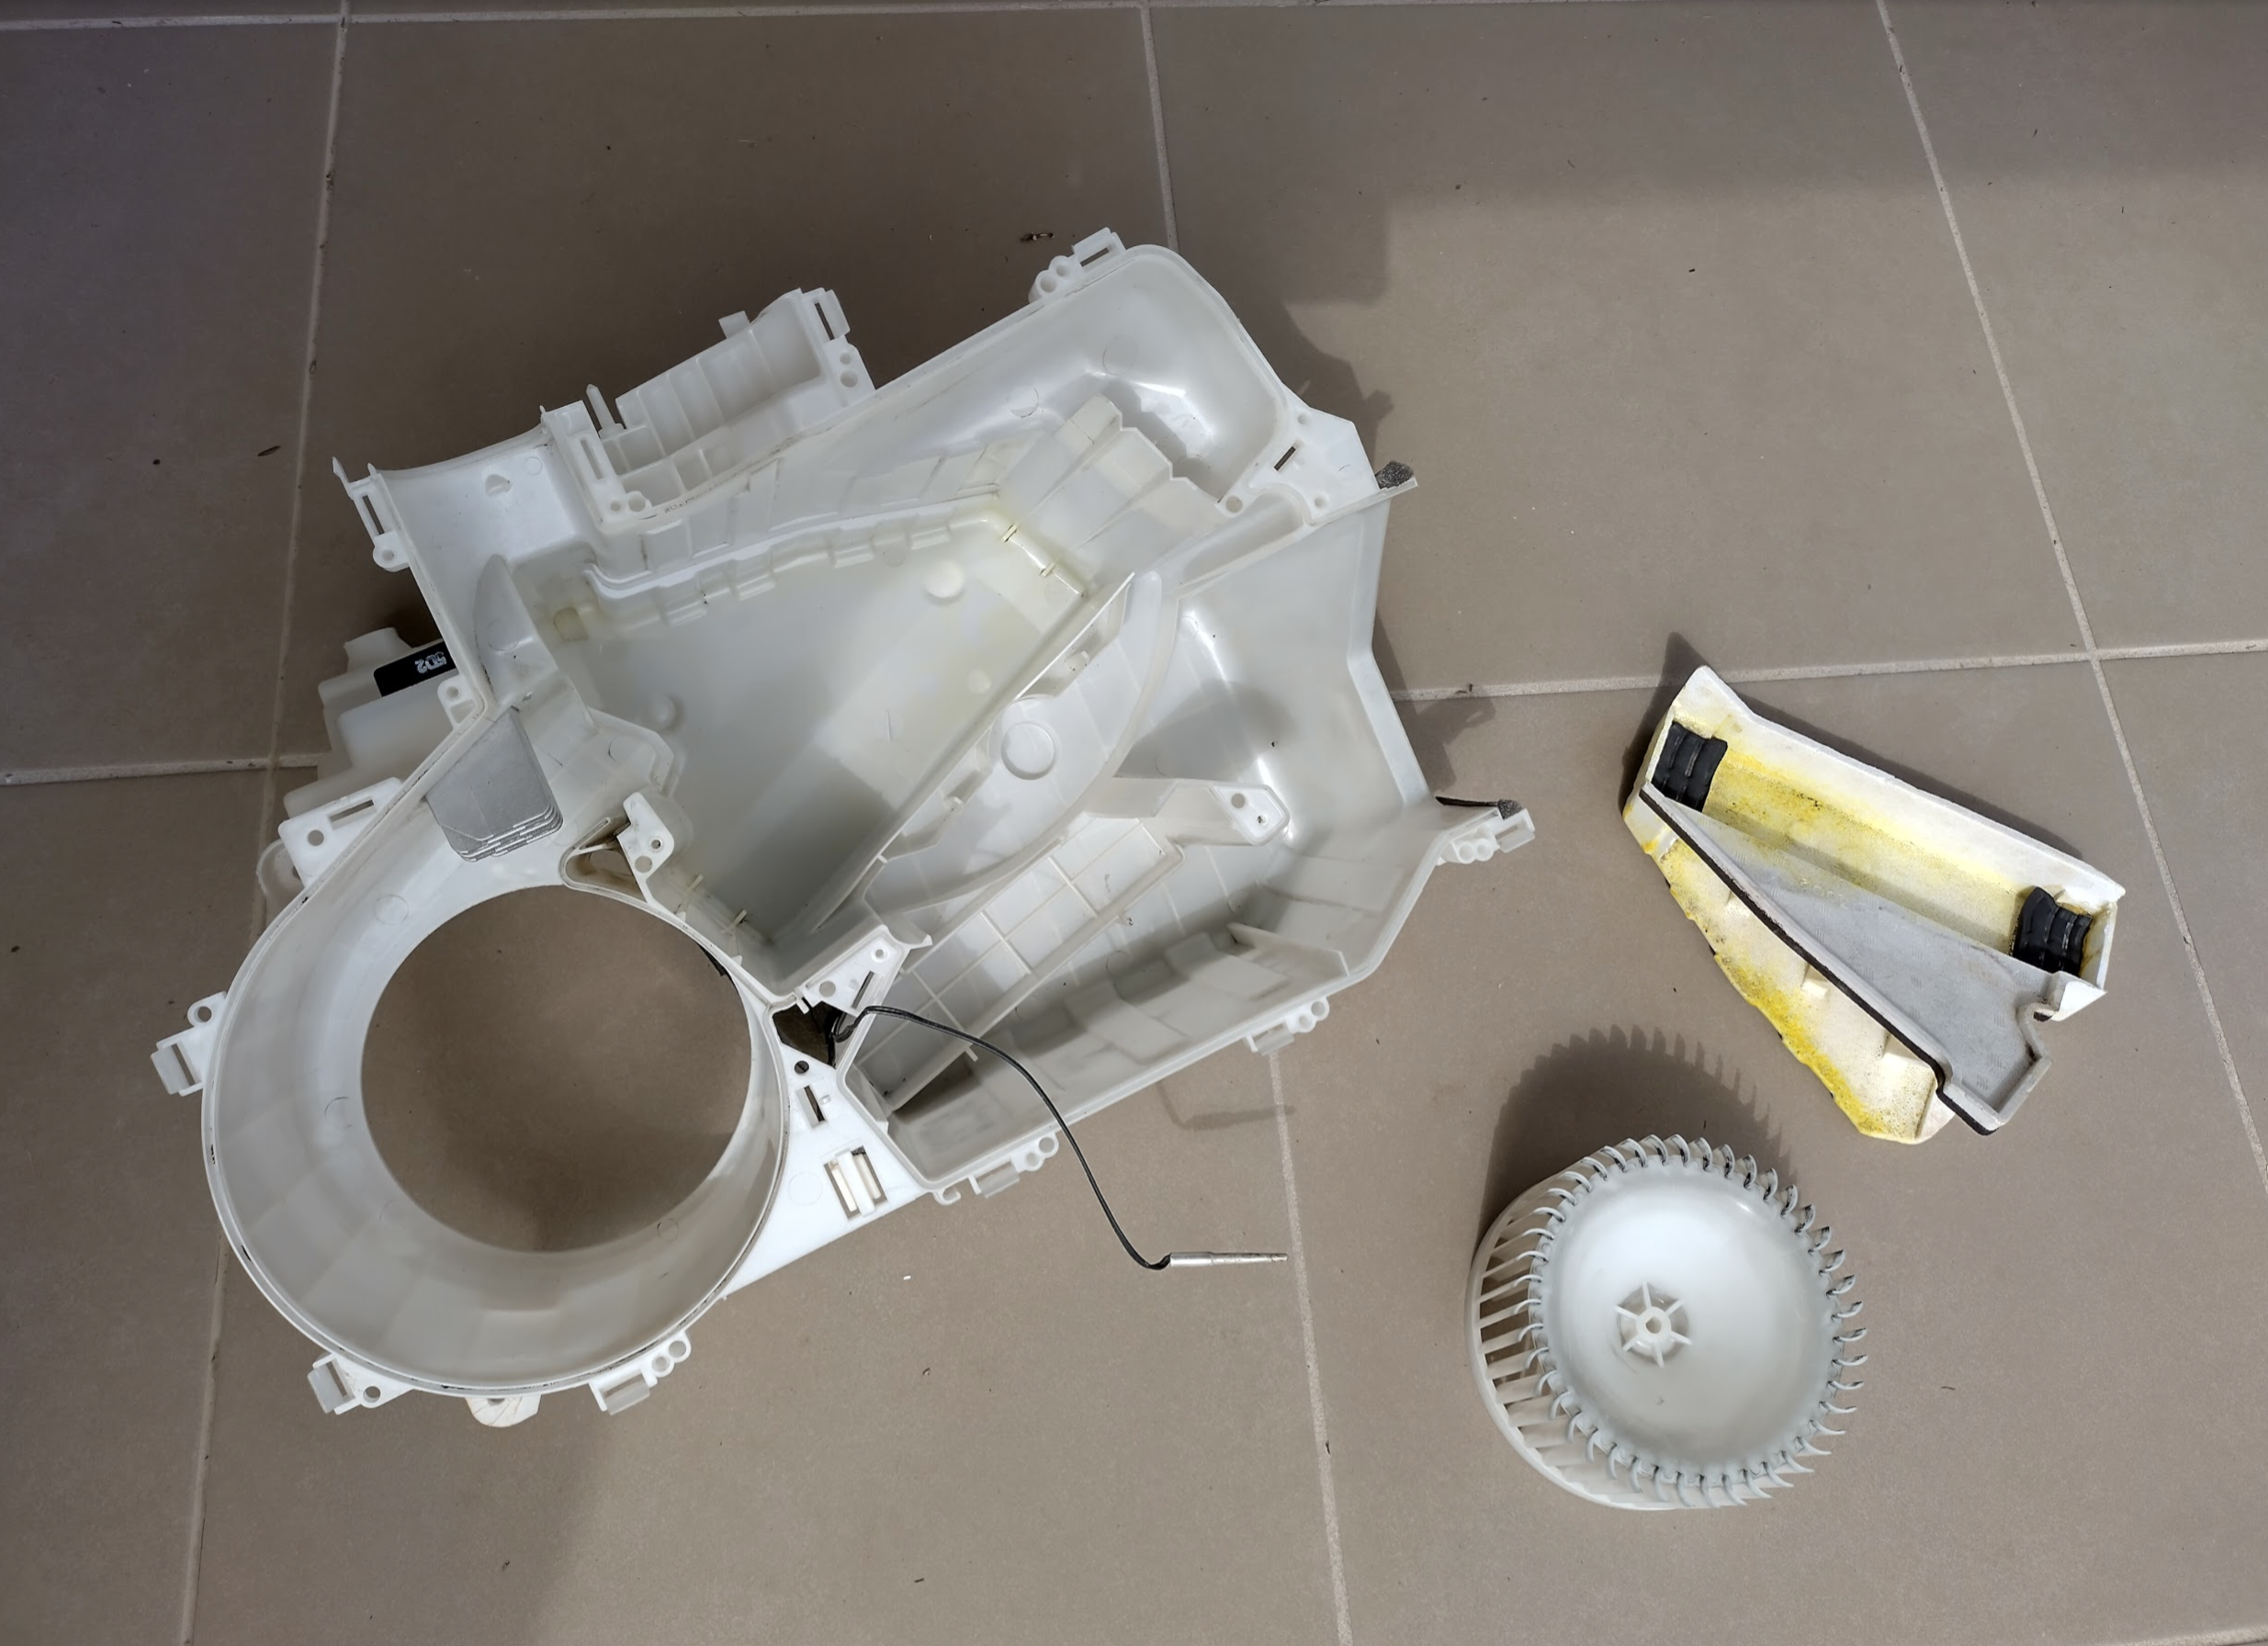
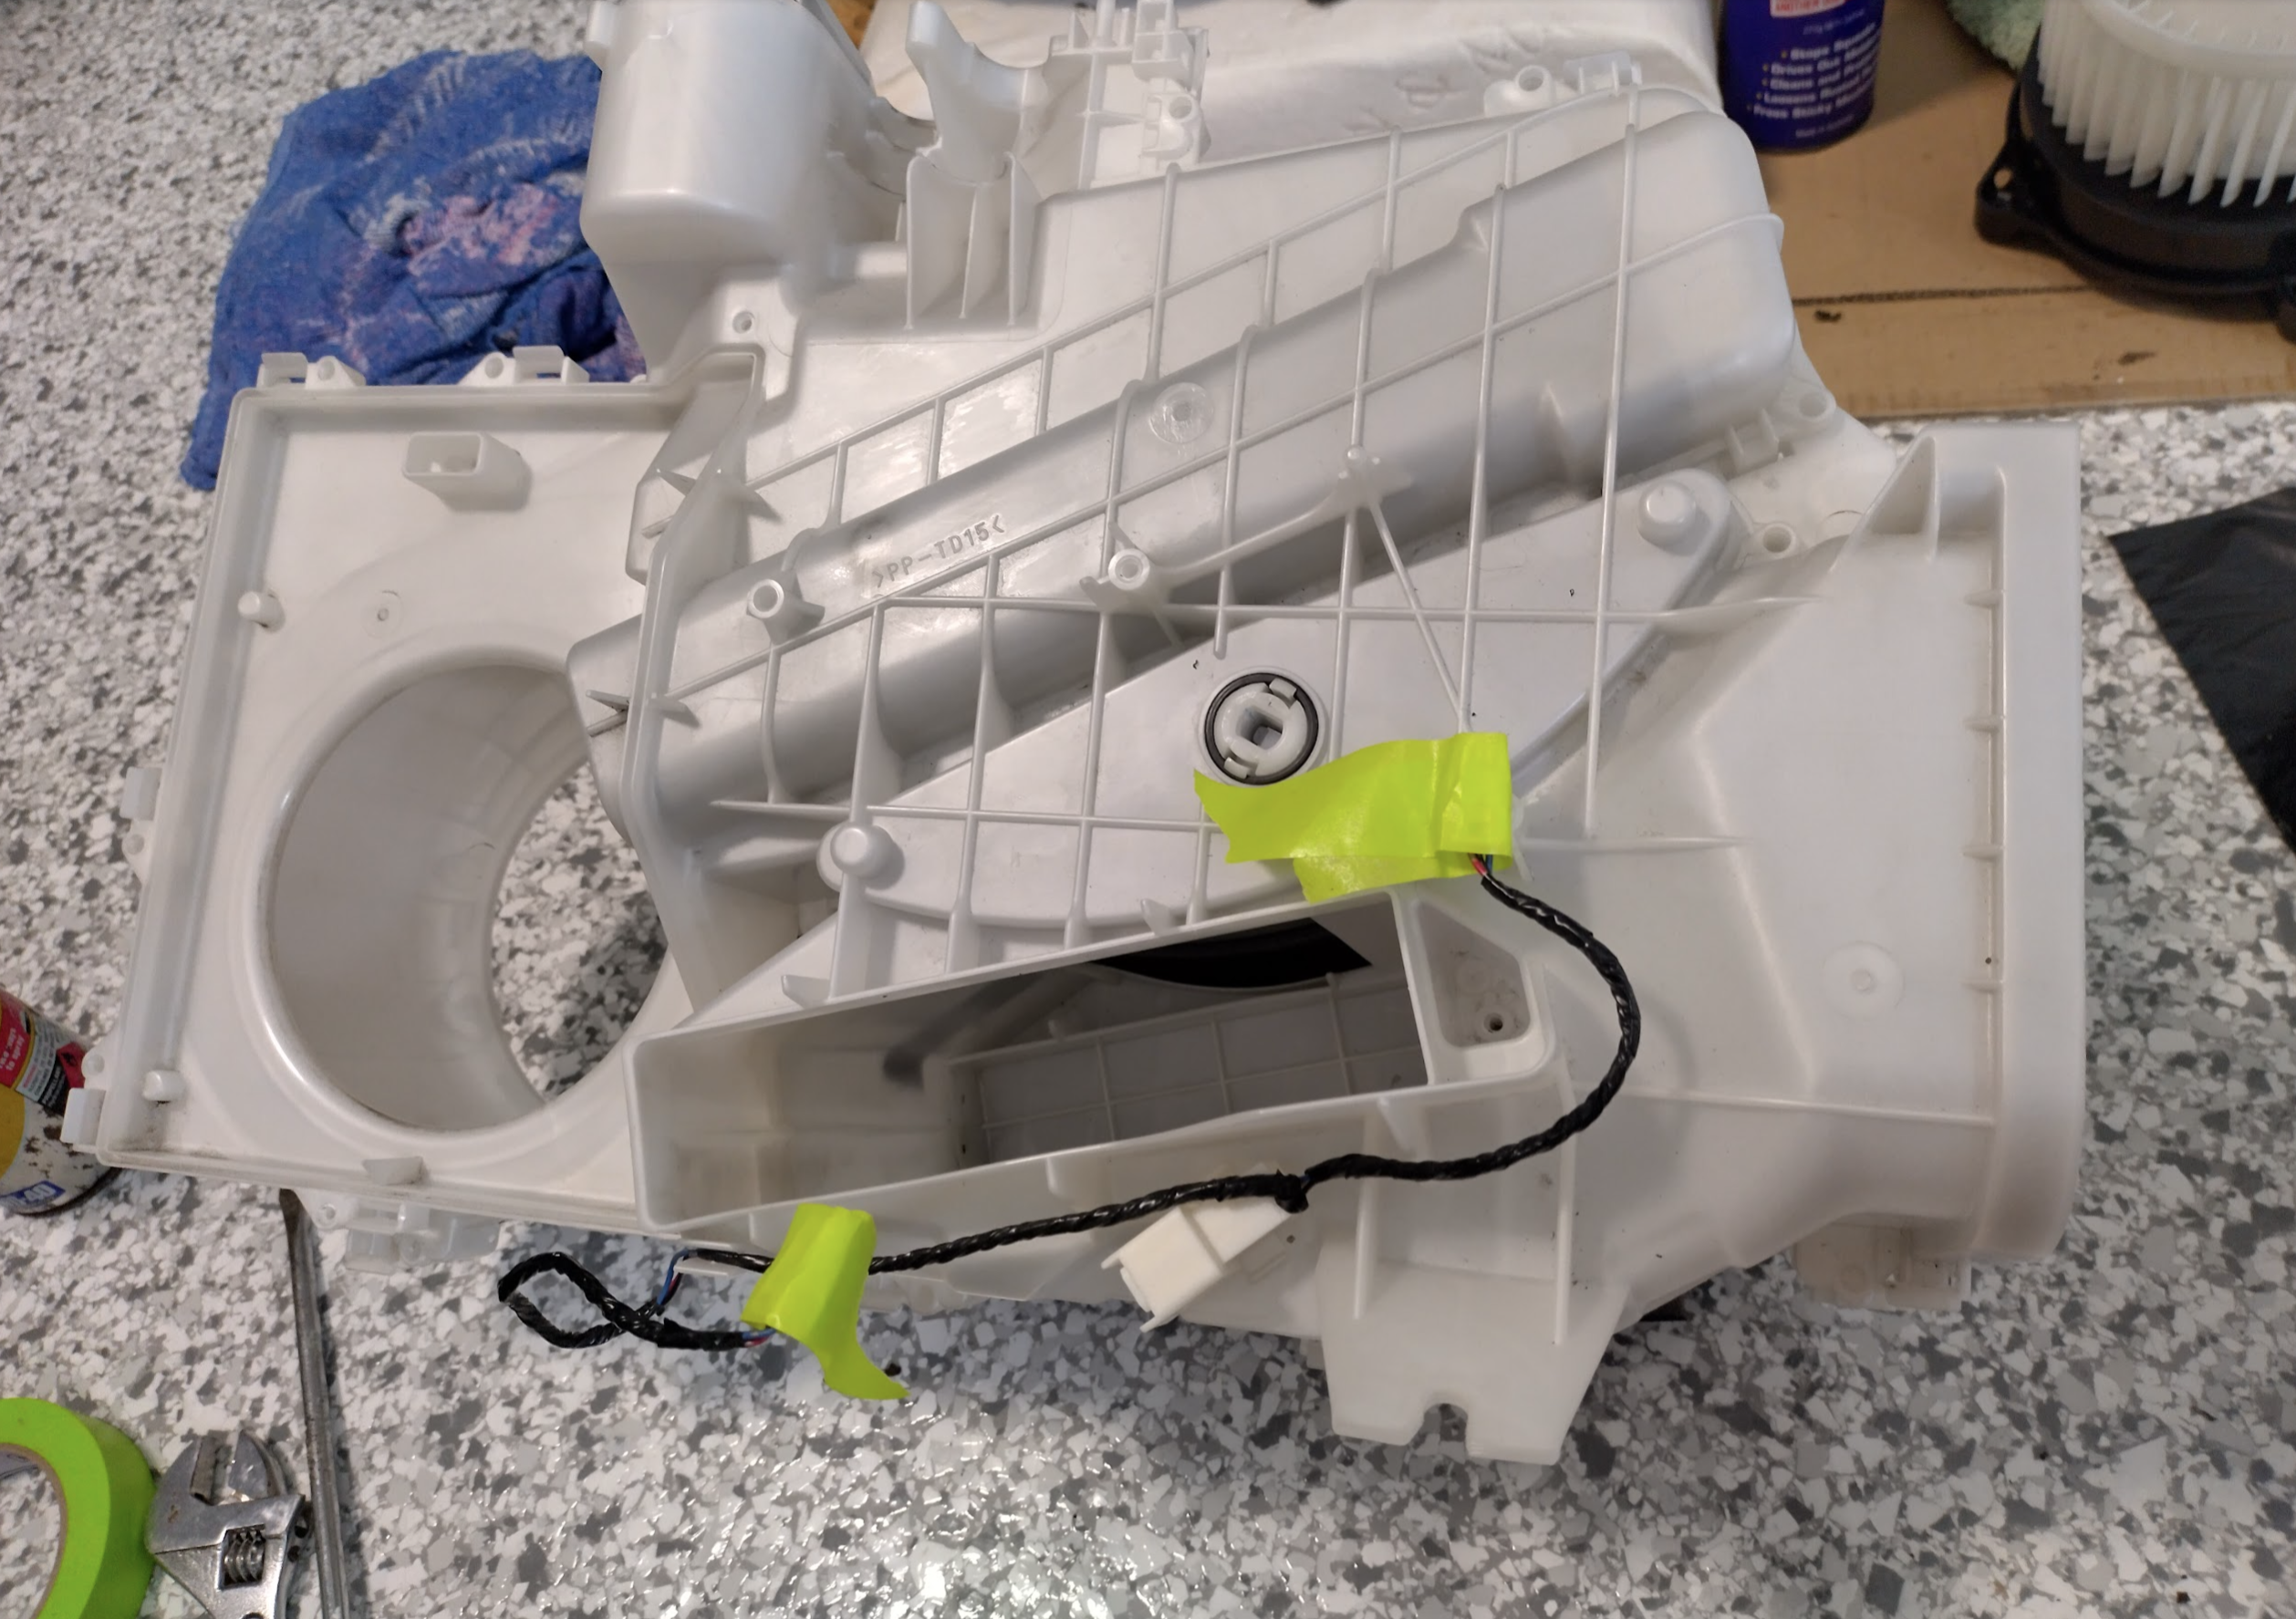
White section
This contains the heater core, blower, and evaporator, along with all one sliding flap.
The general idea is the blower sucks air in from above (the open grill area being cycling inside the car, the grey flap being outside air)
This then goes through a channel around the back to pass through the evaporator.
Then depending on whether we’re heating or cooling, a large curved movable barrier decides whether to direct air over the heater core before it goes in to the black section, or whether to just let the heatercore sit to the side in its own warm pocket.
The radiators from the black section’s area (where the air exits the white section) all looked clean, no issues.
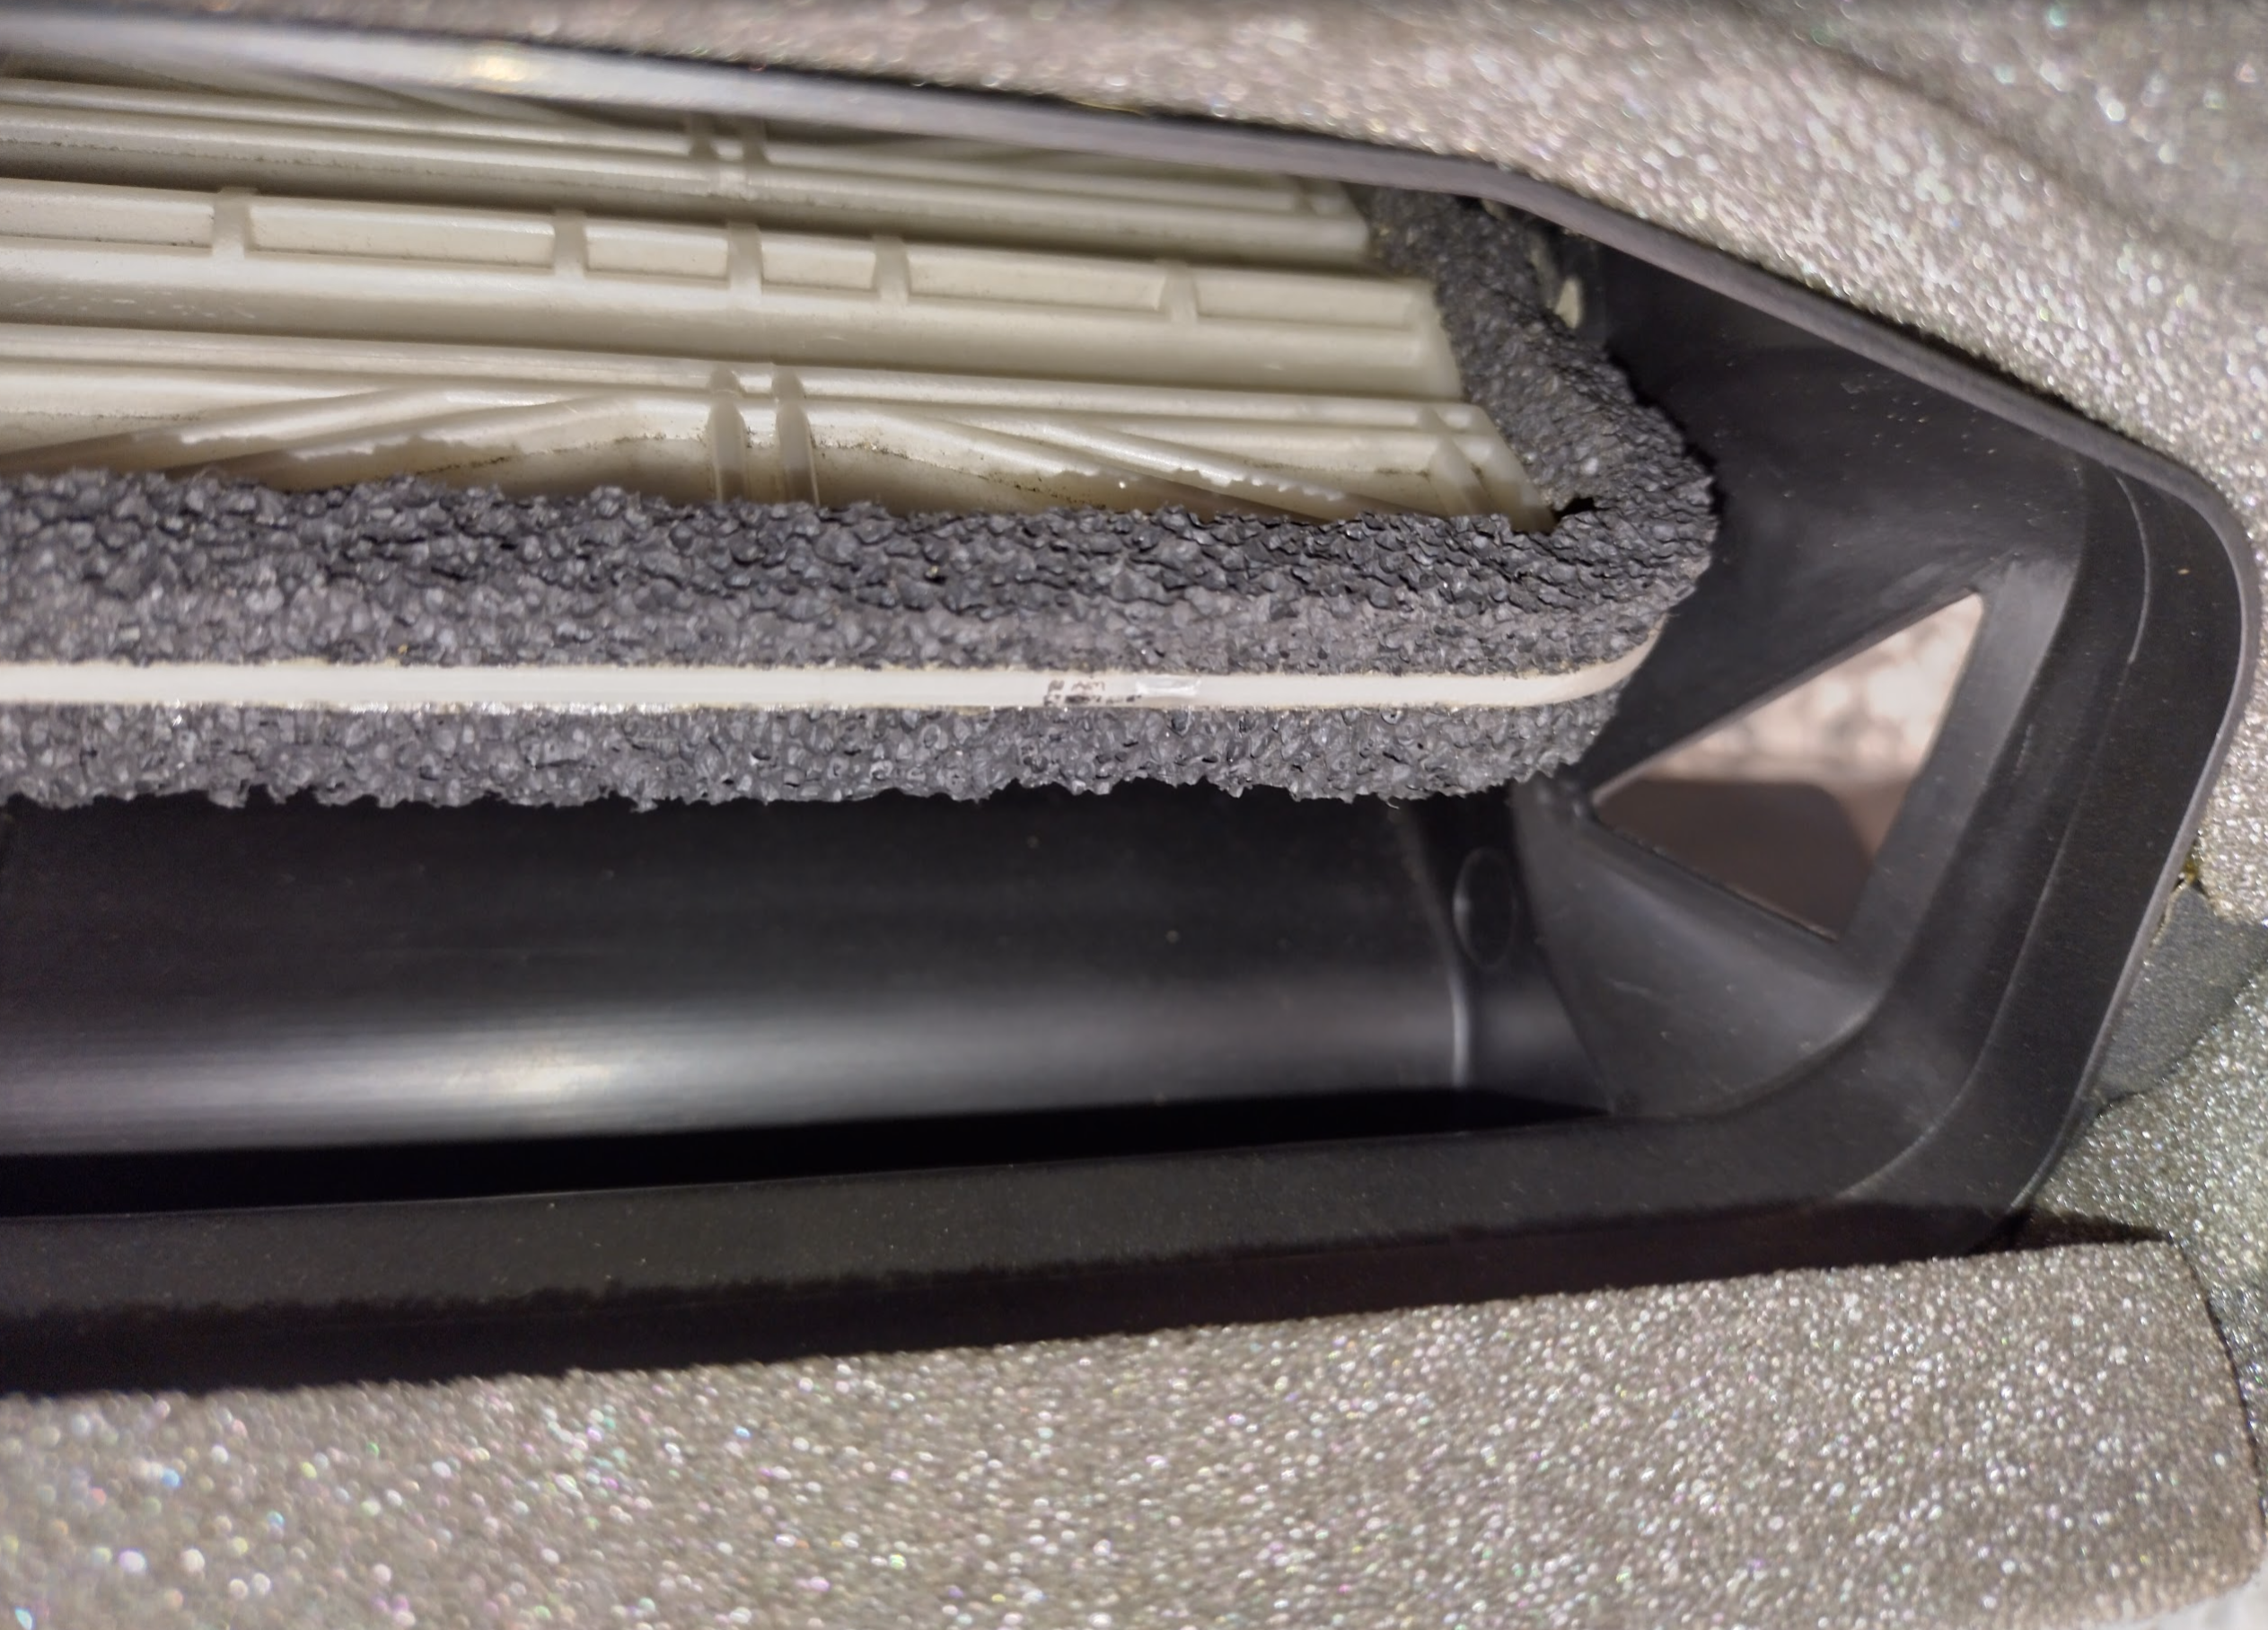
The incoming (pre-evaporator) channel is what we’re interested in. But to get to that you need to take everything else out.
To get the top black area off we need to undo two screws, one cable, and a lot of black clips around the outside. Use a small flat screwdriver inbetween the outside of the clip and the white loop to get these clips out.
The black bit looked fine internally, all foam was great. Little dusty where it came off though. We’ll fix the top foam towards the end.
We need to then remove the black firewall area, unfortuntely the foam has to come off as there’s a screw hidden underneath. Be careful not to drop any in the pipes. If you know where the screw is (from another photo) you can probably avoid removing this foam.
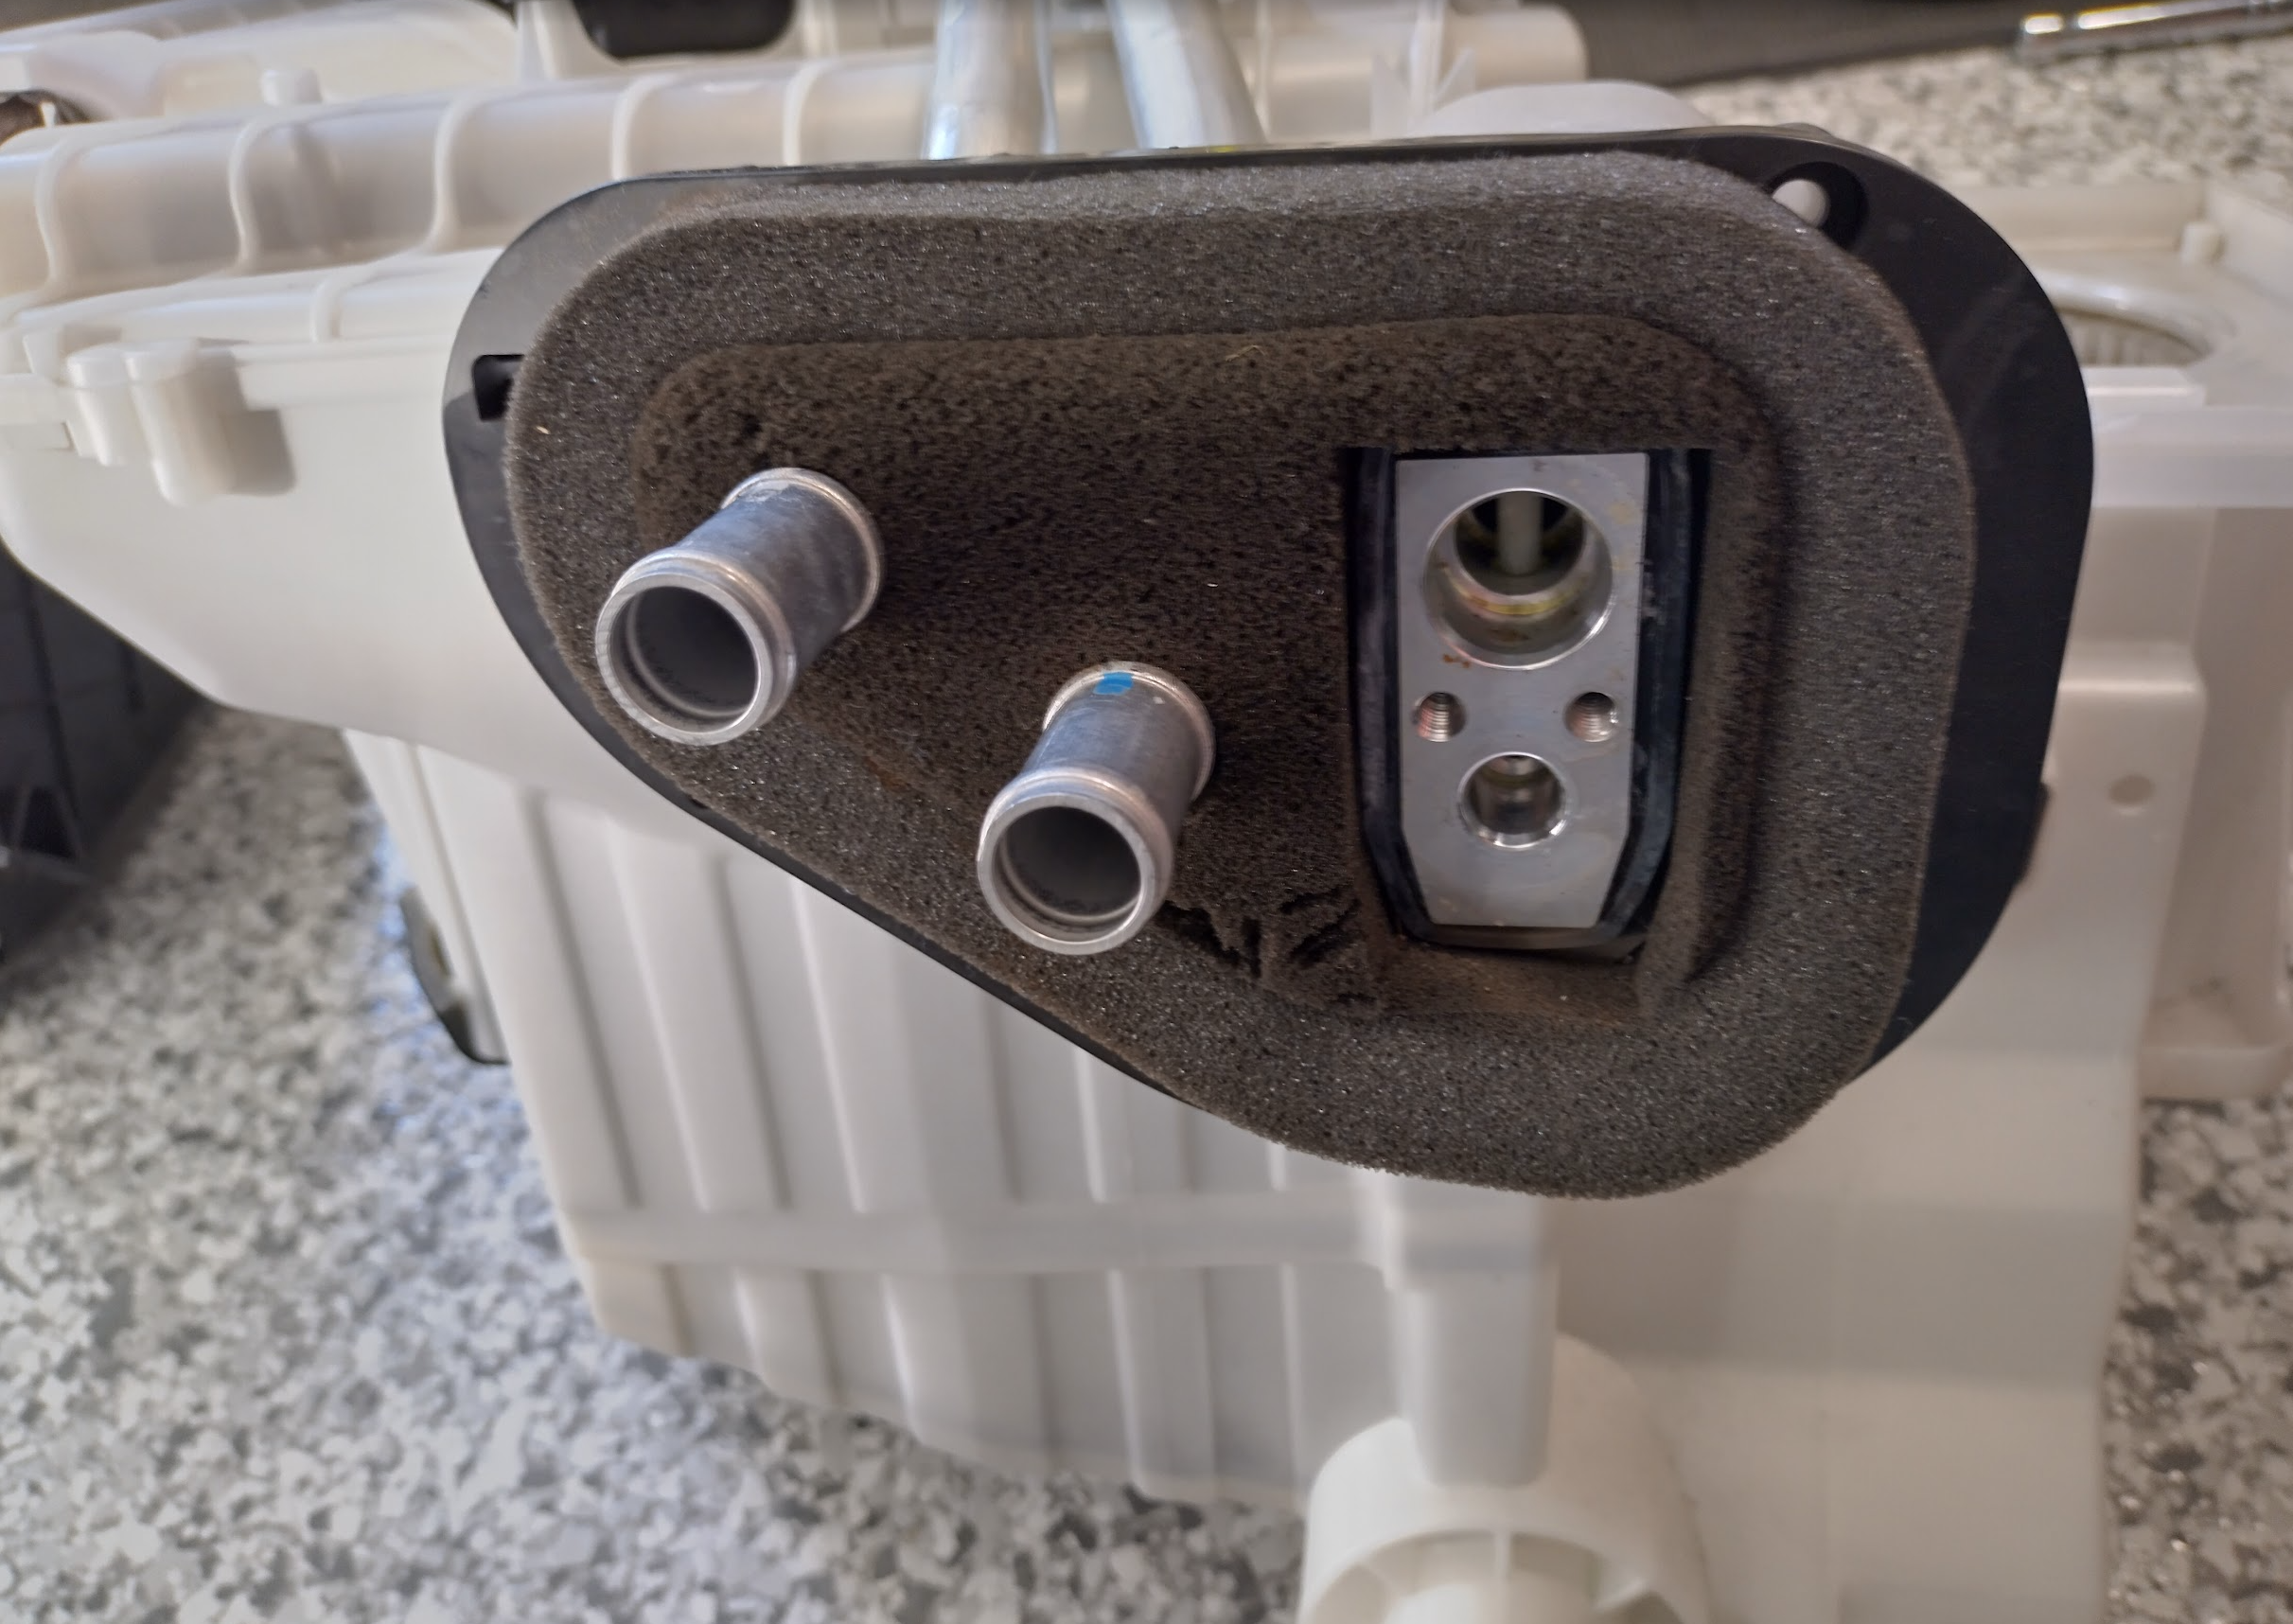
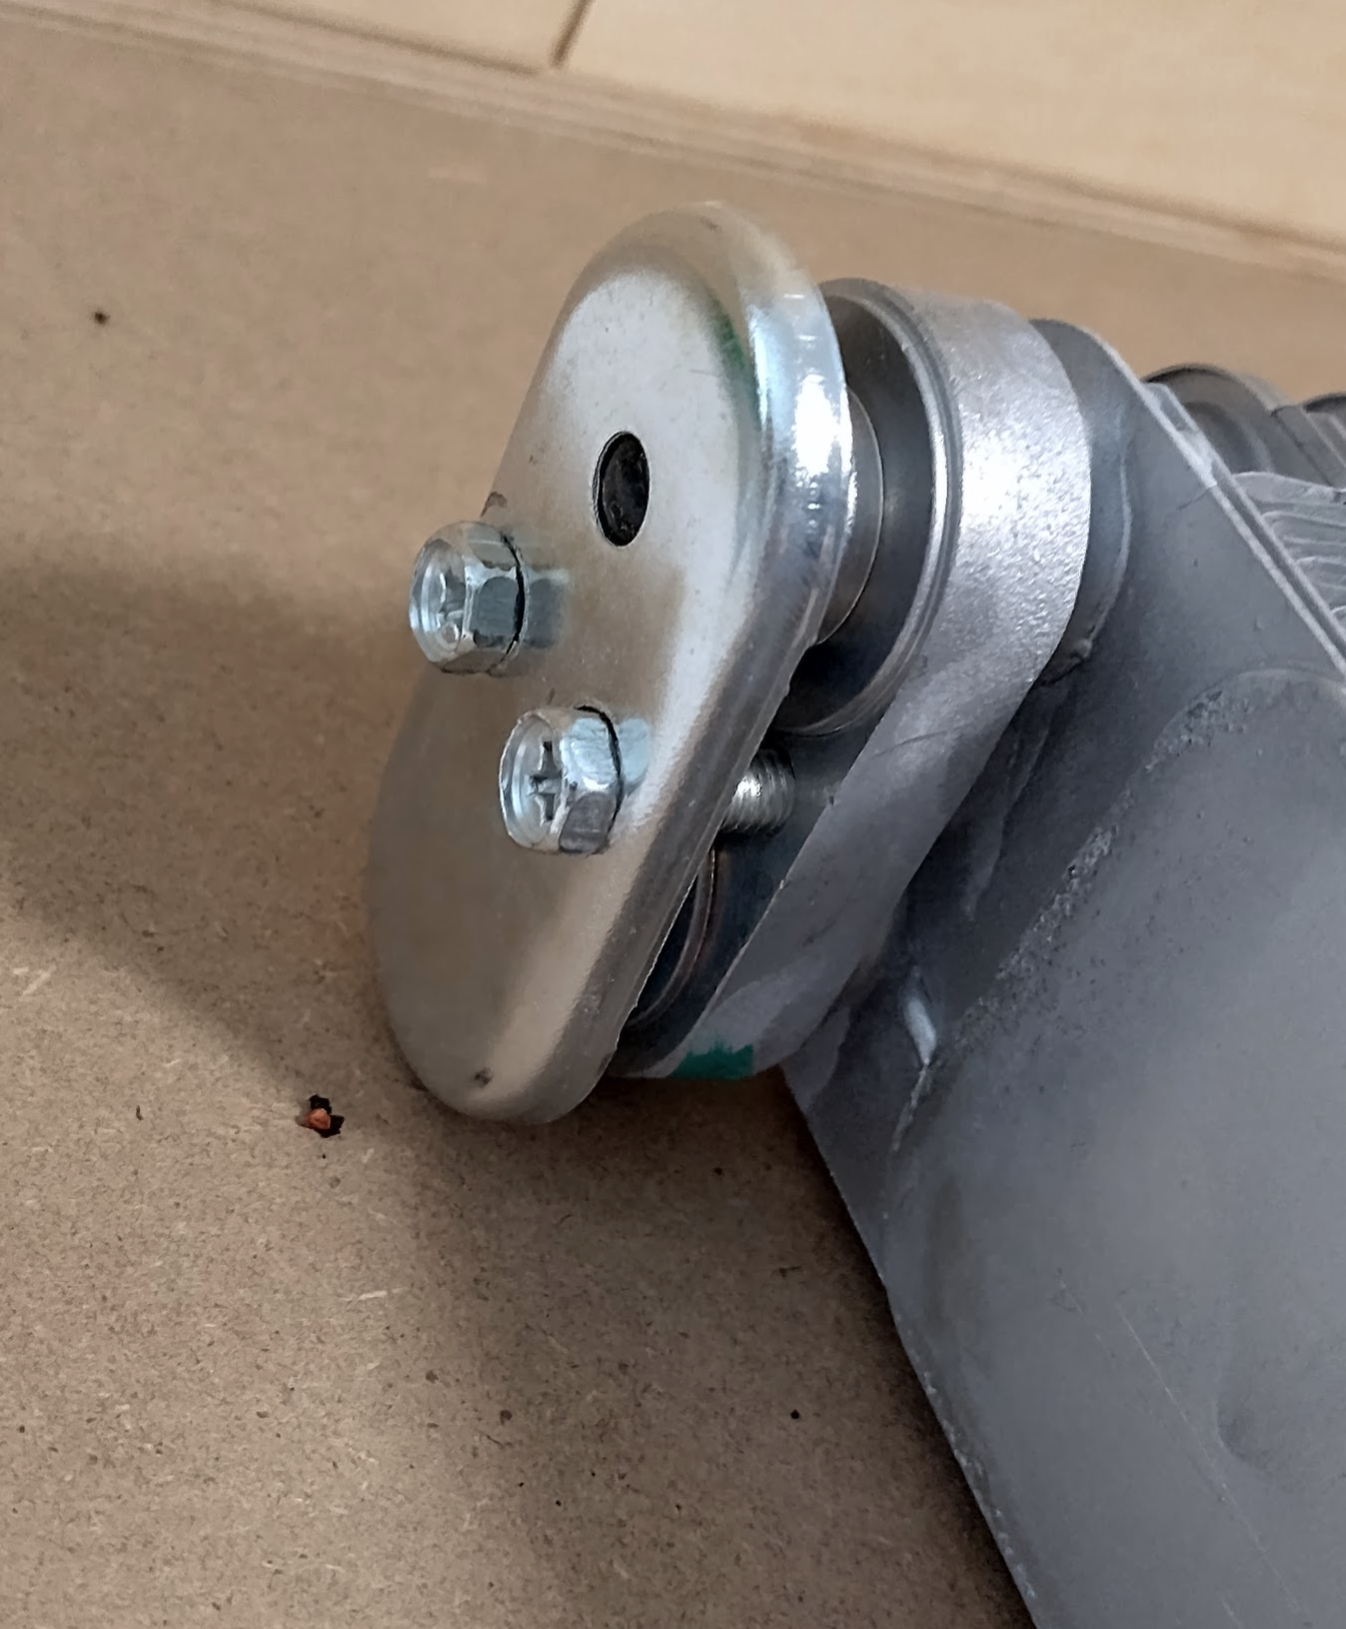
Then remove it by undoing one screw, unclipping a few clips, and remove the rubber seals (almost like rings or washers) around the heater pipes. There’s a stuck rubber seal around the evaporator pipes (this does actually come off), it takes a little bit of force to pull the black panel off due to that.
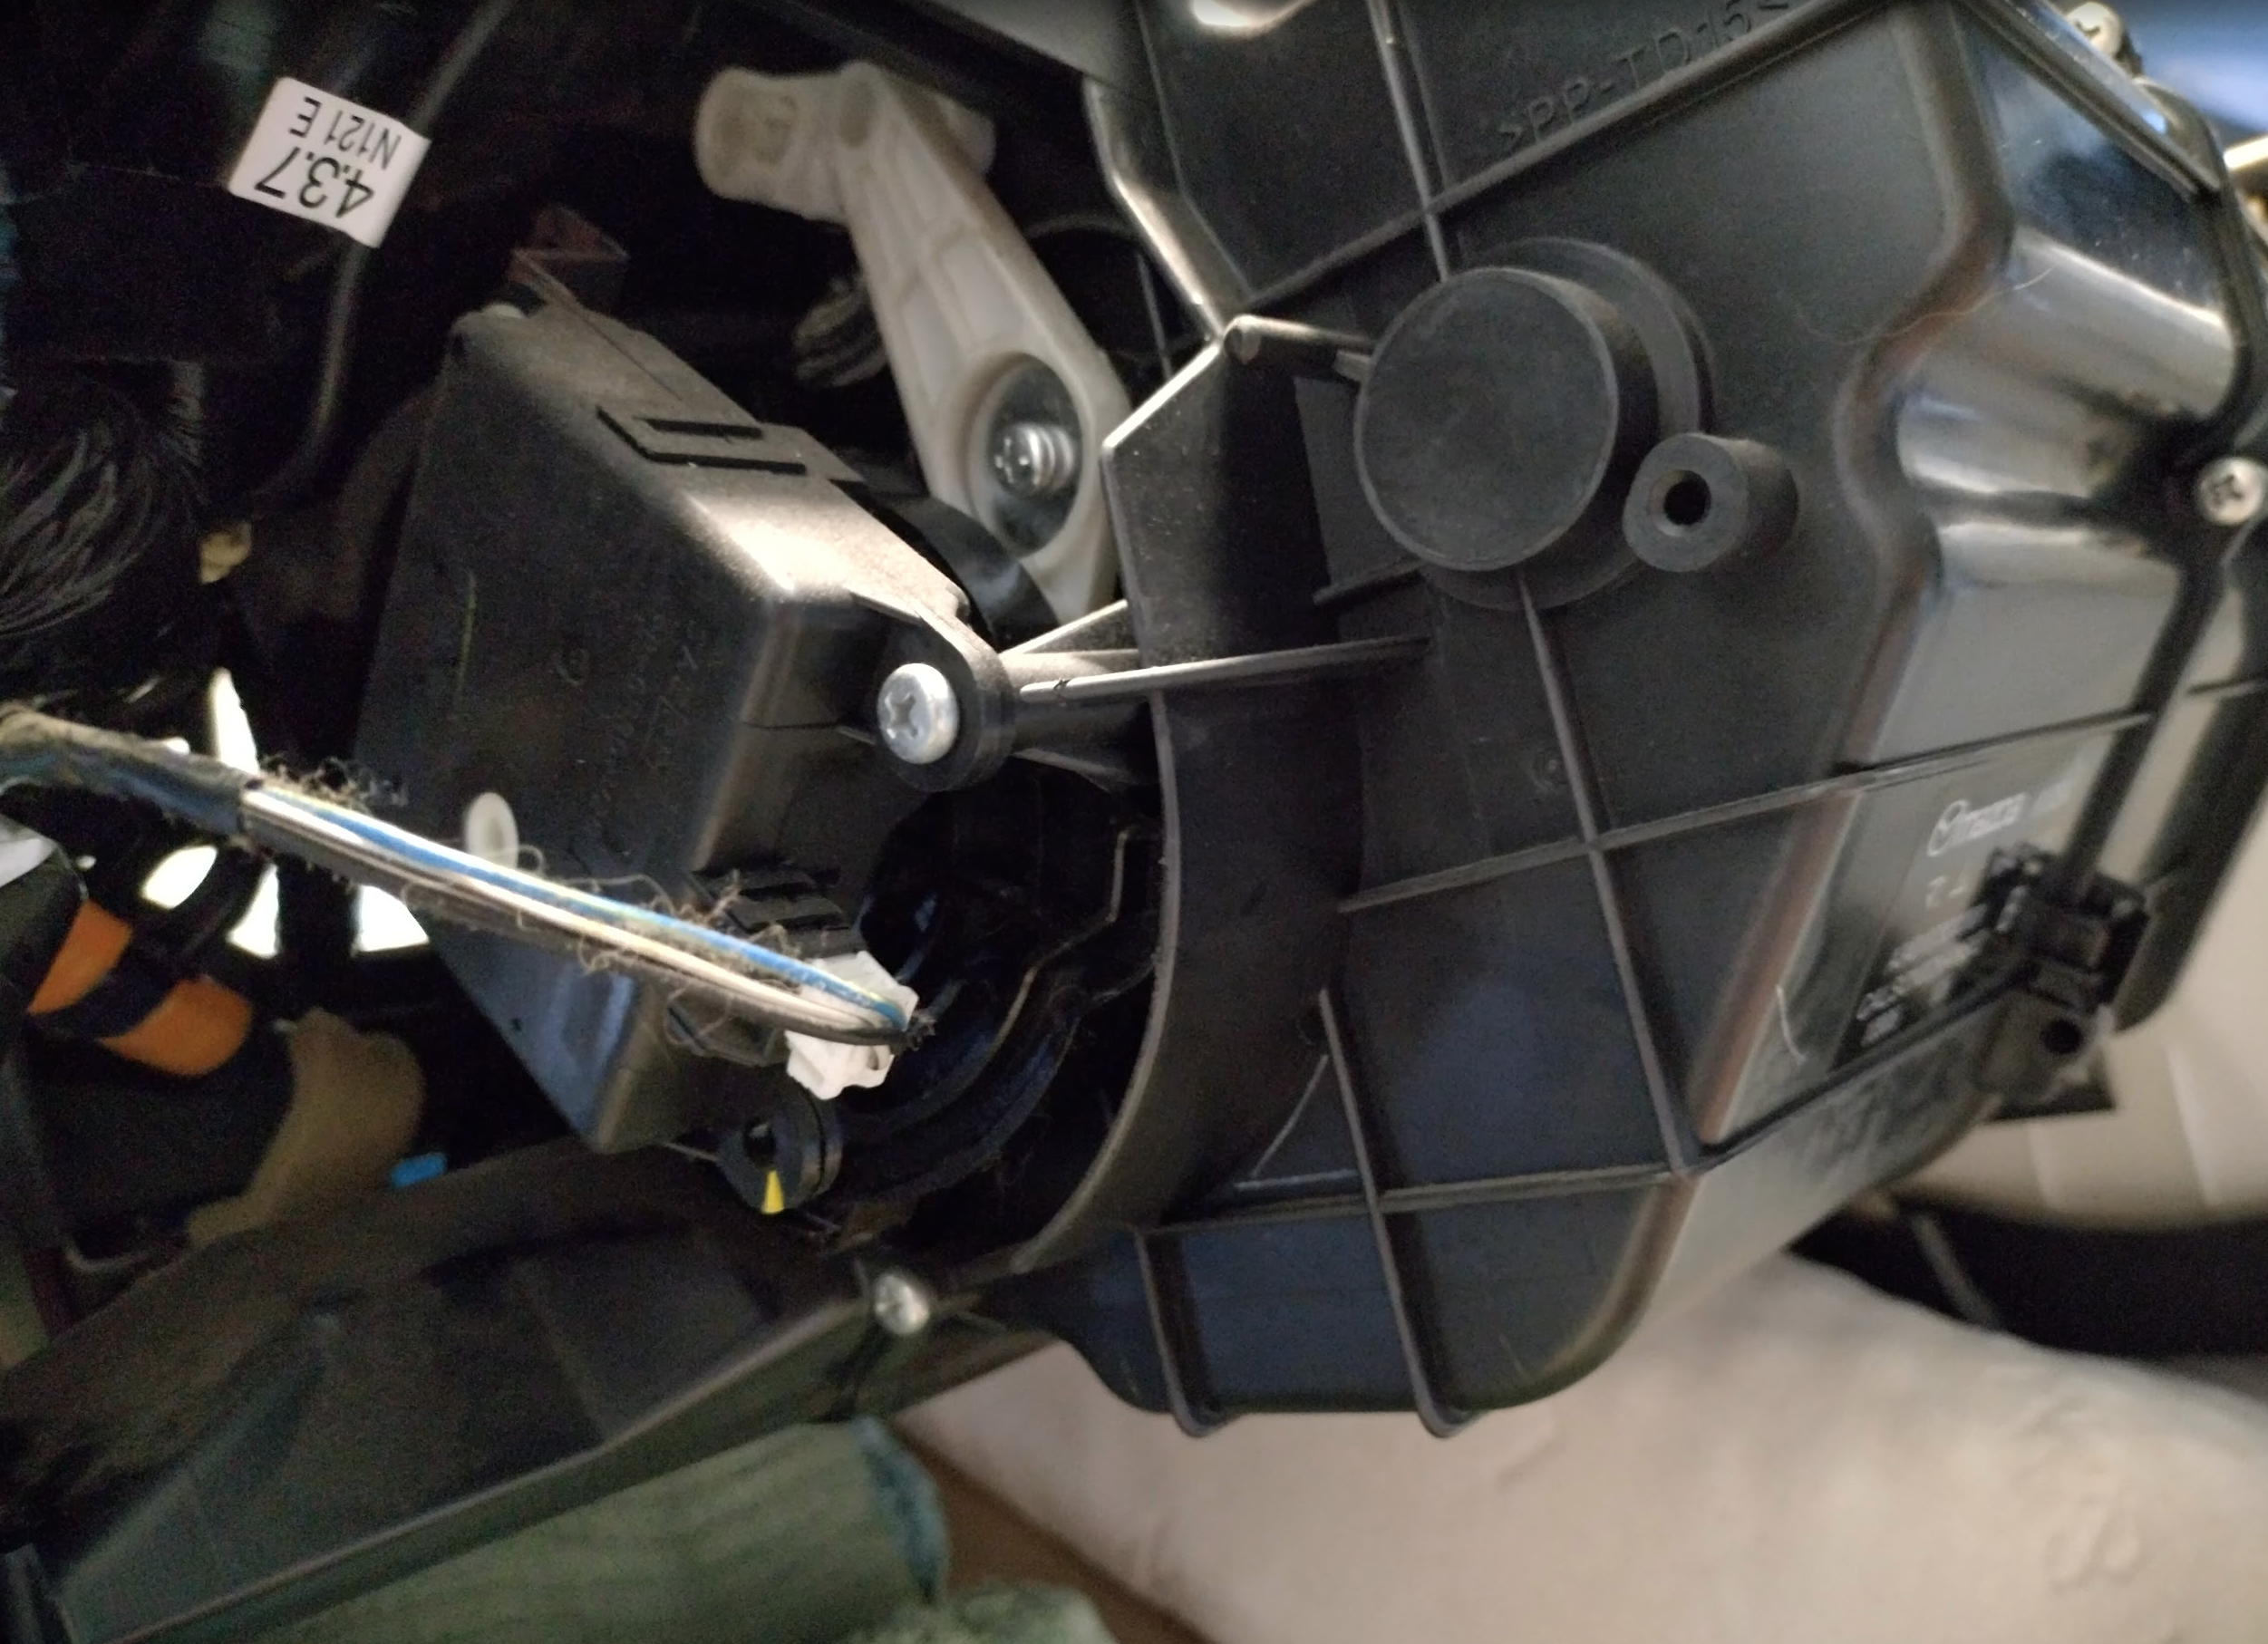
Remove the black motor box with two screws and one plug.
Carefully slide out the heater core, making sure not to spill any more coolant.
This all looks in good shape – maybe just needs a vacuum or blow out of the fins.
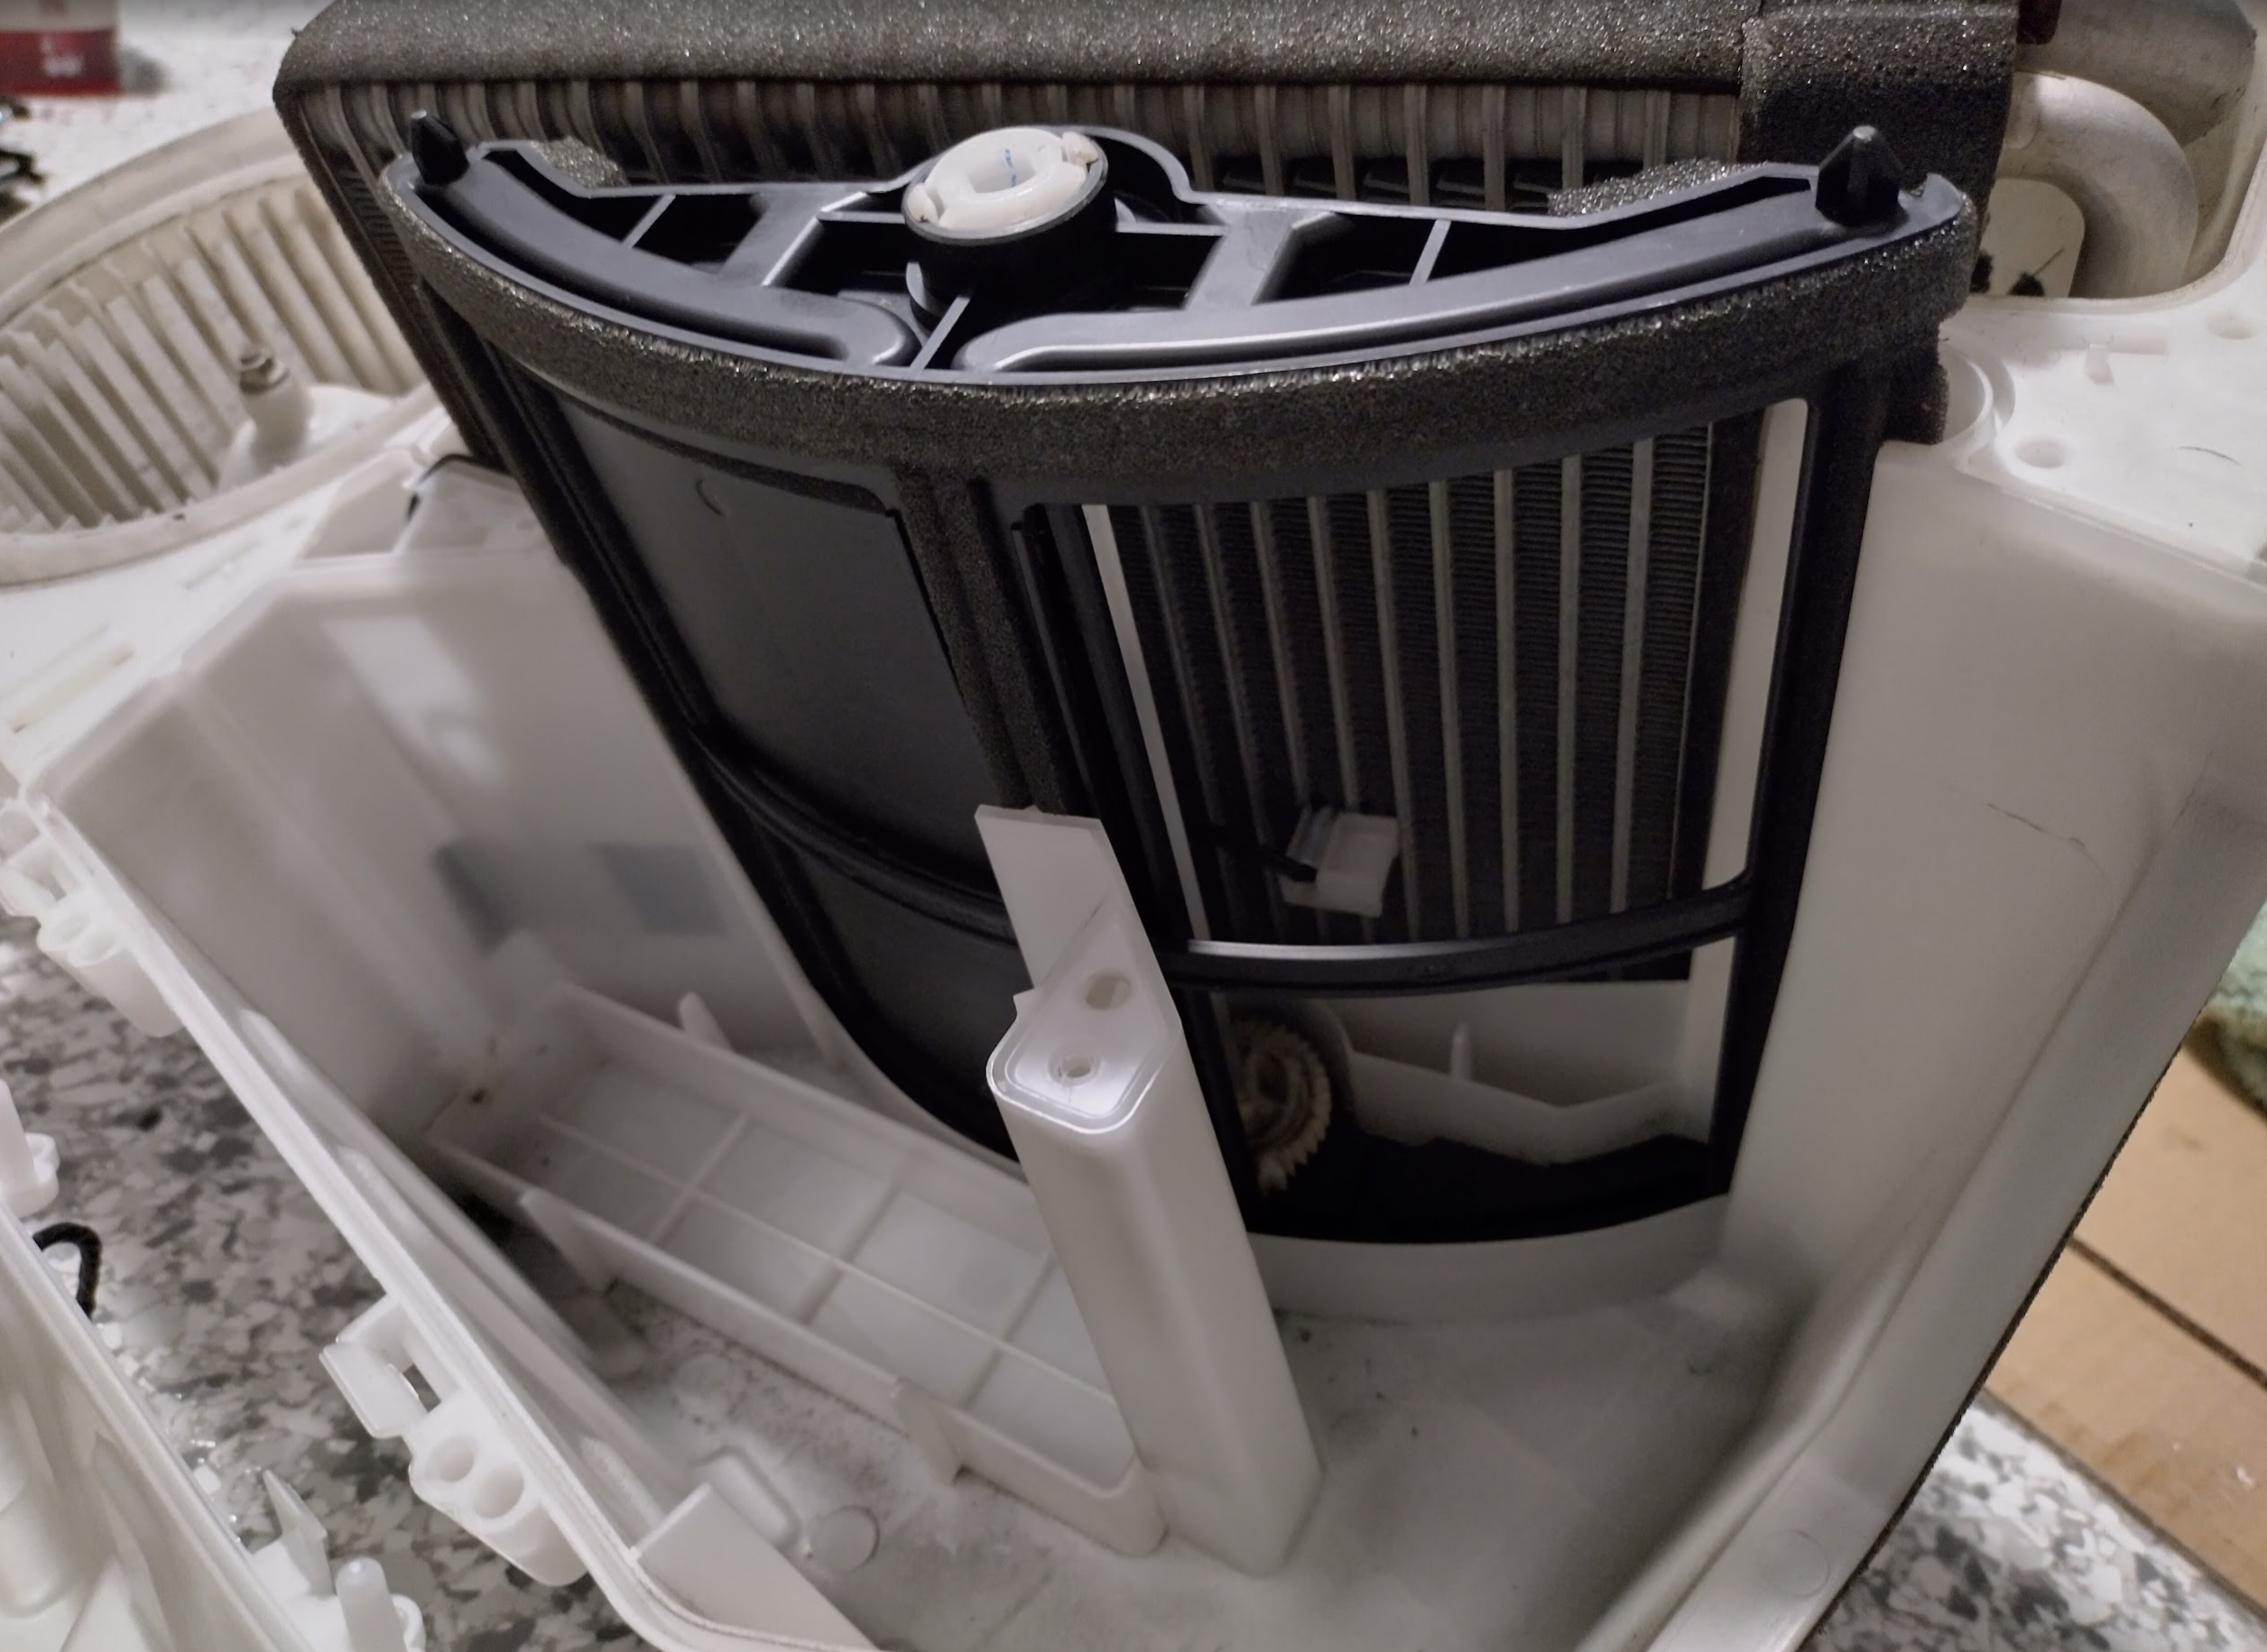
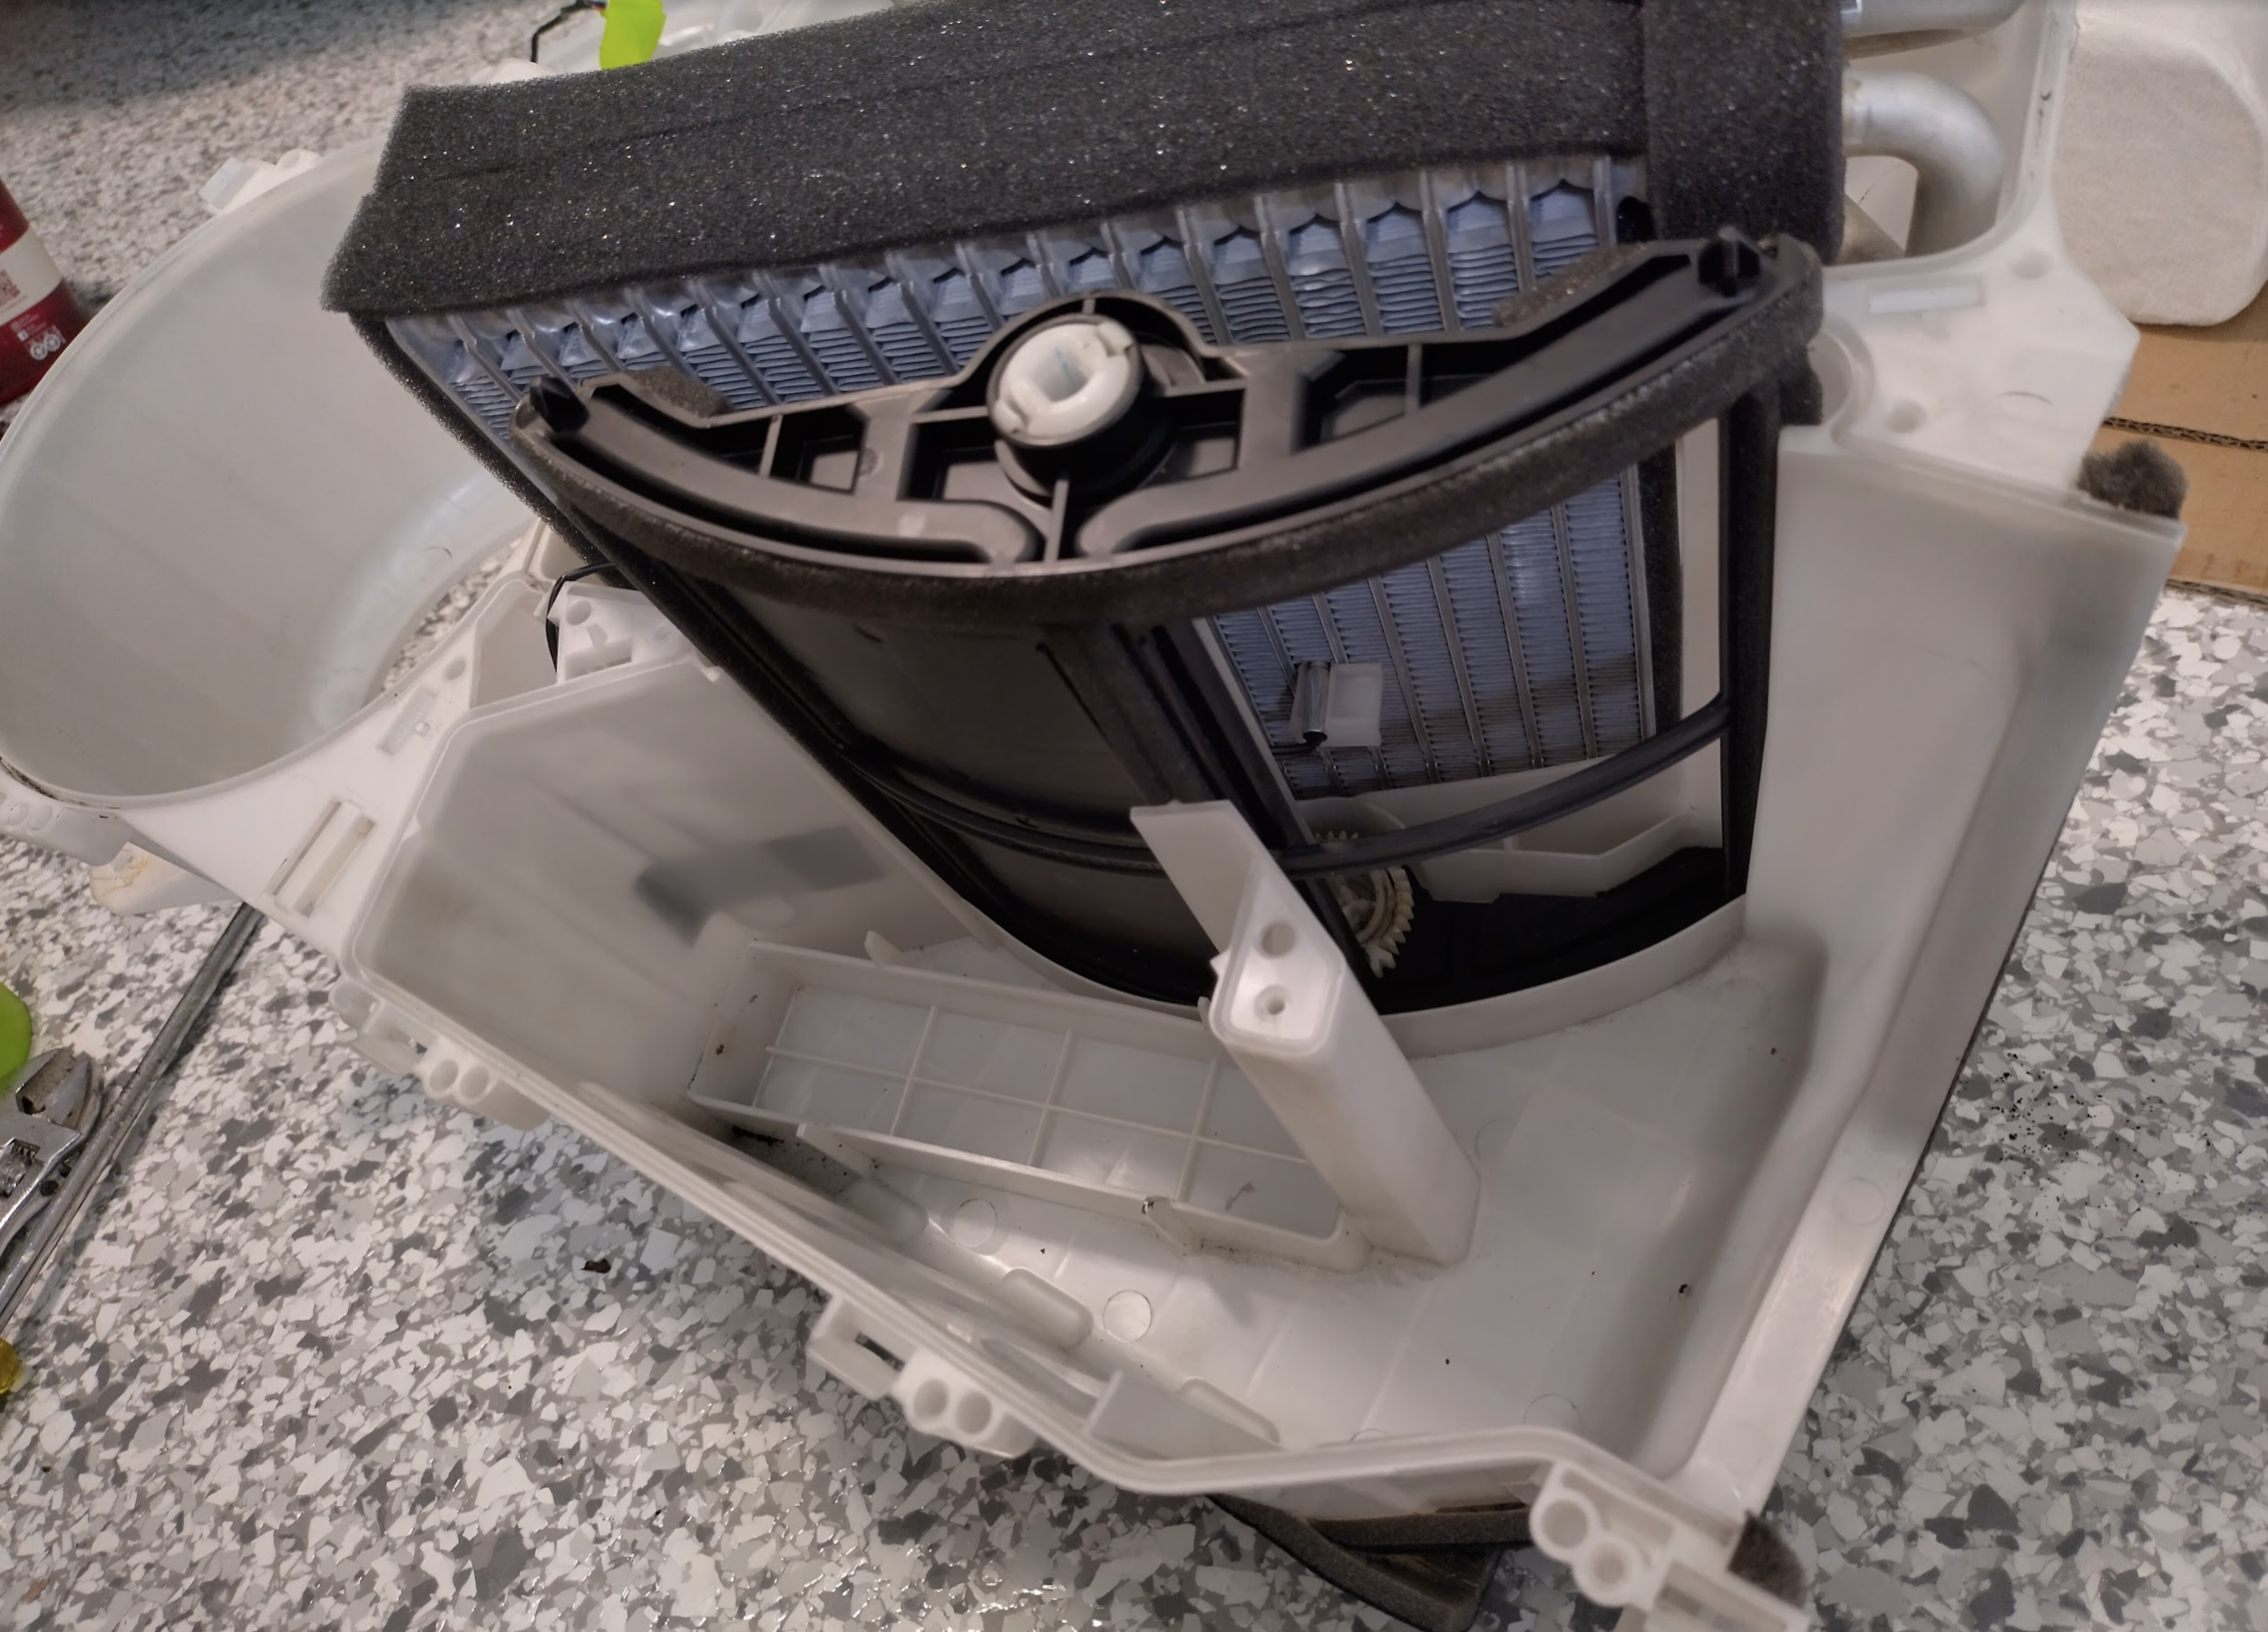
To get to the evaporator finally, we need to remove the top white cover area with 3 screws and a lot of clips all around and a few hidden within it (mainly near the blower). Once you have loosened one side the rest will come free a little easier.

With the top removed, you can see the evaporator has debris, and you can also see the flap that is designed to guide the airflow to the (now removed) heater core. For some reason mine is once again all plastic whereas others have metal flaps with foam glued all to the metal. Maybe only from the NA/NB?
To remove the evaporator it just slides out, but has one plug which is actually a probe that needs pulling out – record where this is. You can also see a stain which from a video about replacing the evaporator they suggest it could be the dye they use to find leaks?
The black sliding door easily slides out, but it looks great no repairs needed. Keep this in the same sliding position when putting it back together.

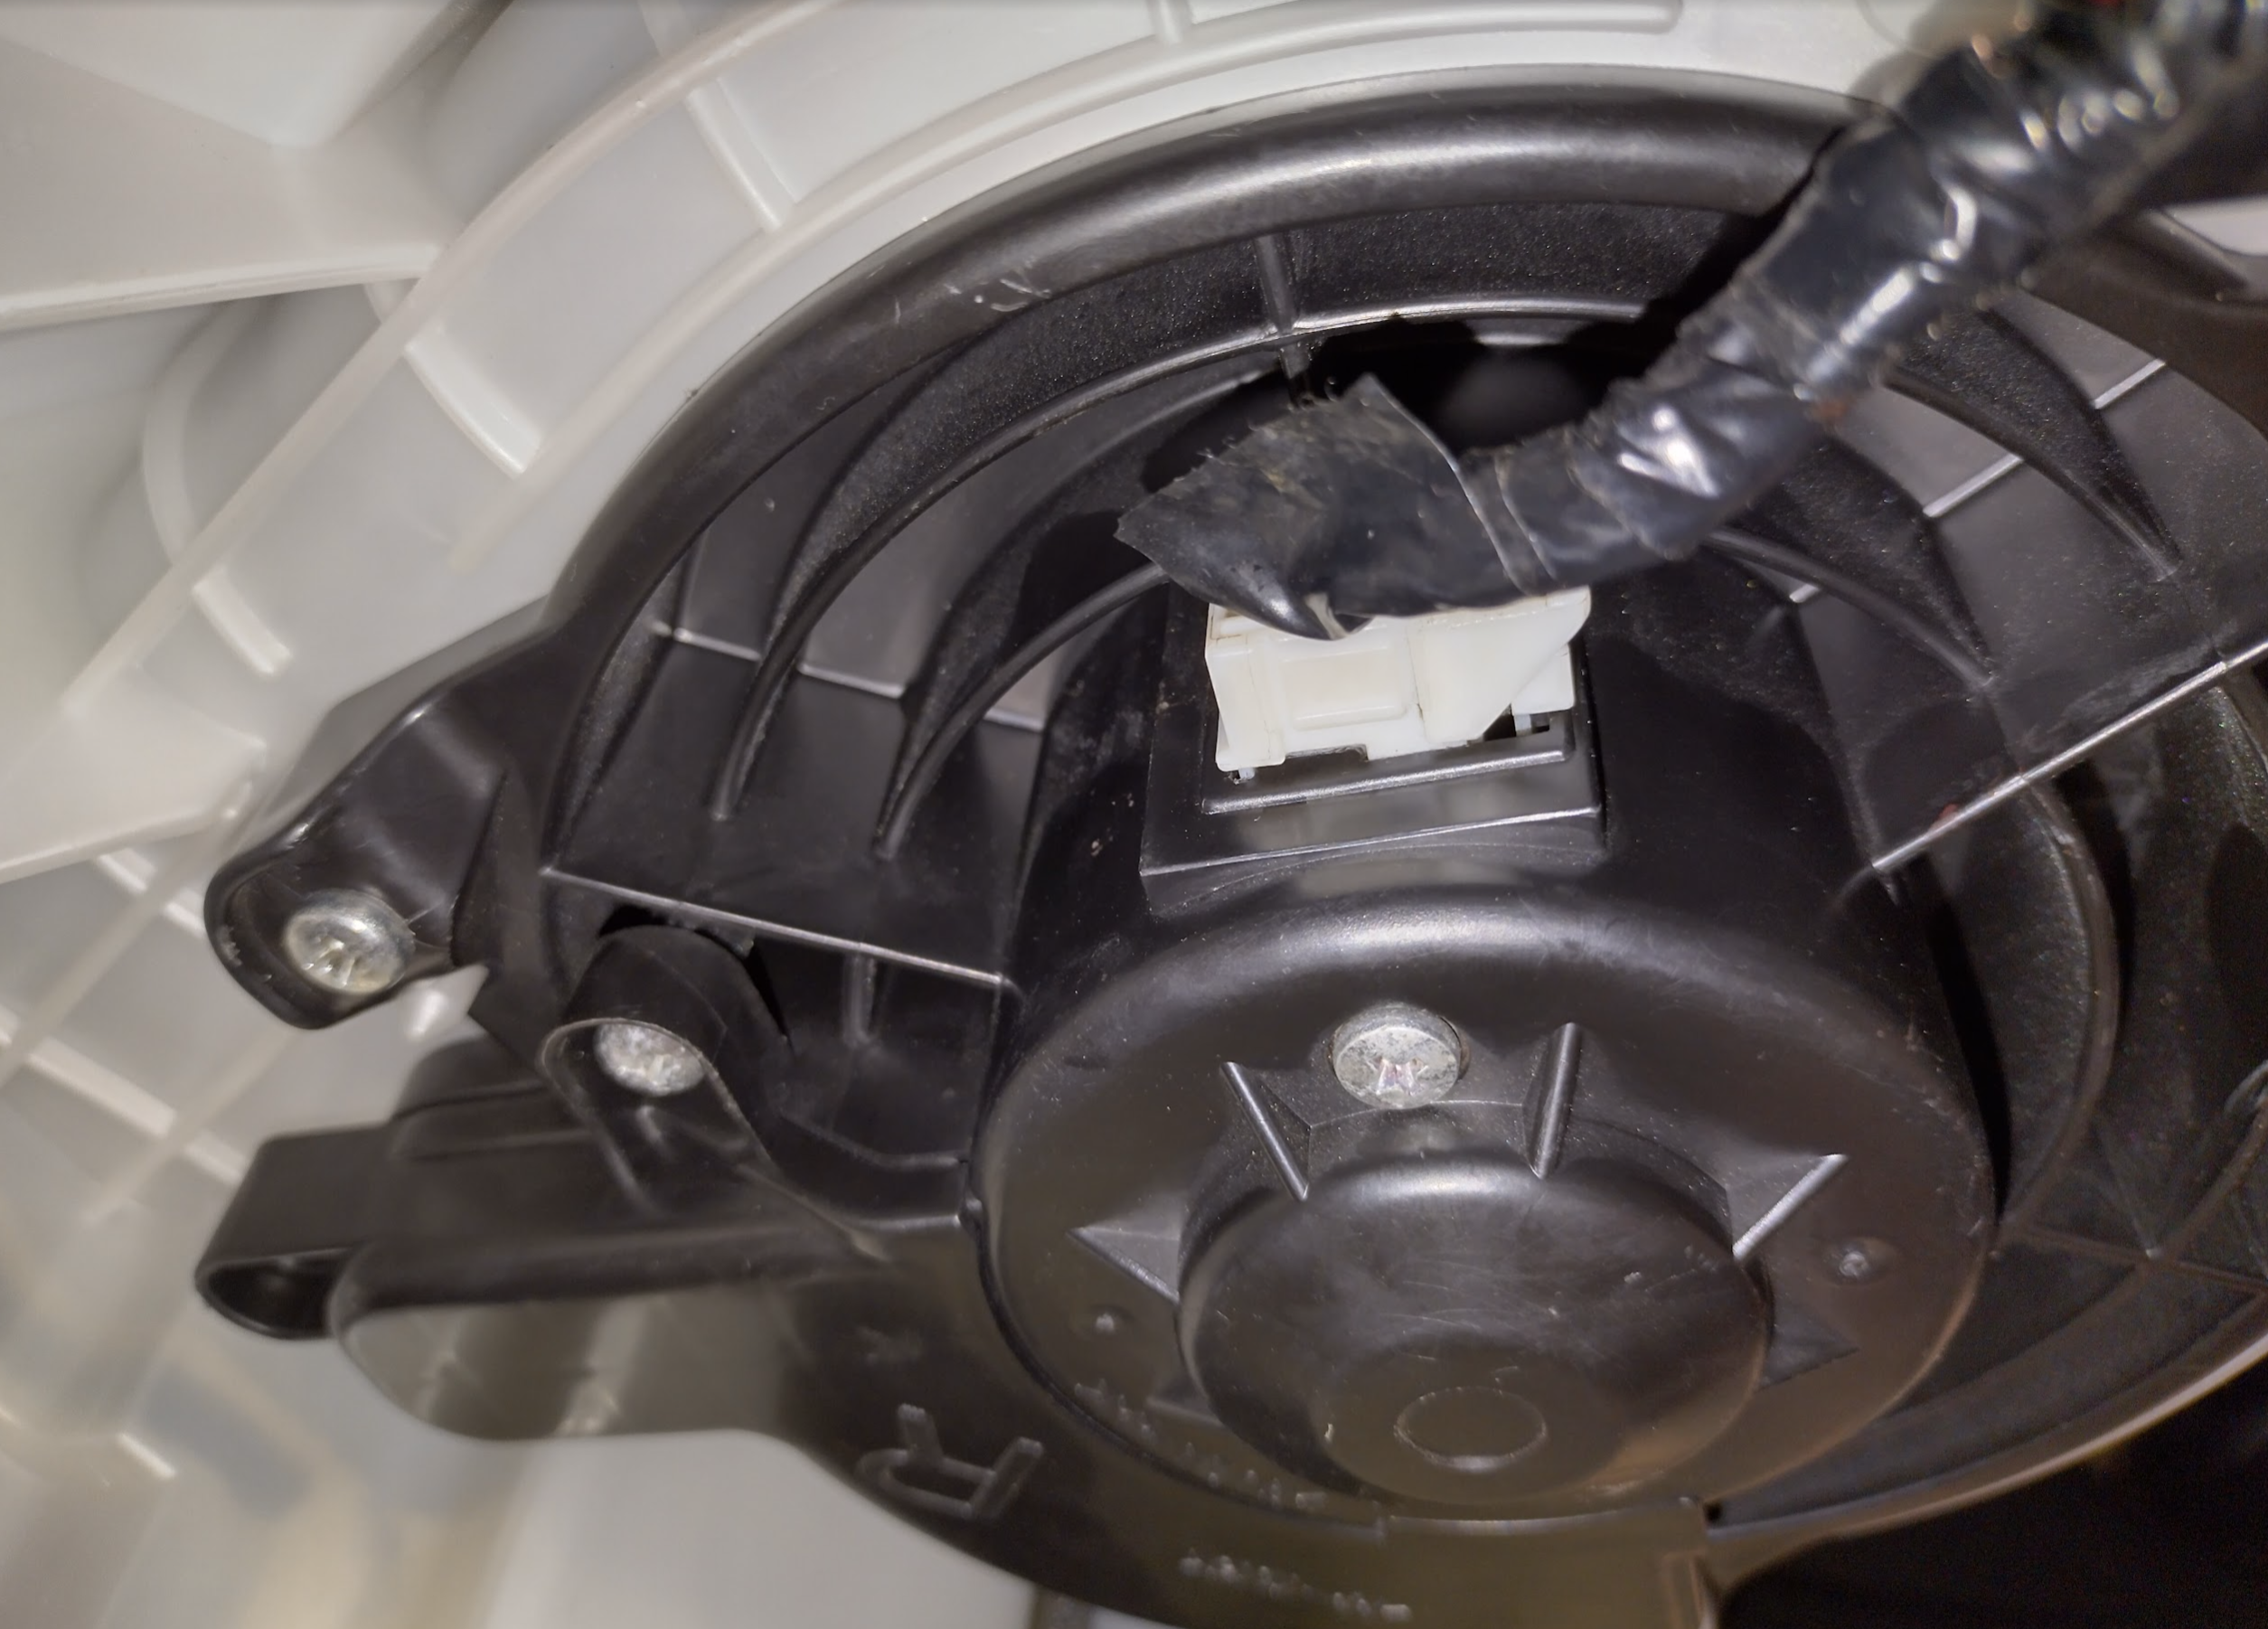
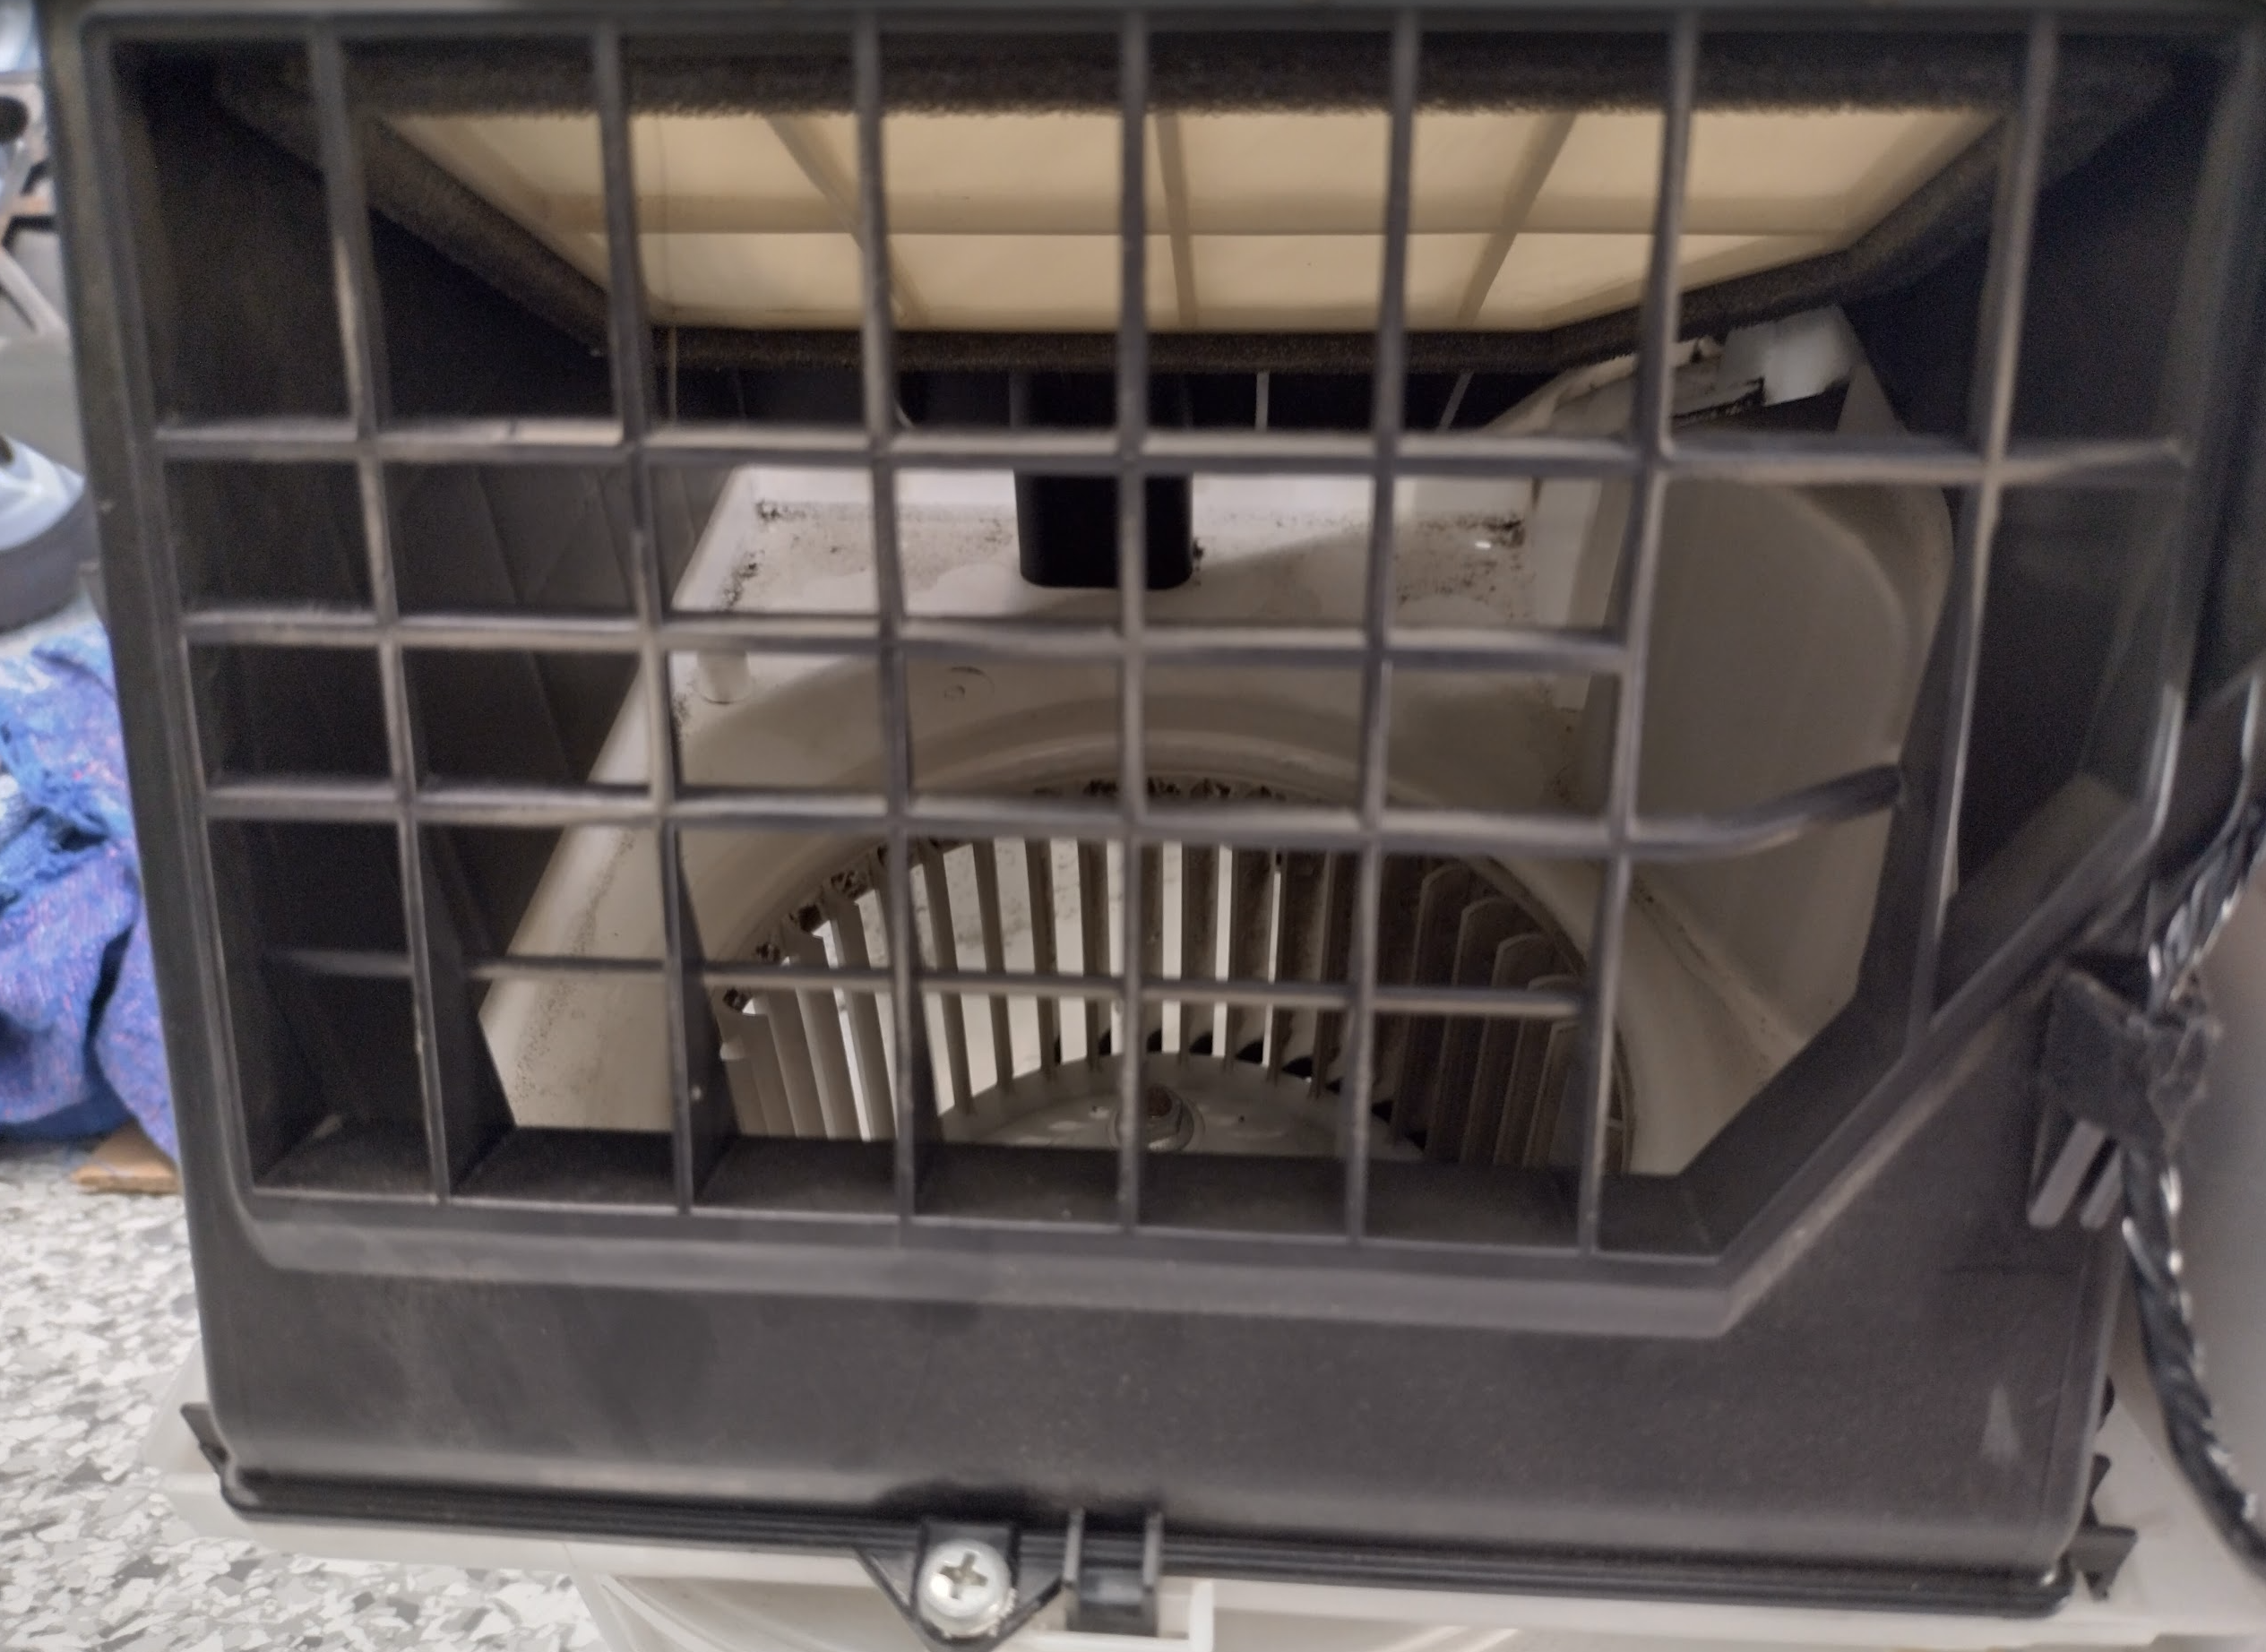
To give this a proper clean I need to remove the blower, which is just a few screws underneath. Take note of where the plug is (pointing to the top left in this photo) – the blower can only go in one position anyway due to the plastic spikes next to each screw.
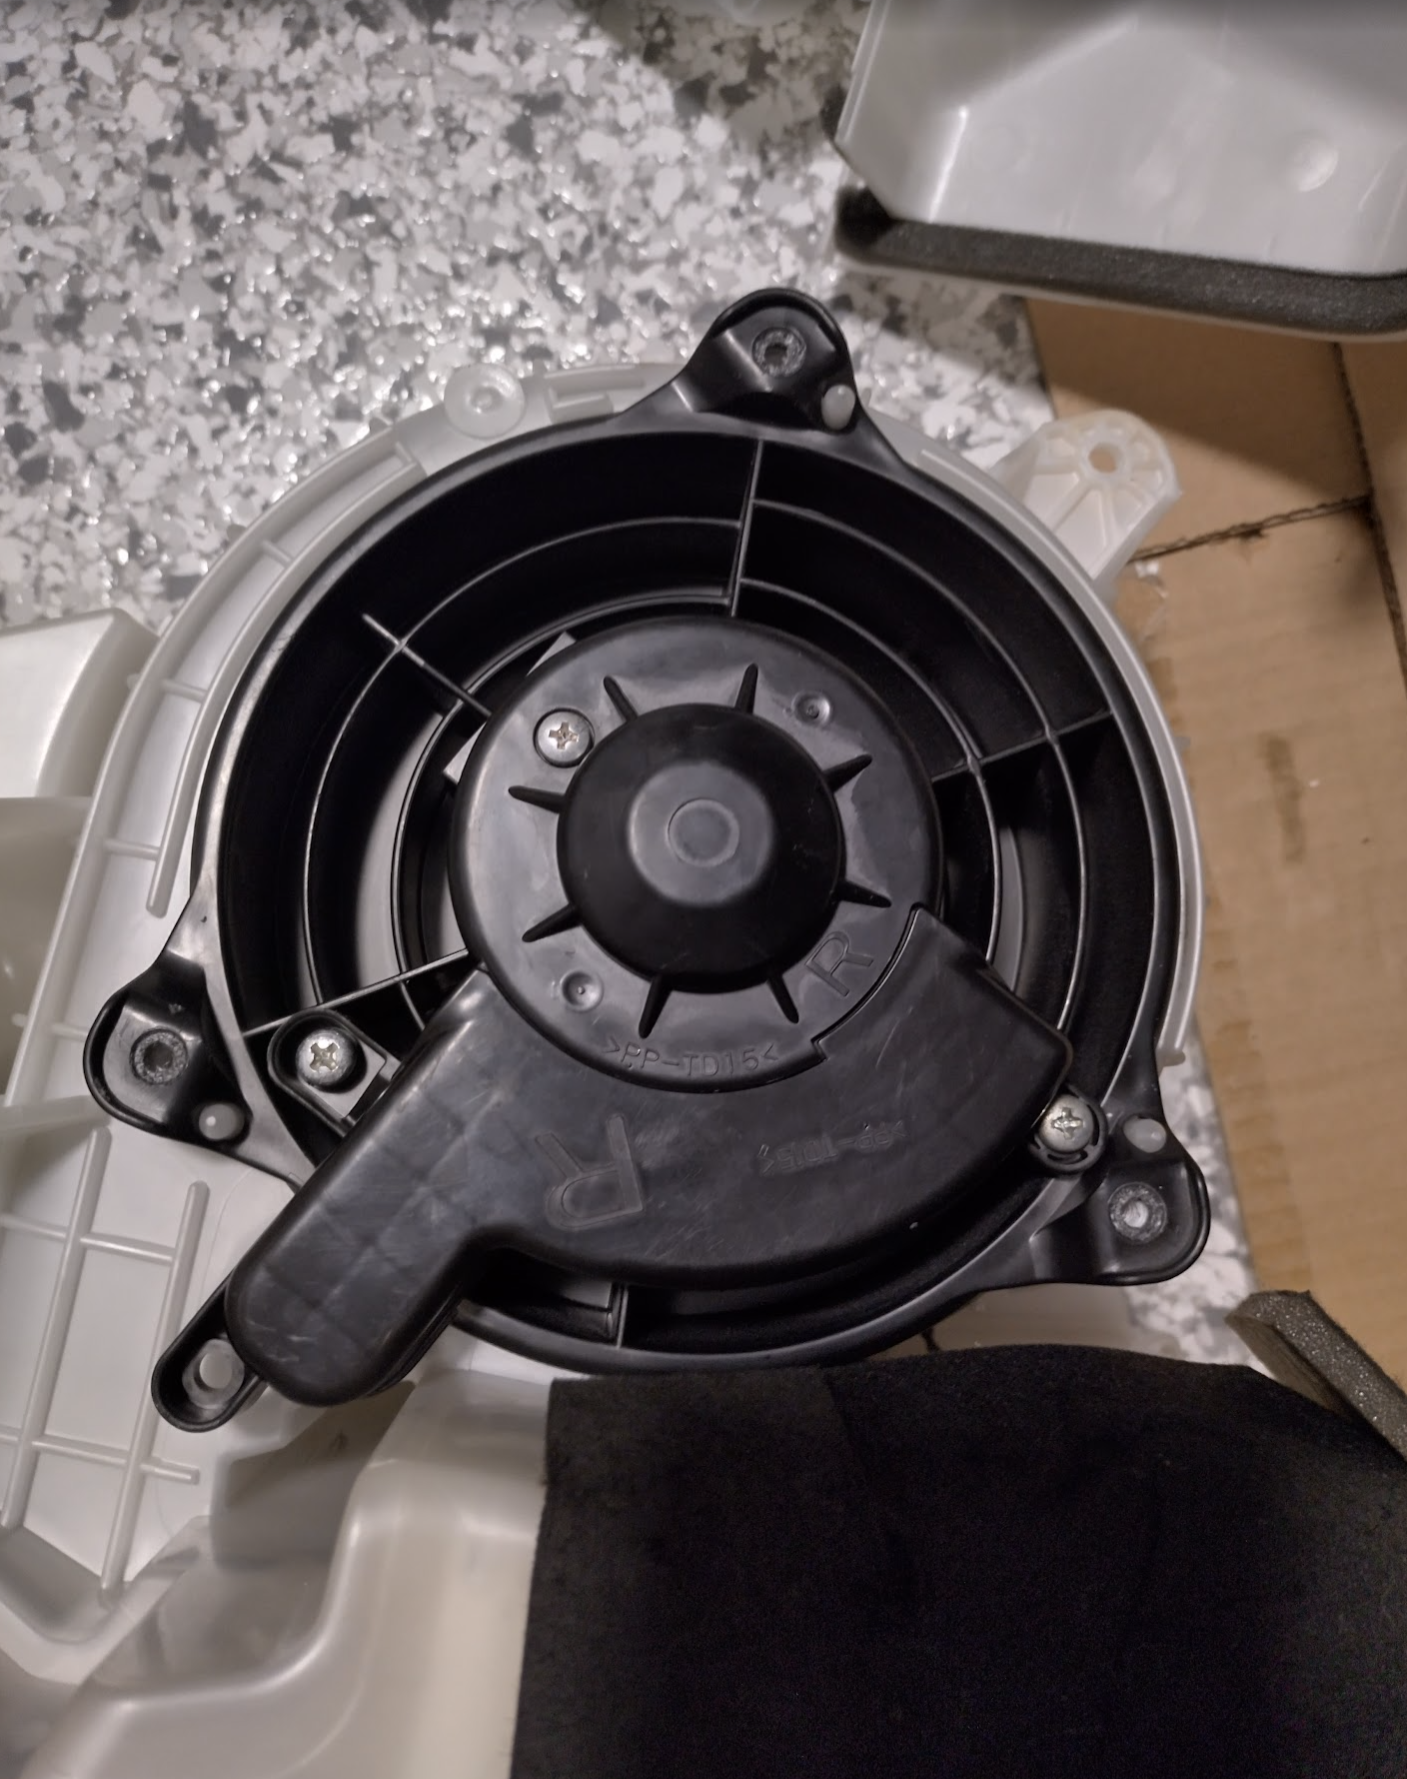
All apart and ready to clean.
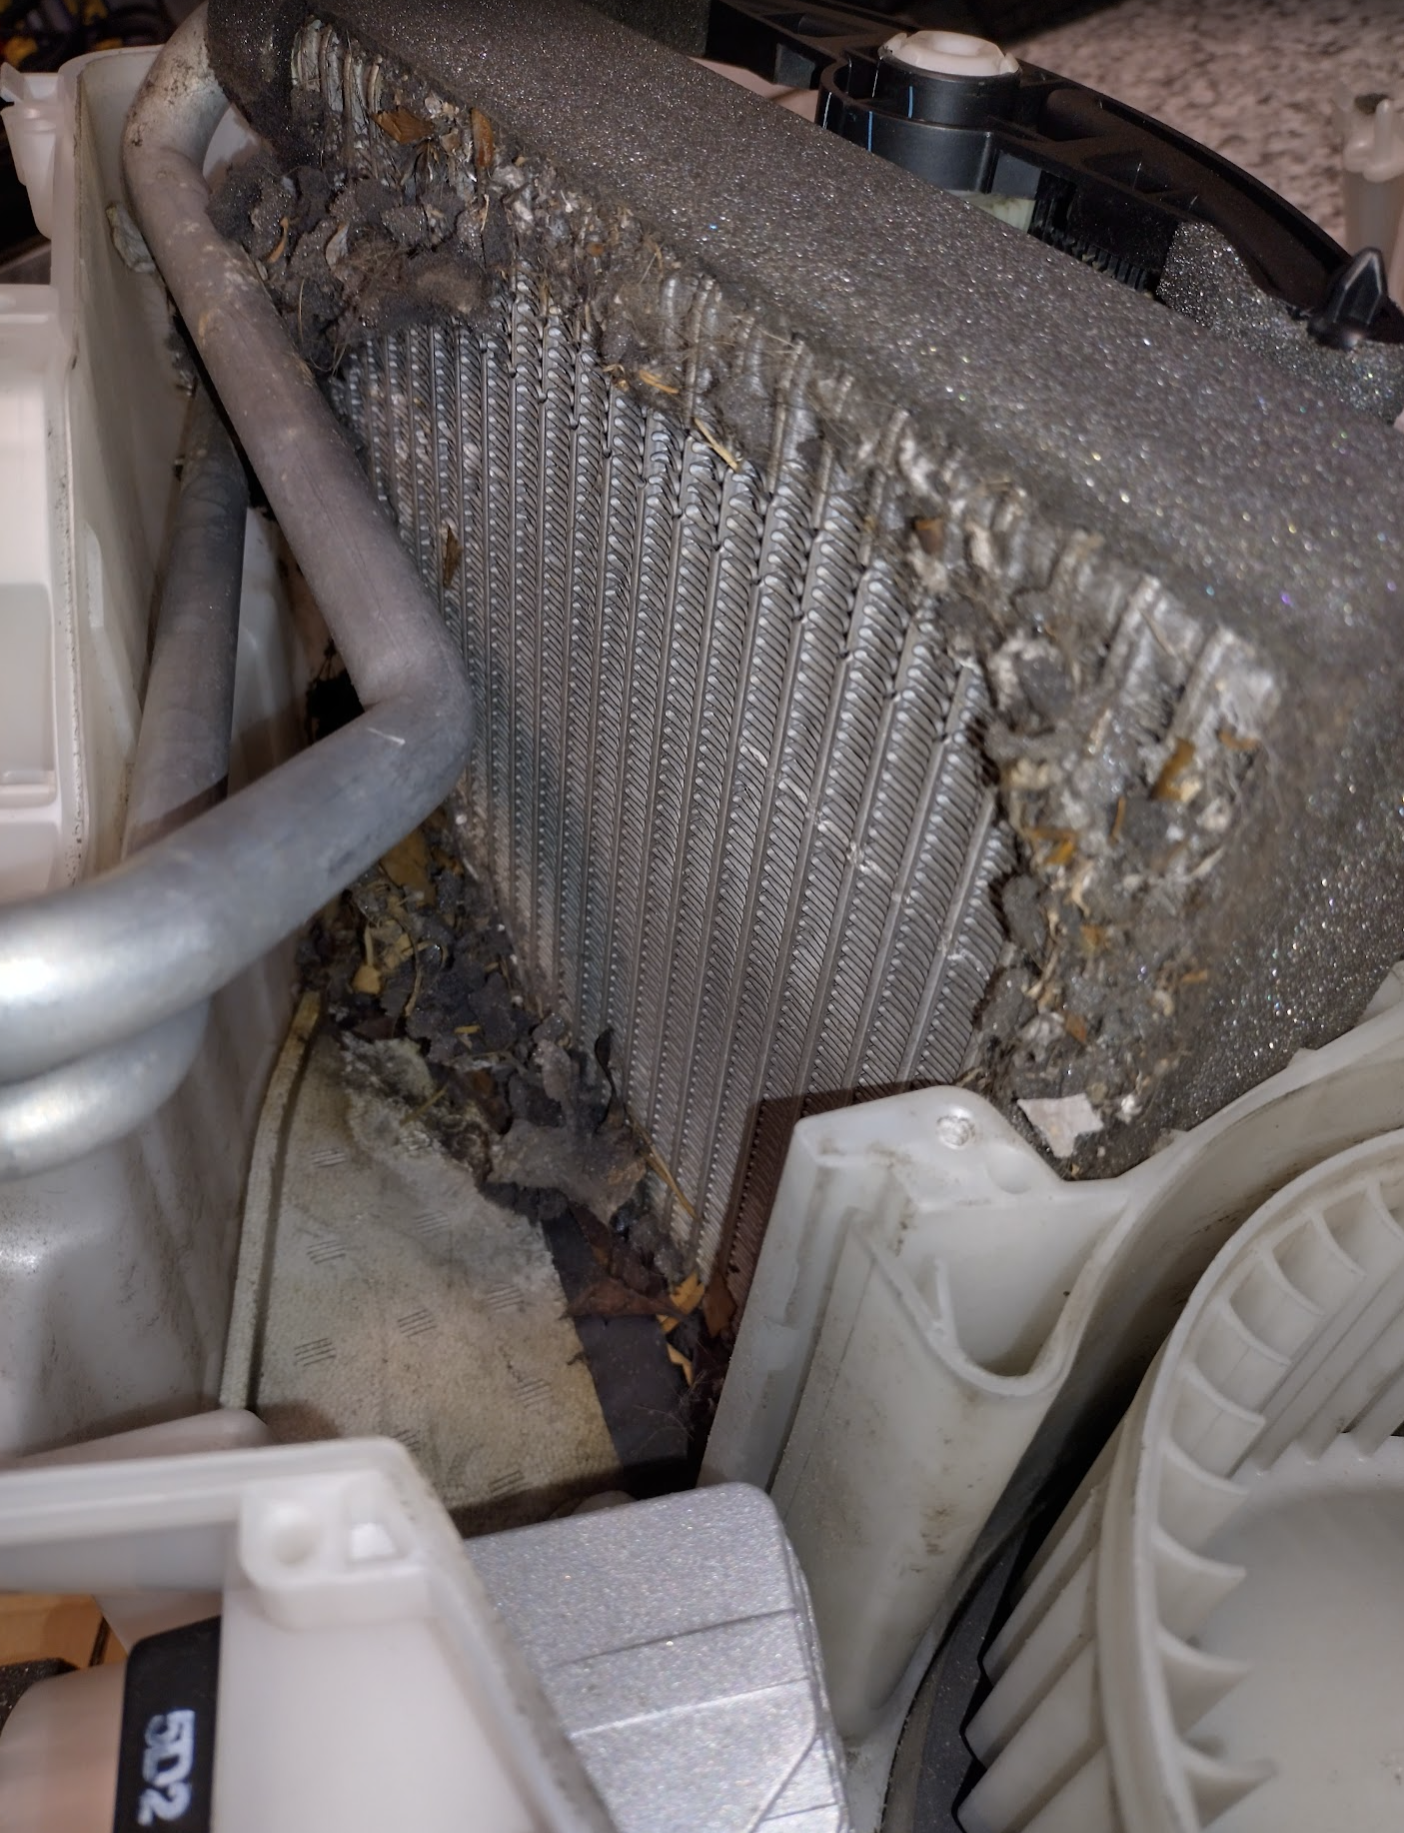
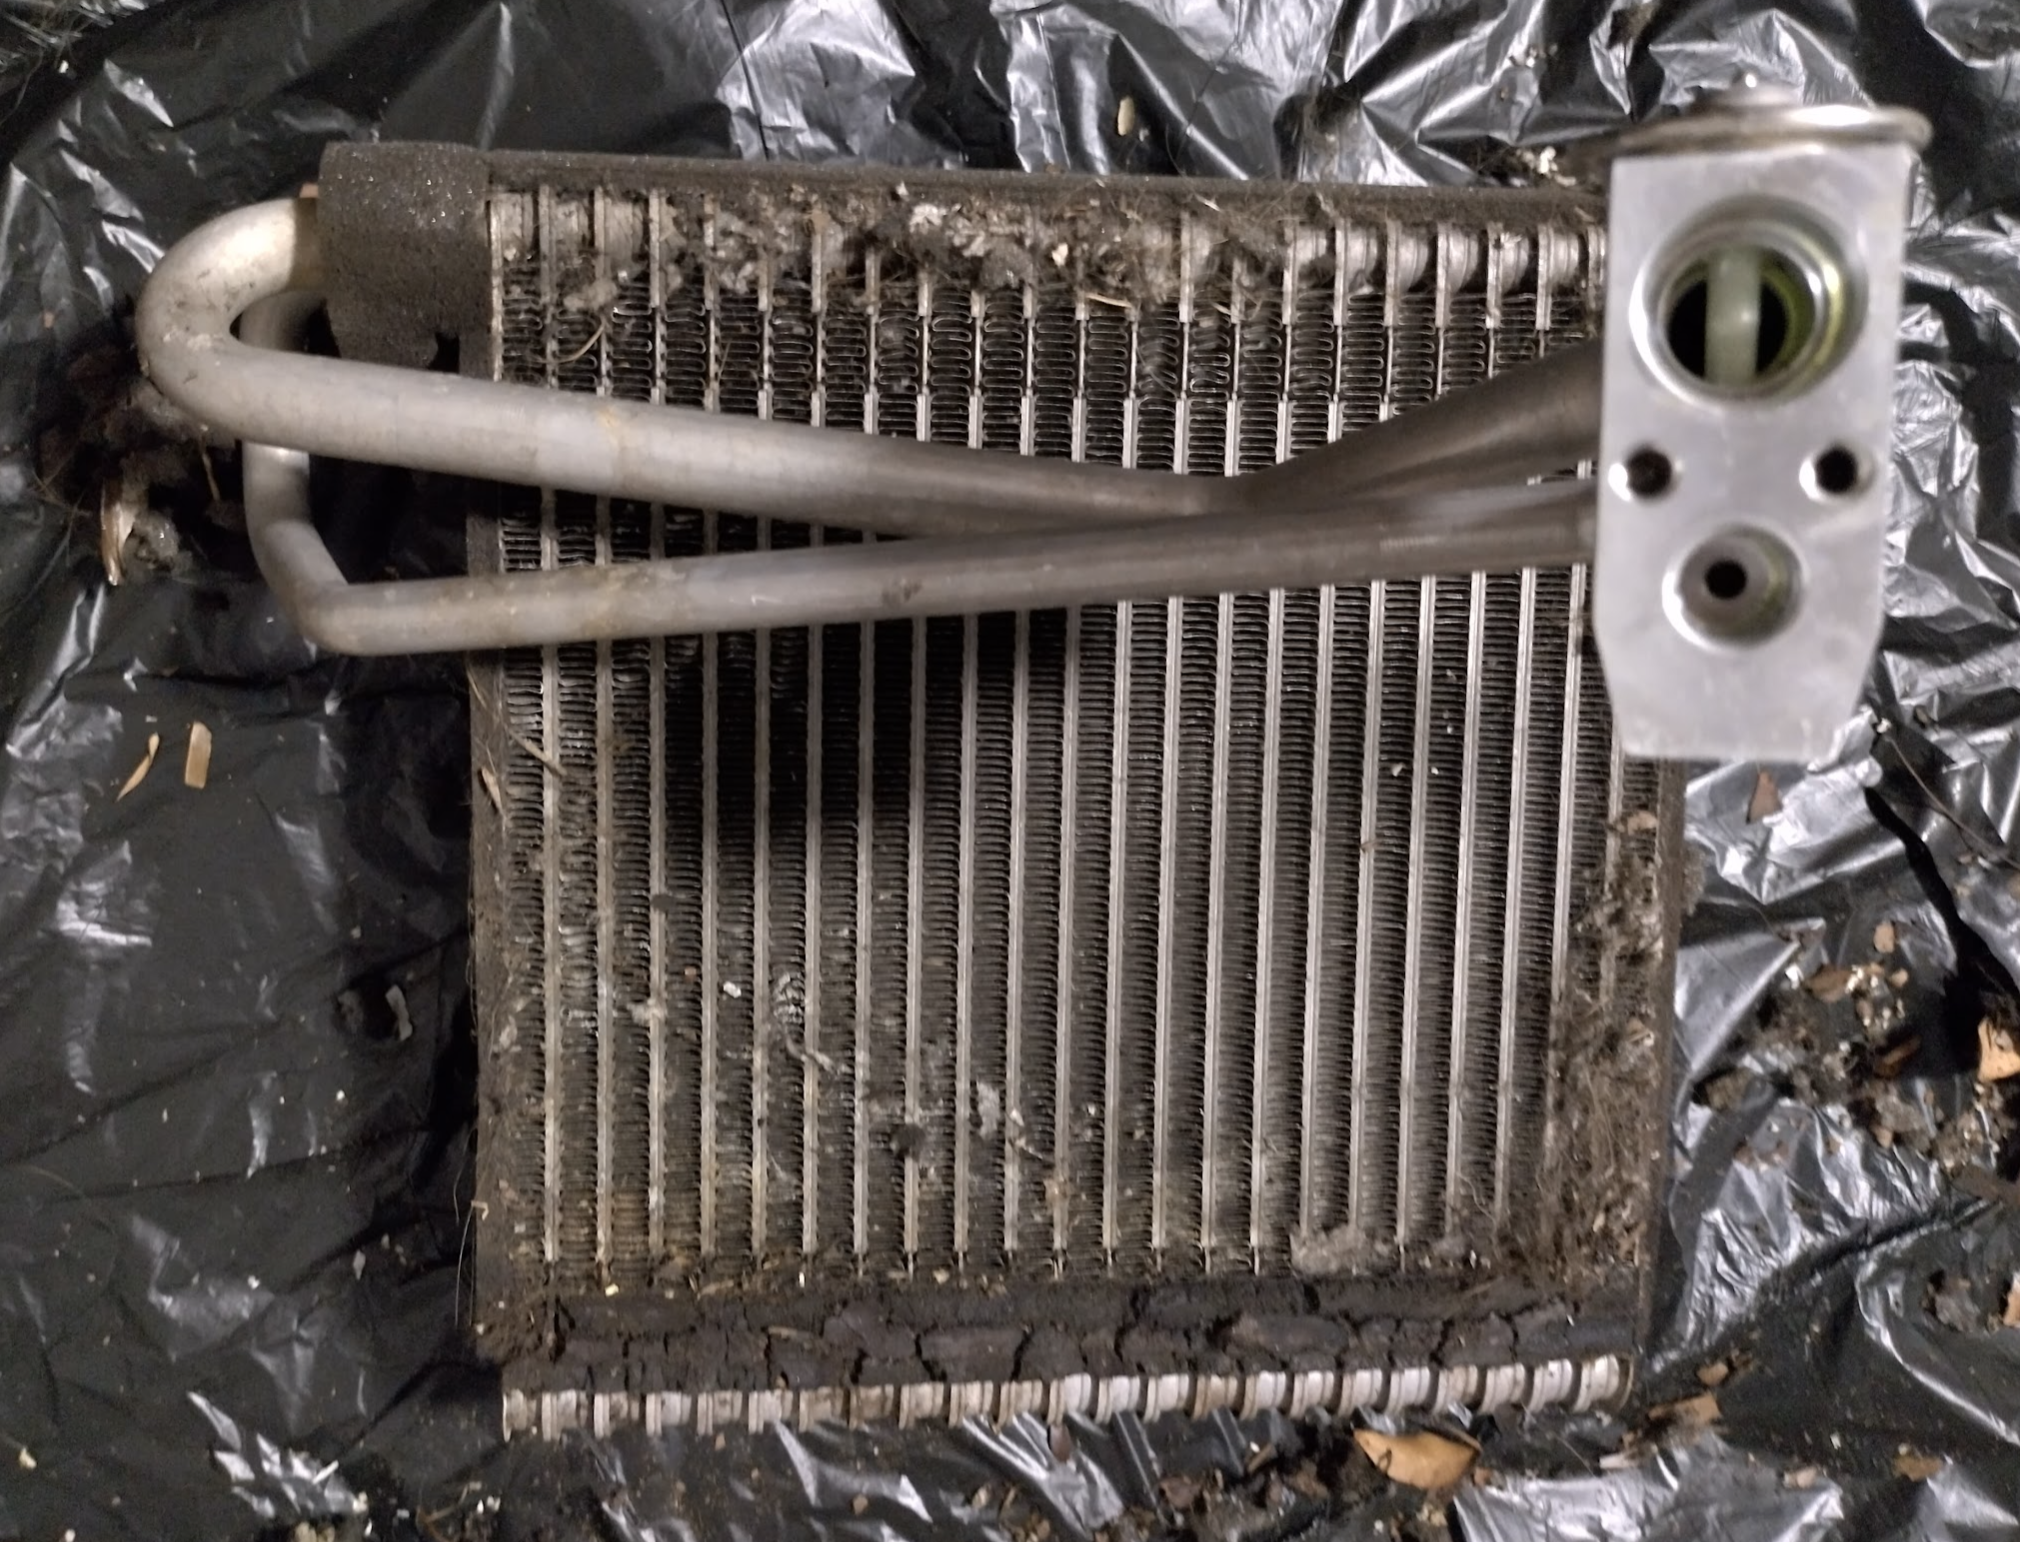
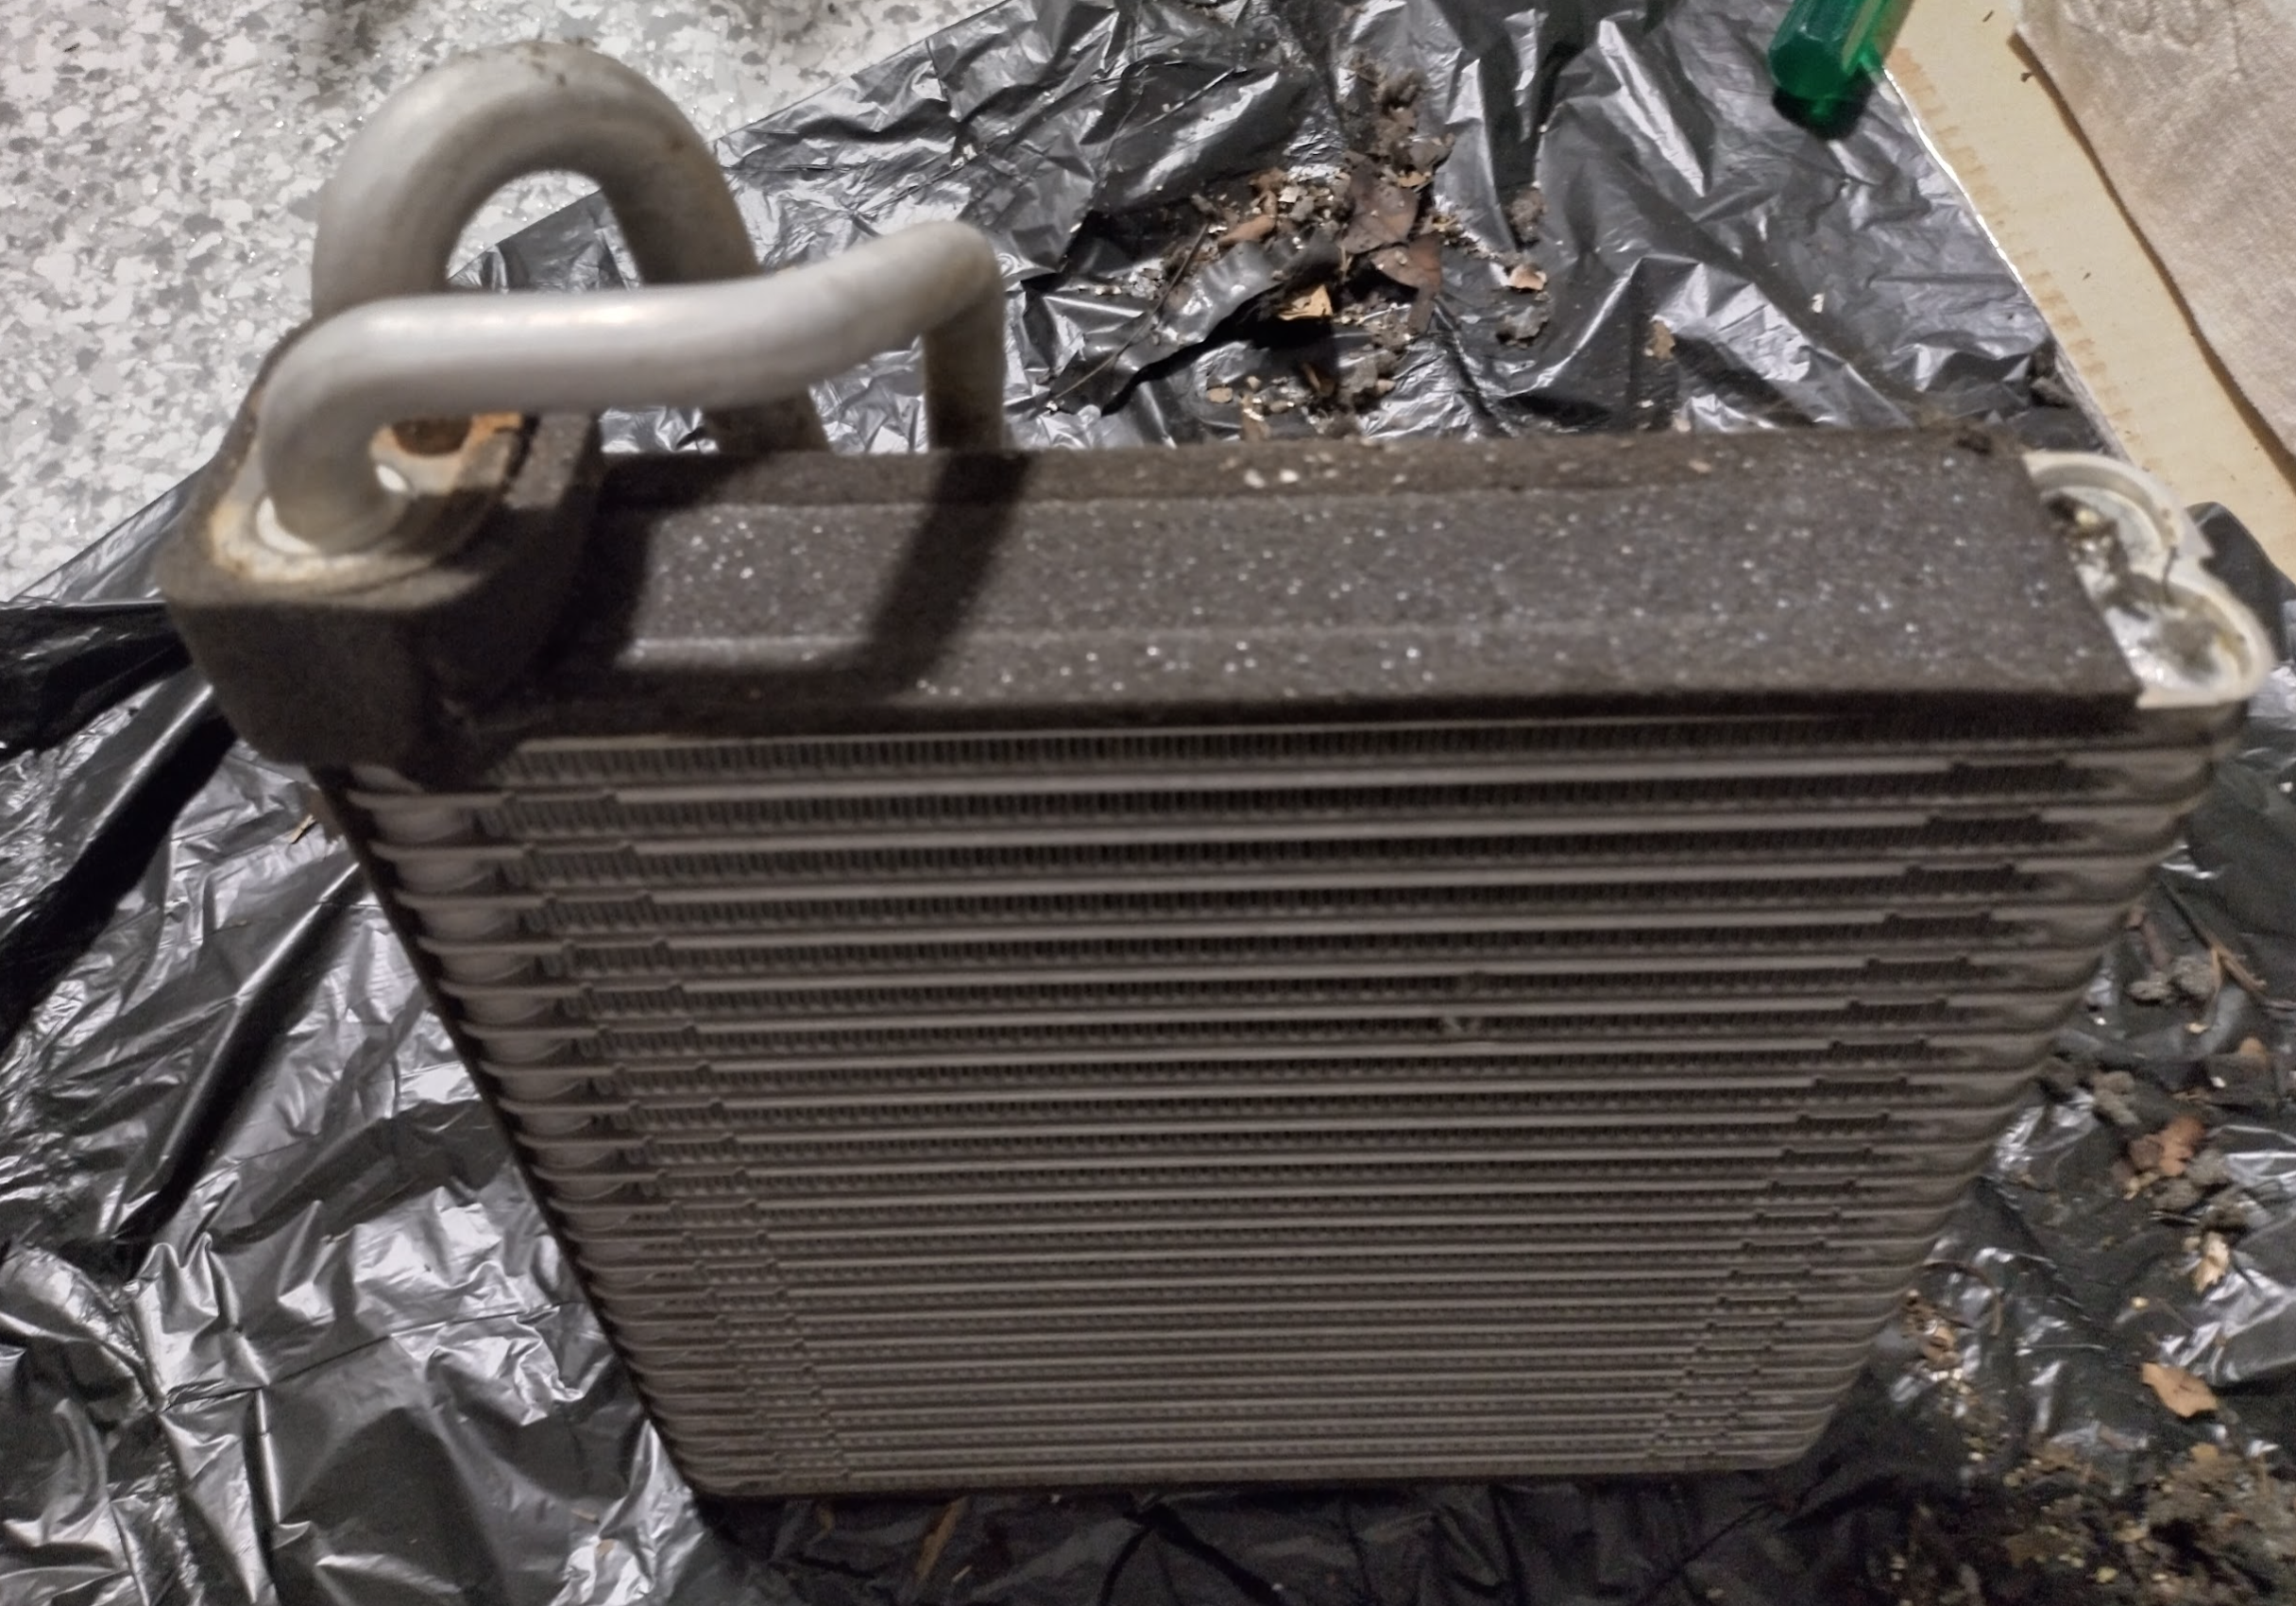
The Evaporator
This is why we’re here. The existing evaporator looks a bit nasty on the side that receives outside air.
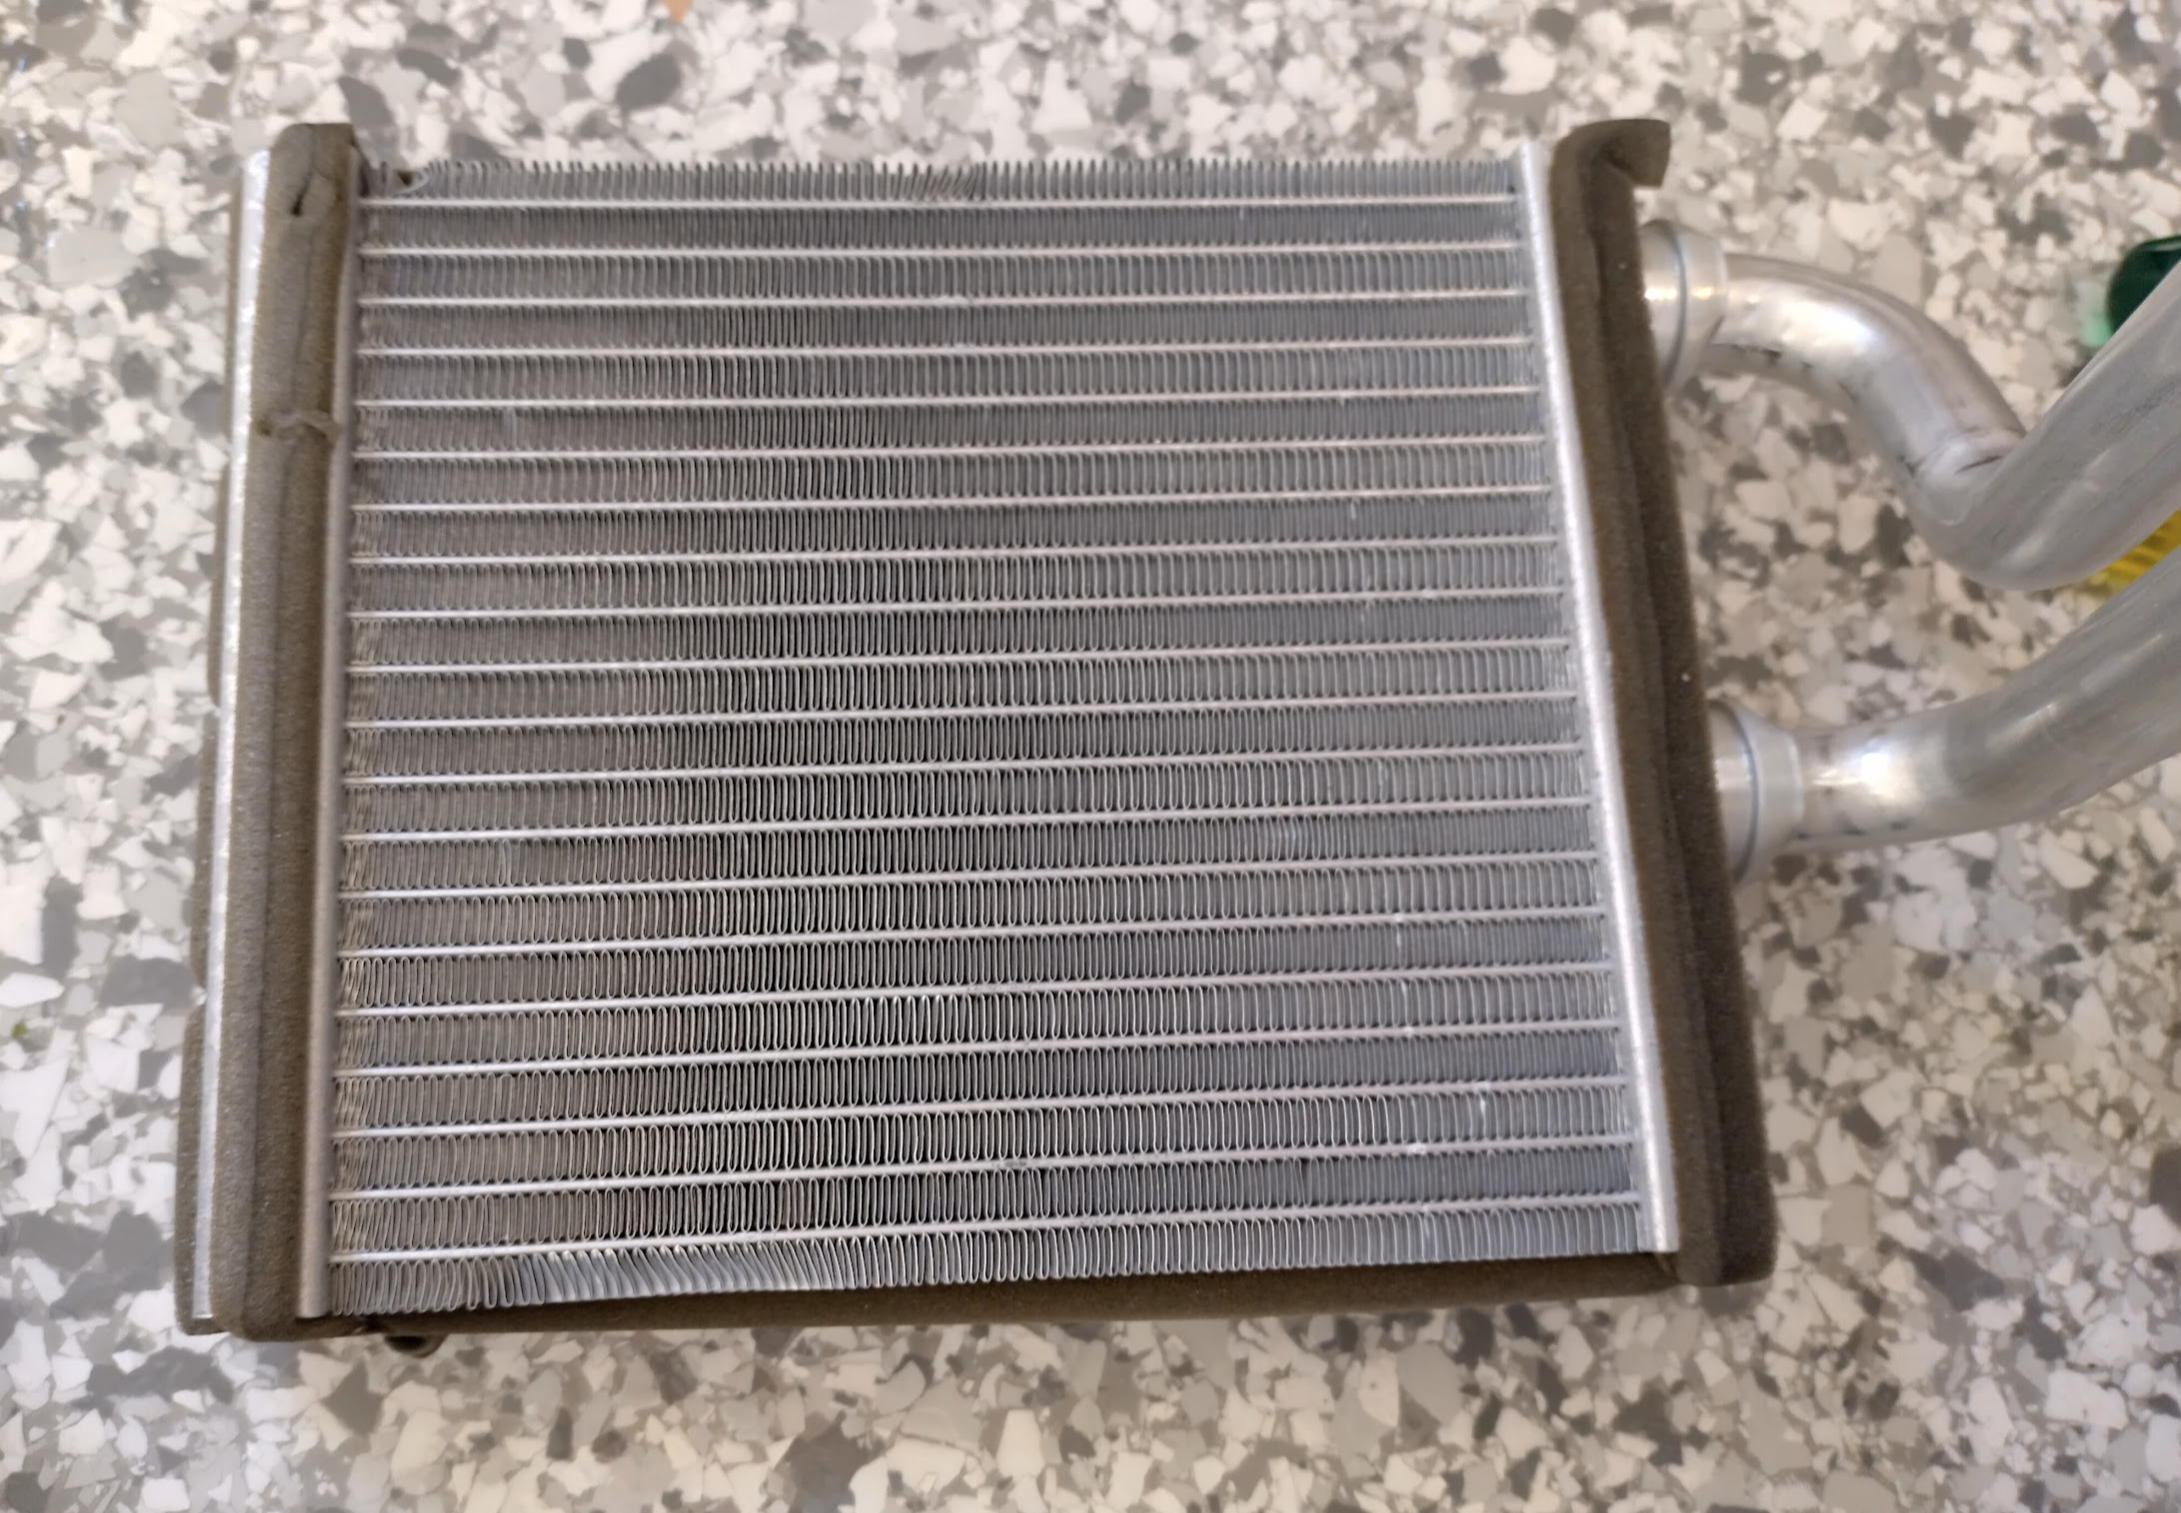
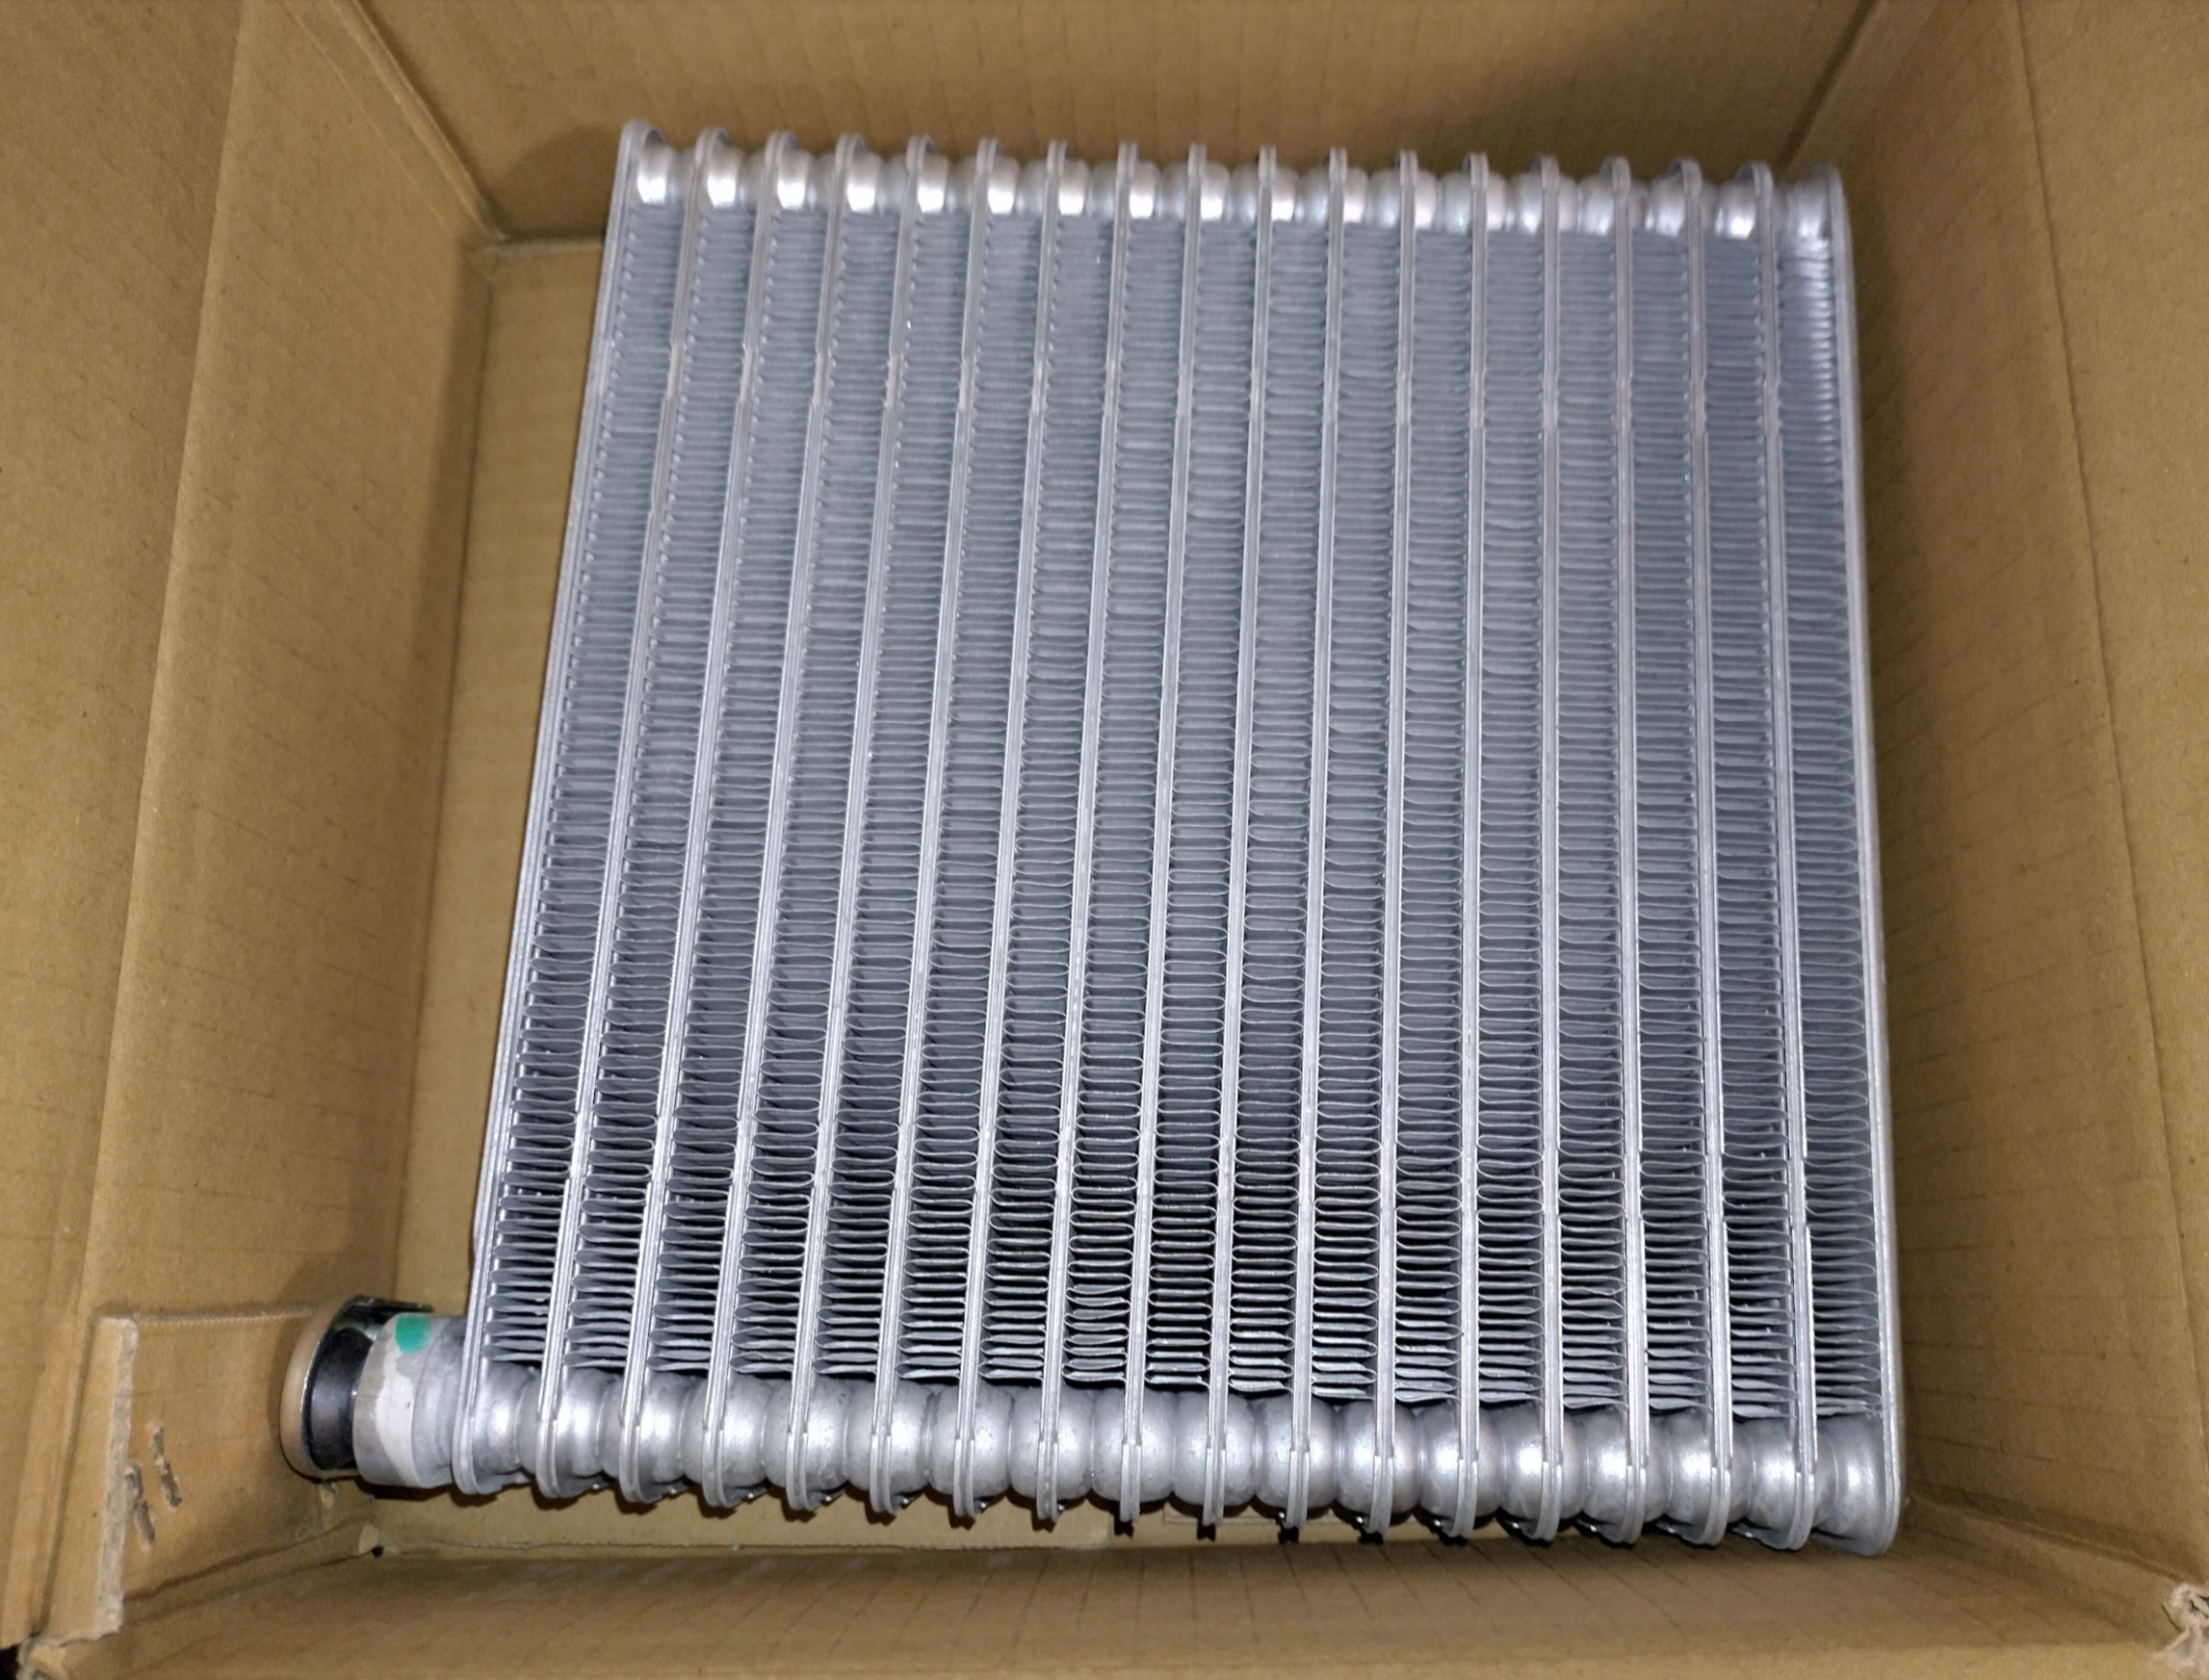
And here’s the new one. It did actually have foam supports around it – it doesn’t just arrive loose in a box.
We need to remove the pipes from the old one which even though a bit rusty should hopefully still be ok for a while. We’ll know when we take them off.
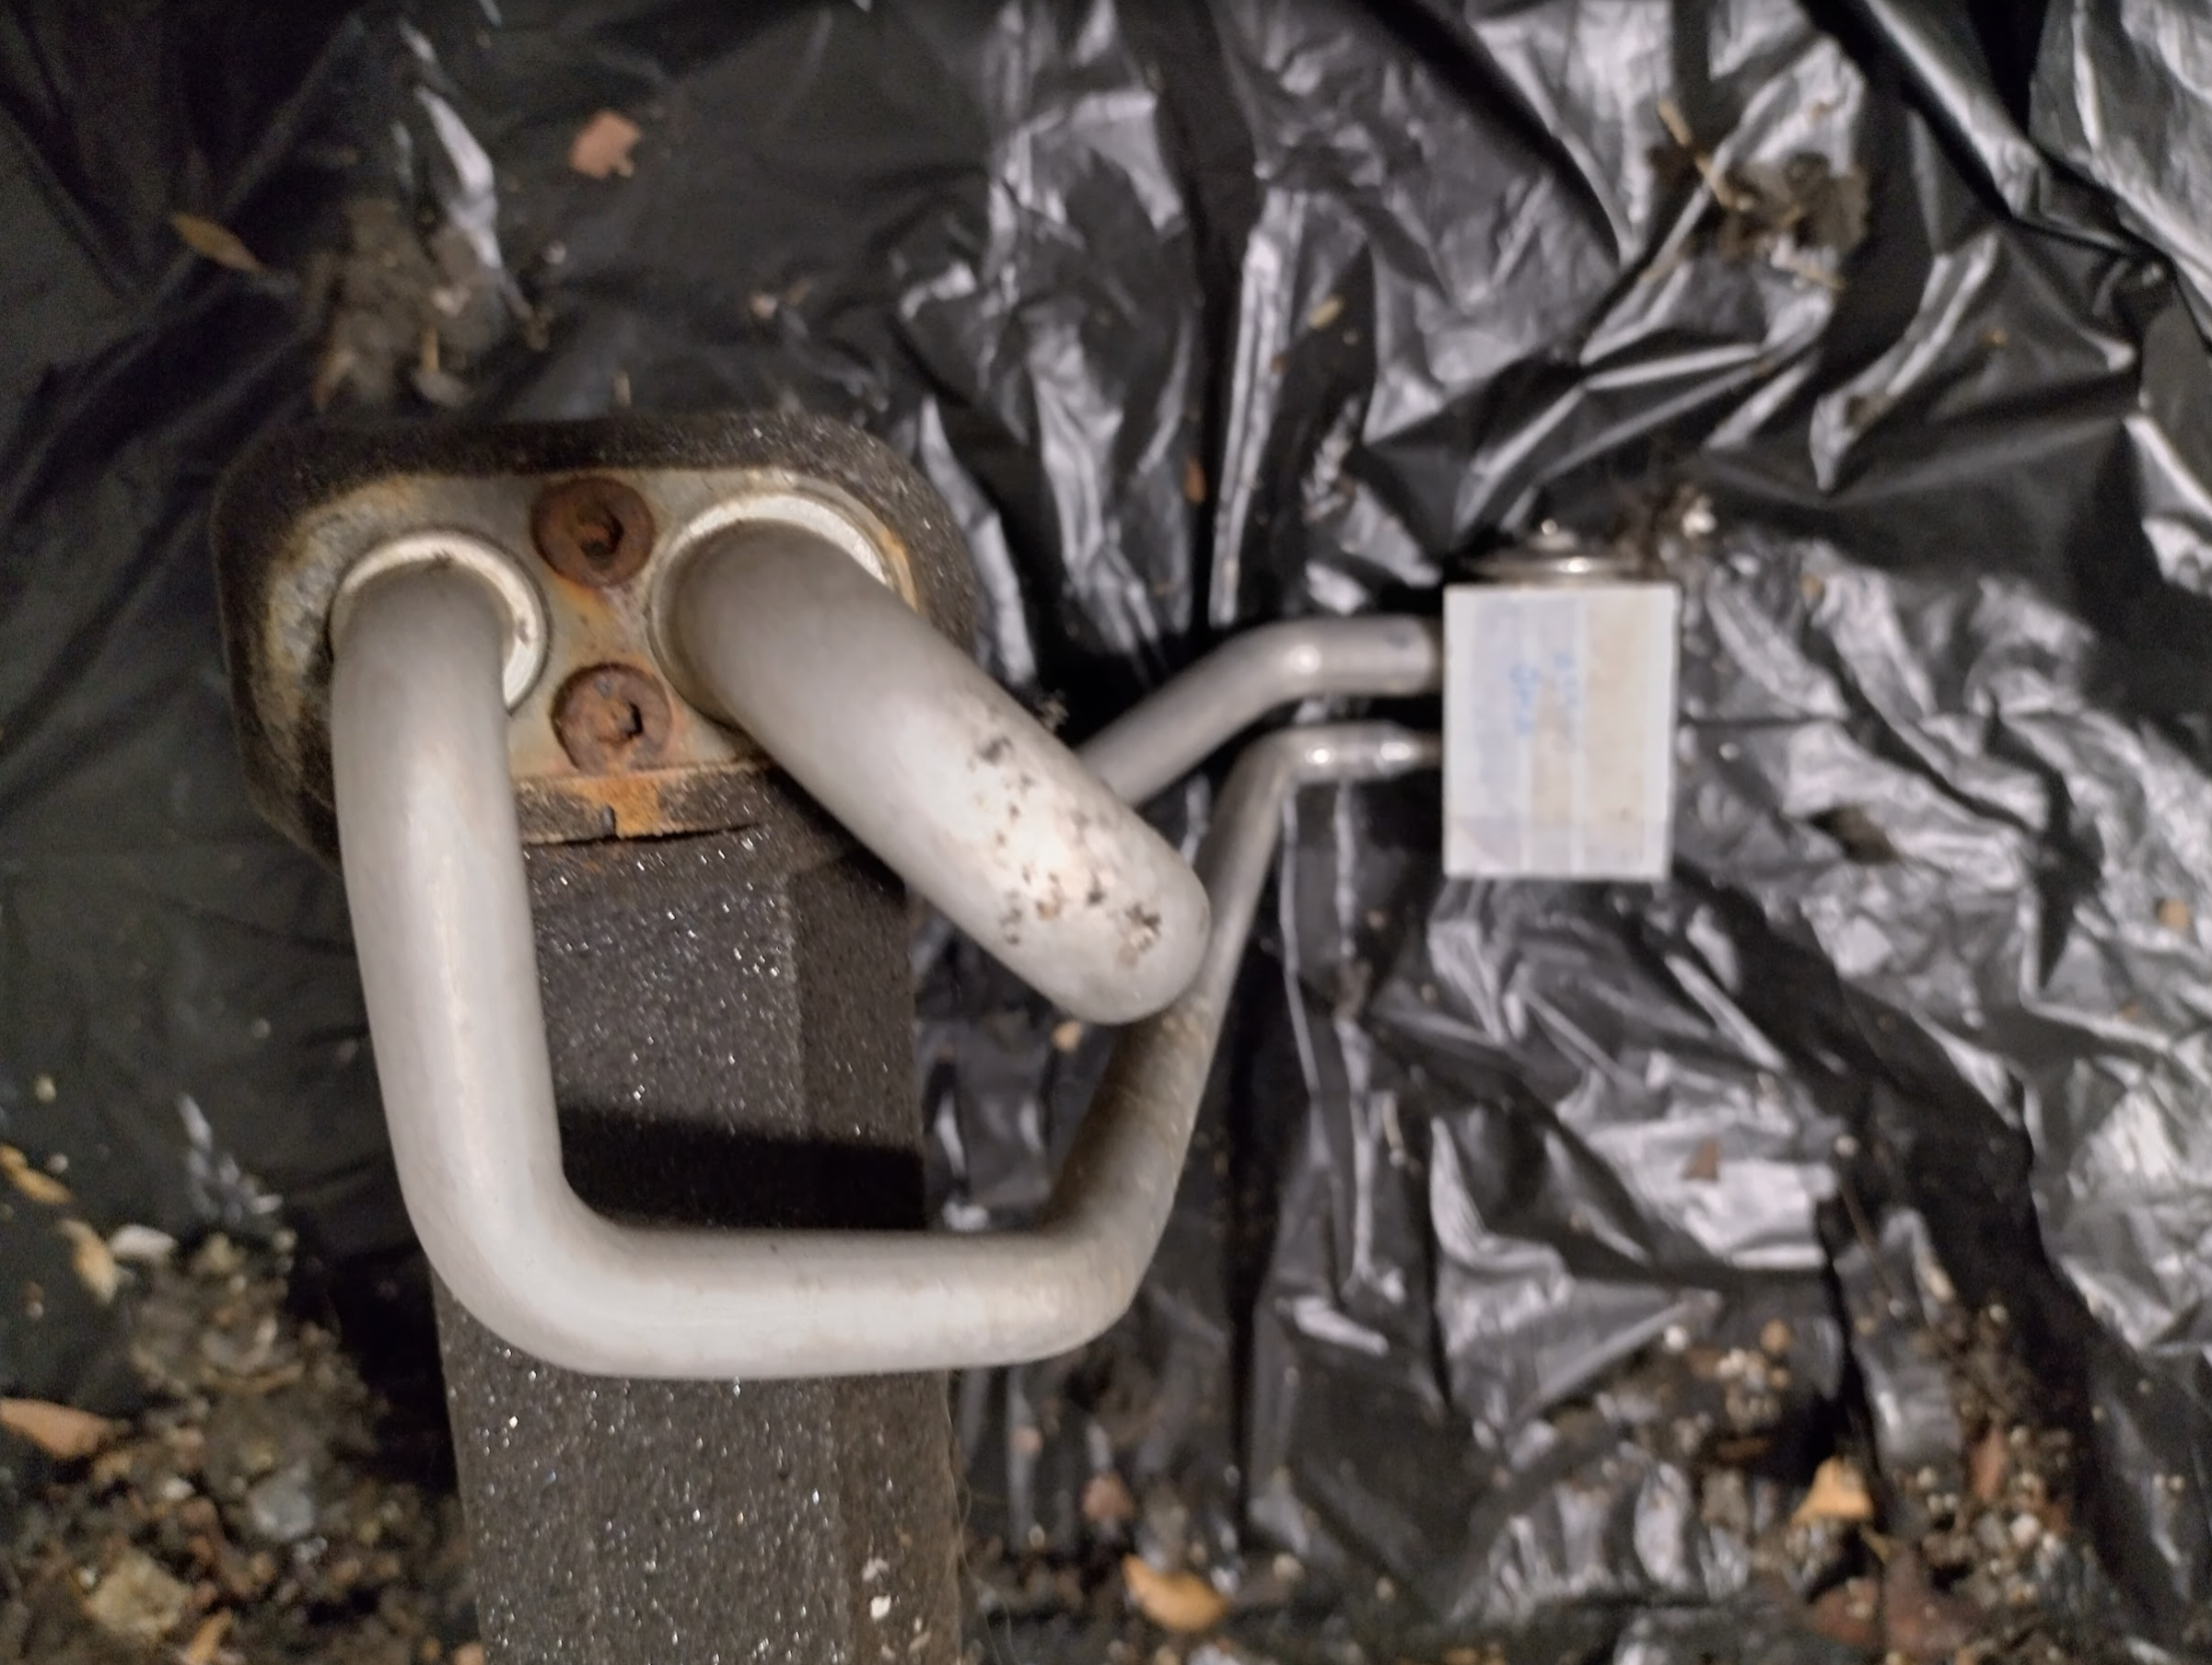
These were rusted in tight, so I let them soak in WD40 for a while and found a socket rather than an allen key to get a bit more force on it. You can see the rust it left behind.
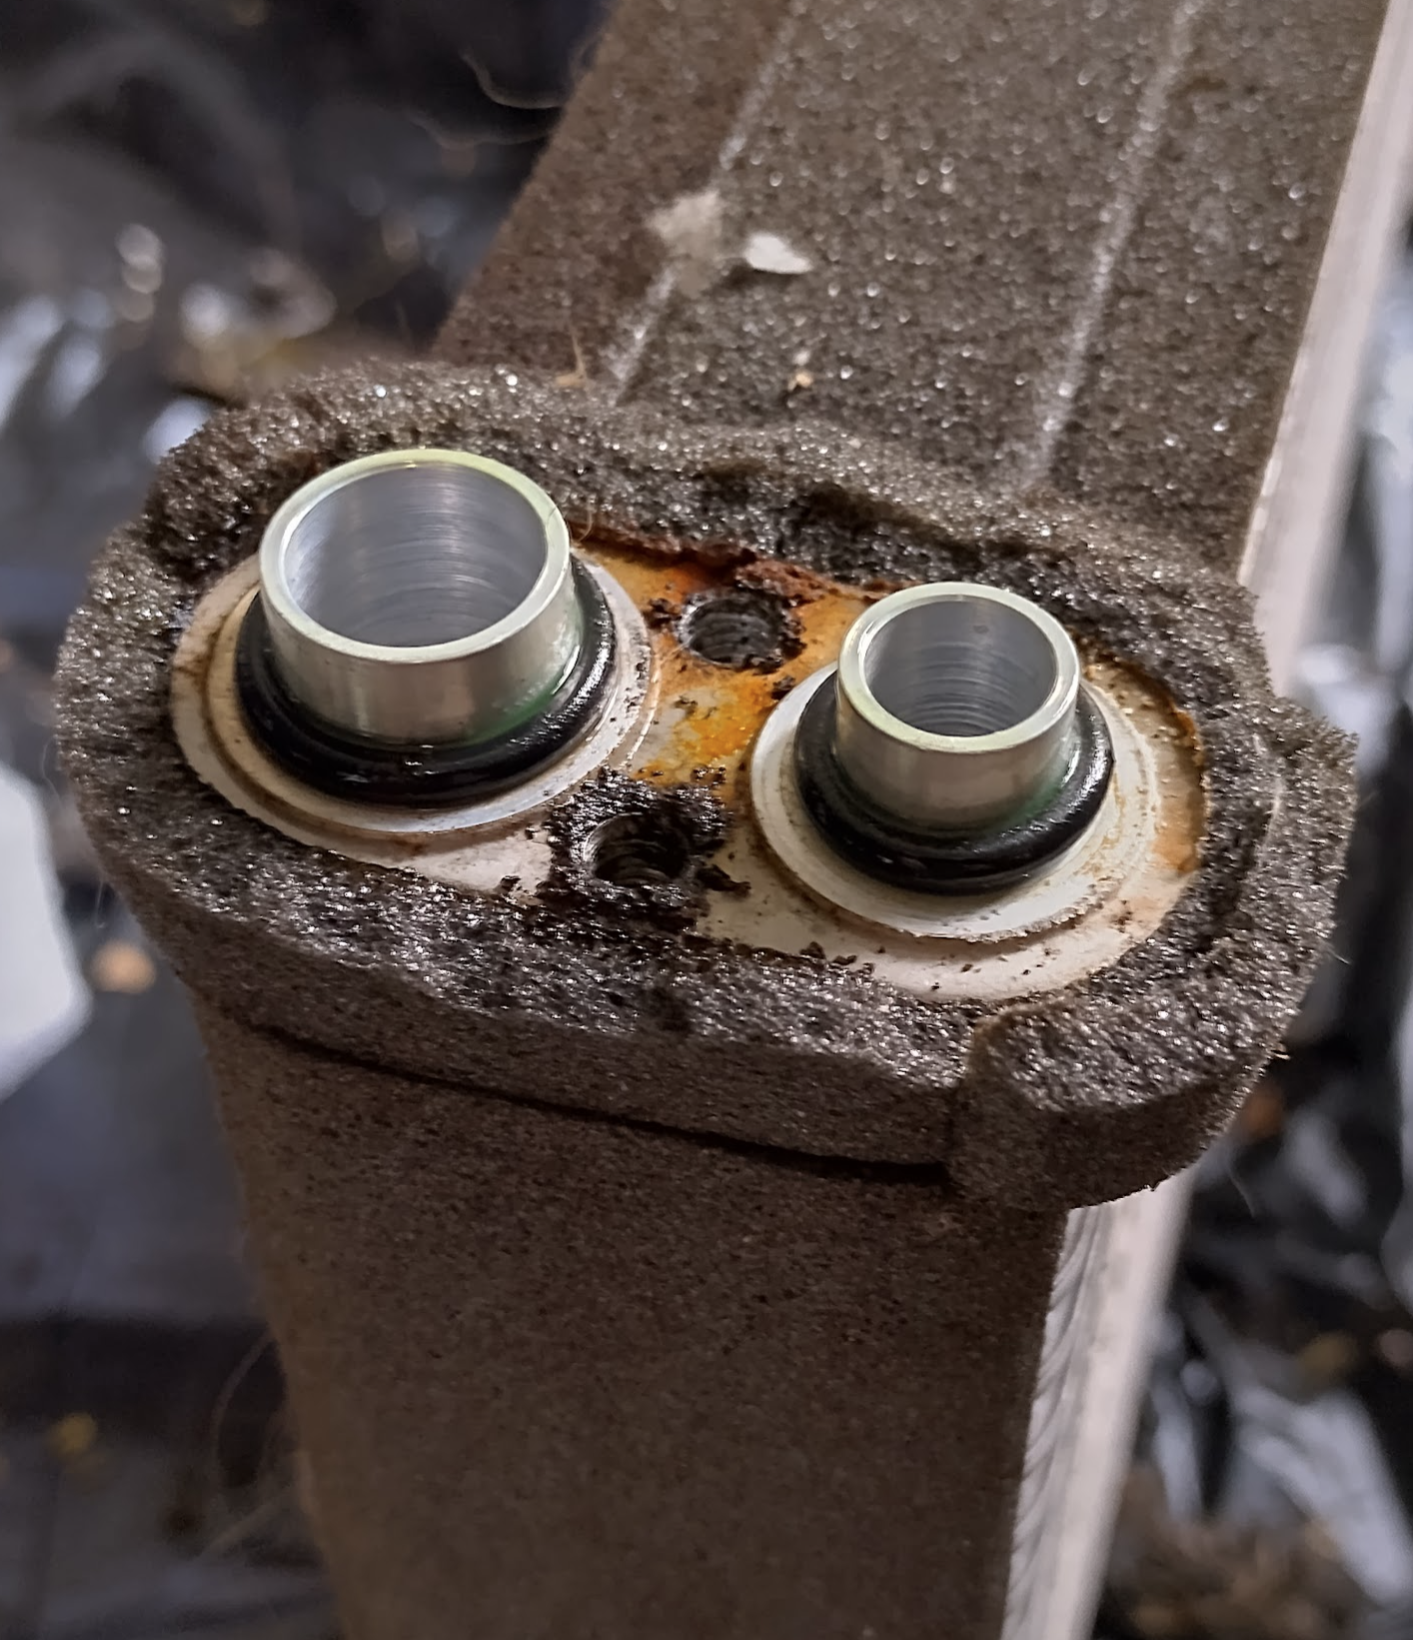
The o-rings are looking really good so we’ll re-use those, and even though the bolts look decent (as in they aren’t eaten through) and would last another 15 years I’ll try to use the new (slightly shorter) bolts that came with the new one to hold a plate on.
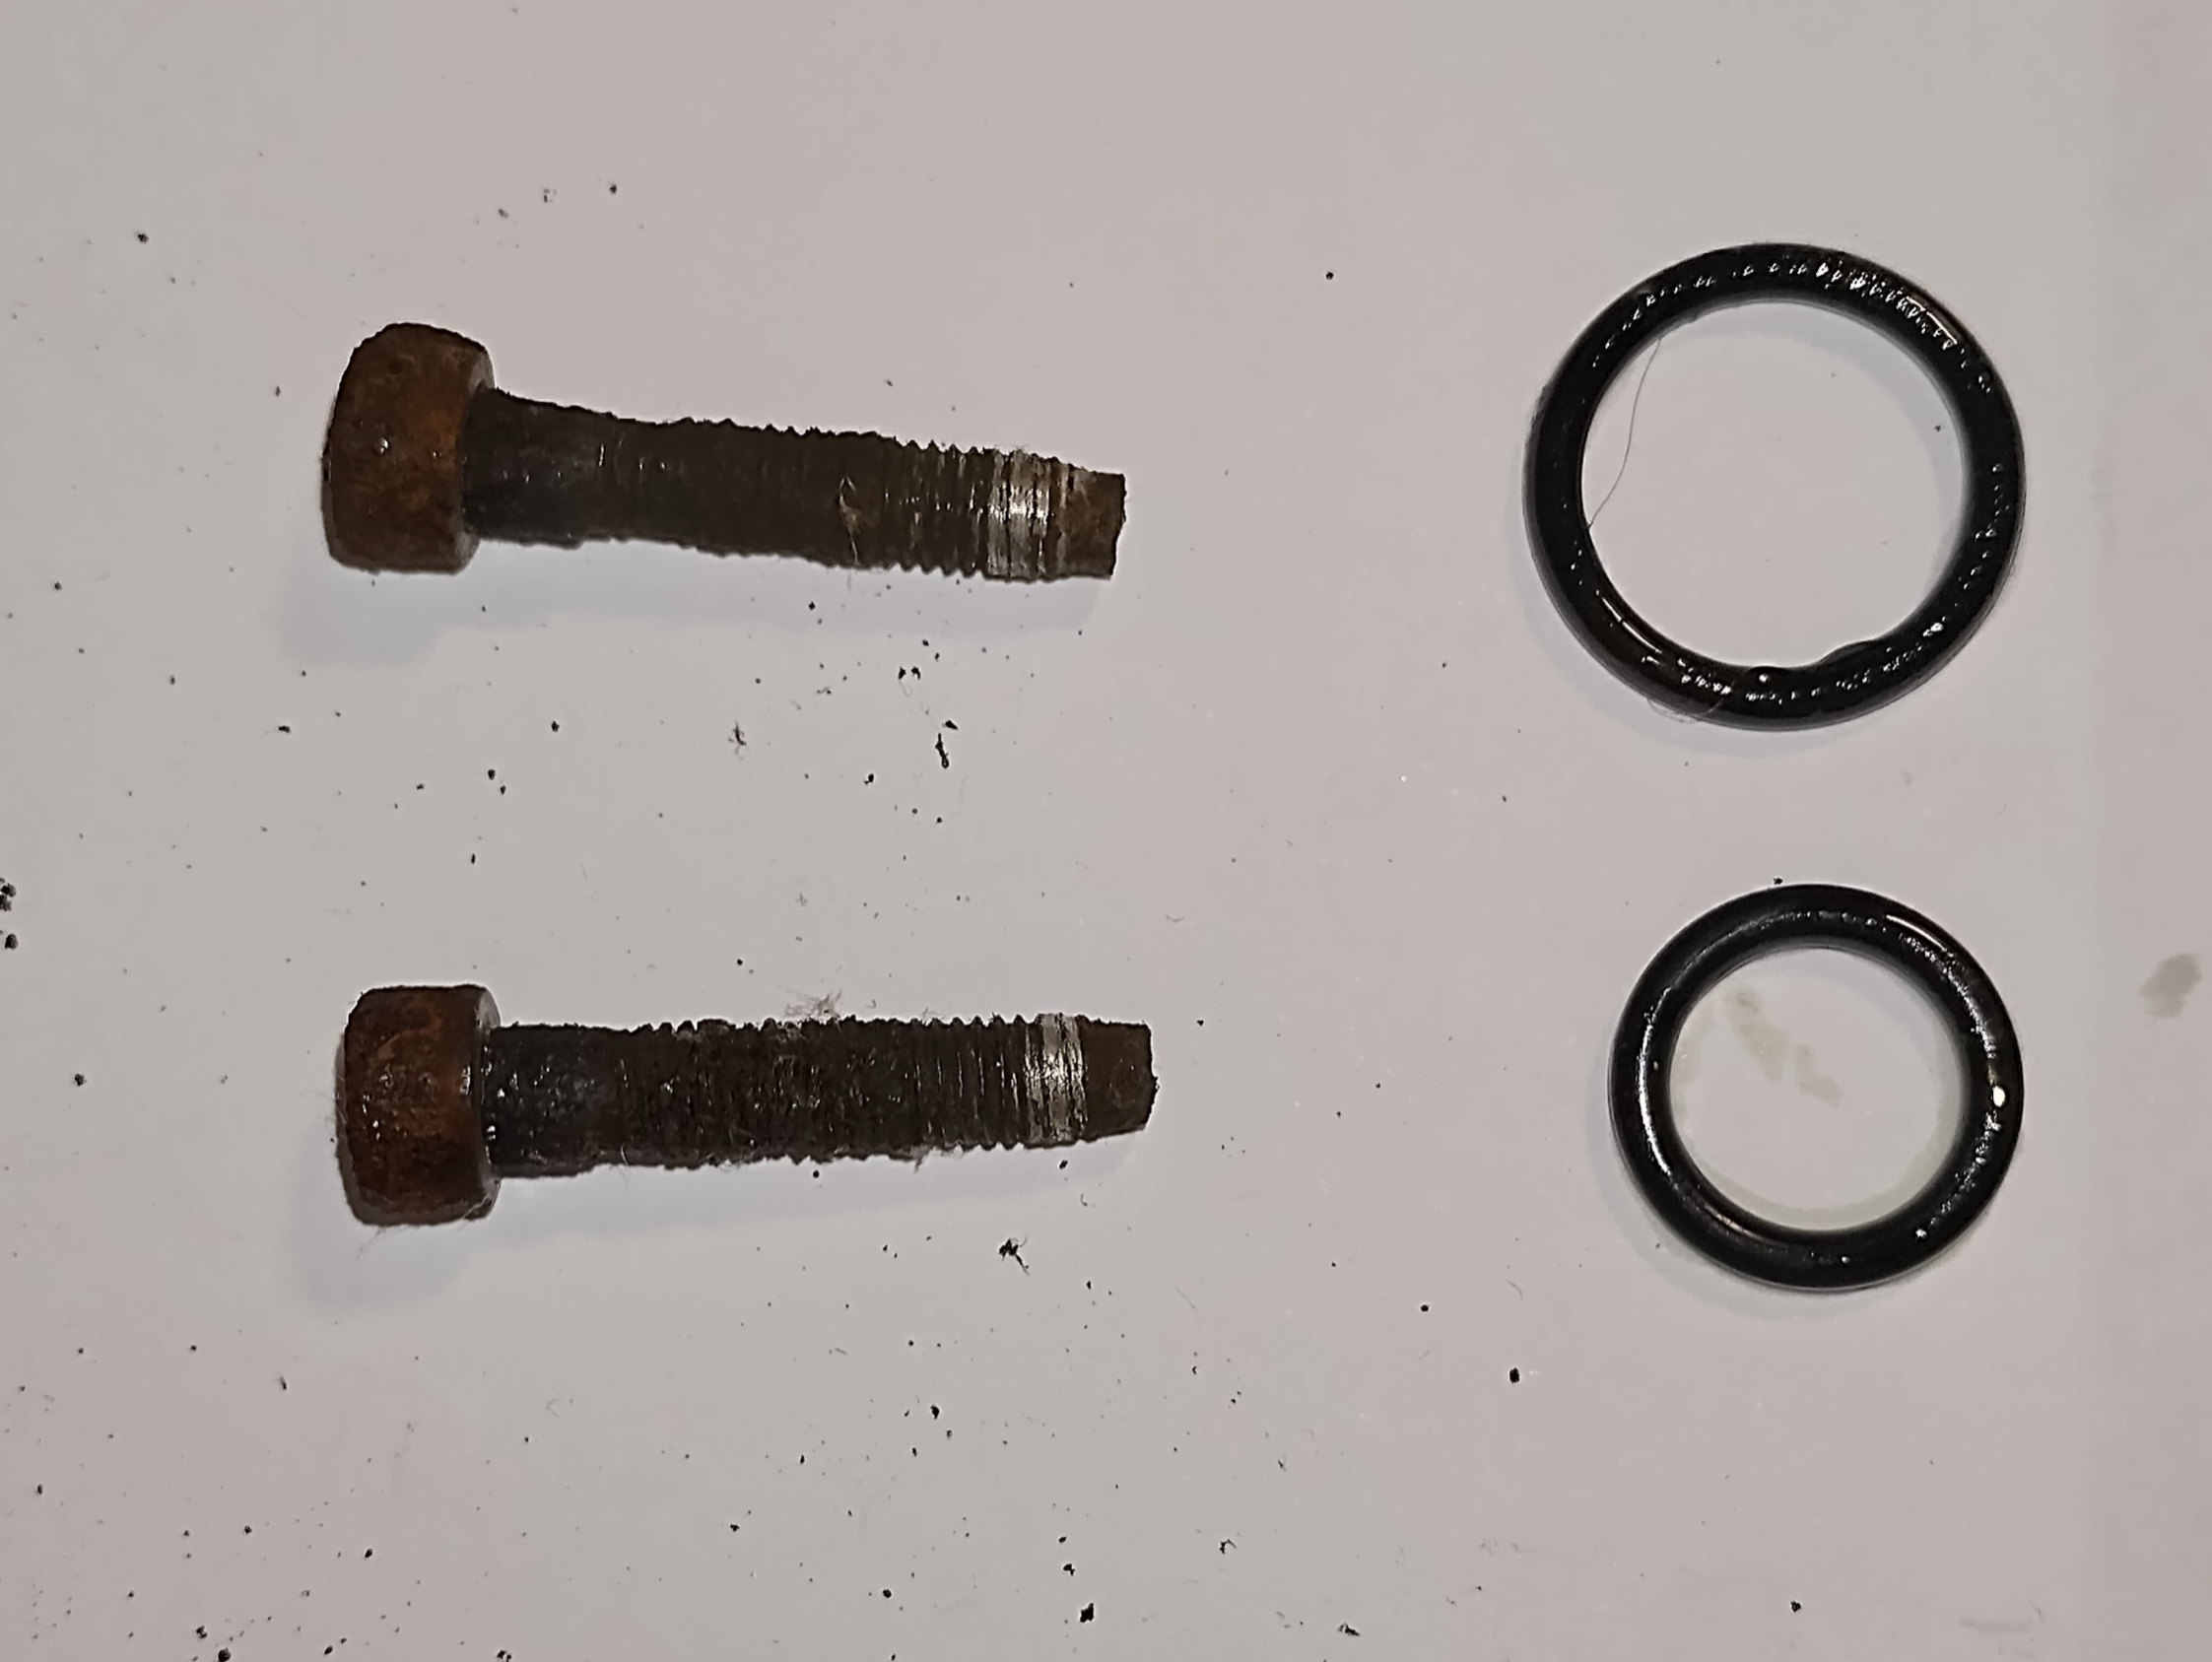
The replacement part doesn’t come with new pipes (maybe order these also if you’re going through this), so we need to clean up the old ones which is mainly removing the rust residue & the foam so we can put new foam on.

Then the rest of the parts have had a decent clean with all sorts of chemicals (the foam at the bottom of the evaporator area does actually come out), but while we wait for all of that to dry we can assemble the new evaporator with the old o-rings, pipes, new bolts, and stick foam all around it.
Note: This is where the 1/8 x 1.5 inch foam is used when other sites mention you need it.

Here’s the other parts now all clean and dry.
With the foam put back in, the evaporator and its probe can be put back in place

Curved door assembly can be placed back – grease this with silicone grease just for good measure.
Top can be put on with all its clips and 3 screws
Then all the rest can be done in reverse now that we’ve done the hard bit. Here’s the completed white section with the pipe plate’s foam contact cemented in to place, and new foam around the top vent.
Now it just needs to be joined back to the black section and back in to the dashboard, which you can follow my guide from bottom to top!
So that’s how to replace an evaporator in an NC mx-5 miata.