After initially going through the electronics way of attempting christmas lights, I have decided to do it the easier way as there’s enough to go wrong as it is. My goal is to have 4 separate icicle-style areas of lights powered by 3 controllers, all linked together via a remote sequencer so that they create a large canvas of sorts eg. a circle could expand from the centre of the house all the way to the outside edges.
Led Controllers
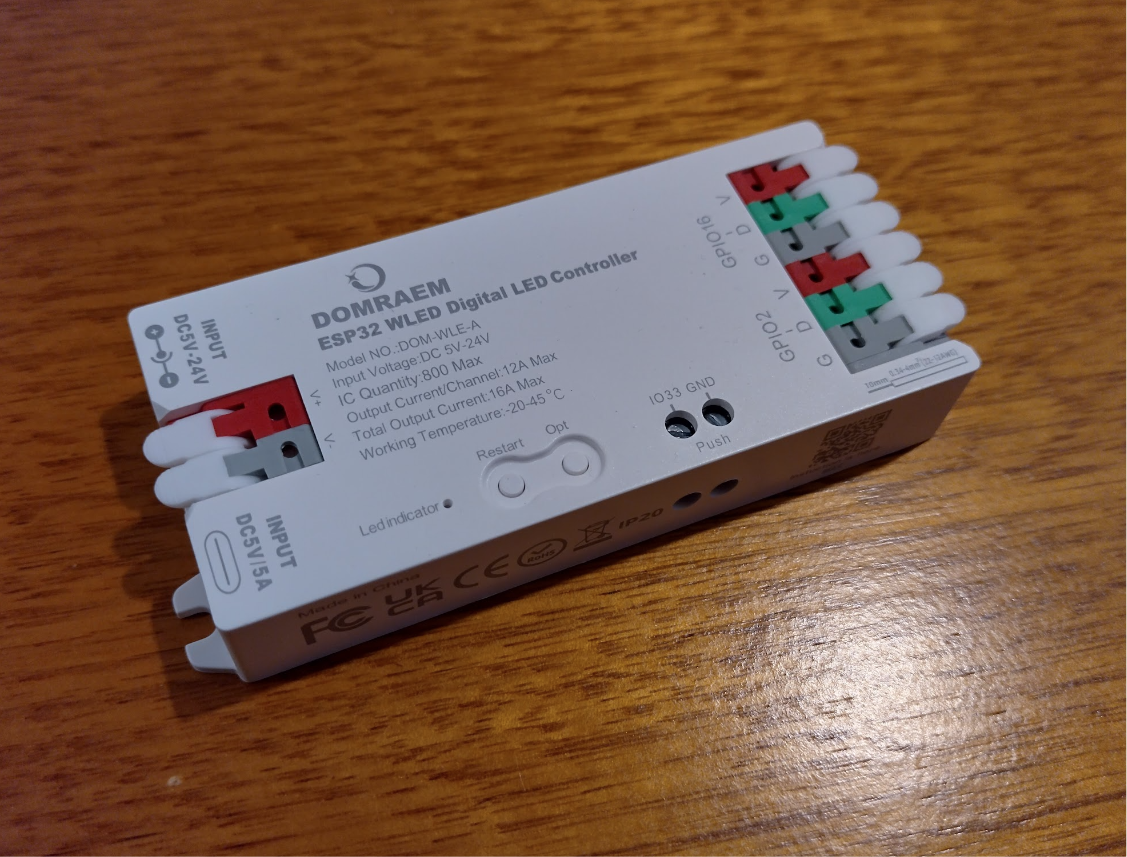
Initially I have purchased a few ESP32 based modules. These are basically the same as what I was building manually just it’s all neatly tucked in a fused box that I don’t have to worry about. For about $20 each it’s worth it, and they can drive two strings/channels of lights each at 12v.
Make sure to get the proper ESP32 versions as ESP8266 is losing support in wled.
These can work standalone if you would like a simple unsynchronised display eg. twinkling or sparkles or such, because you can use the build in numerous wled patterns. But I can go a little better.
Leds
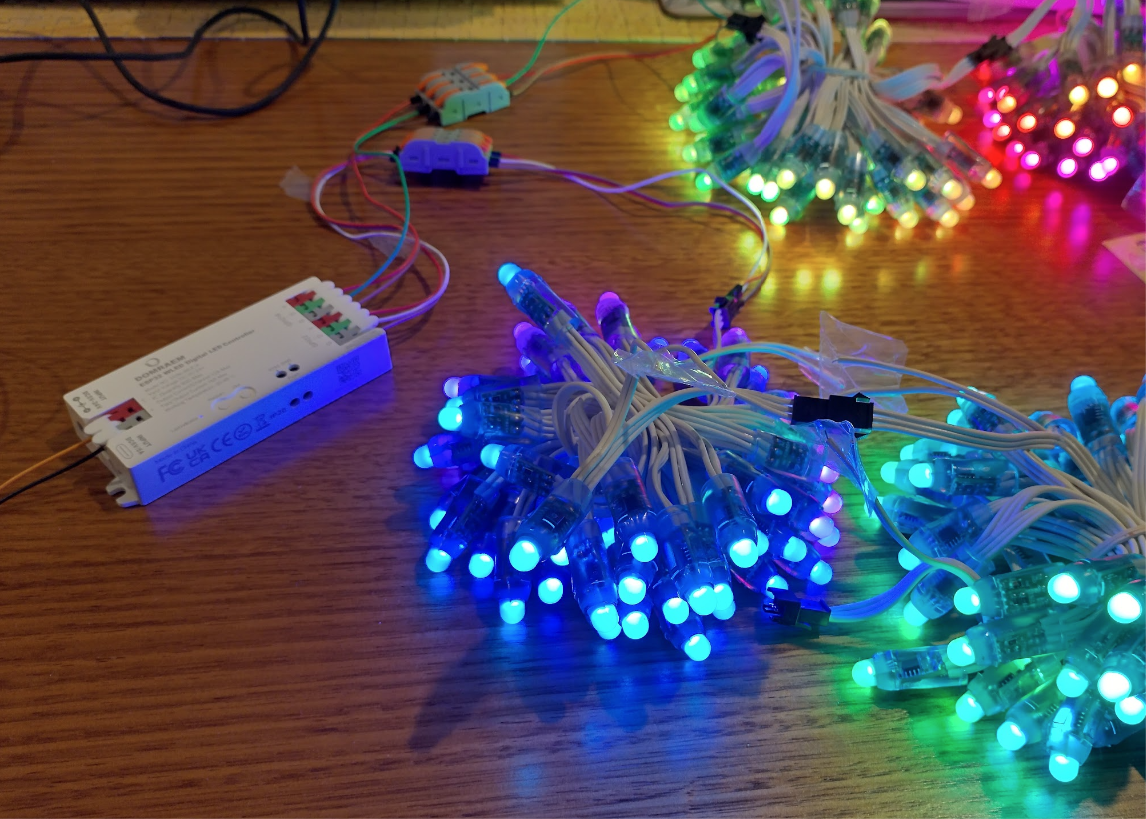
For leds I’m going with the old WS2811 based 12v pixels, with white wiring to look like snow a bit, and long enough to create pretend icicles of 4 leds long. Theres a technique to this which took me a while to find out, but I’ll link to the forum page when I find it again so that proper credit is given.
I’ll need about $200 of led strings to achieve all the areas.
Synchronising
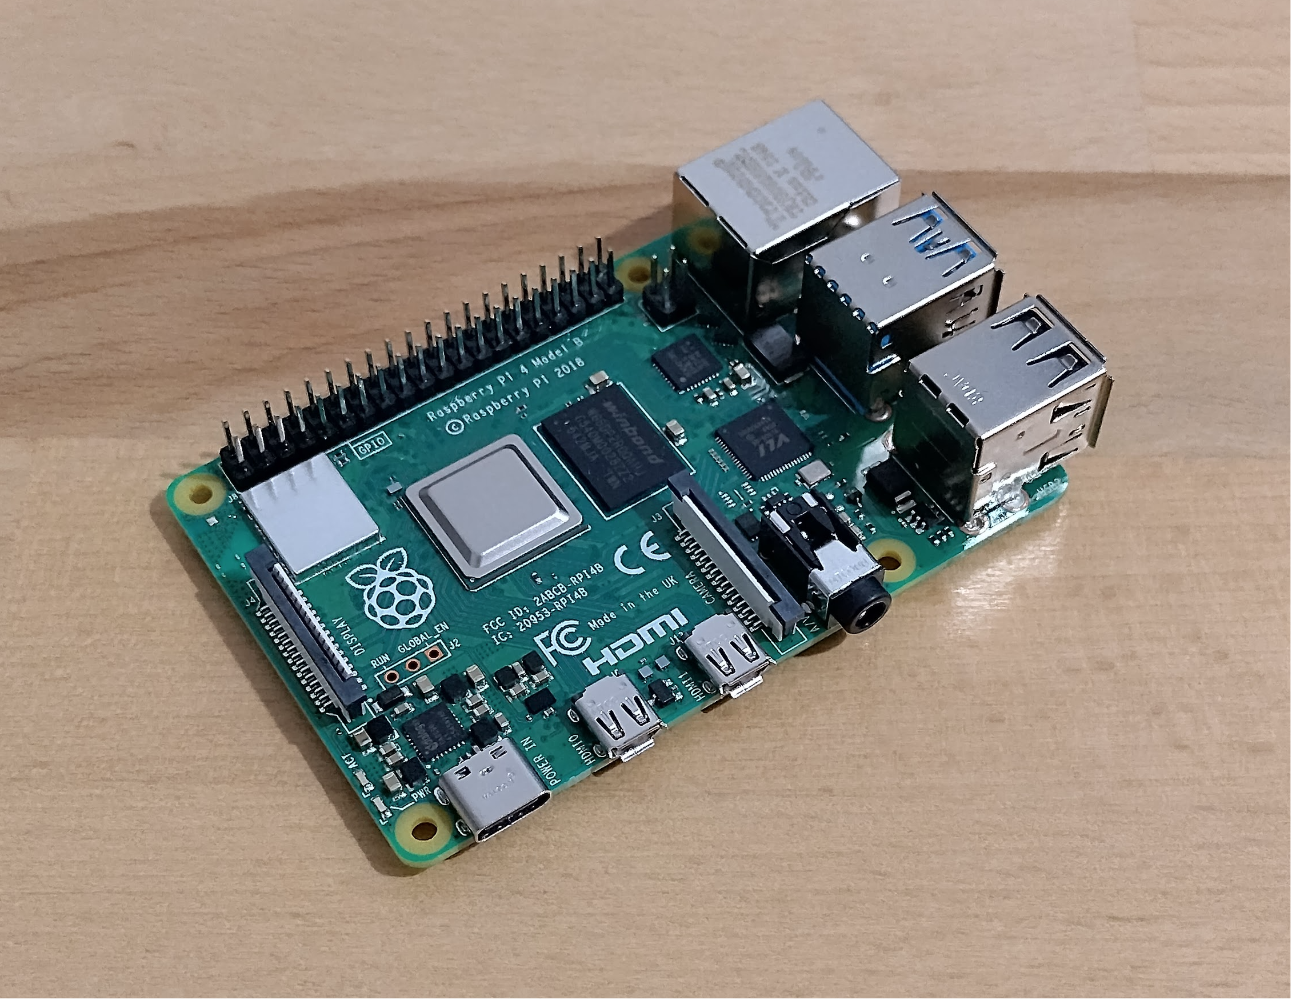
To drive a synchronised signal to those you generally need a dedicated single board device. The device requires WiFi at least, but I’m looking to have my board send the signals to a dedicated WiFi router over ethernet & hopefully broadcast the data to reduce as much lag as possible. The easiest option is Raspberry Pi which are costly now due to the ram shortage, however I managed to pick up a Raspberry Pi 4 for $60 + a case. This will connect to my local WiFi for updates, and to the dedicated router over ethernet.
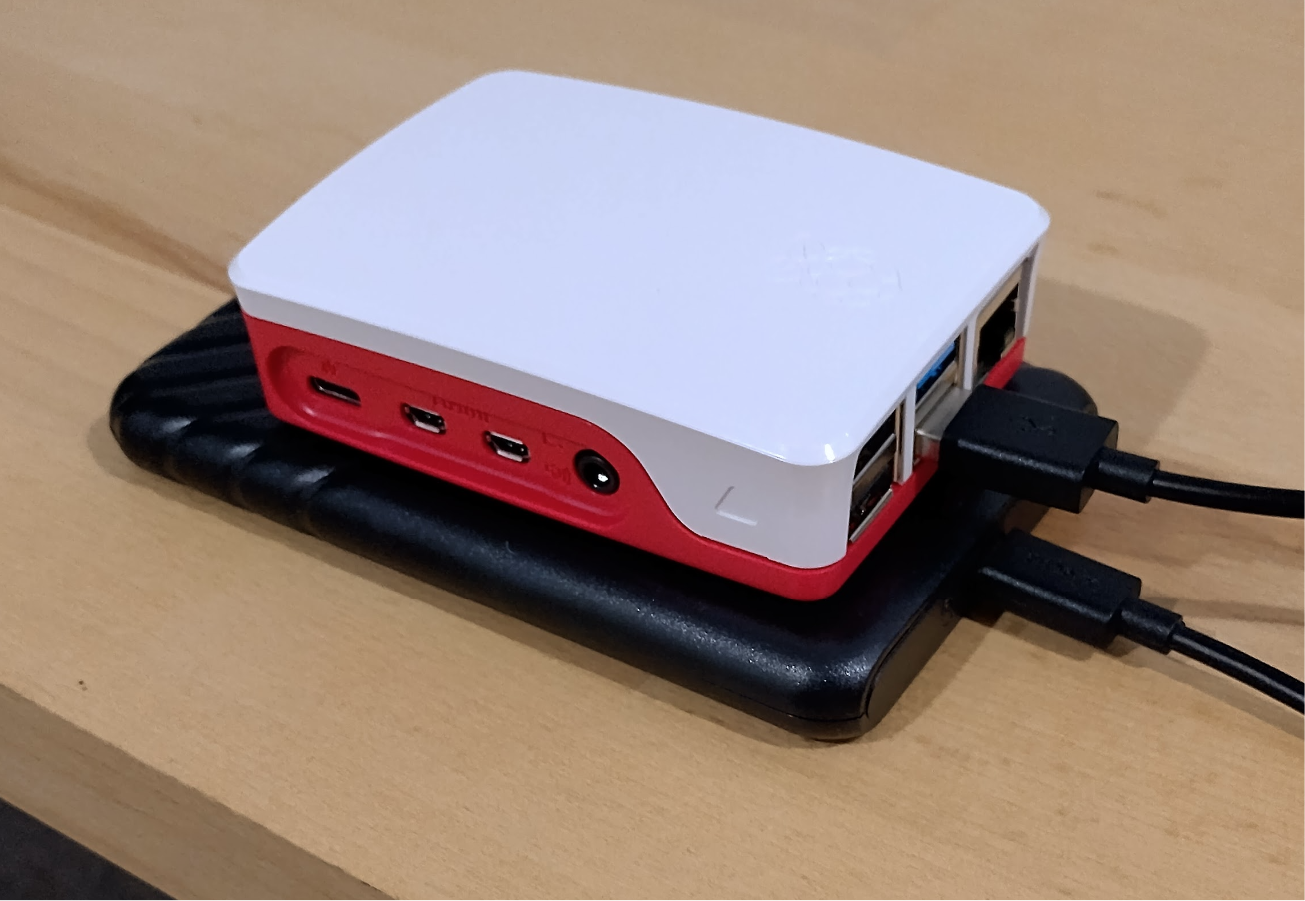
The thing with Raspberry Pi’s is they don’t come with storage. So the default option is to generally get a quality SD card which costs $50 or so and could fail. However I discovered these boards can boot a USB drive and I have a few old SSD’s around. A cheap $11 caddy later and I now have a reliable FPP device, that’s more money to spend on Leds and wiring!
WiFi
Running the display over wifi is generally frowned upon however it’s a cheap way to get started and hopefully good enough to do a very low intensity display. So the way to make it as solid and responsive as possible is with a dedicated WiFi access point. I happen to have an ex-modem router with 5g, and ethernet ports, so that will be the backbone of this display.