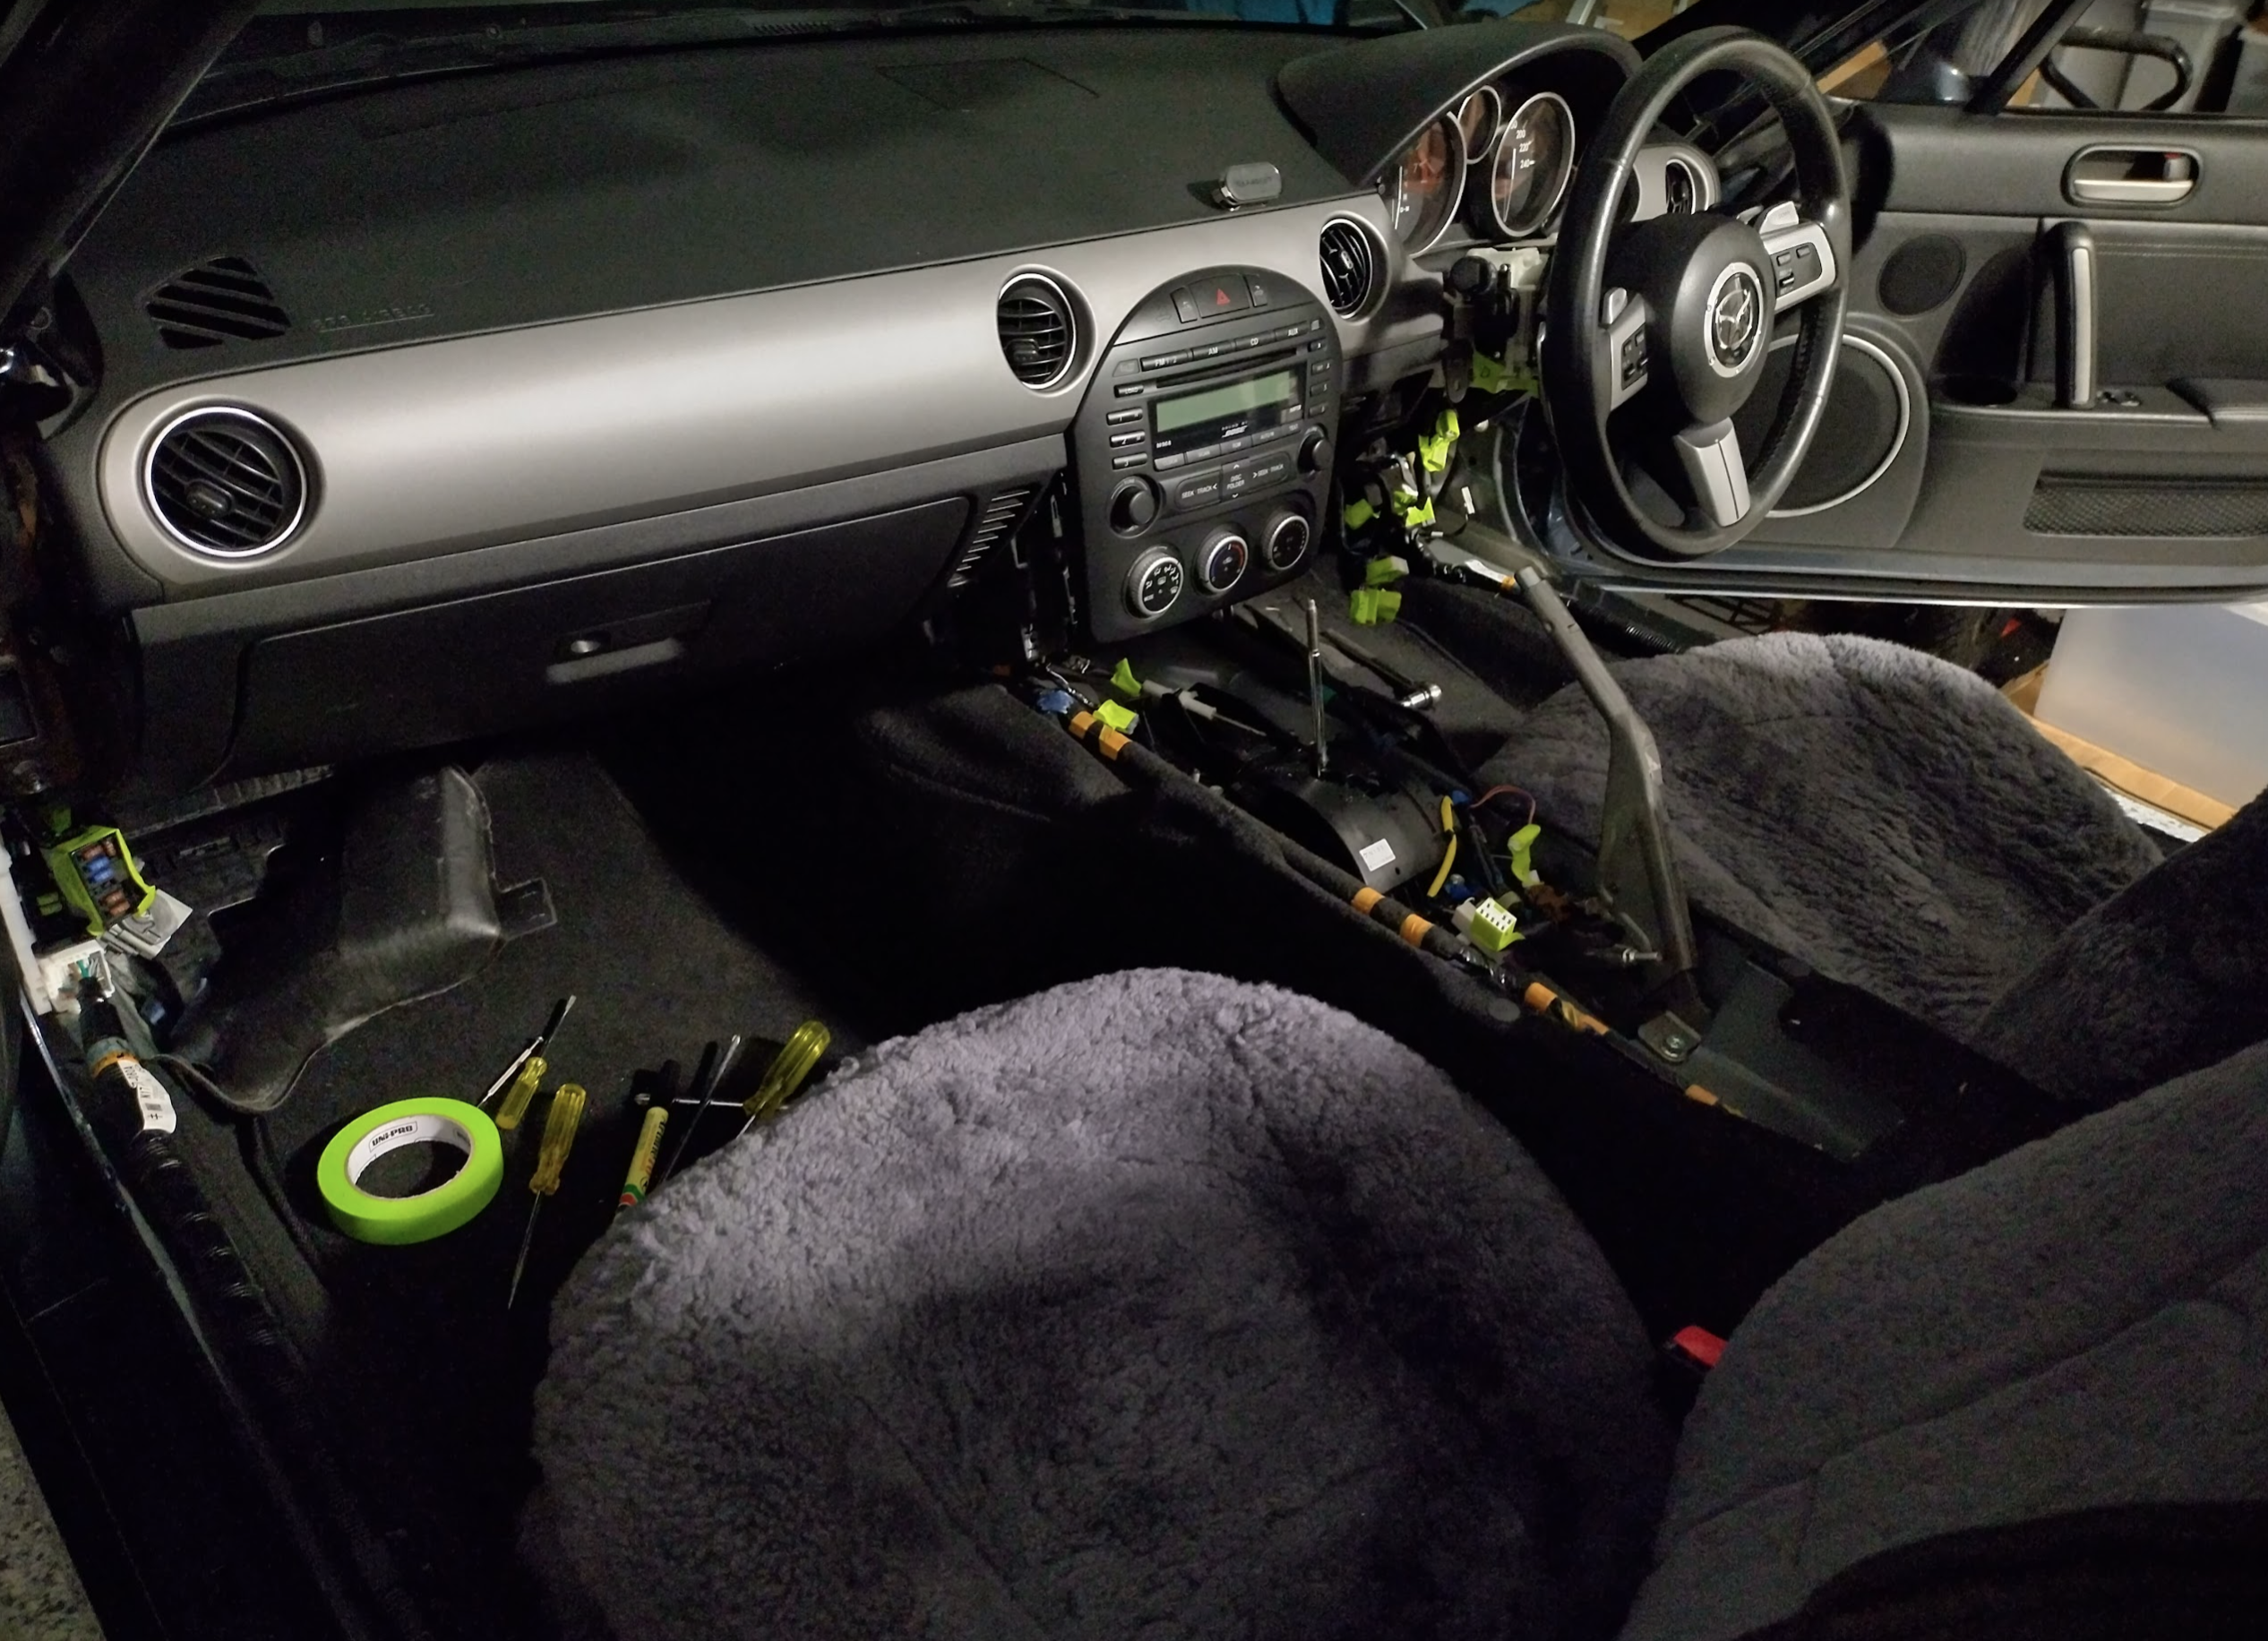
After having my evaporator unit diagnosed as the reason my aircon needed regassing each year, I decided to tackle the task of fixing it. Which in the tiny MX5 (I’m unsure of other cars) it requires taking the entire dashboard out to get to the evaporator unit (there might be a way around this). I found only a small handful of videos that explained the process, this being the one I decided to follow as best I could:
My mx5 is Australian so it’s the opposite to the video of course, and also an Automatic and I suspect a slightly different year. So there’s a few differences expected but hopefully this guide will include a few of the gotchas I found, in order to help you with yours.
Side note: This is an amazing collection of information about mx5’s that could help you on your journey sometime.
Before you start, & hints
Get your aircon degassed.
- 10mm & 12mm Sockets, both long and short, and a number of adapters and levers as you’ll need all of them.
- Sliding pliers.
- Midsize phillips screwdriver.
Get lots of towels & blankets ready.
Probably weighs about 20kg?
Your doors will need to be completely opened in order to get two very long bolts out.
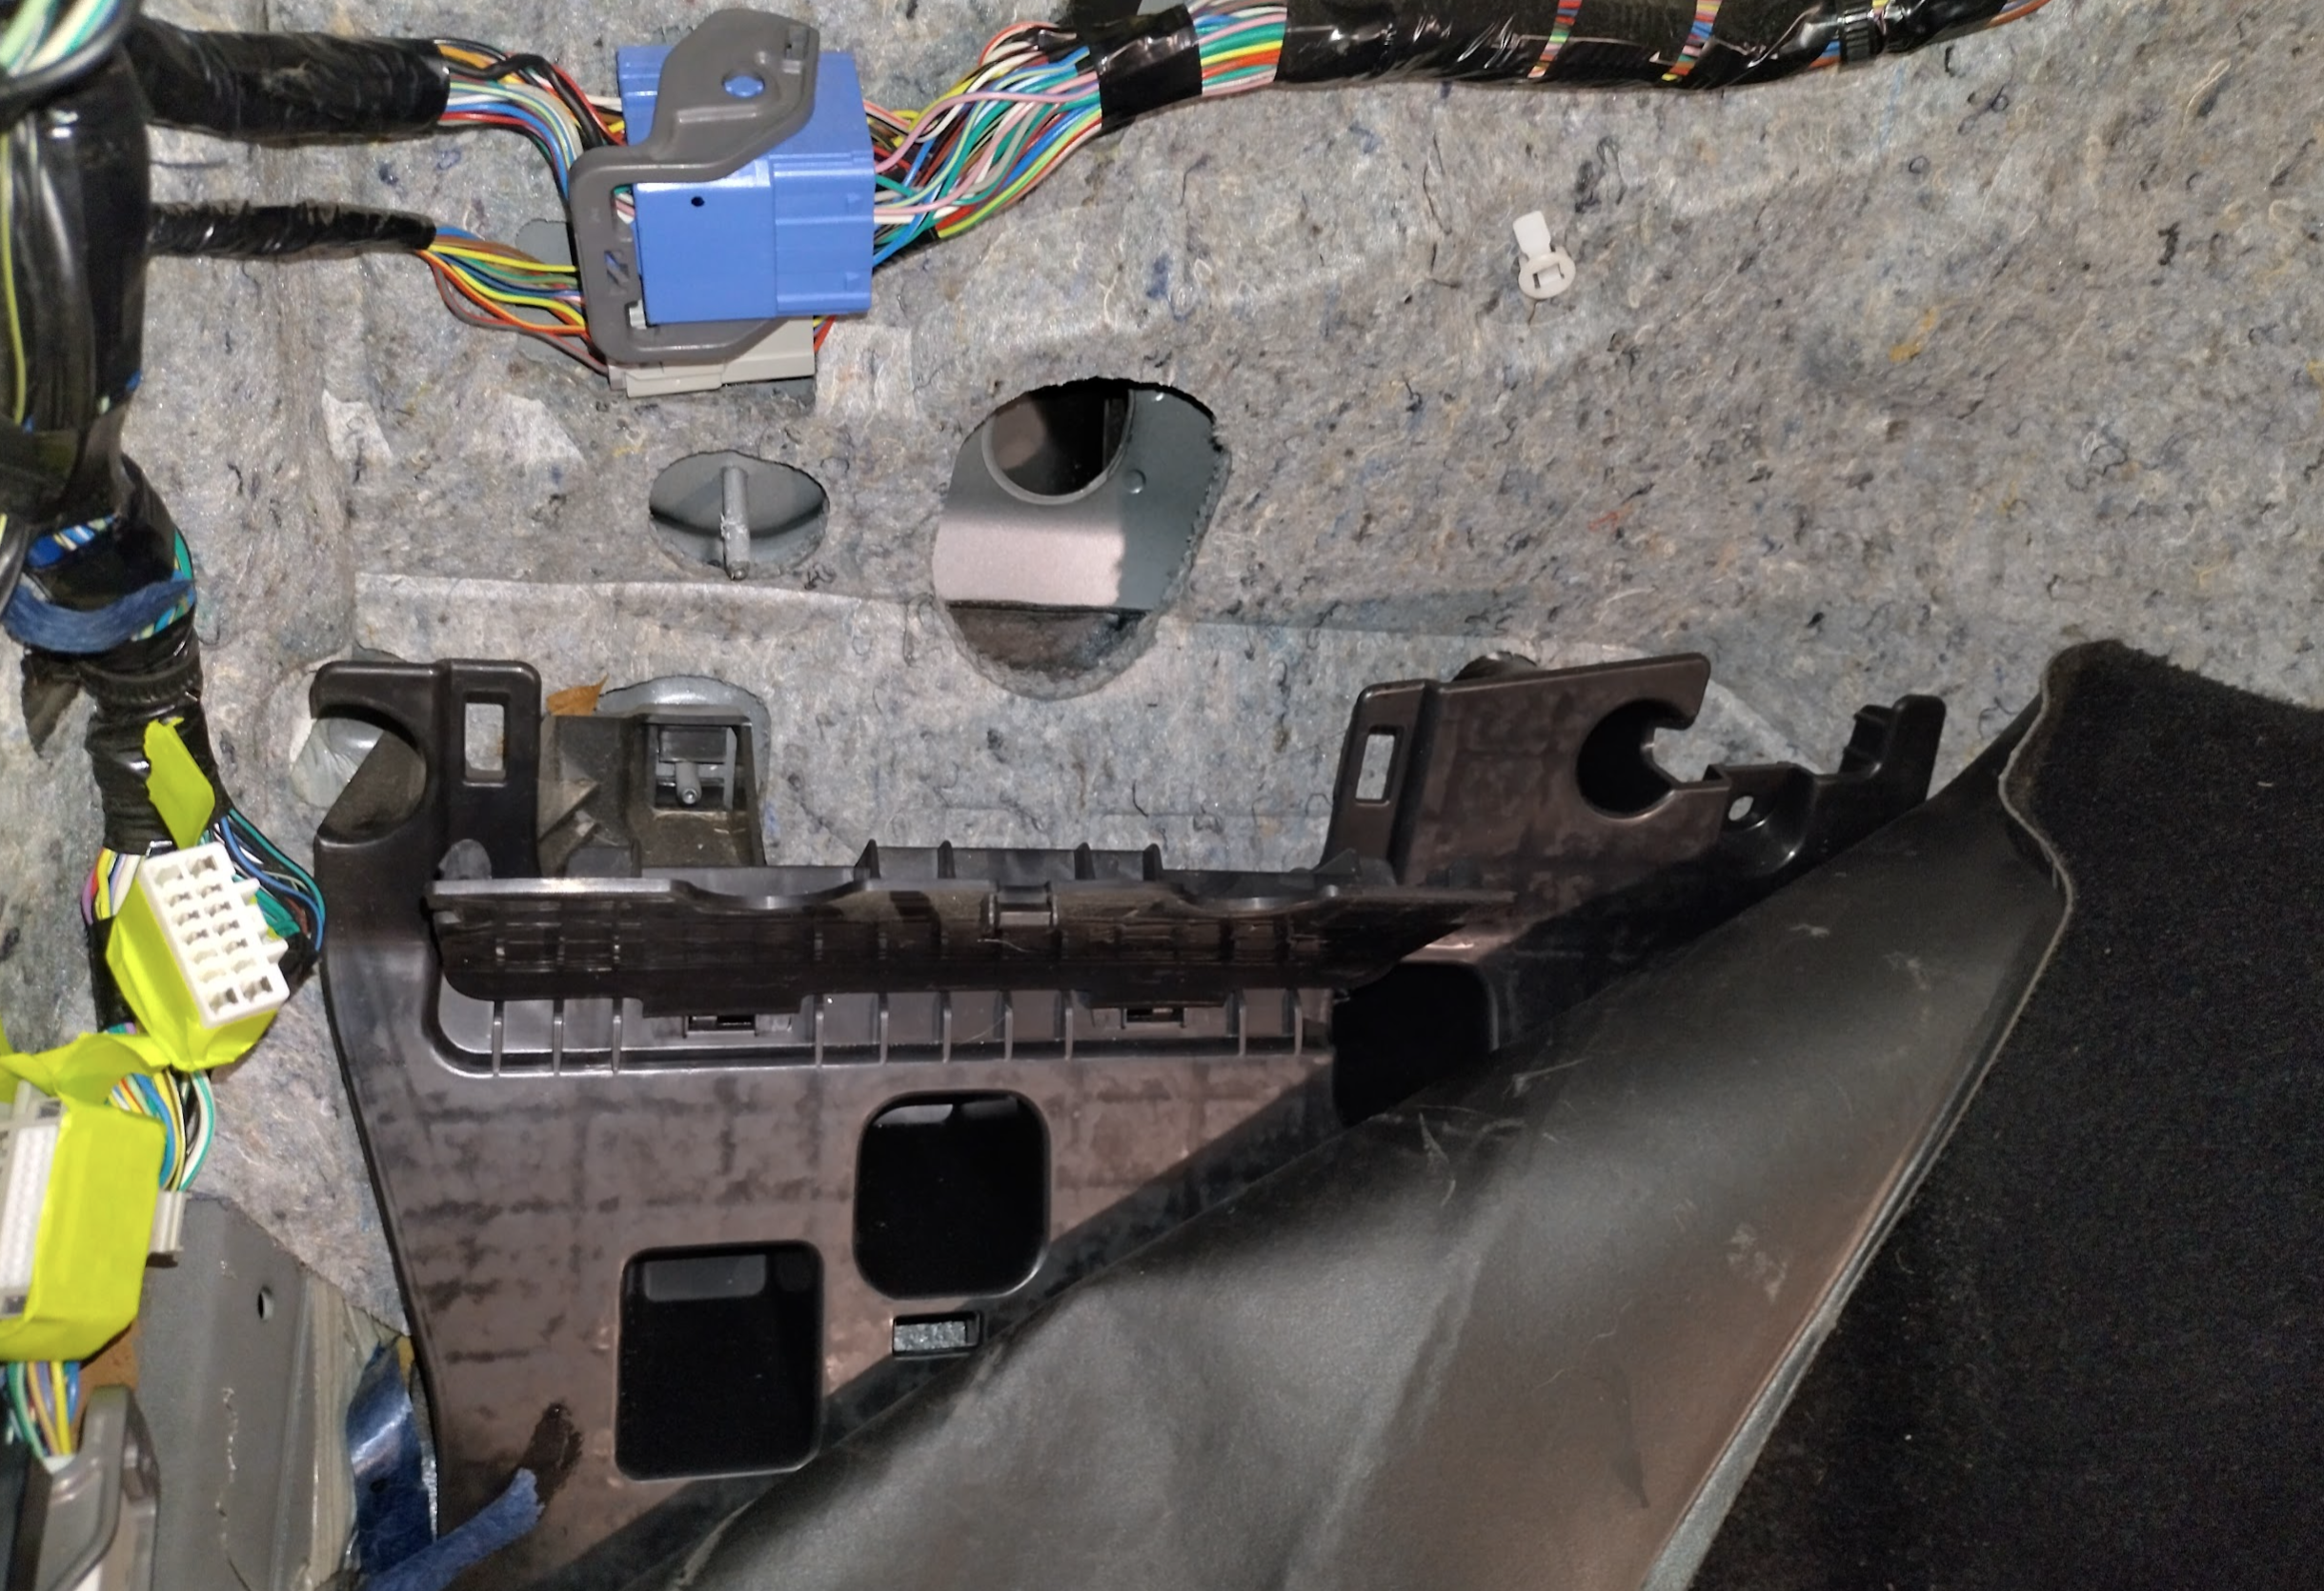
There are two wiring looms – one that stays connected to the firewall, the other is attached to the inner frame within the dashboard. The dashboard loom appears to be black, the firewall loom seems more like a dark blue?
Timeframe: Two casual days to get the dashboard out (including writing notes & taking photos), so it could be done in a day.
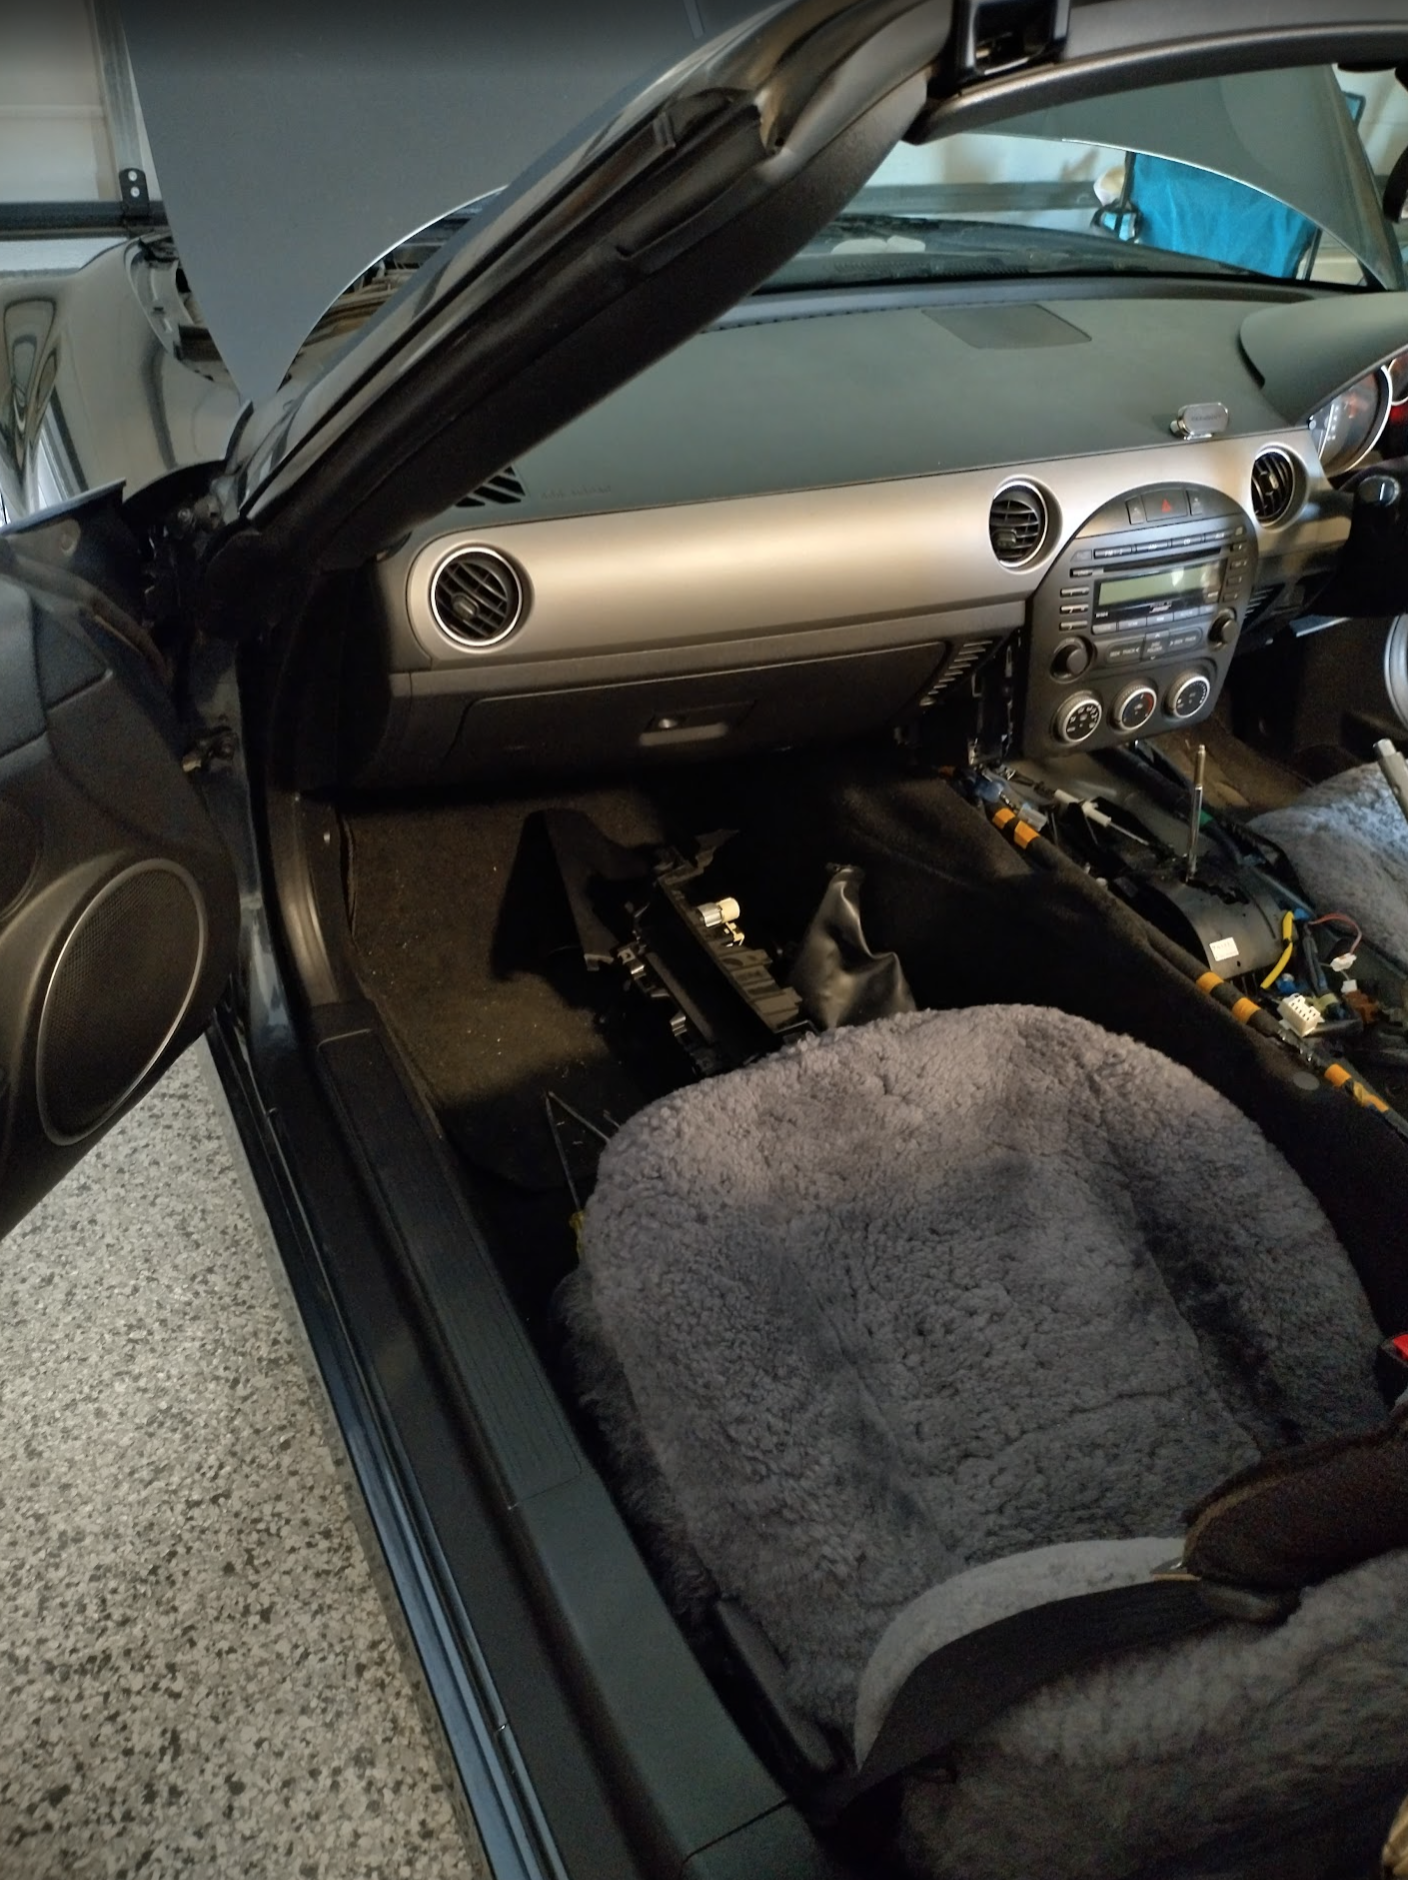
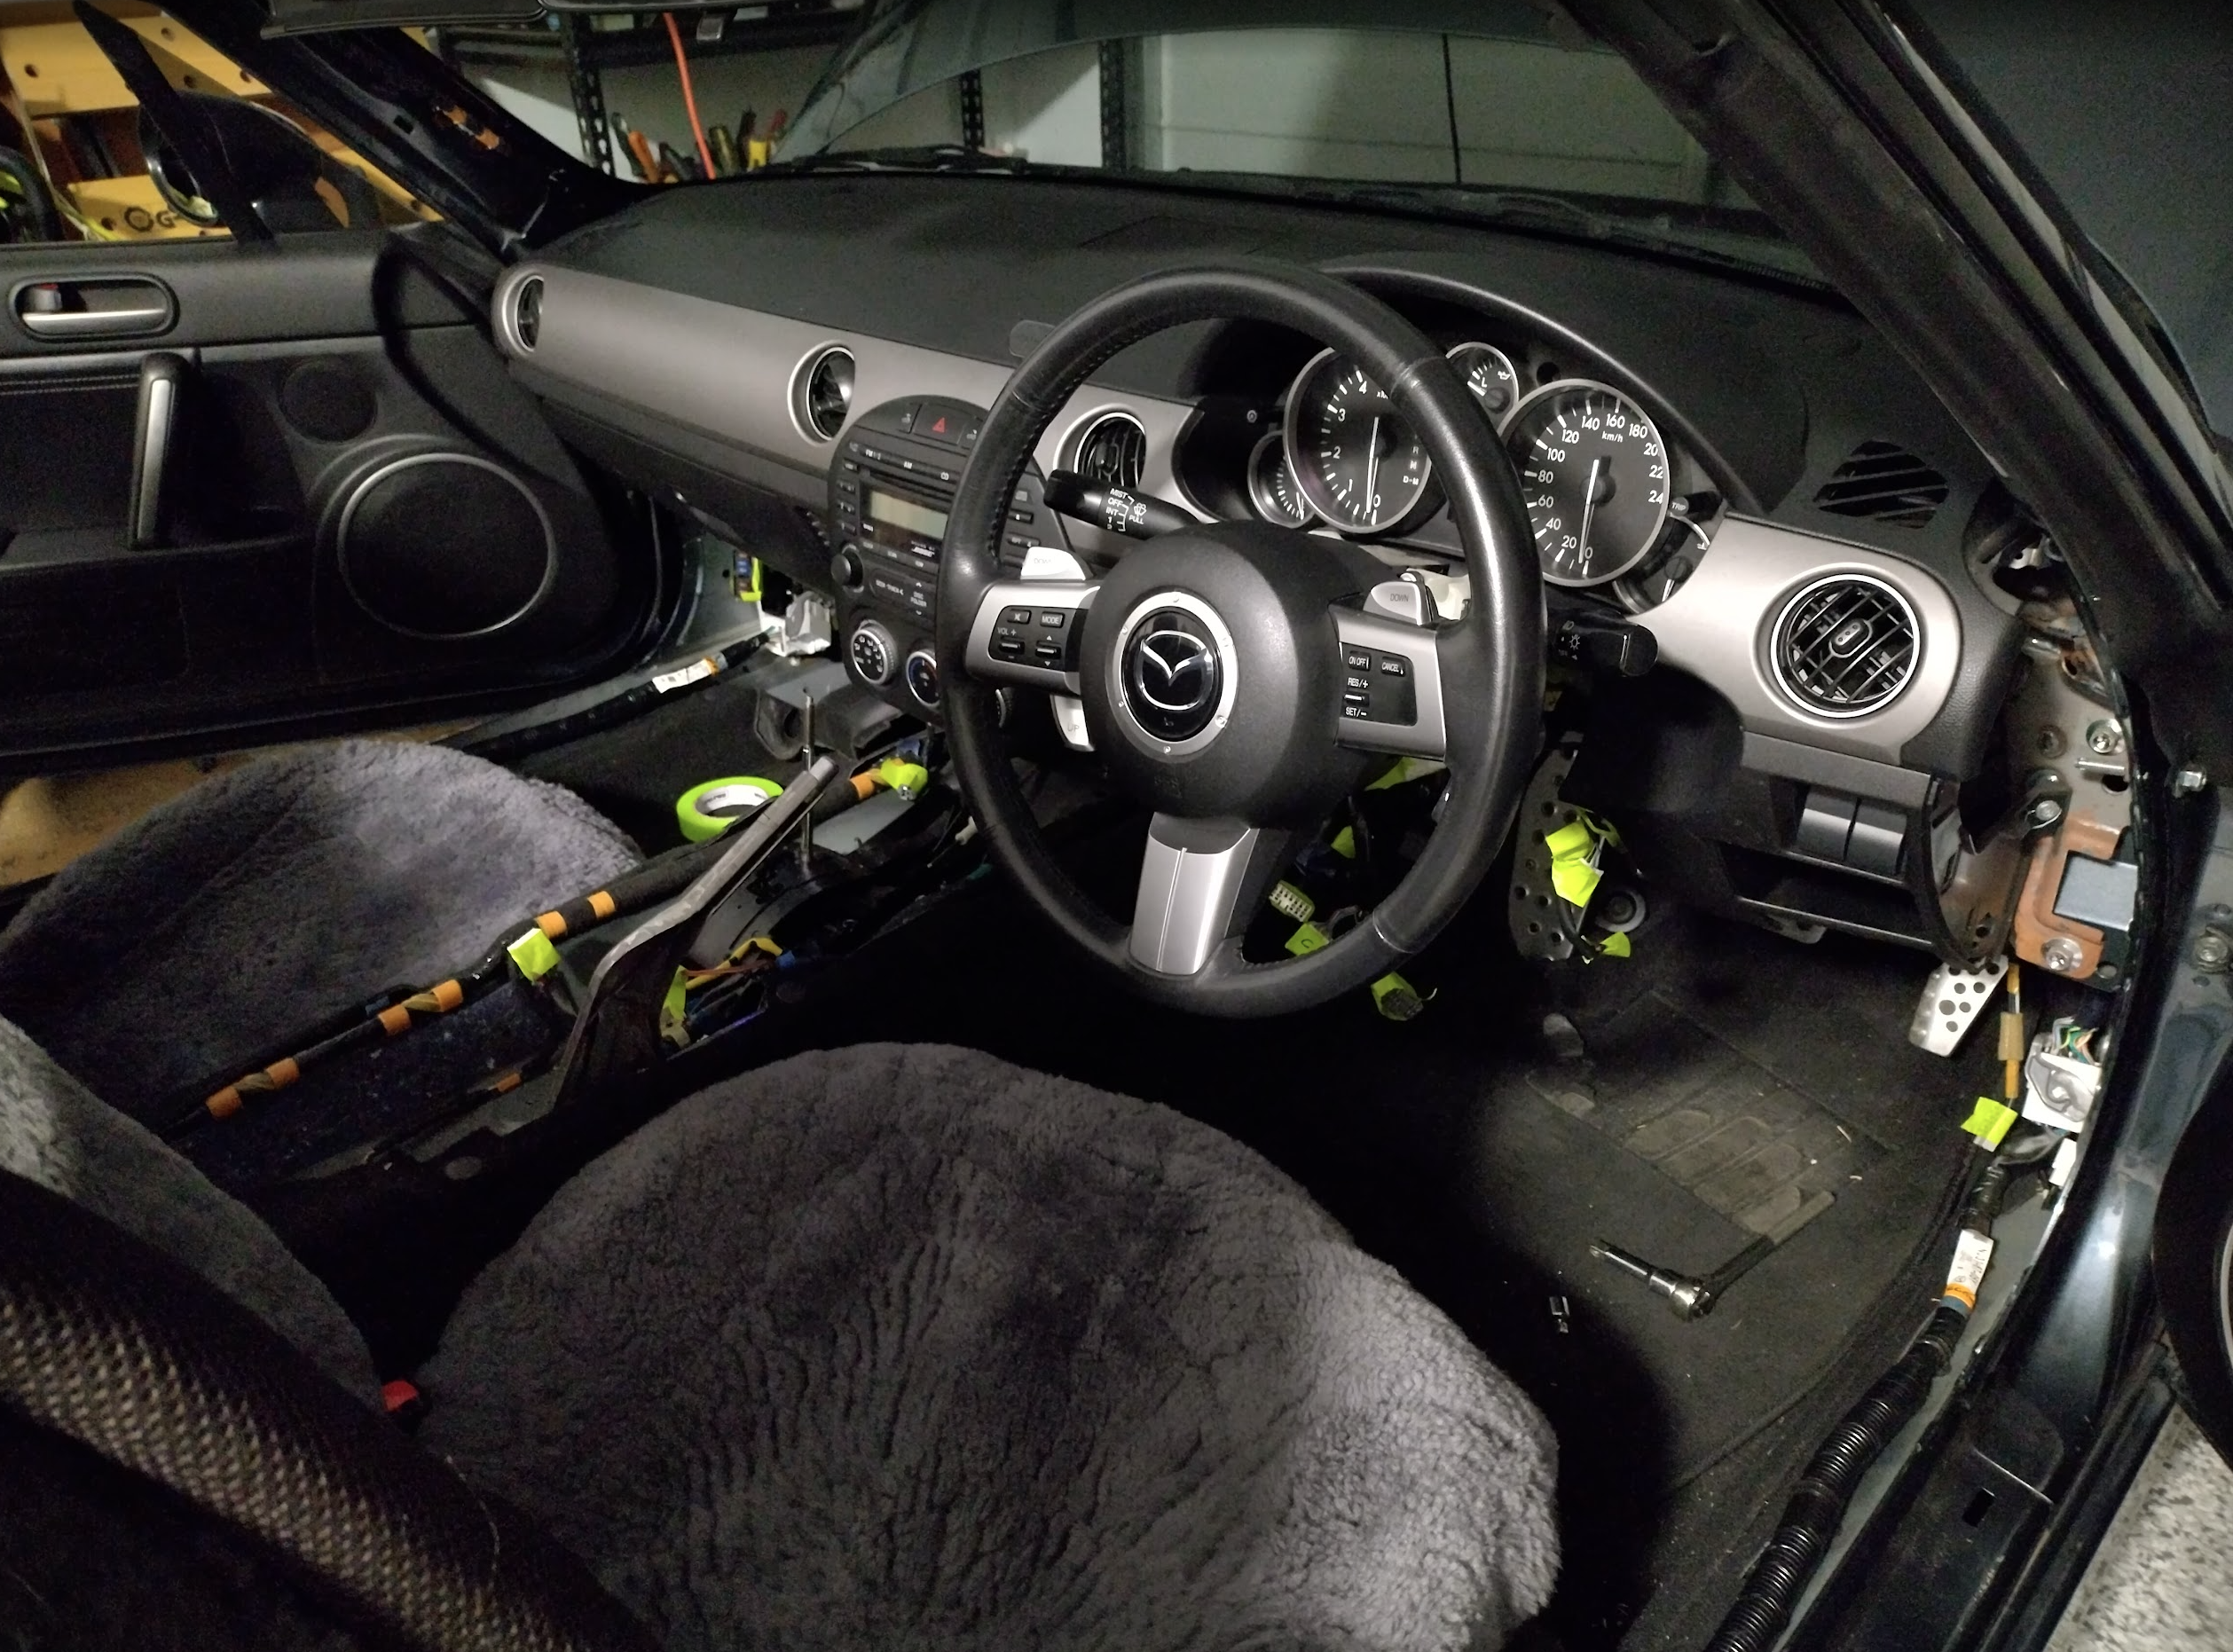
These photos should be mostly in order, but I have rearranged the notes to what would make the most sense. So you might see some parts that have or haven’t been removed.
Engine Bay
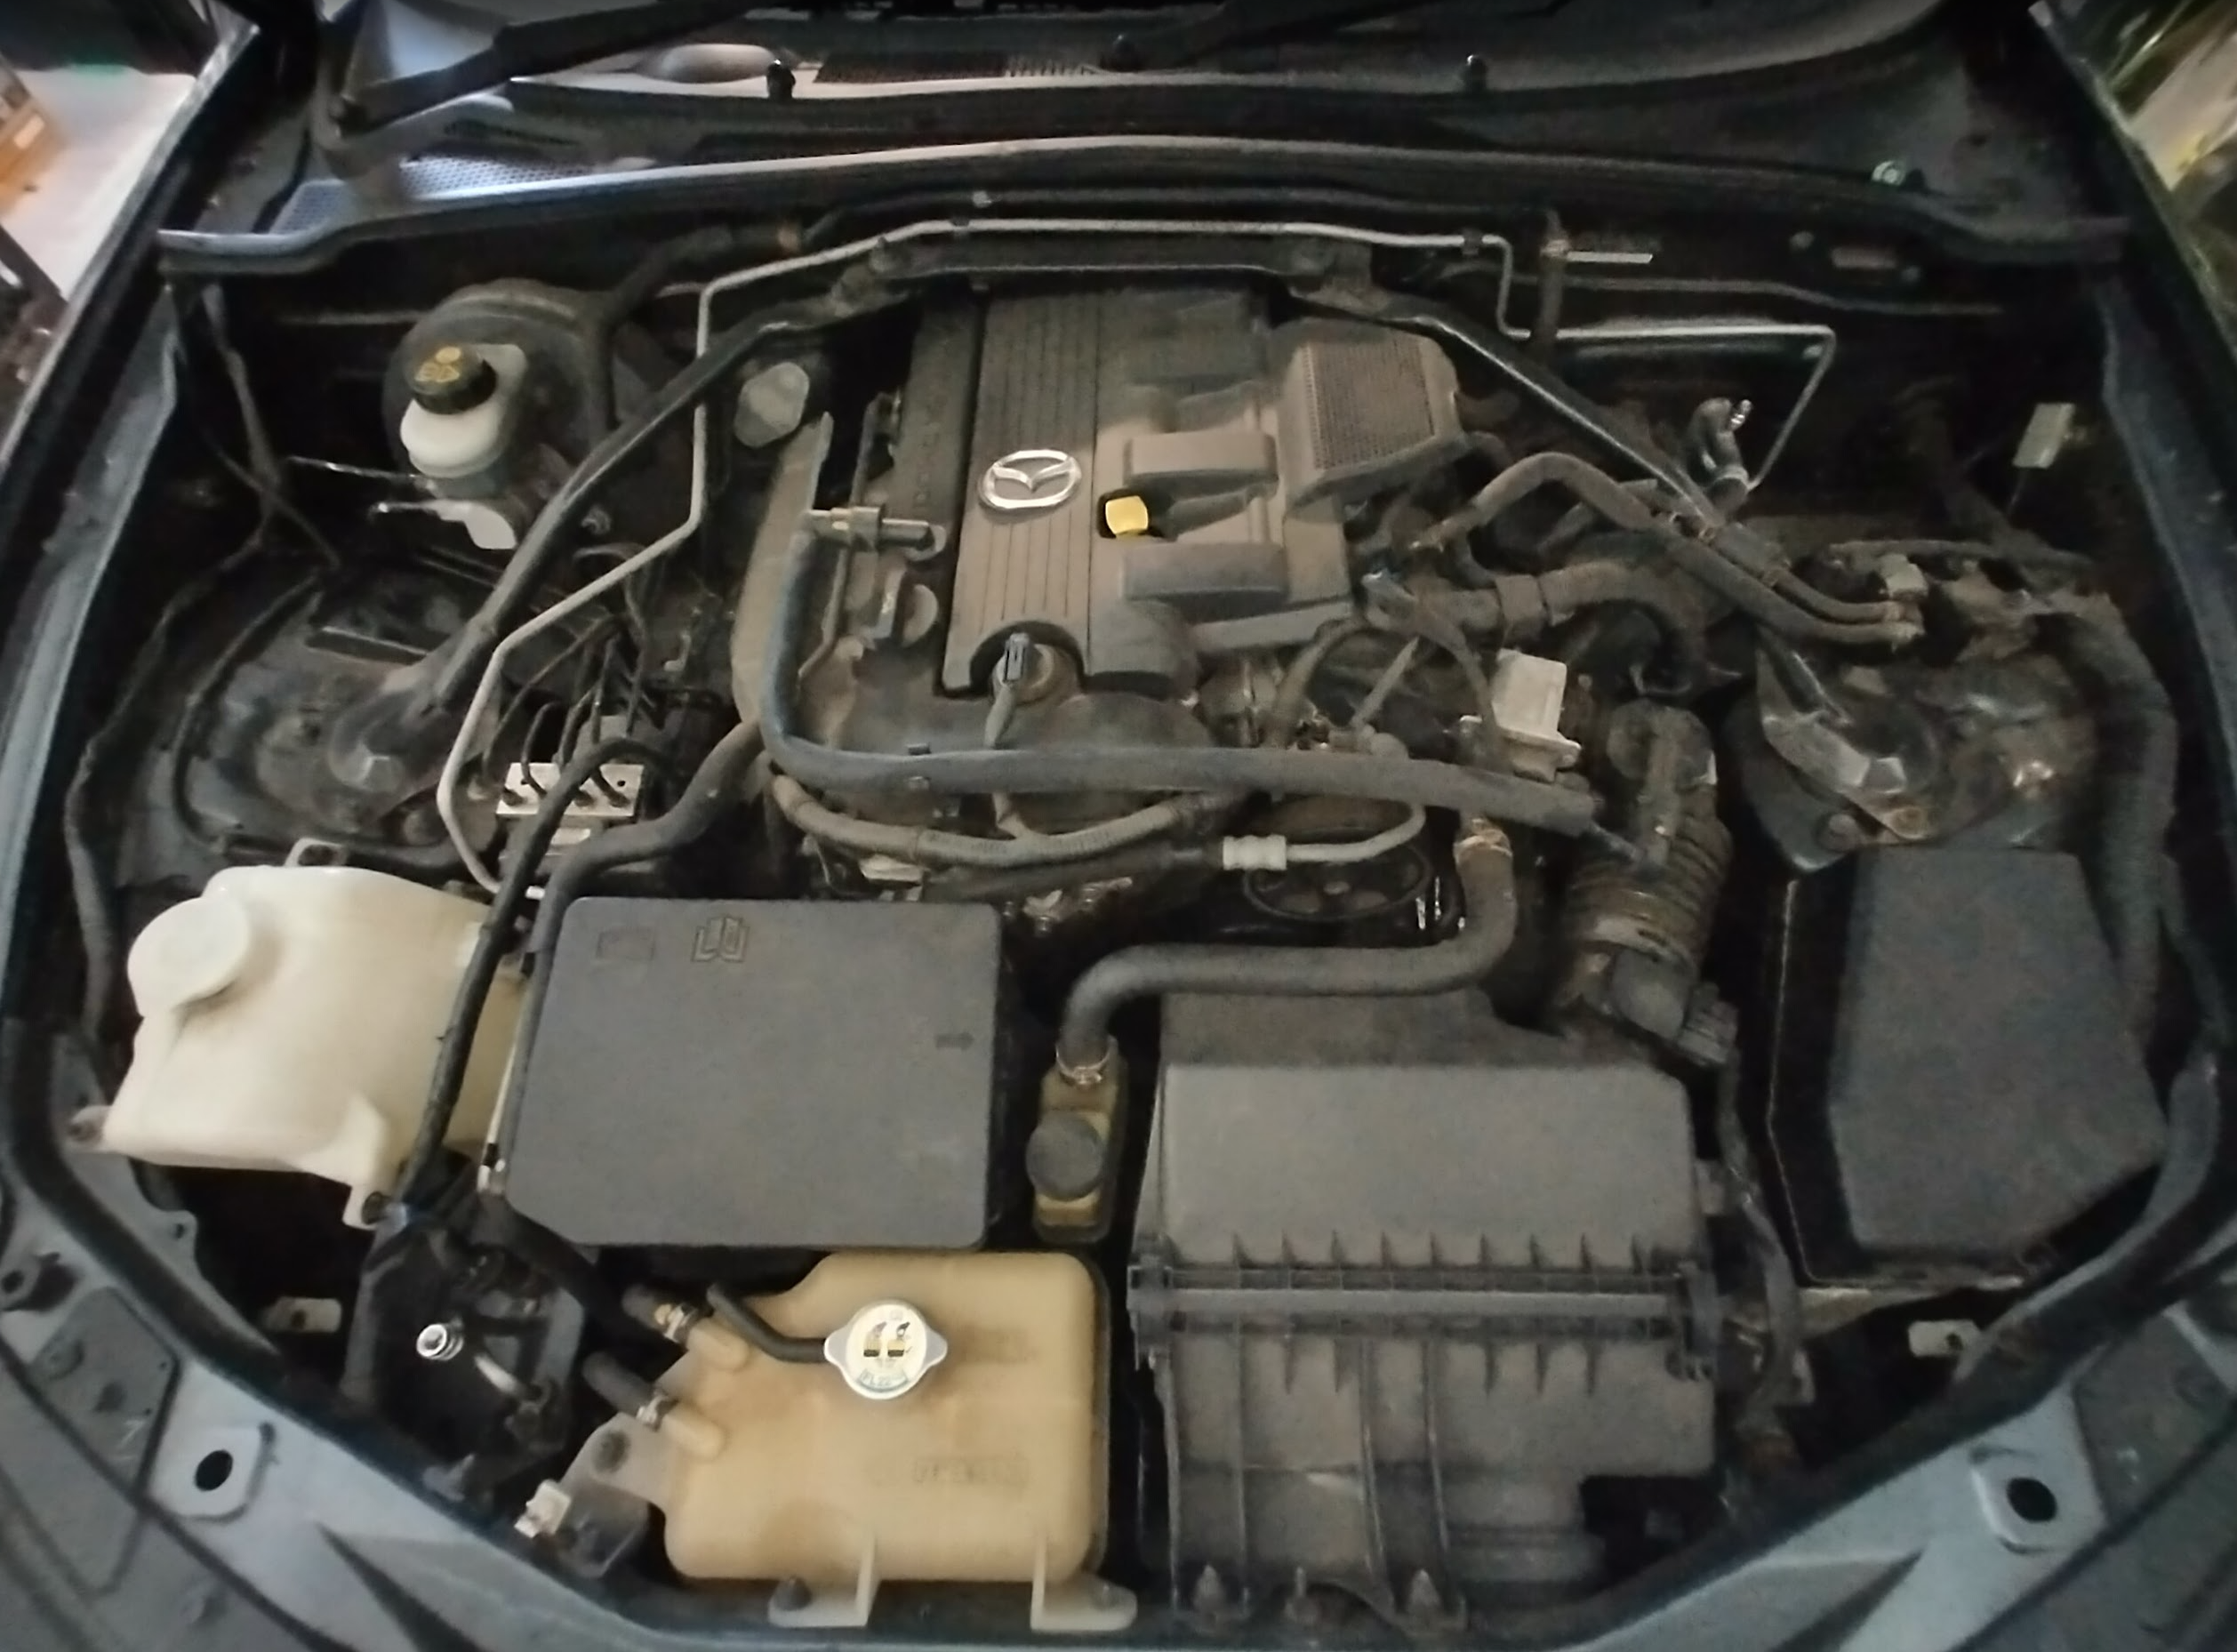
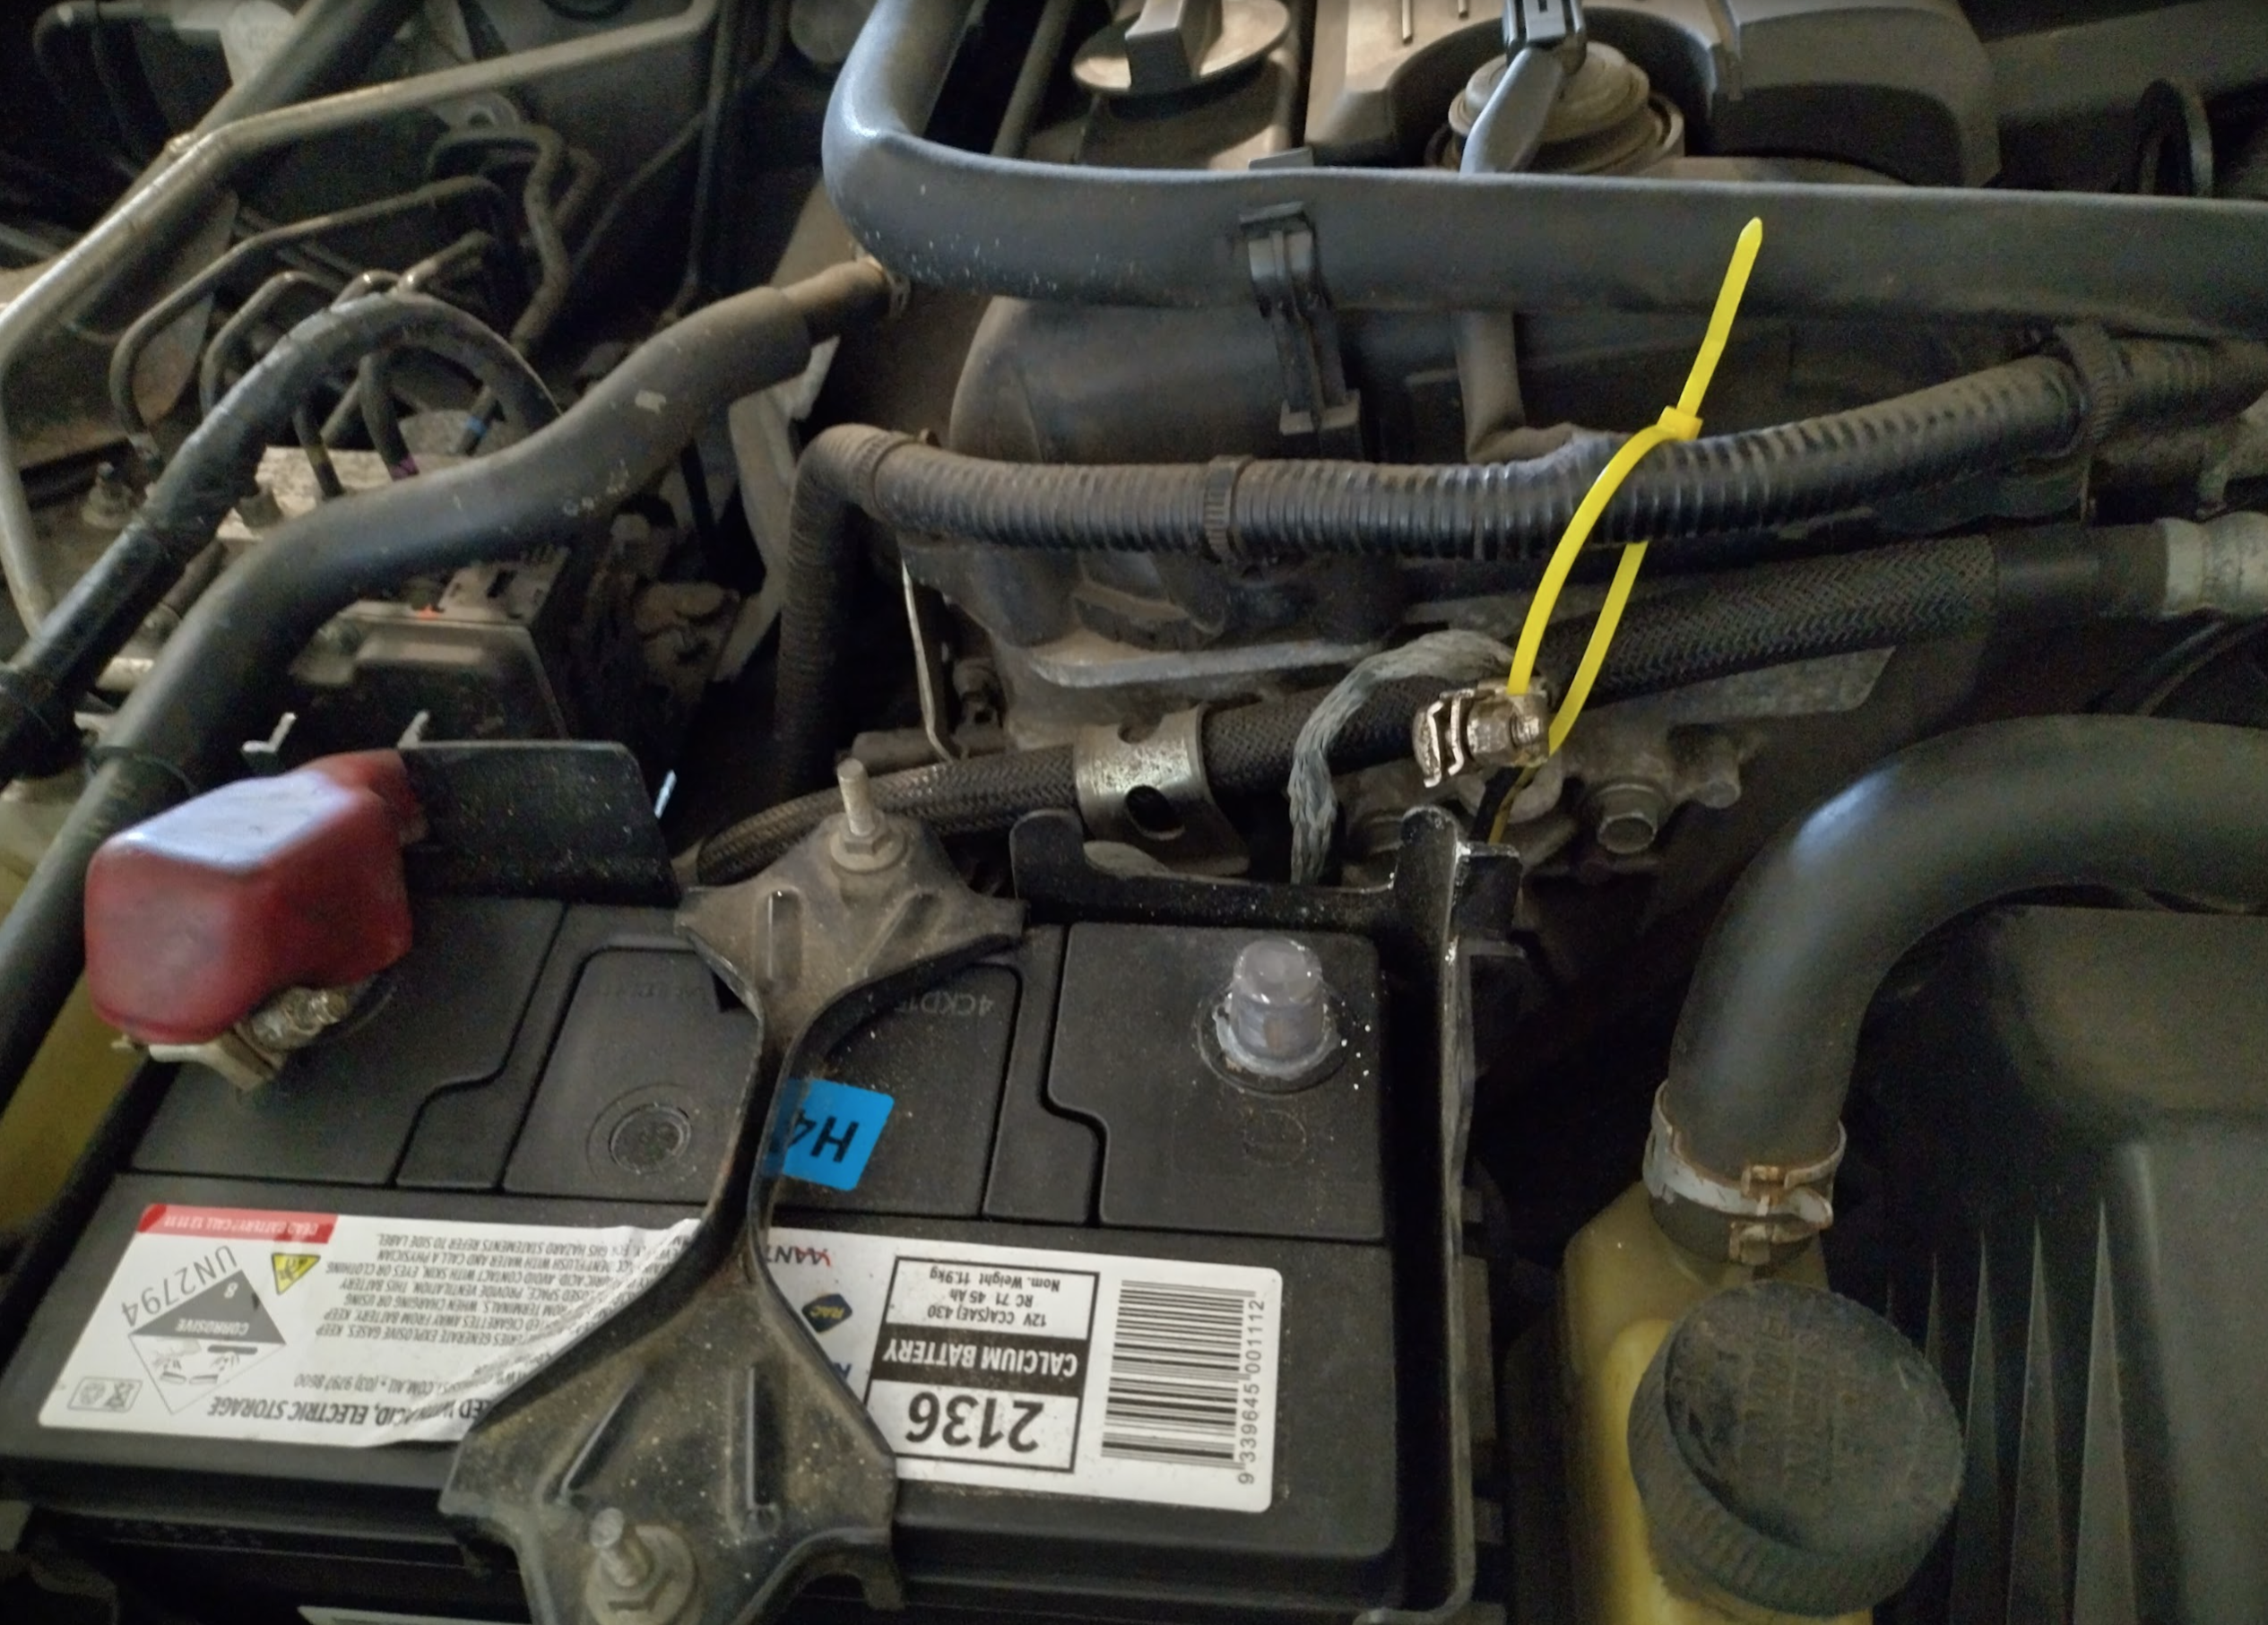
IMPORTANT: Disconnect the negative side of the battery (10mm socket). This prevents any accidental airbag deployments & electrical shorting. Make sure the cable is secured away from any metal parts of the car.
Clamp and disconnect coolant hoses. Mine is located on the passenger side. I used common woodworking clamps on the hoses. Use sliding pliers to get the hoses off. About 1 cup of coolant came out.
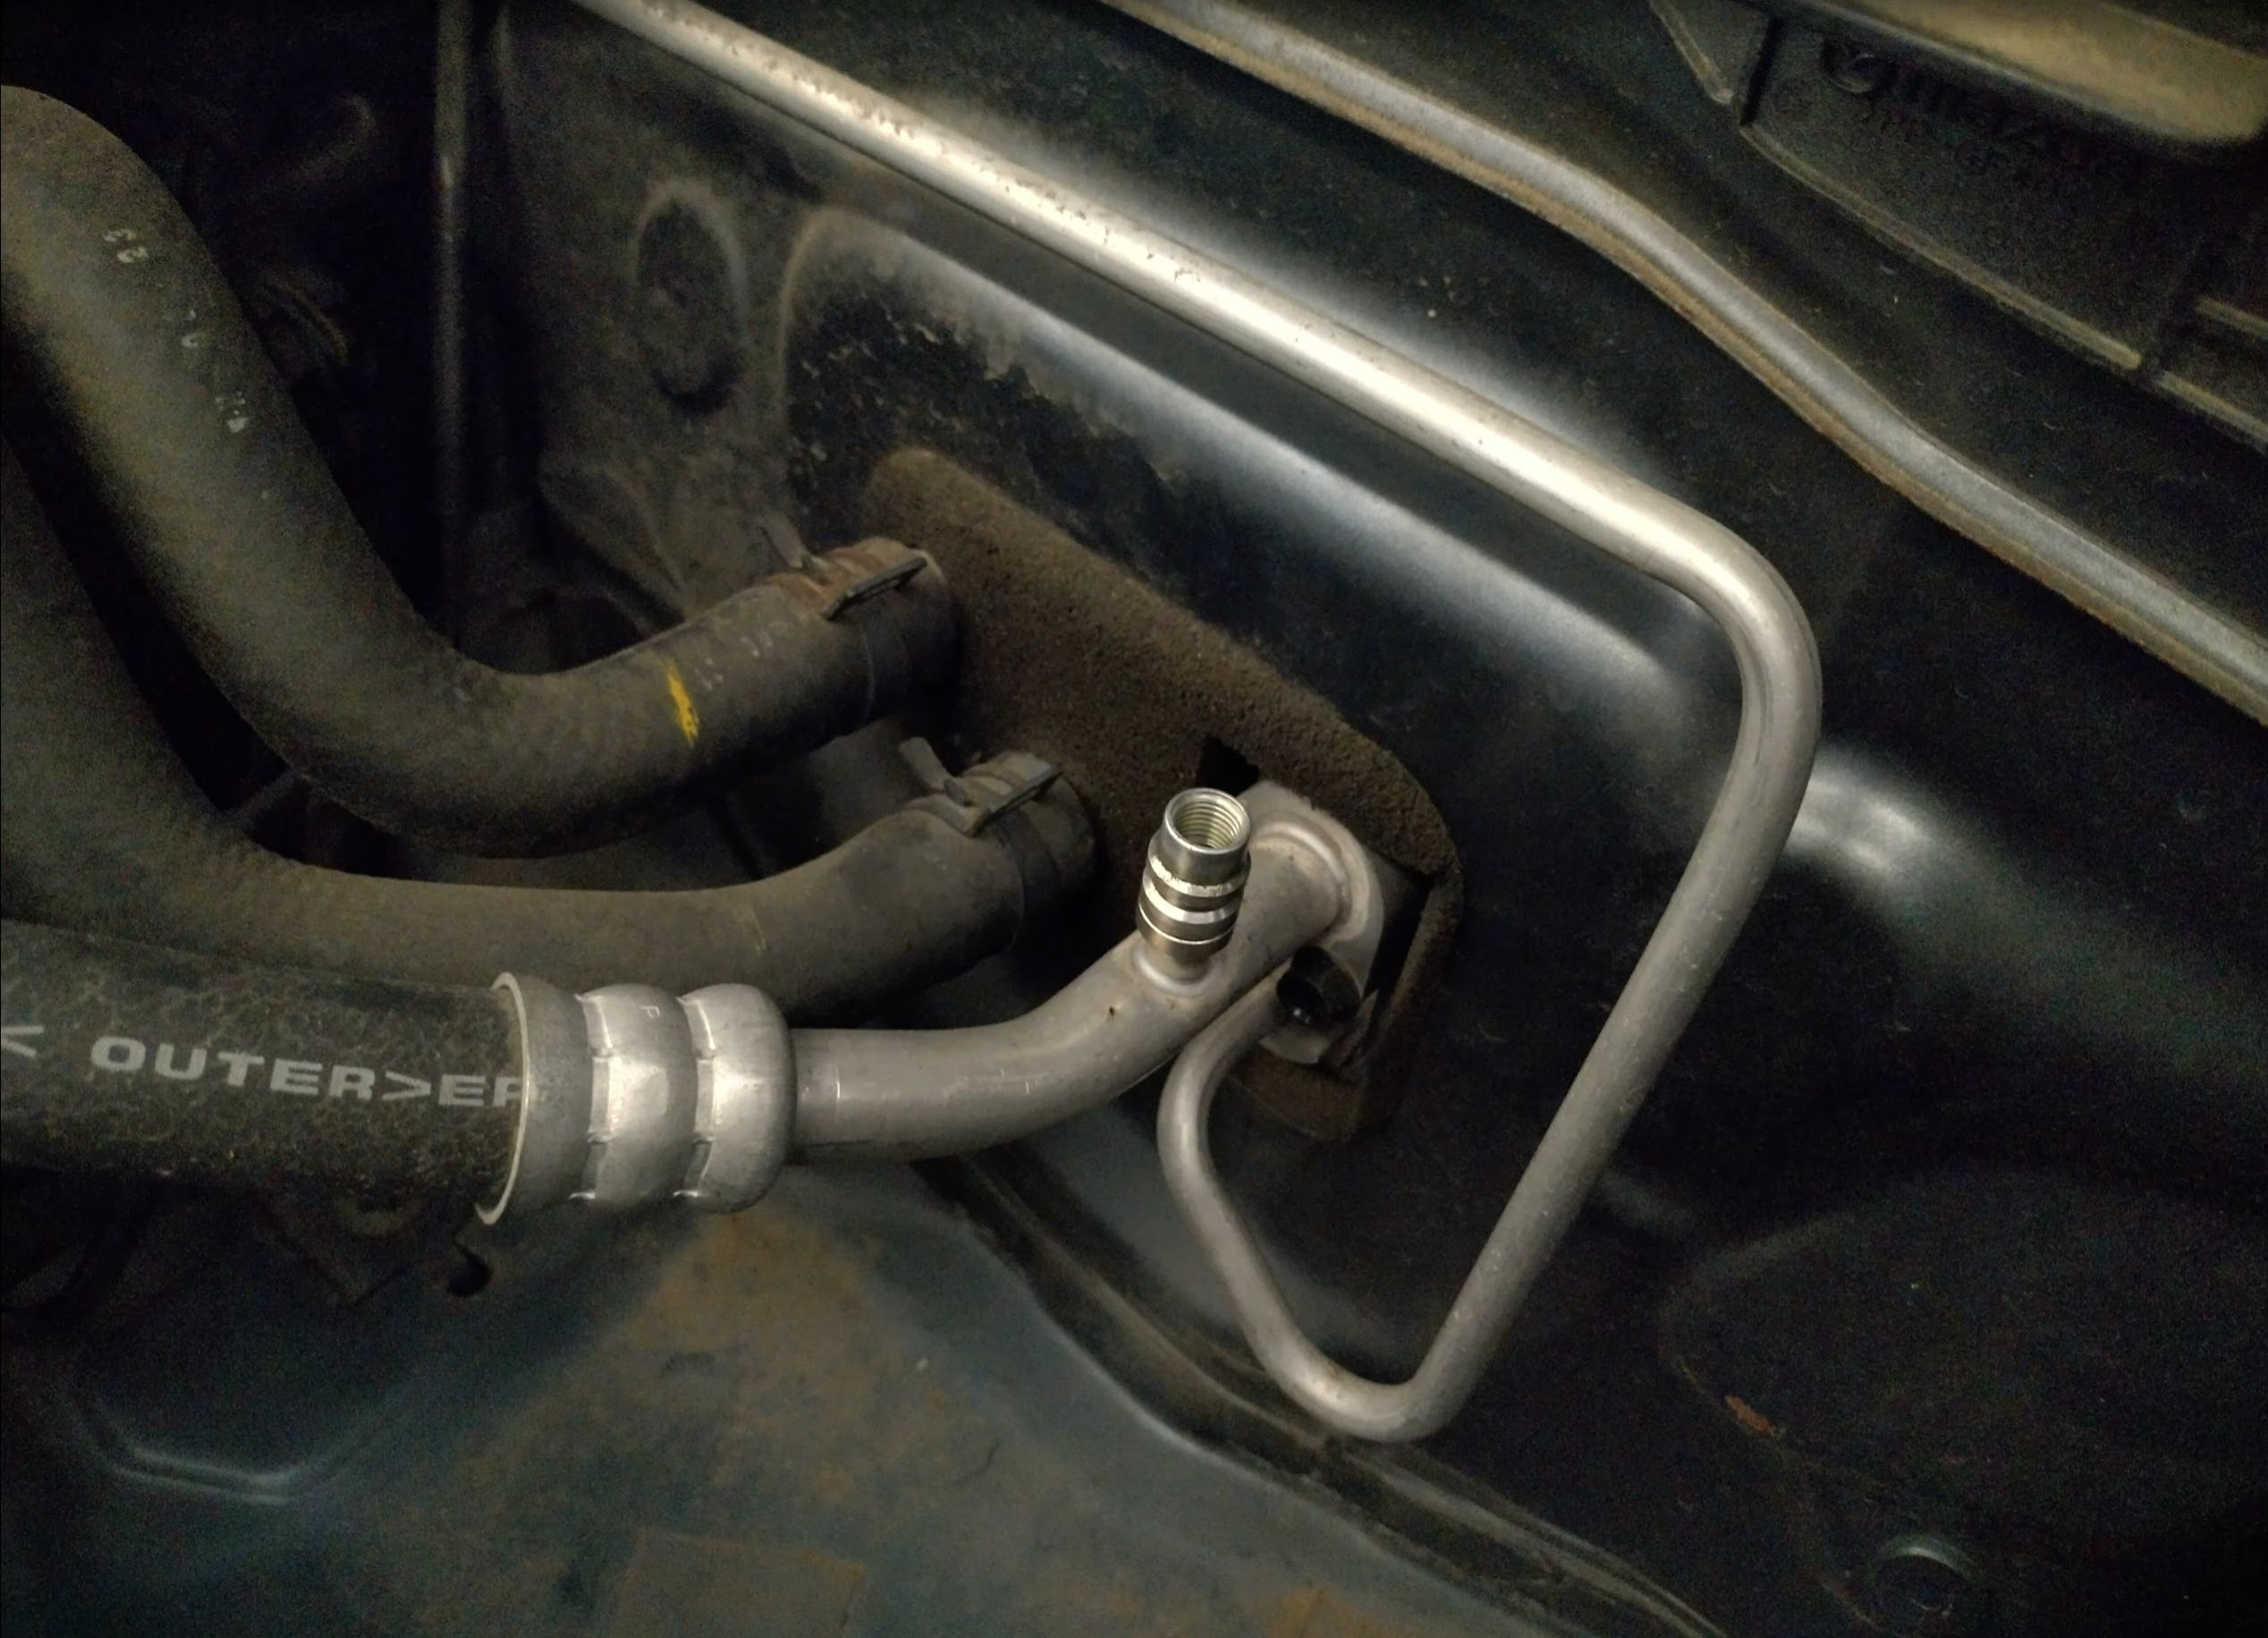
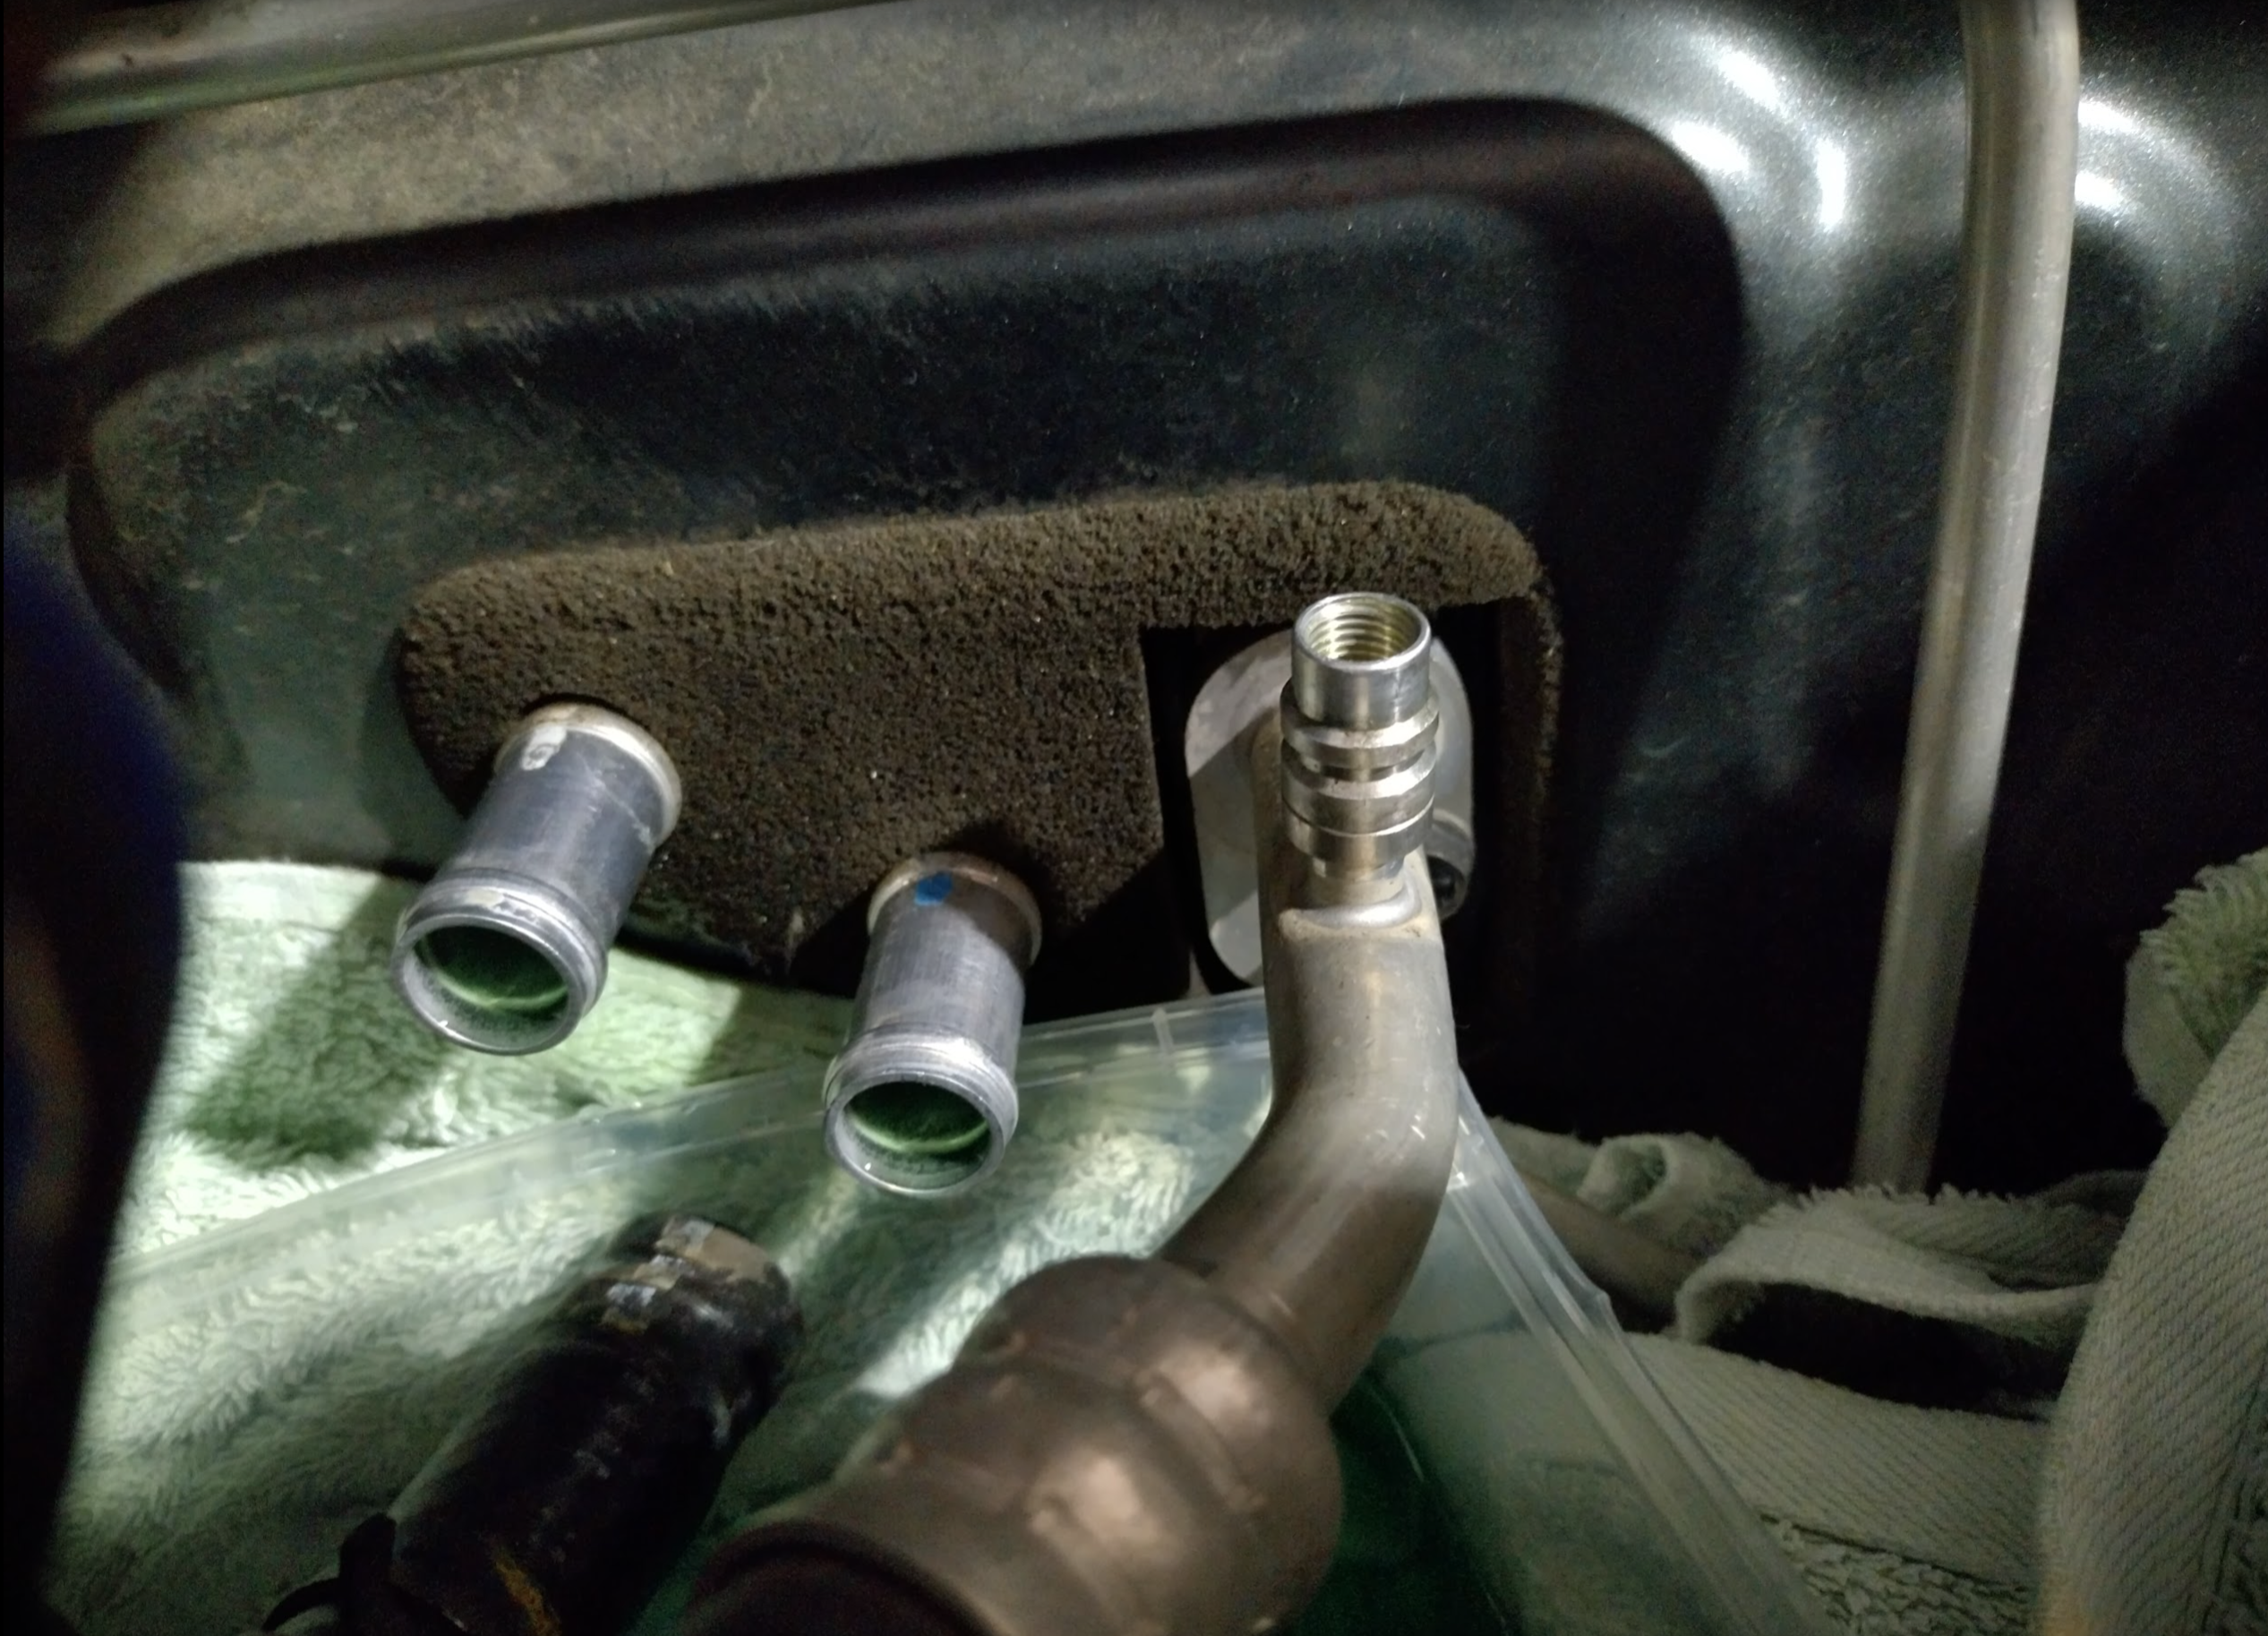
Remove (long 10mm) bolt from aircon hoses panel.
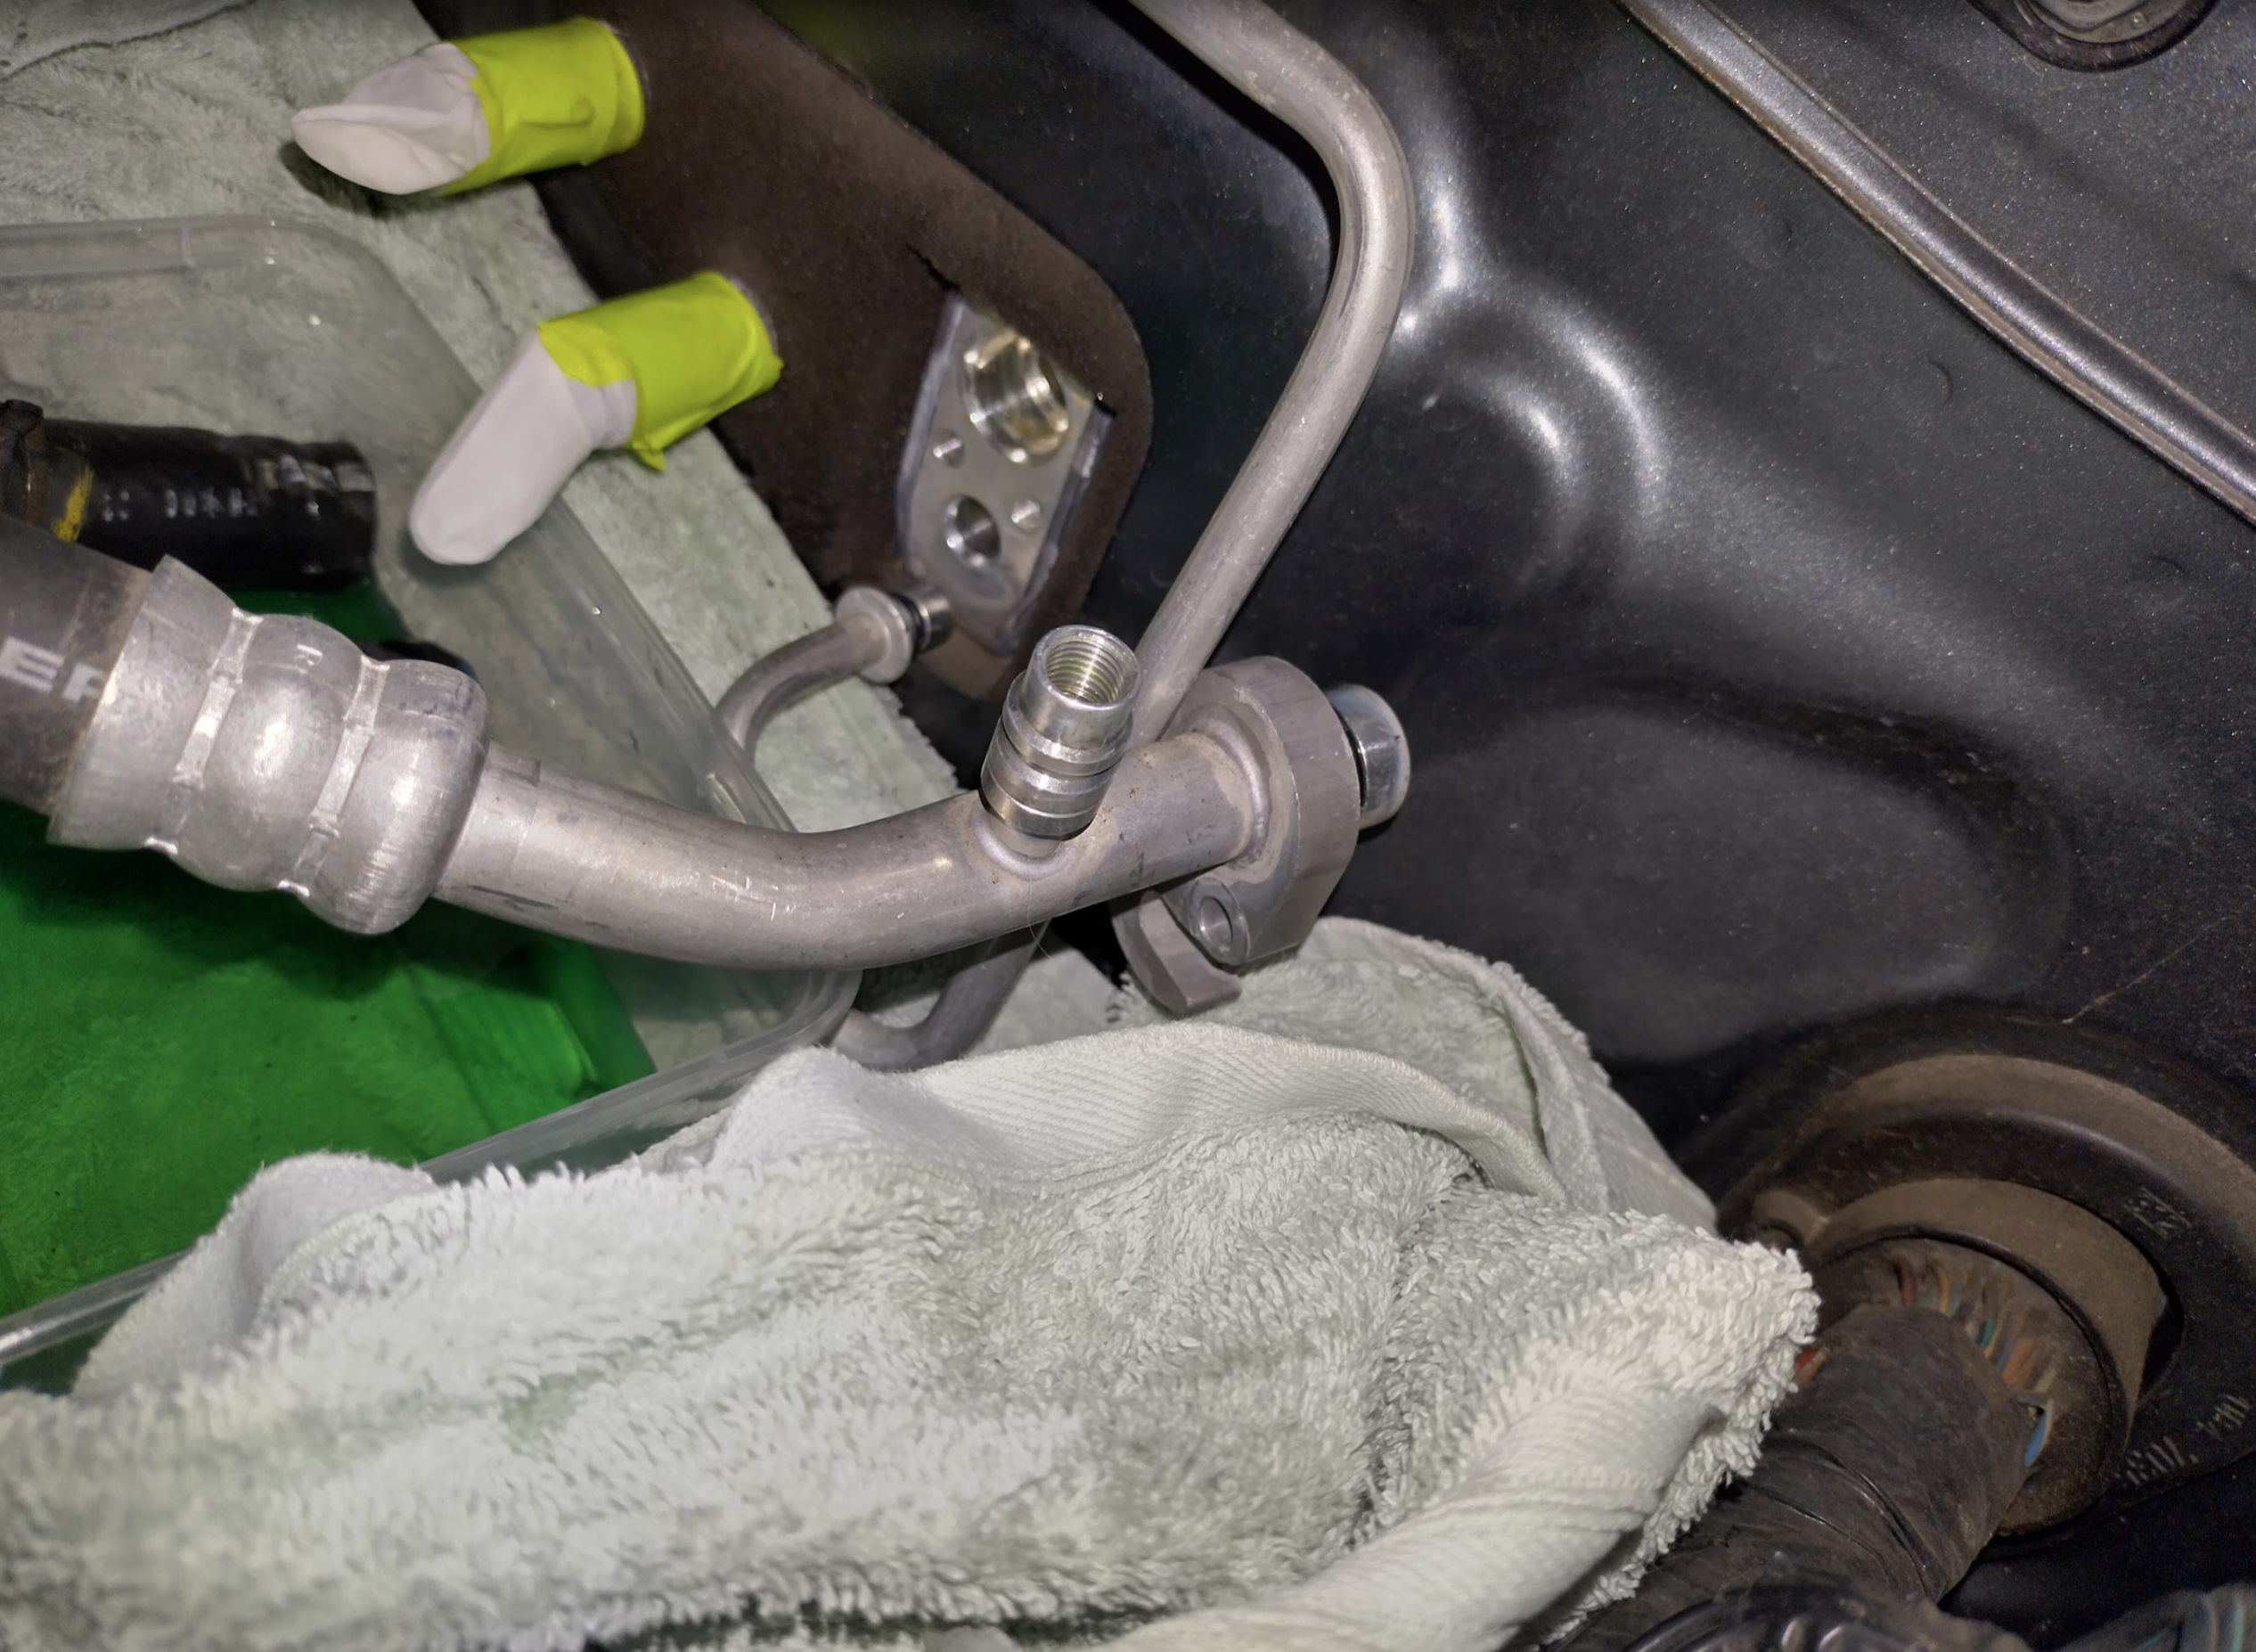
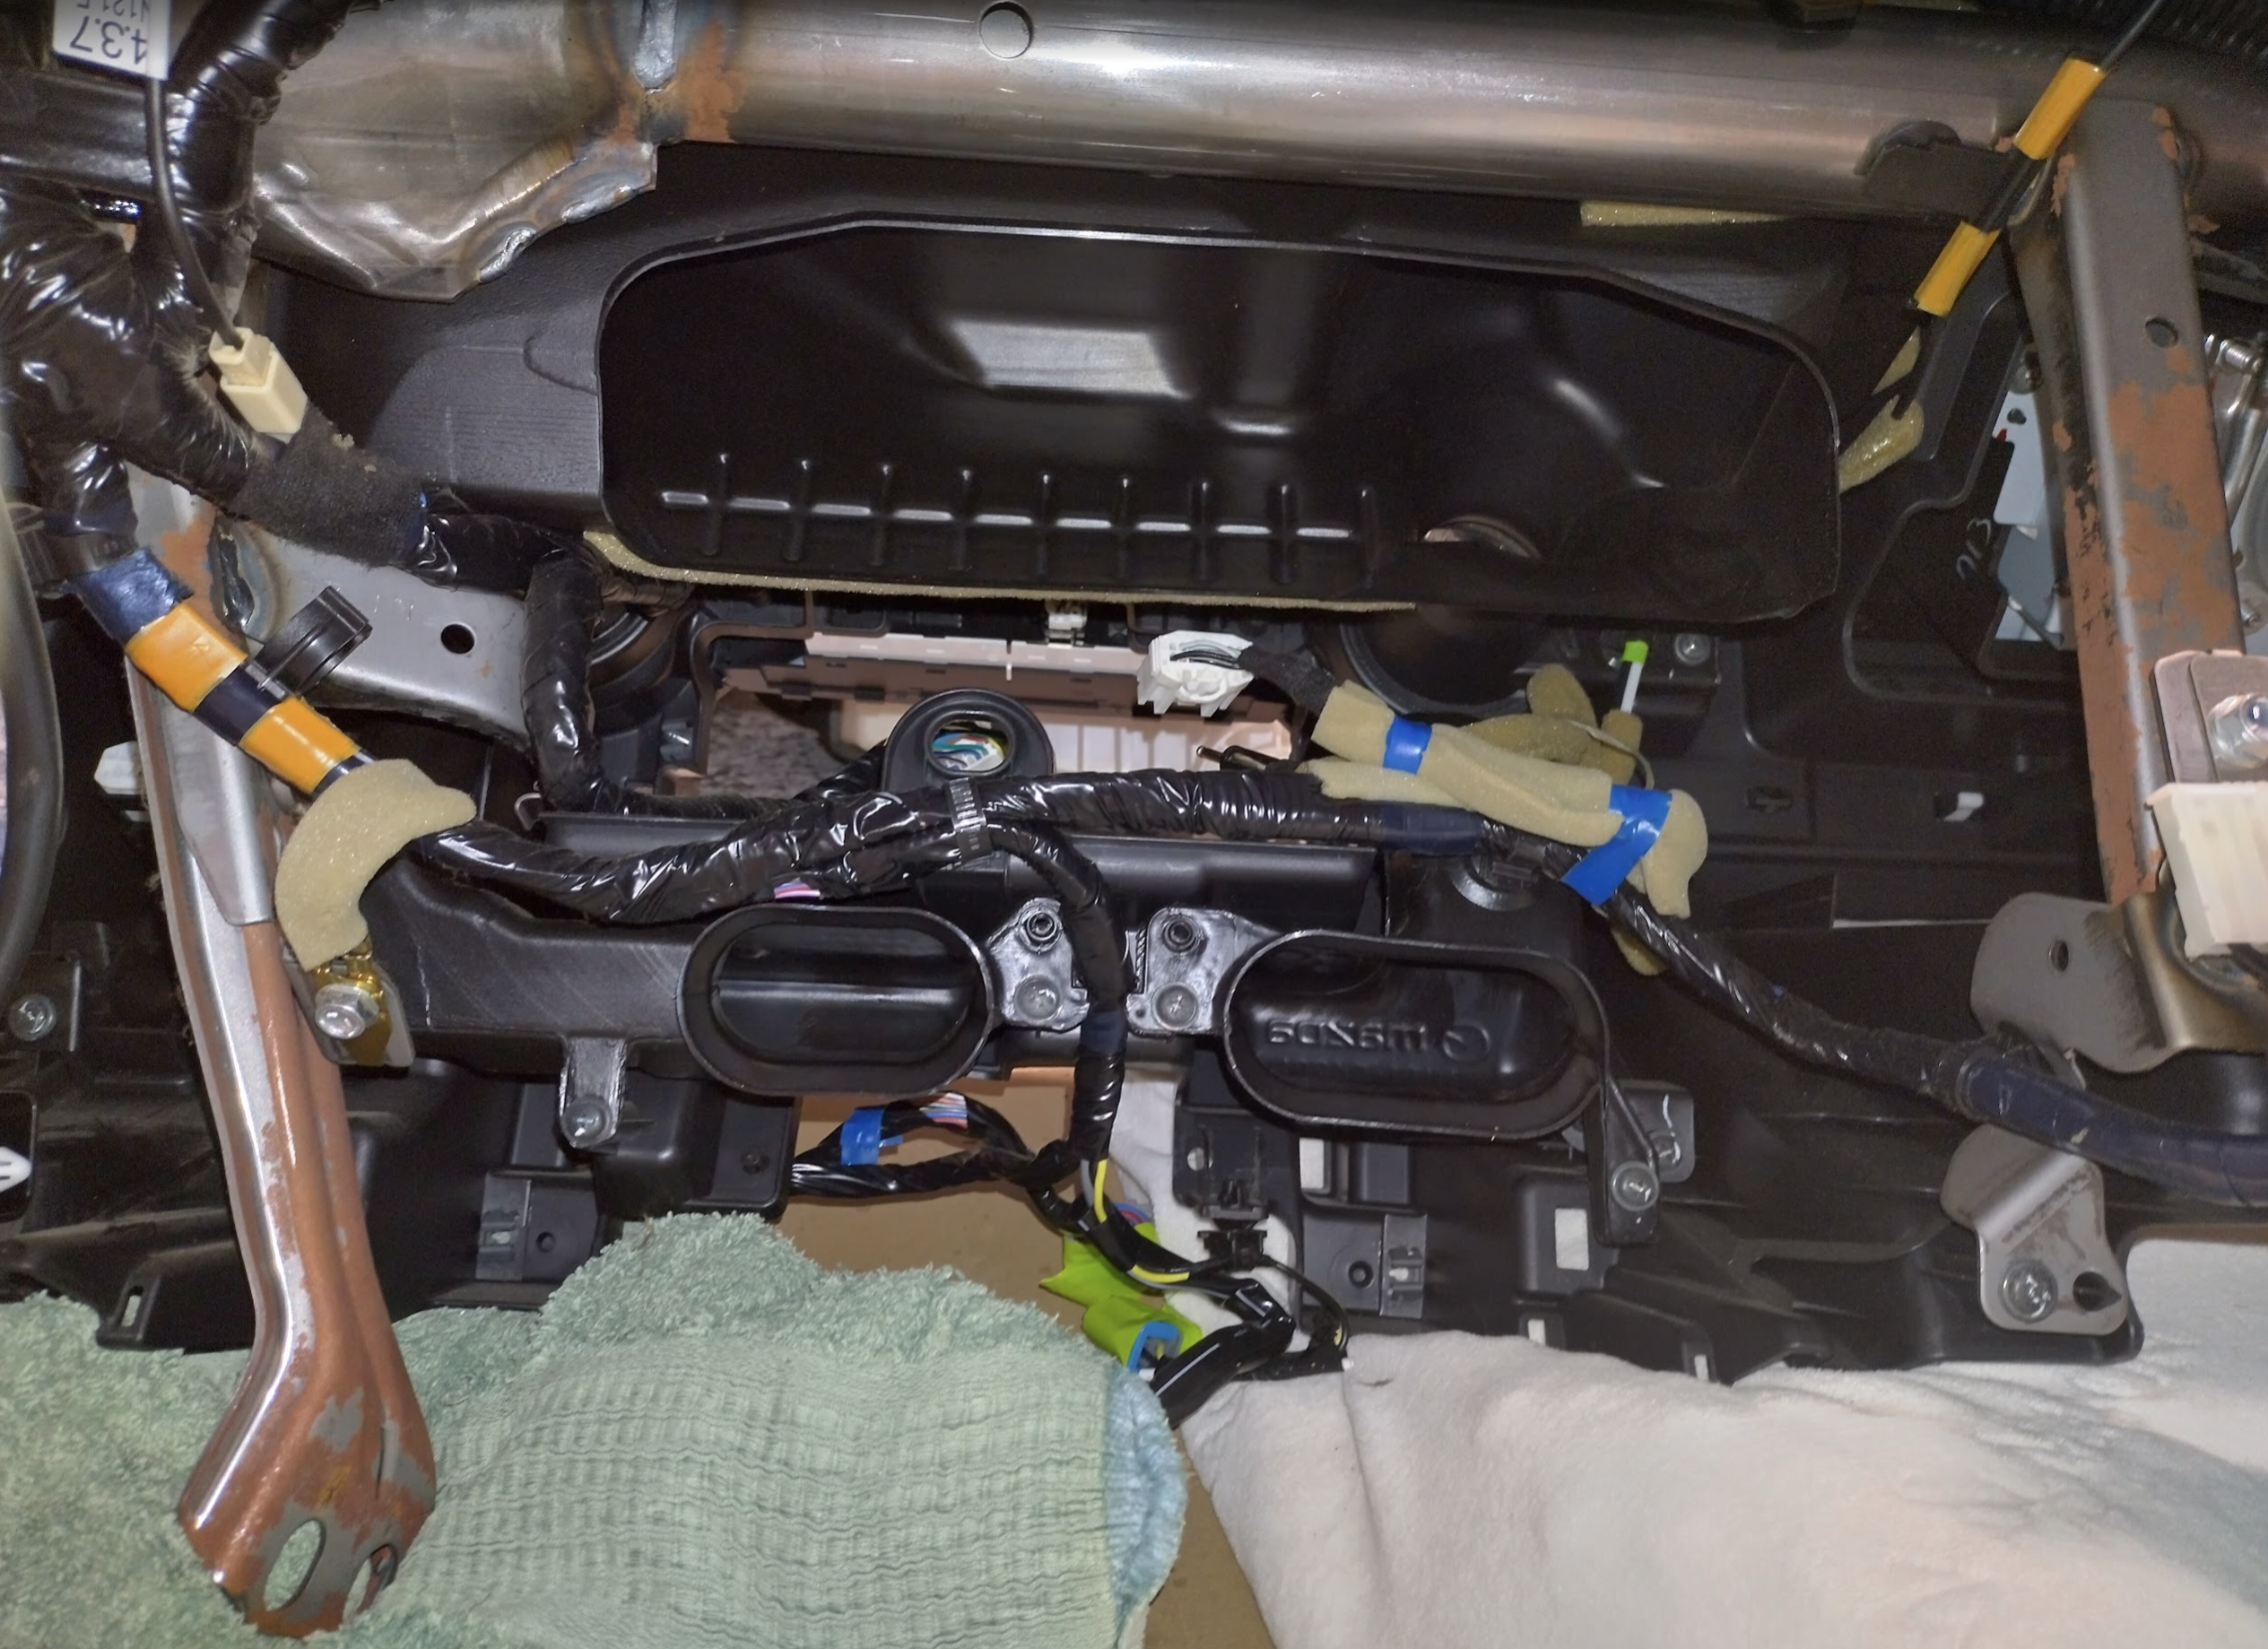
Cover coolant nibs – I used glove fingers taped on, water balloons or normal balloons might work well. The whole foam & mount area gets pulled out with the dash, don’t make my mistake in thinking that the pipes get pulled through and the foam & mount stay. So you can cover them with anything bulky.
Remove centre console
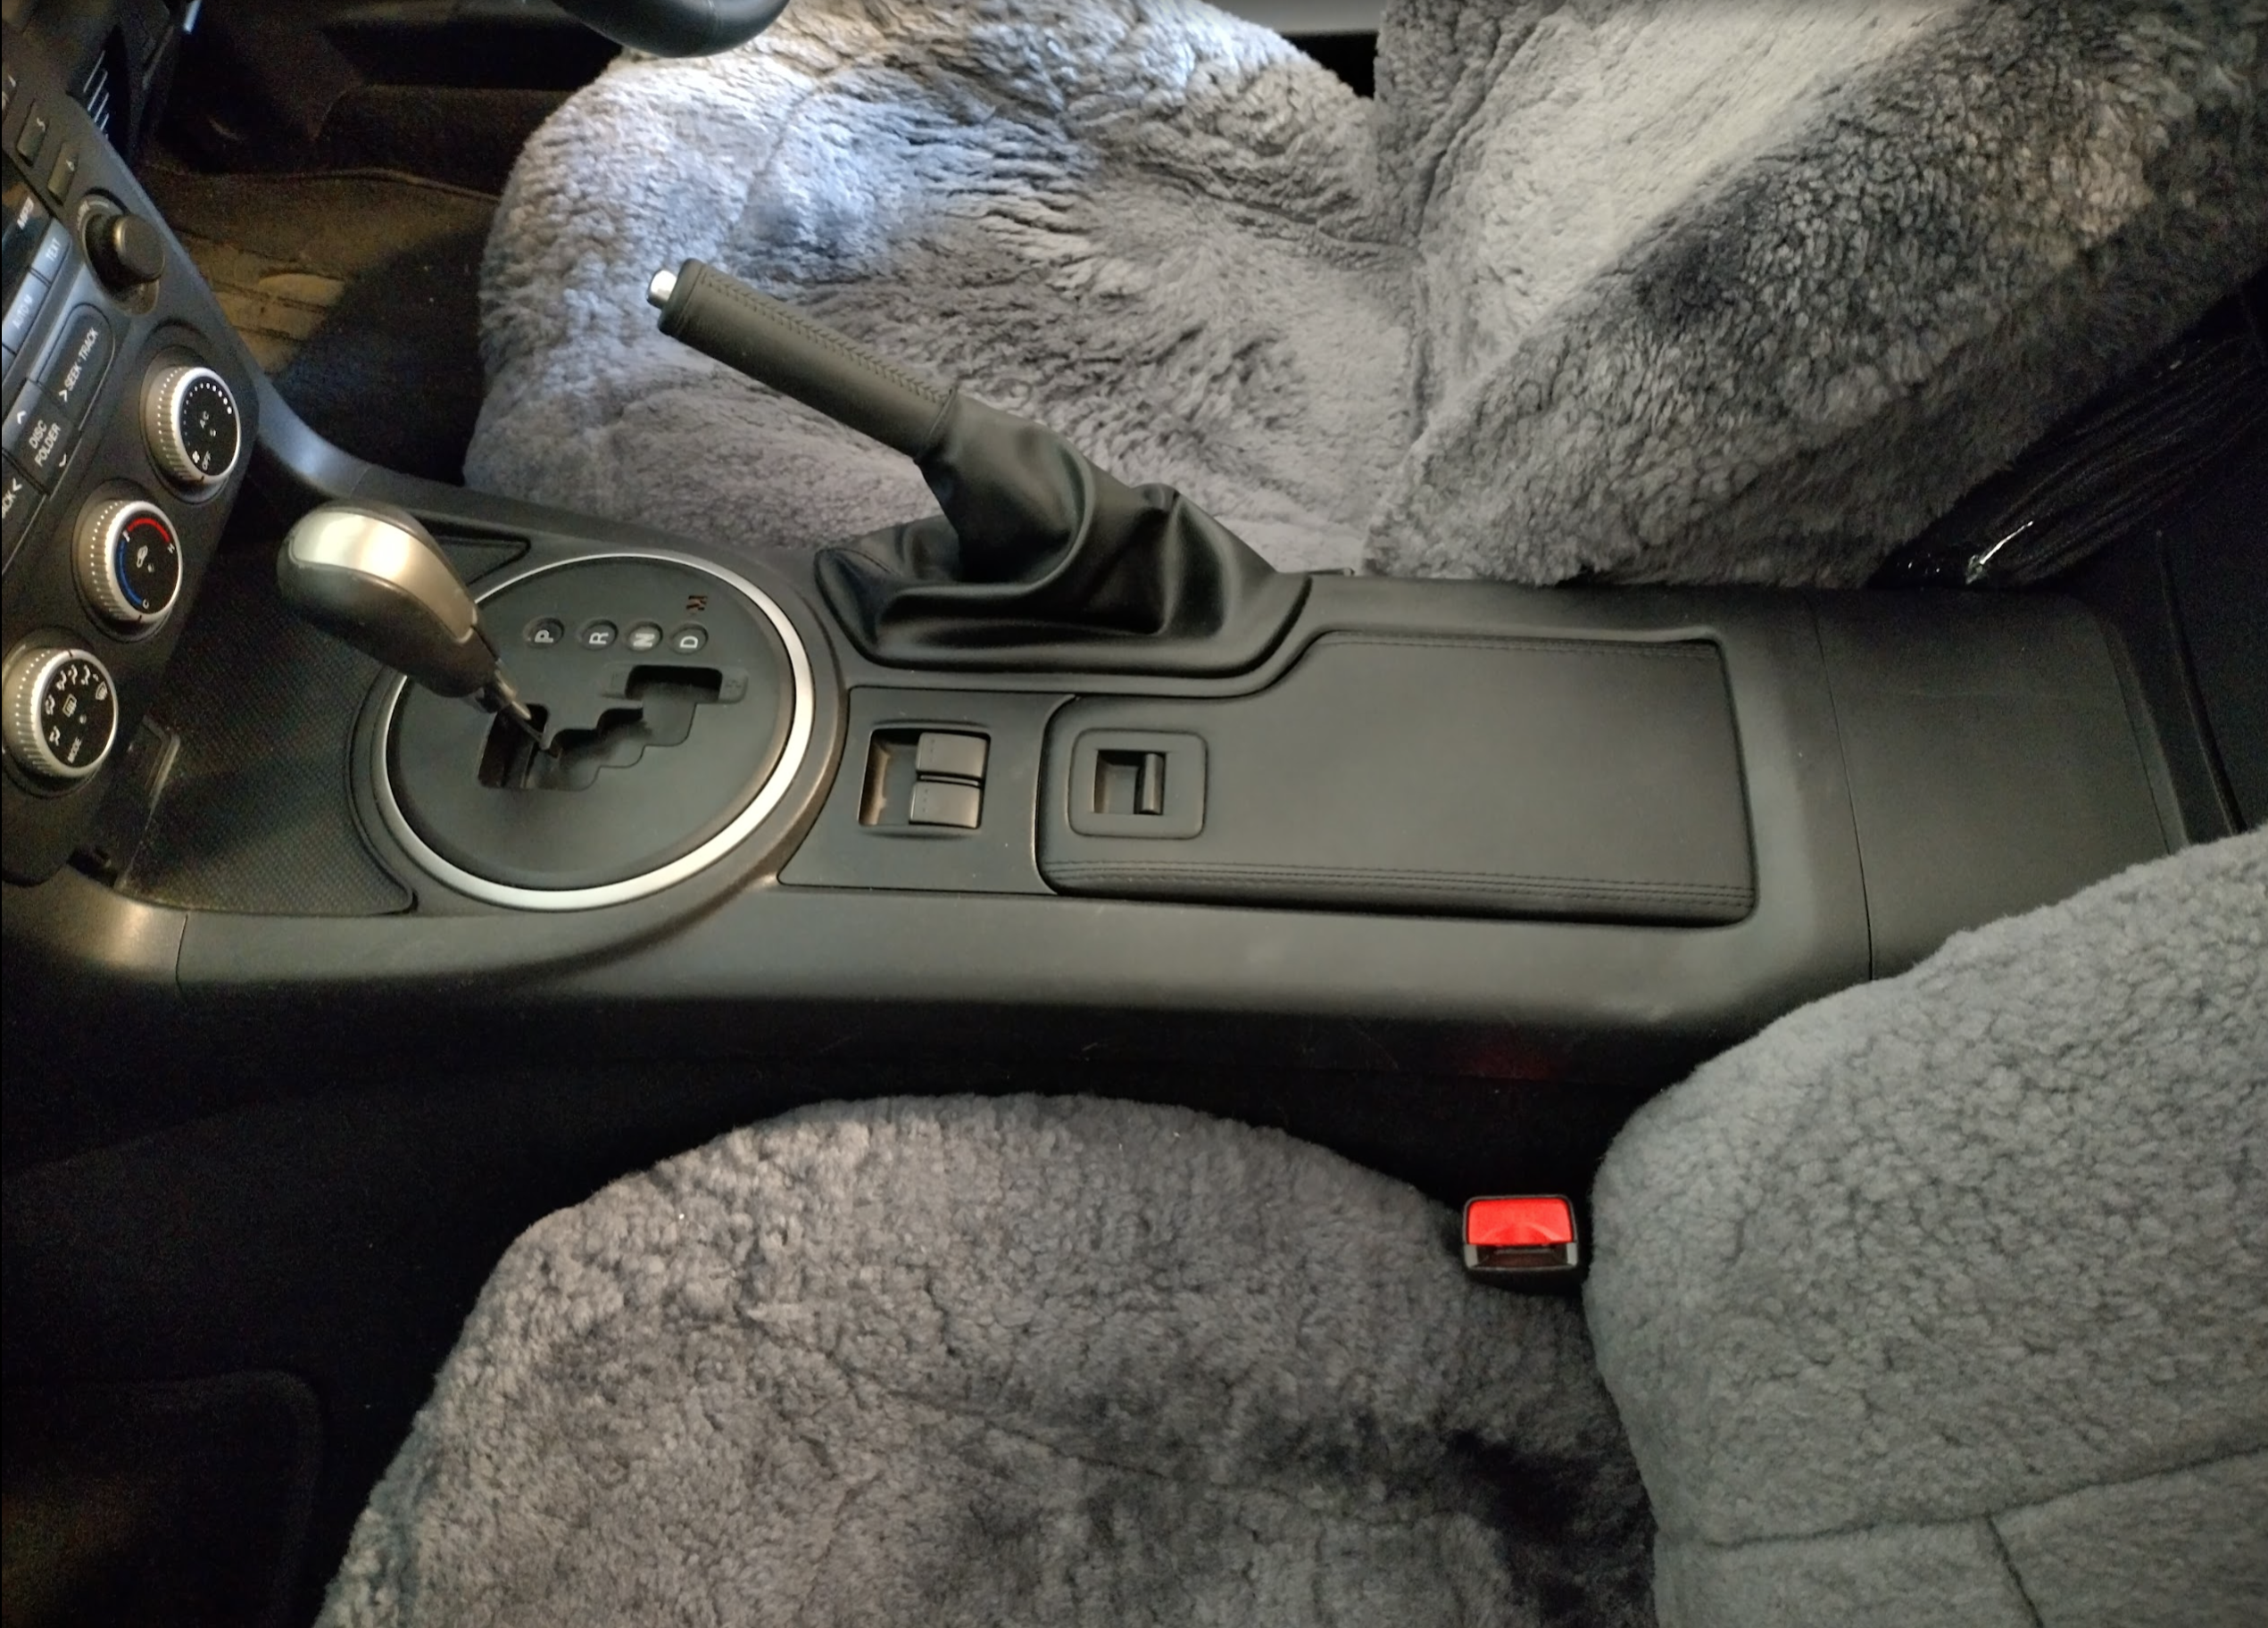
Take handbrake handle off & gear stick (need to twist handbrake, and unscrew gear stick). There are a couple of places online that say to place it in 4th before doing this (for a manual). This is so it gives you a bit more room when you pull the dashboard forward, it doesn’t bump in to the metal stick. If you don’t want to remove the whole radio assembly I recommend doing this.
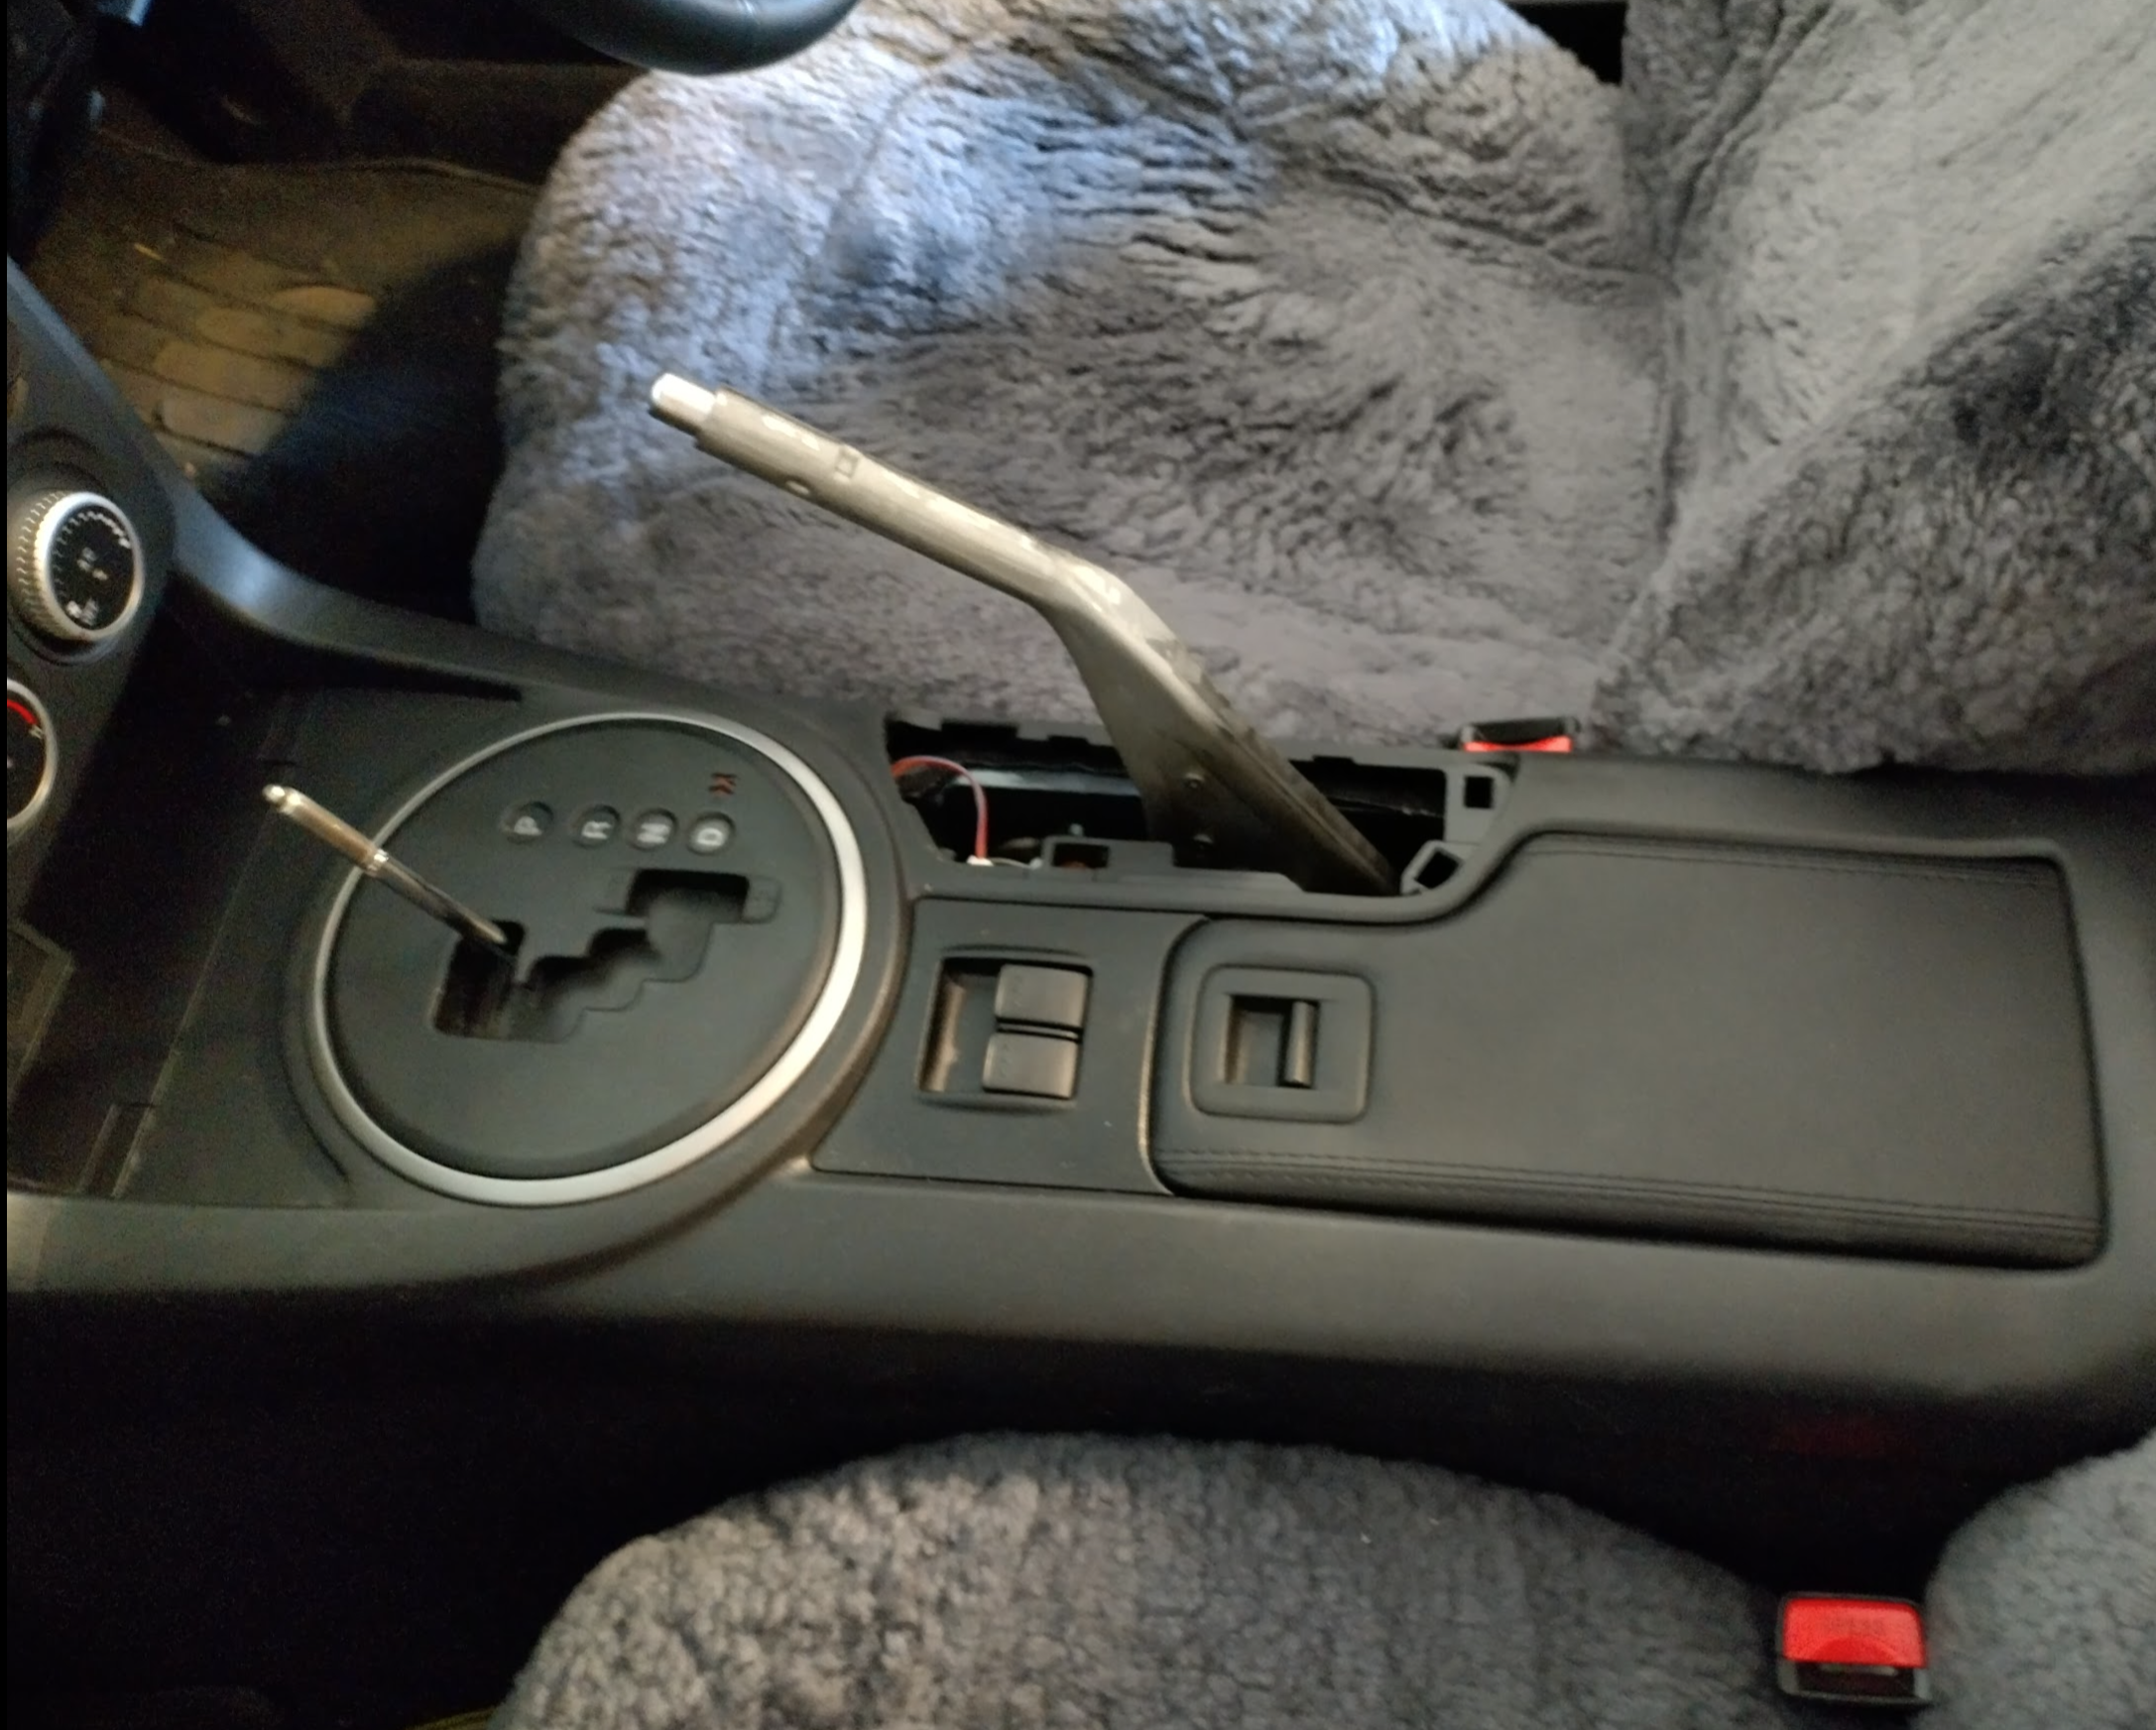
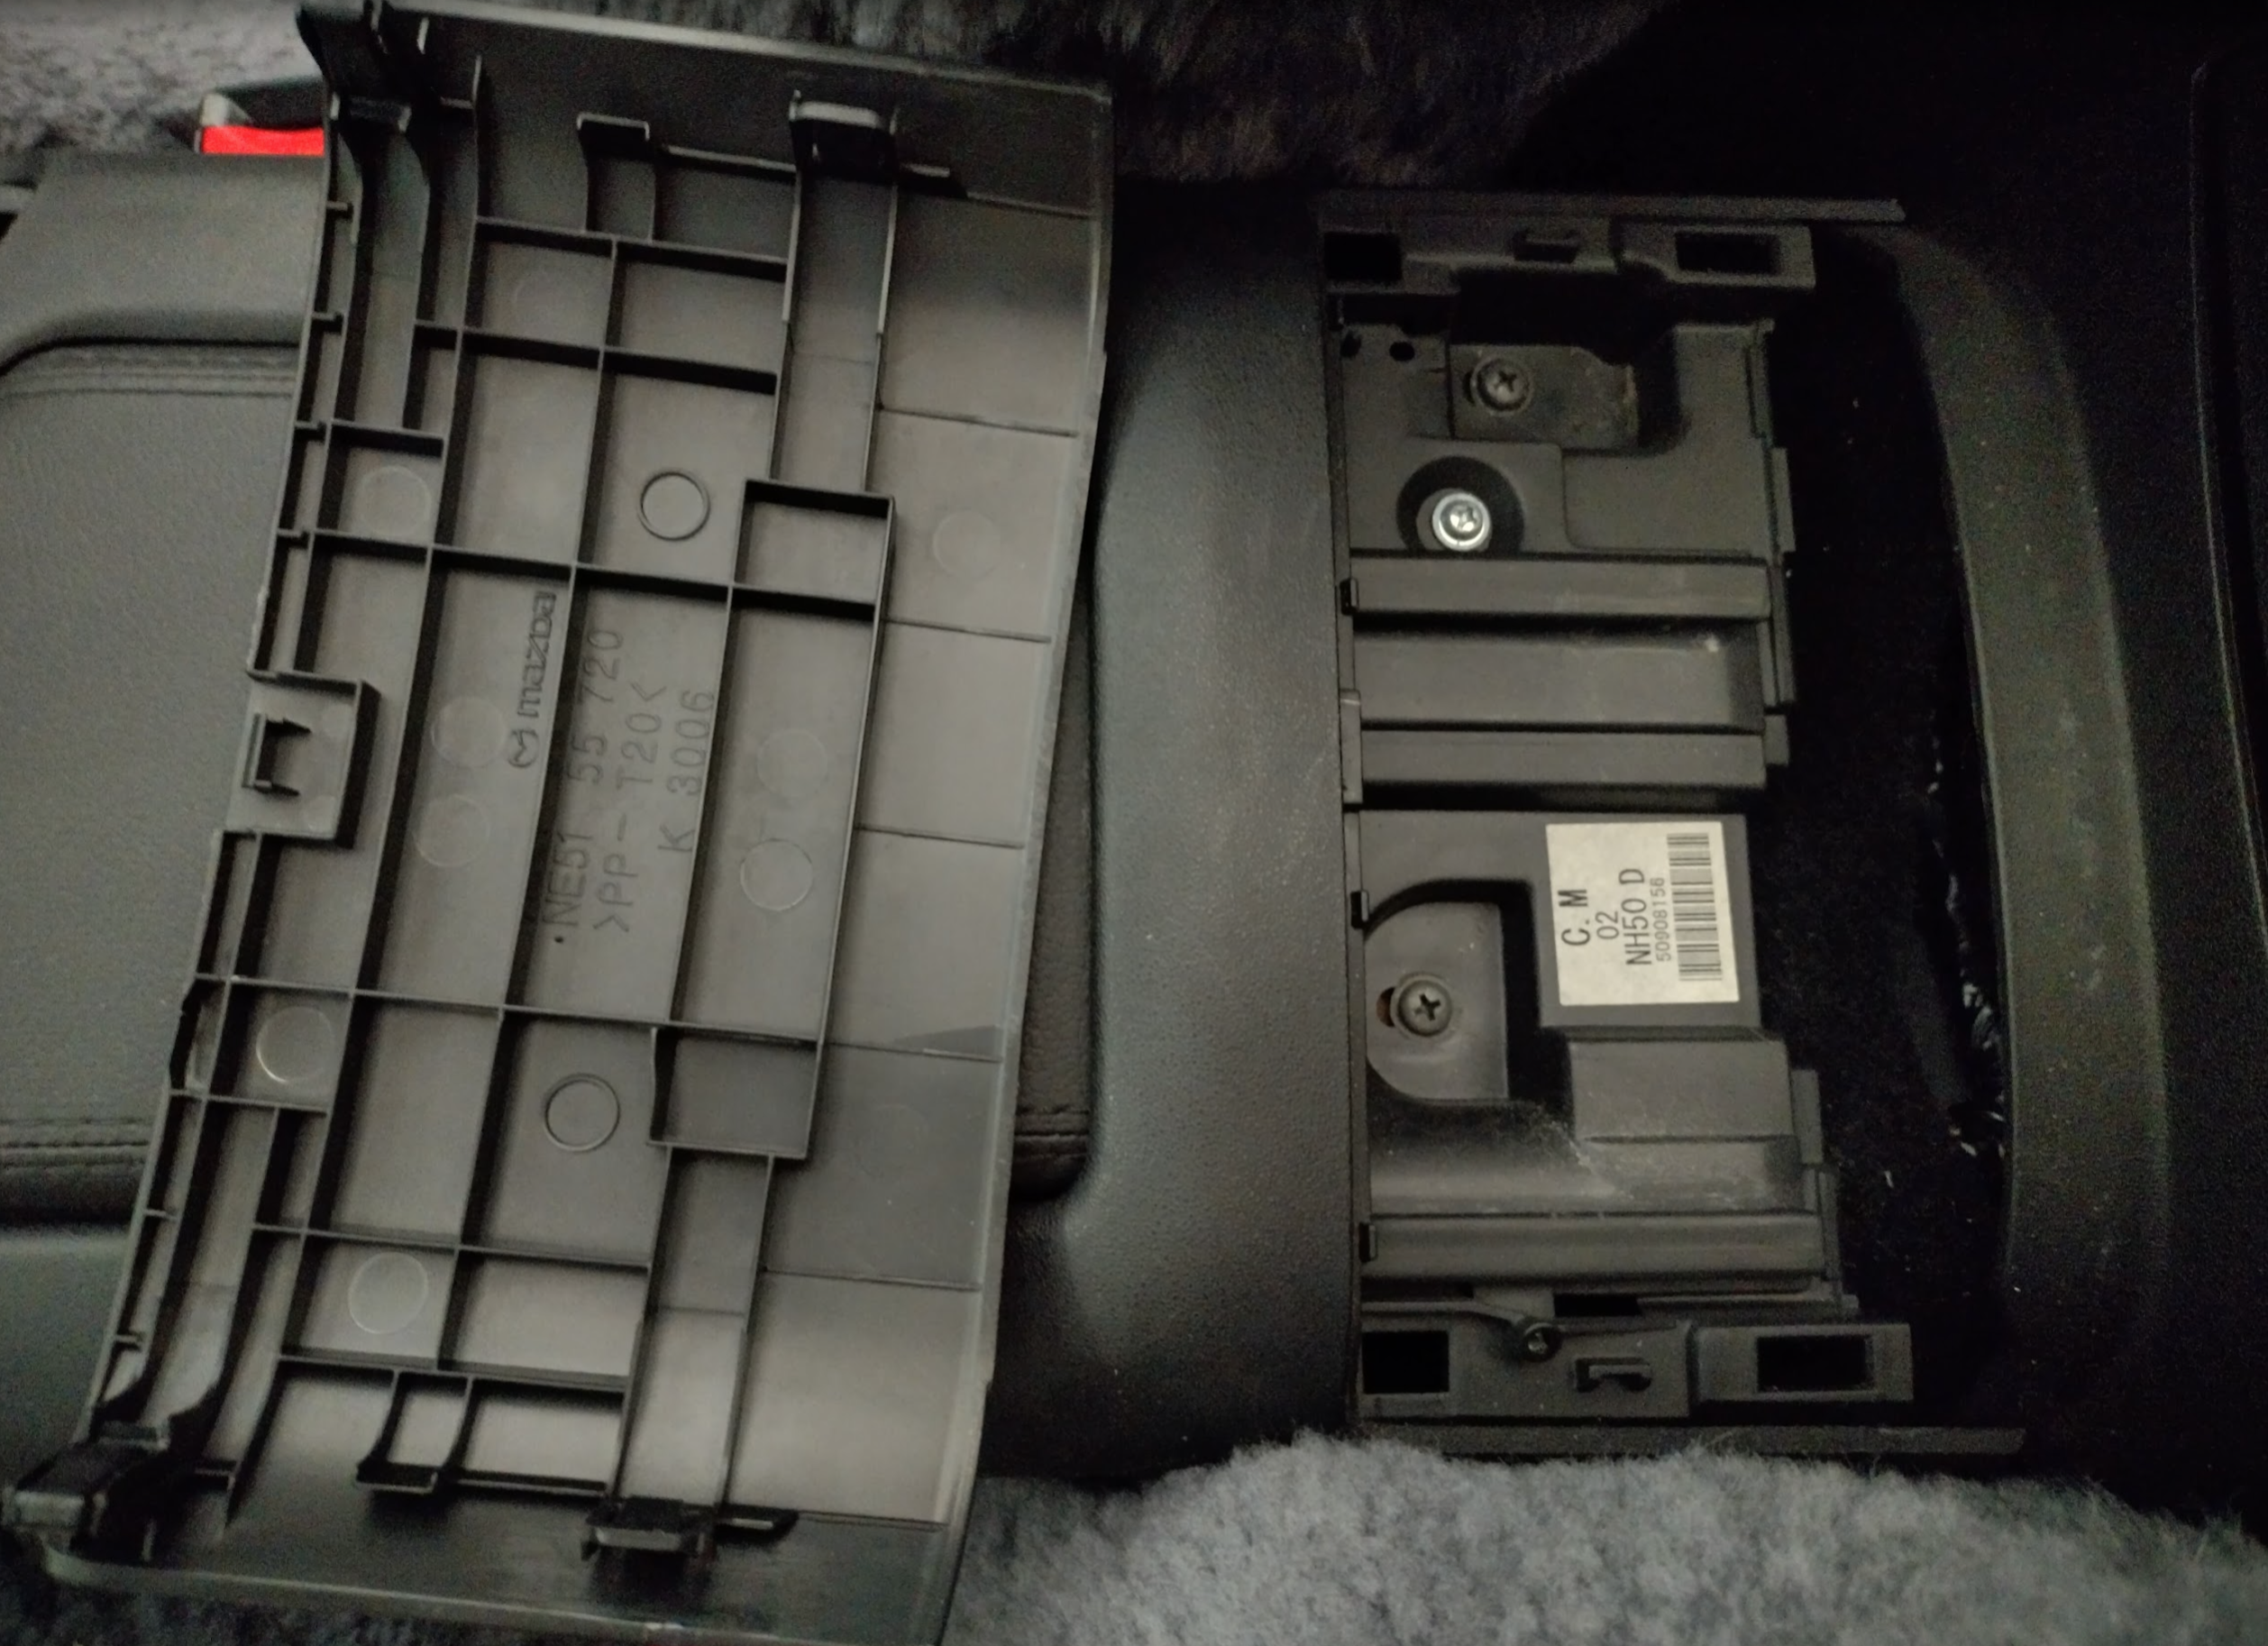
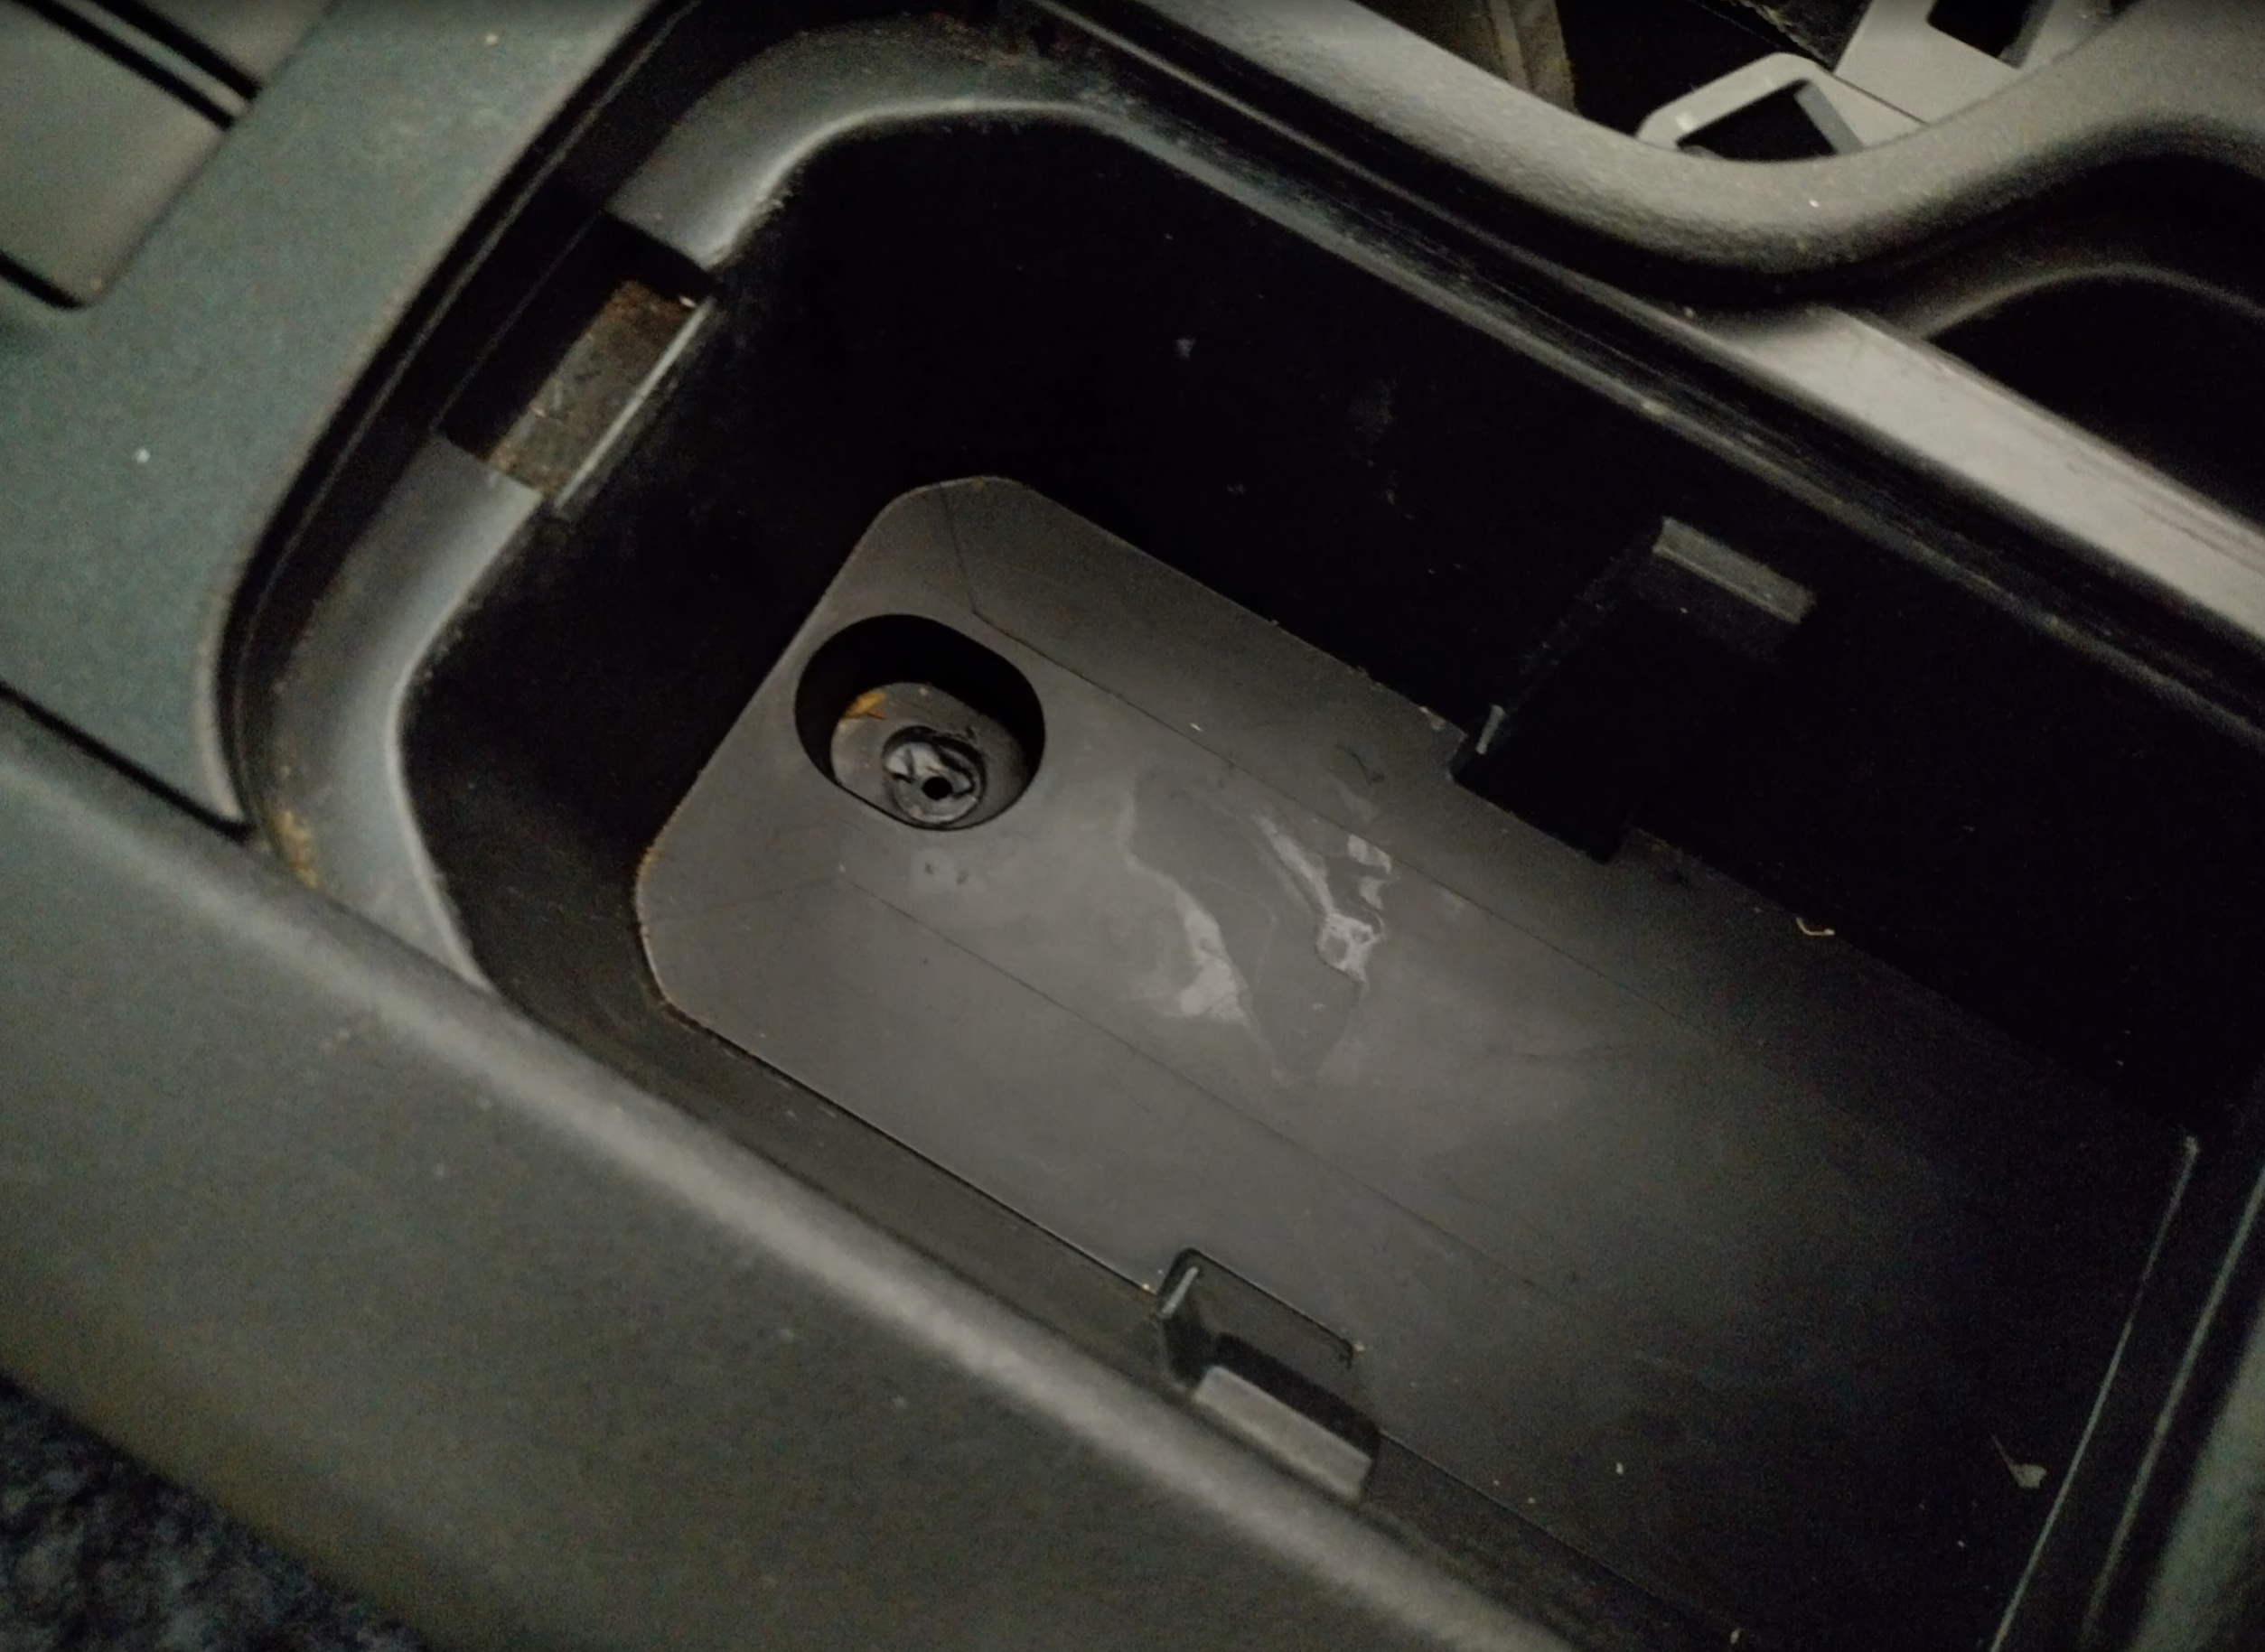
Two screws at back under plastic cover (careful this one can break in half), one screw in cup holder under rubber mat. Others had to remove screws at the front of the console but mine didn’t have any there.
pull centre console up
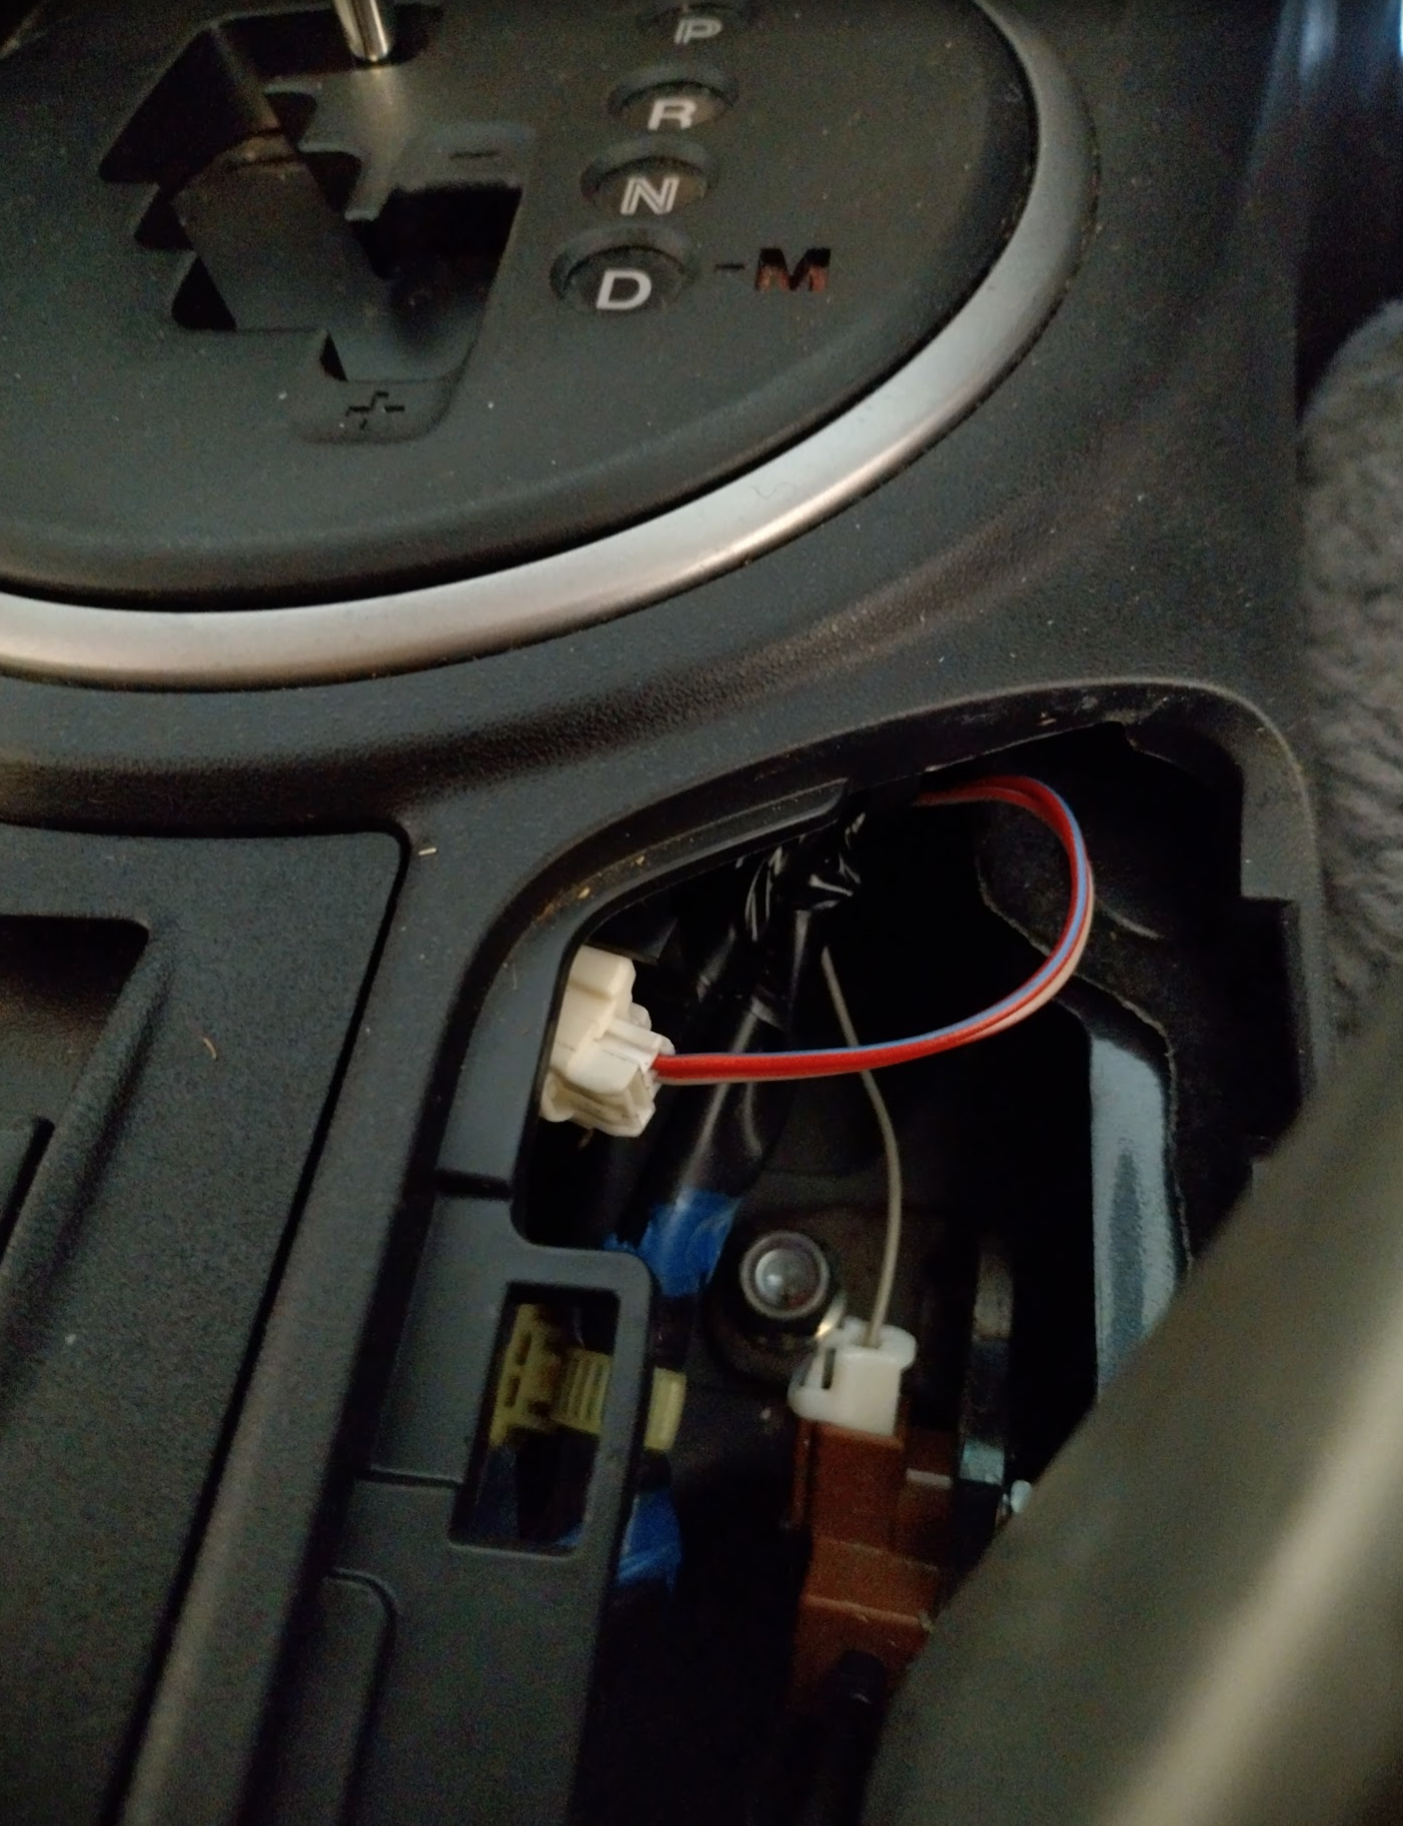
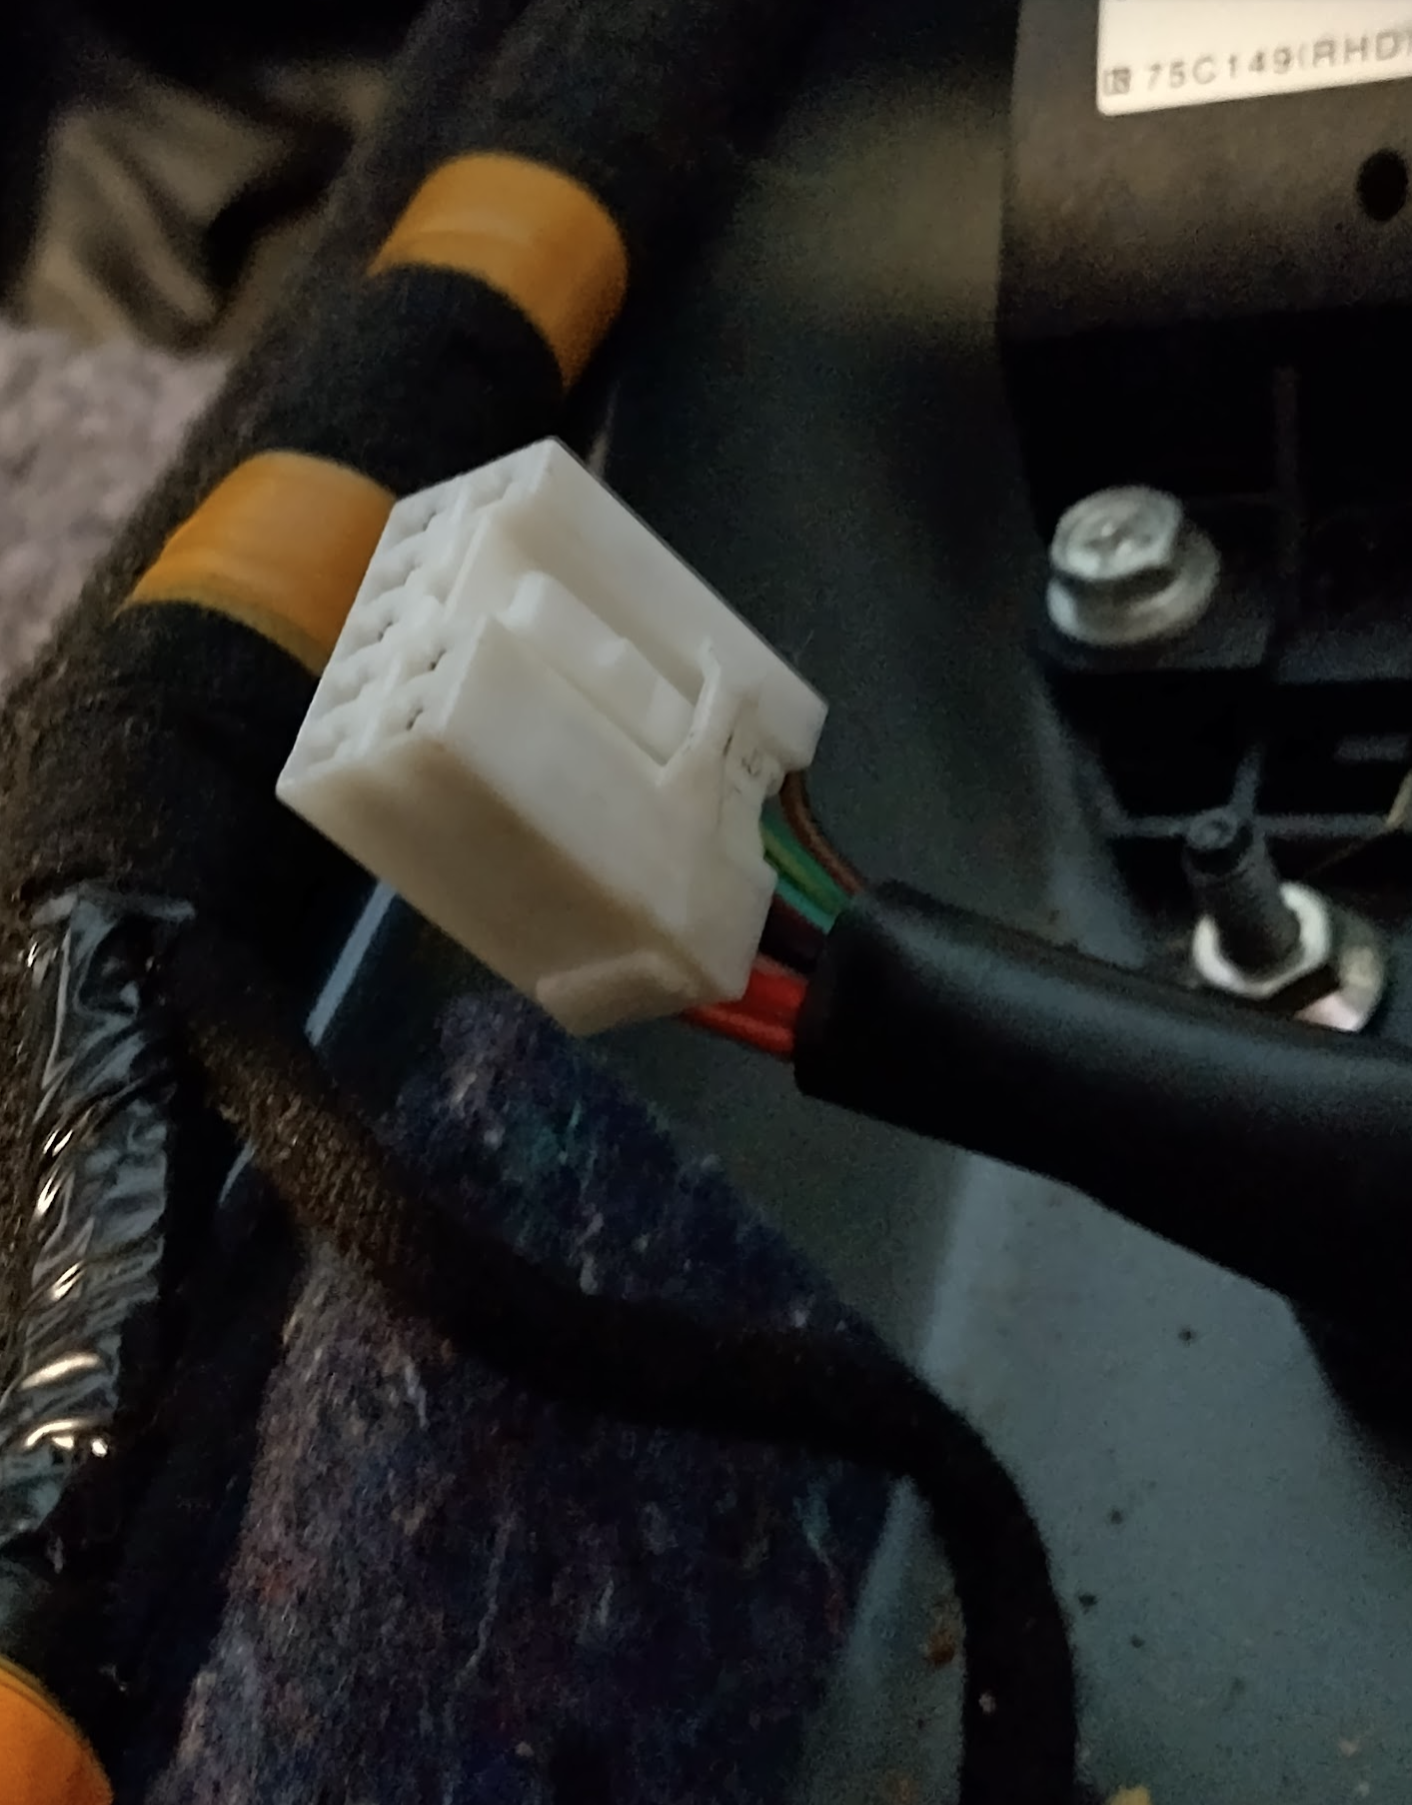
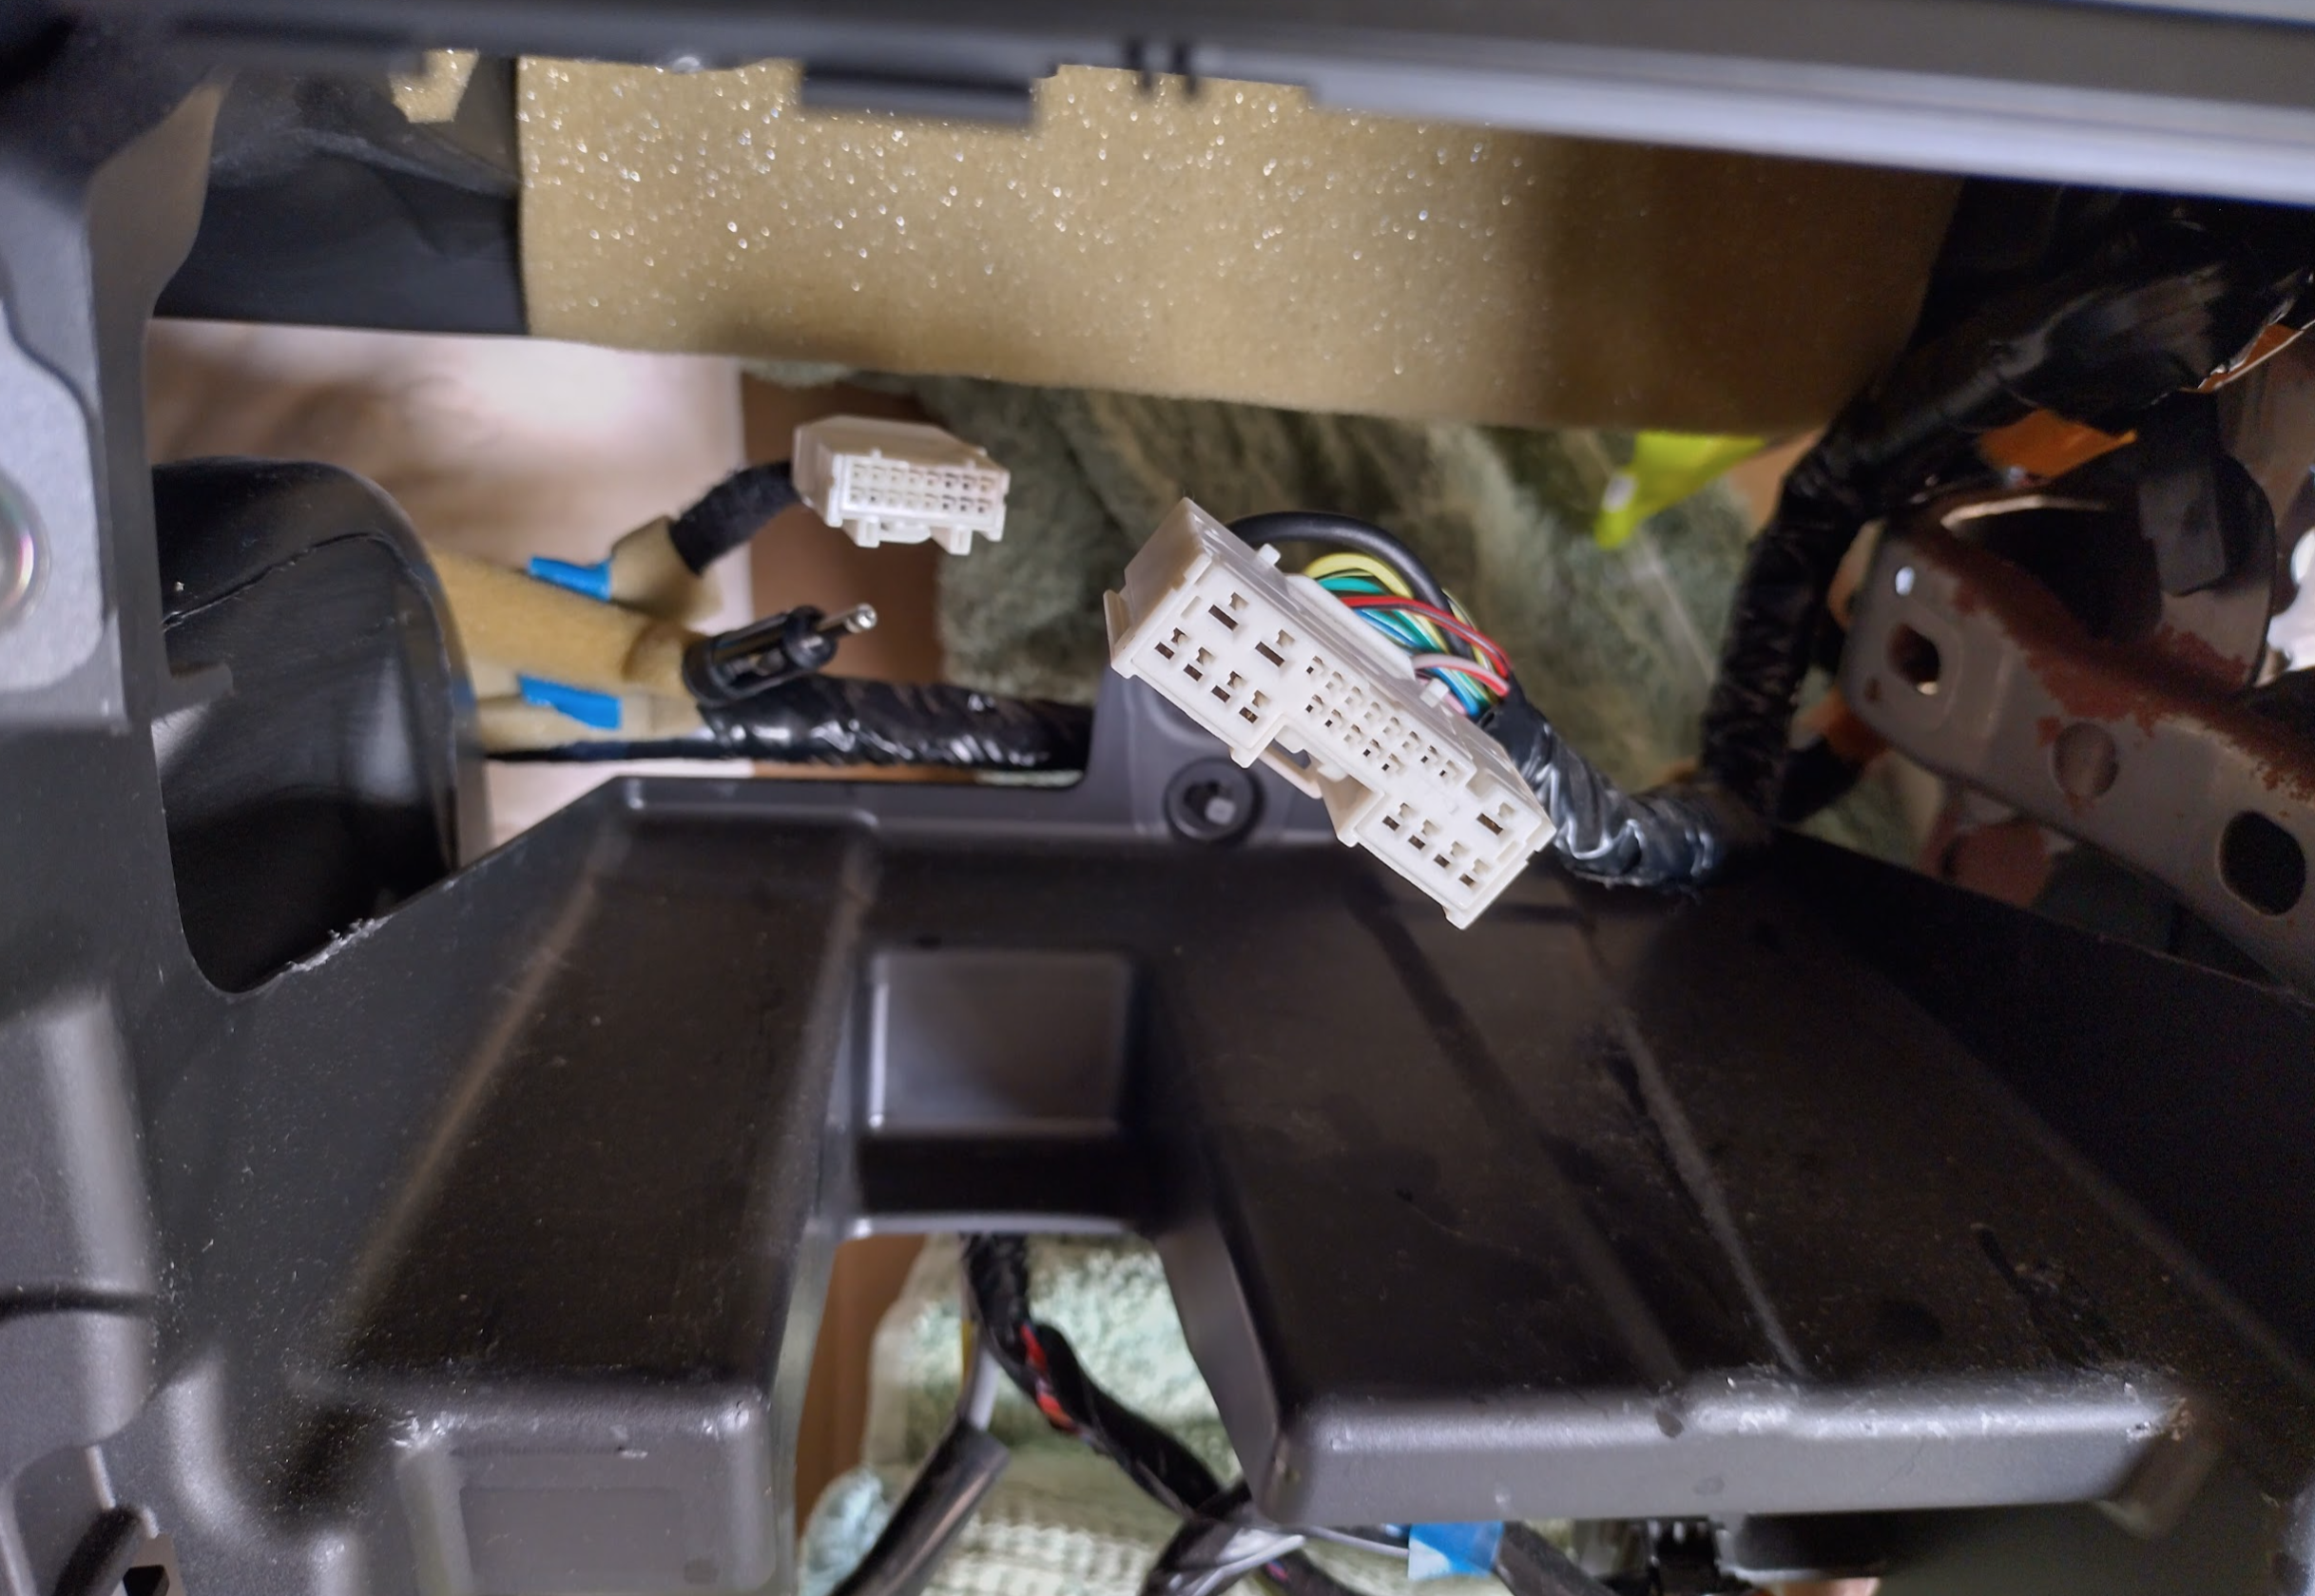
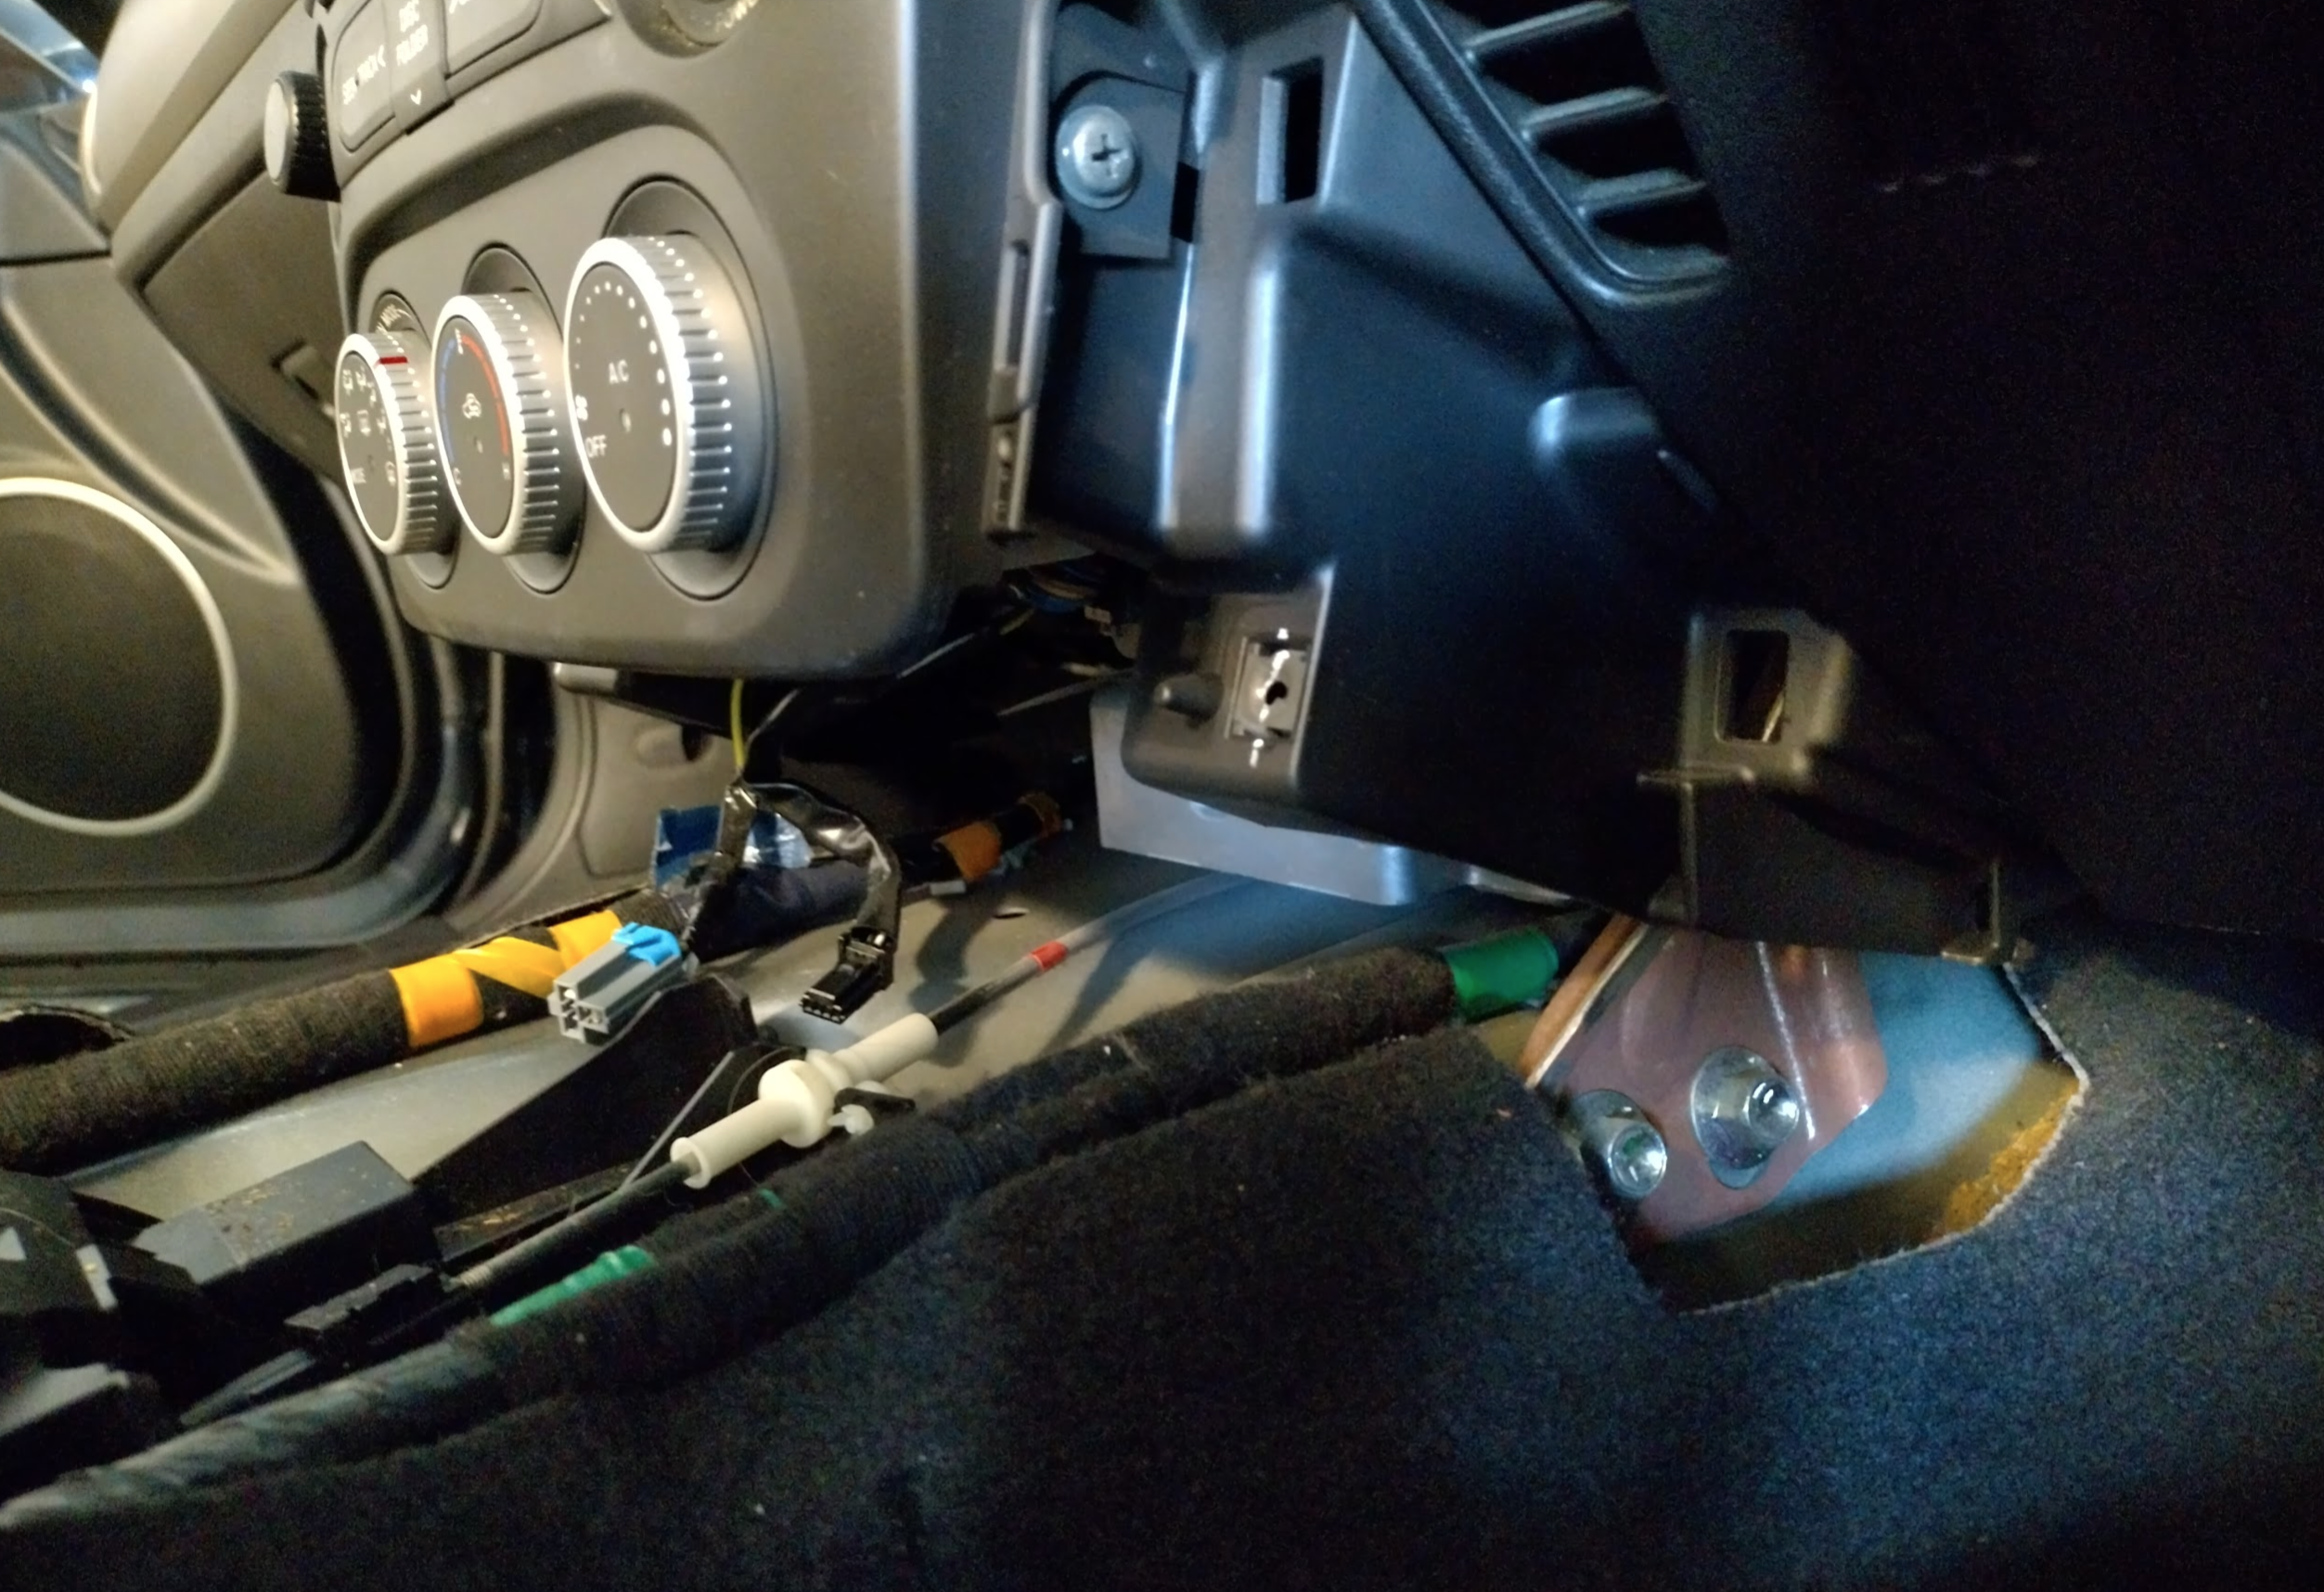
Disconnect small plug within handbrake bit & window control plug underneath (use a small screwdriver in through the loop for both plugs). This is your first introduction to how a lot of the plugs involved work, and you have to unclip them blind. So I have included a close up photo for you.

12v socket bit
undo two lower screws holding the side covers, and pull the side covers forward
undo two side screws, and pull the entire lower 12v section forward
unplug 12v & everything else
This is the completed centre console.

Fuse box side (left/passenger in AUS)
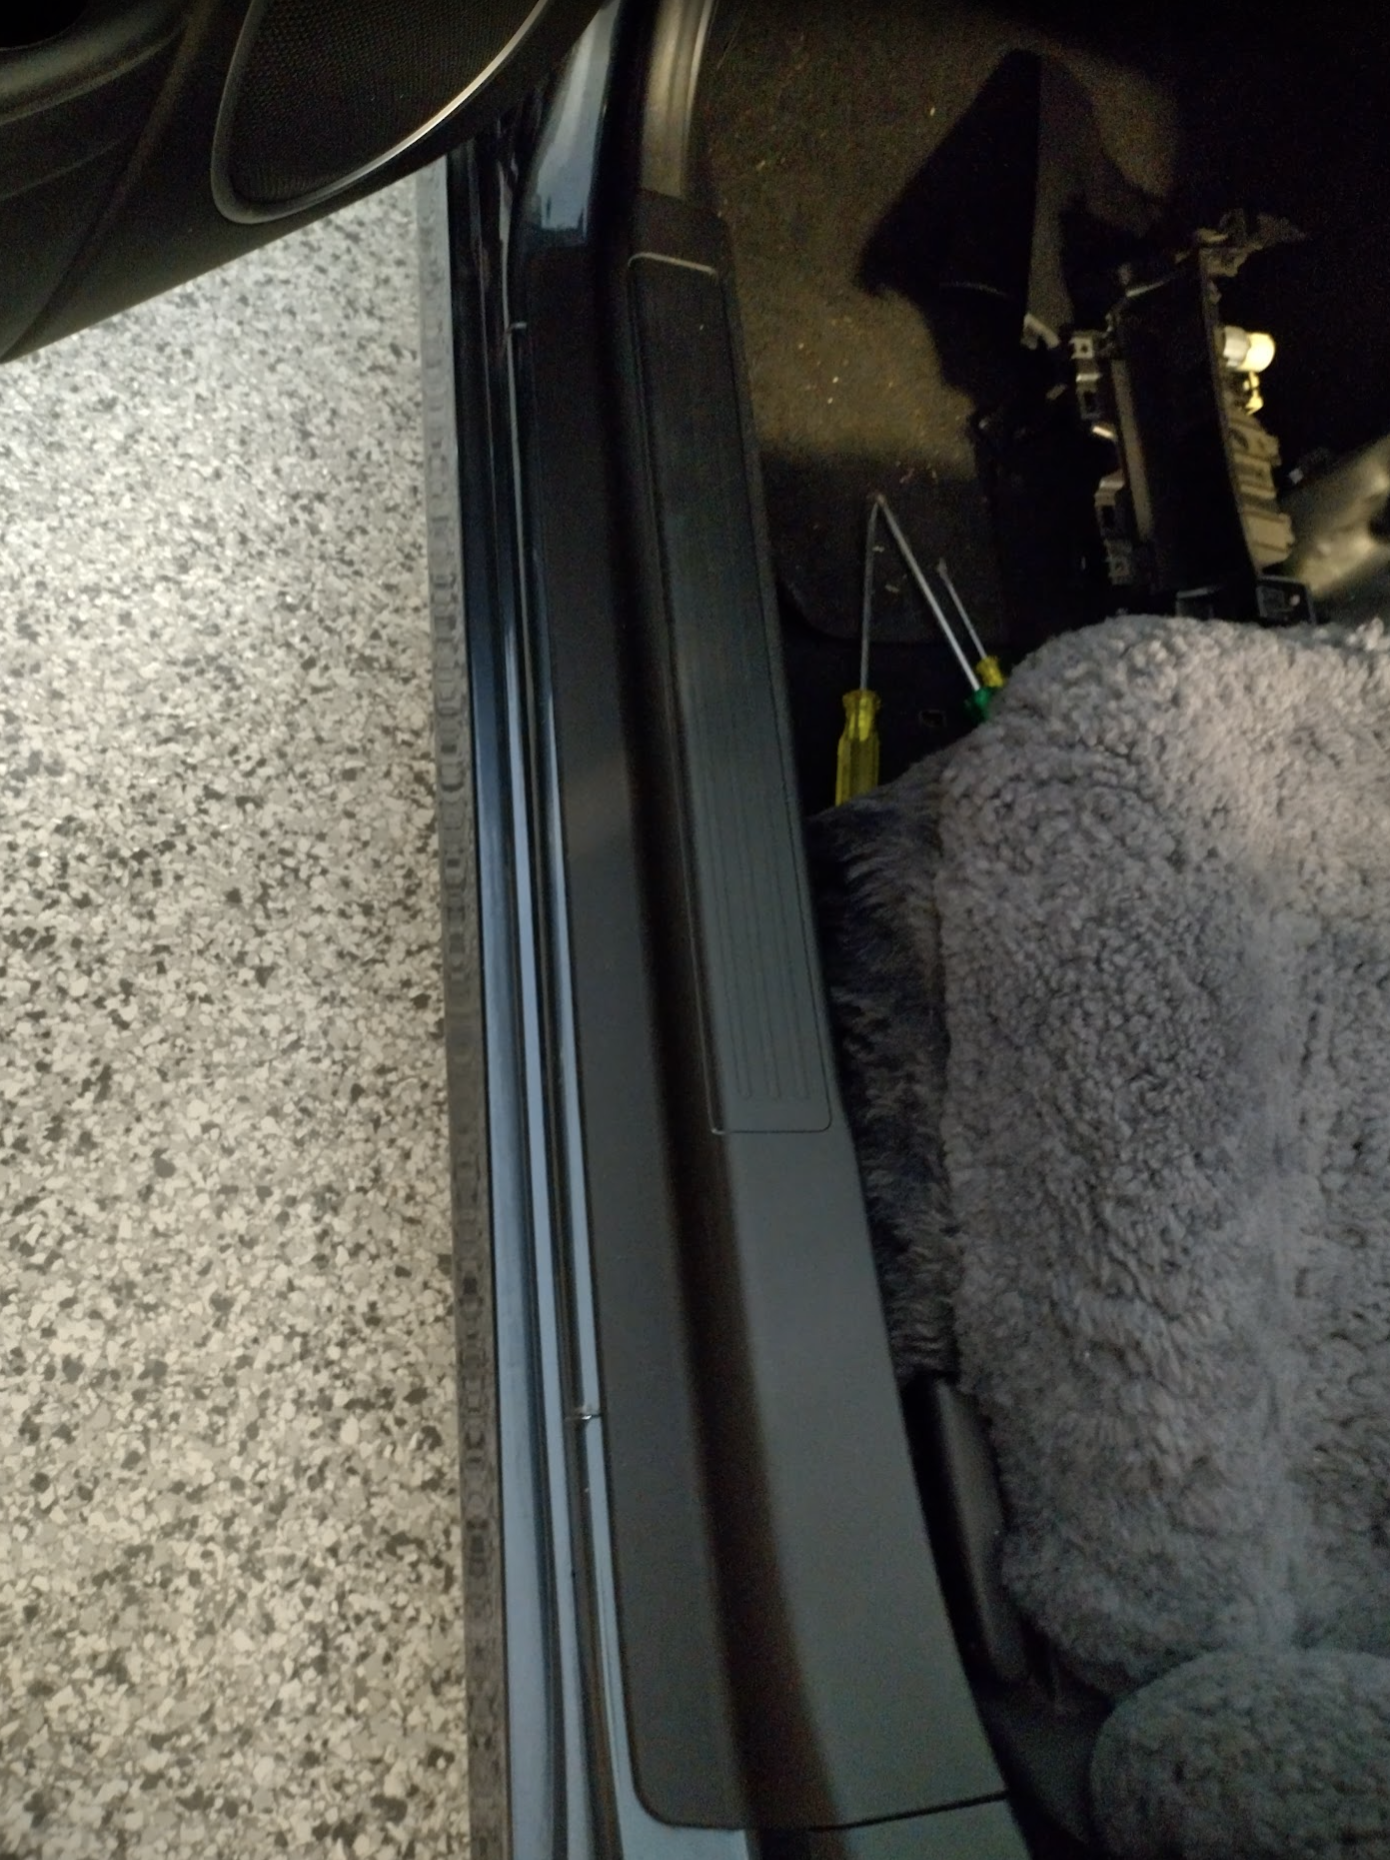
Pop off step cover (lift up) & Pull off rubber trim
pop off entire fuse cover panel (there are two plastic plugs, one white hidden one which is meant to stay – so slide the panel down)
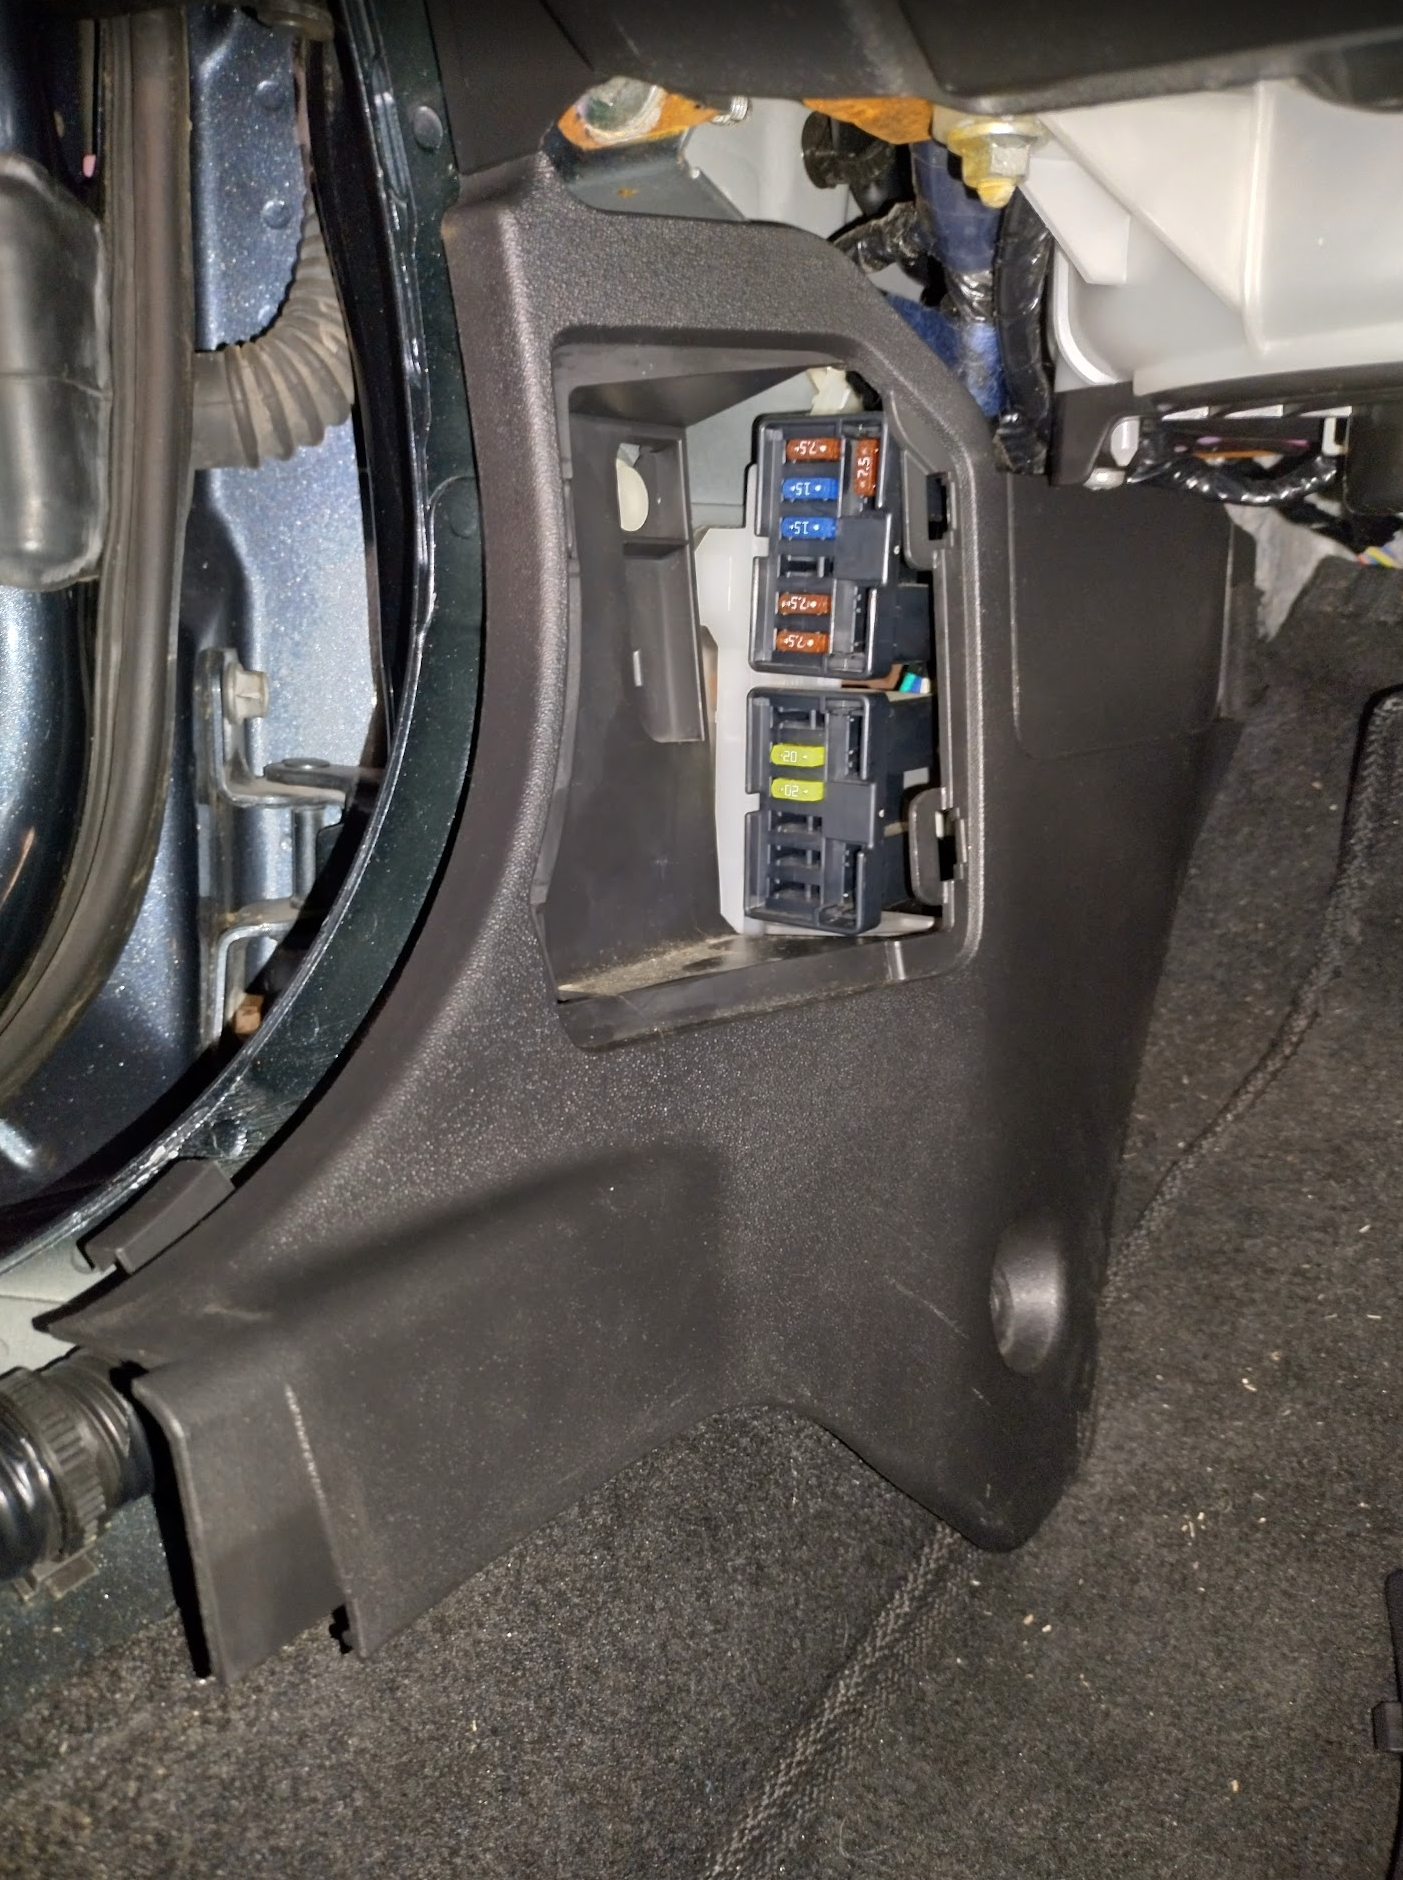
pop off lower side of glovebox (might help to push it from the inside)
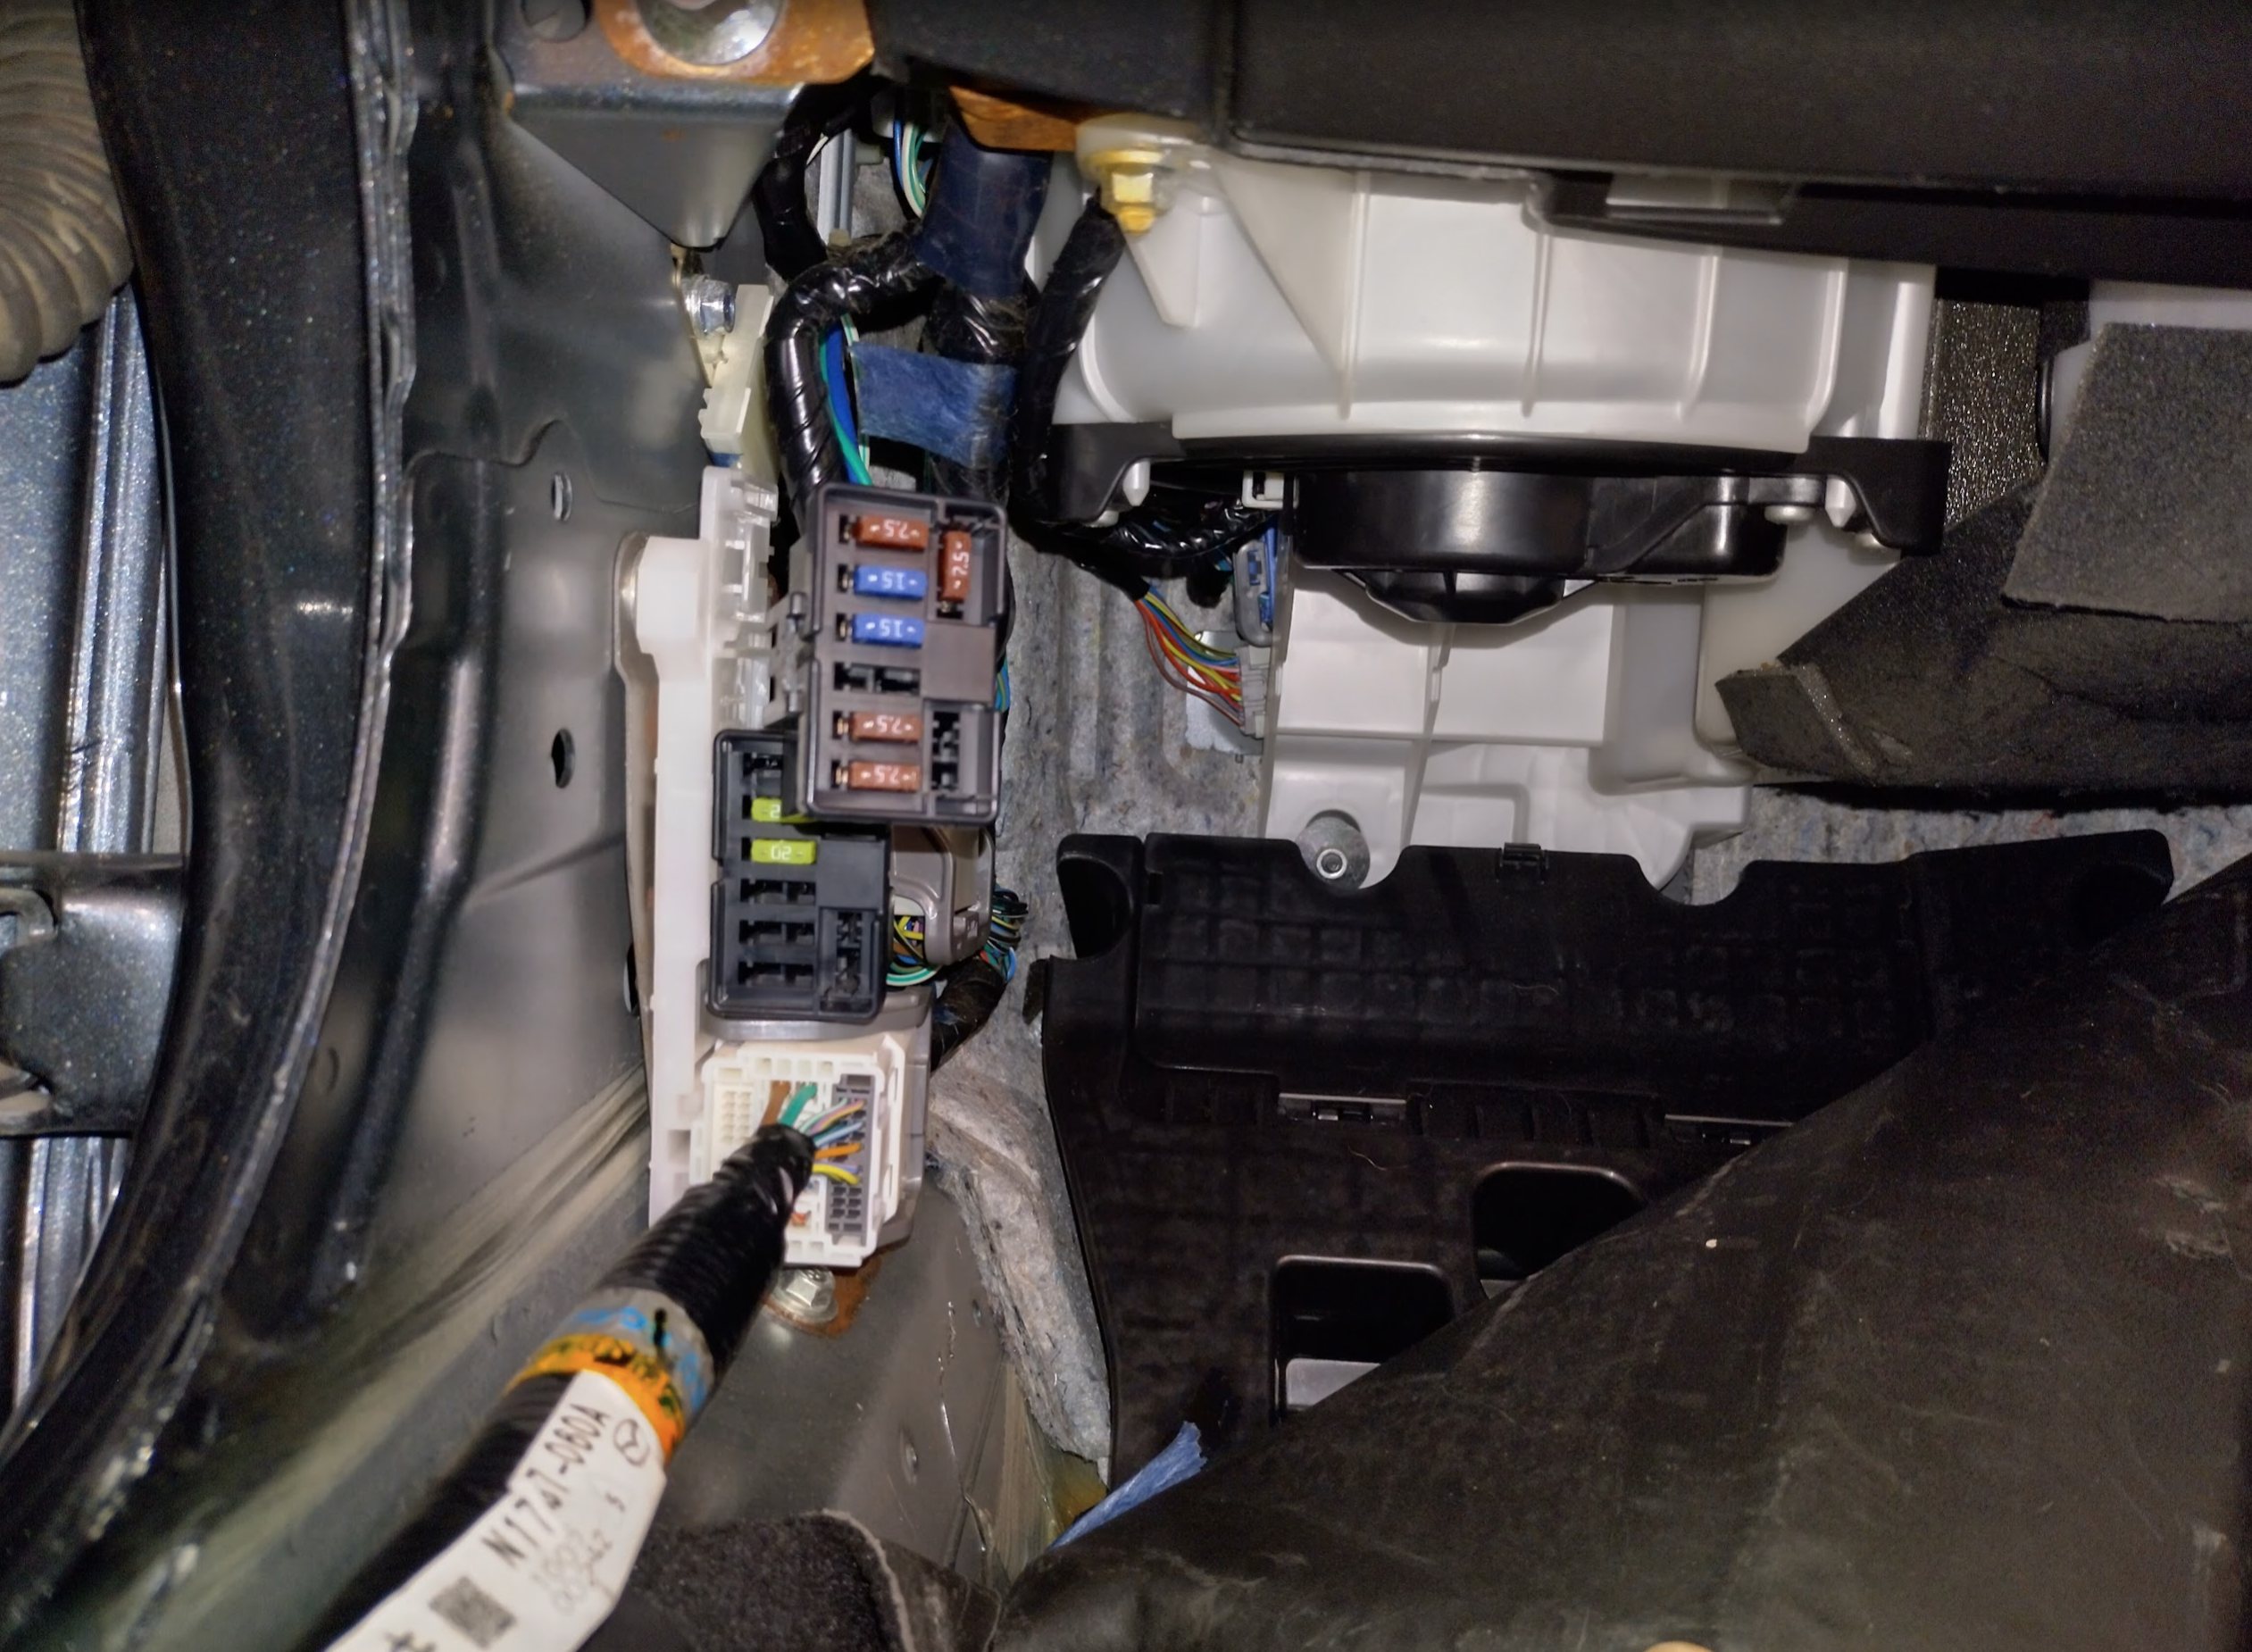
pull off top fuse block (this has a hidden clip underneath it – push it with a tiny screwdriver or paperclip)
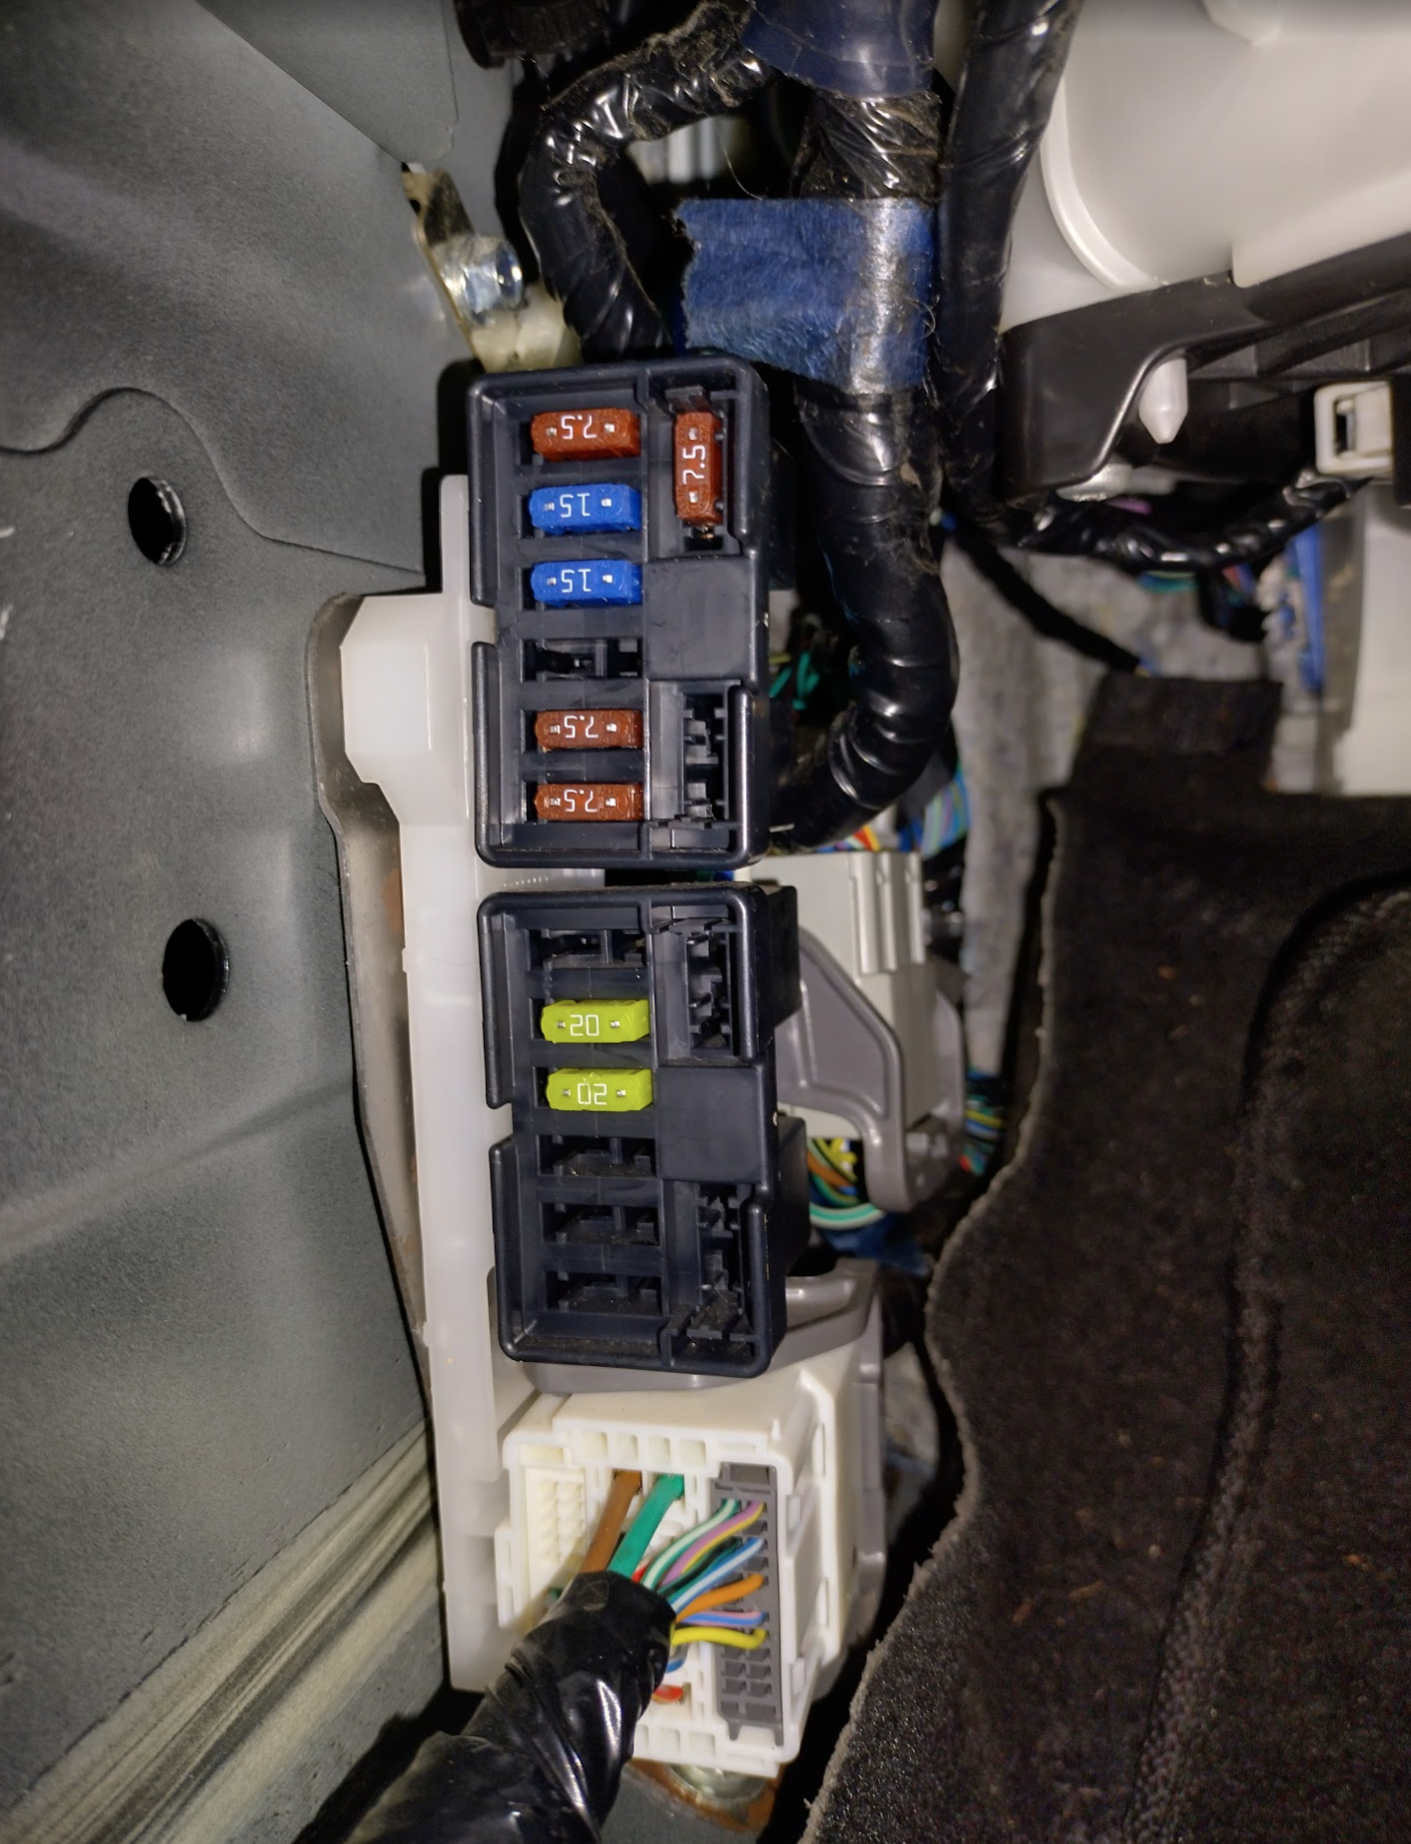
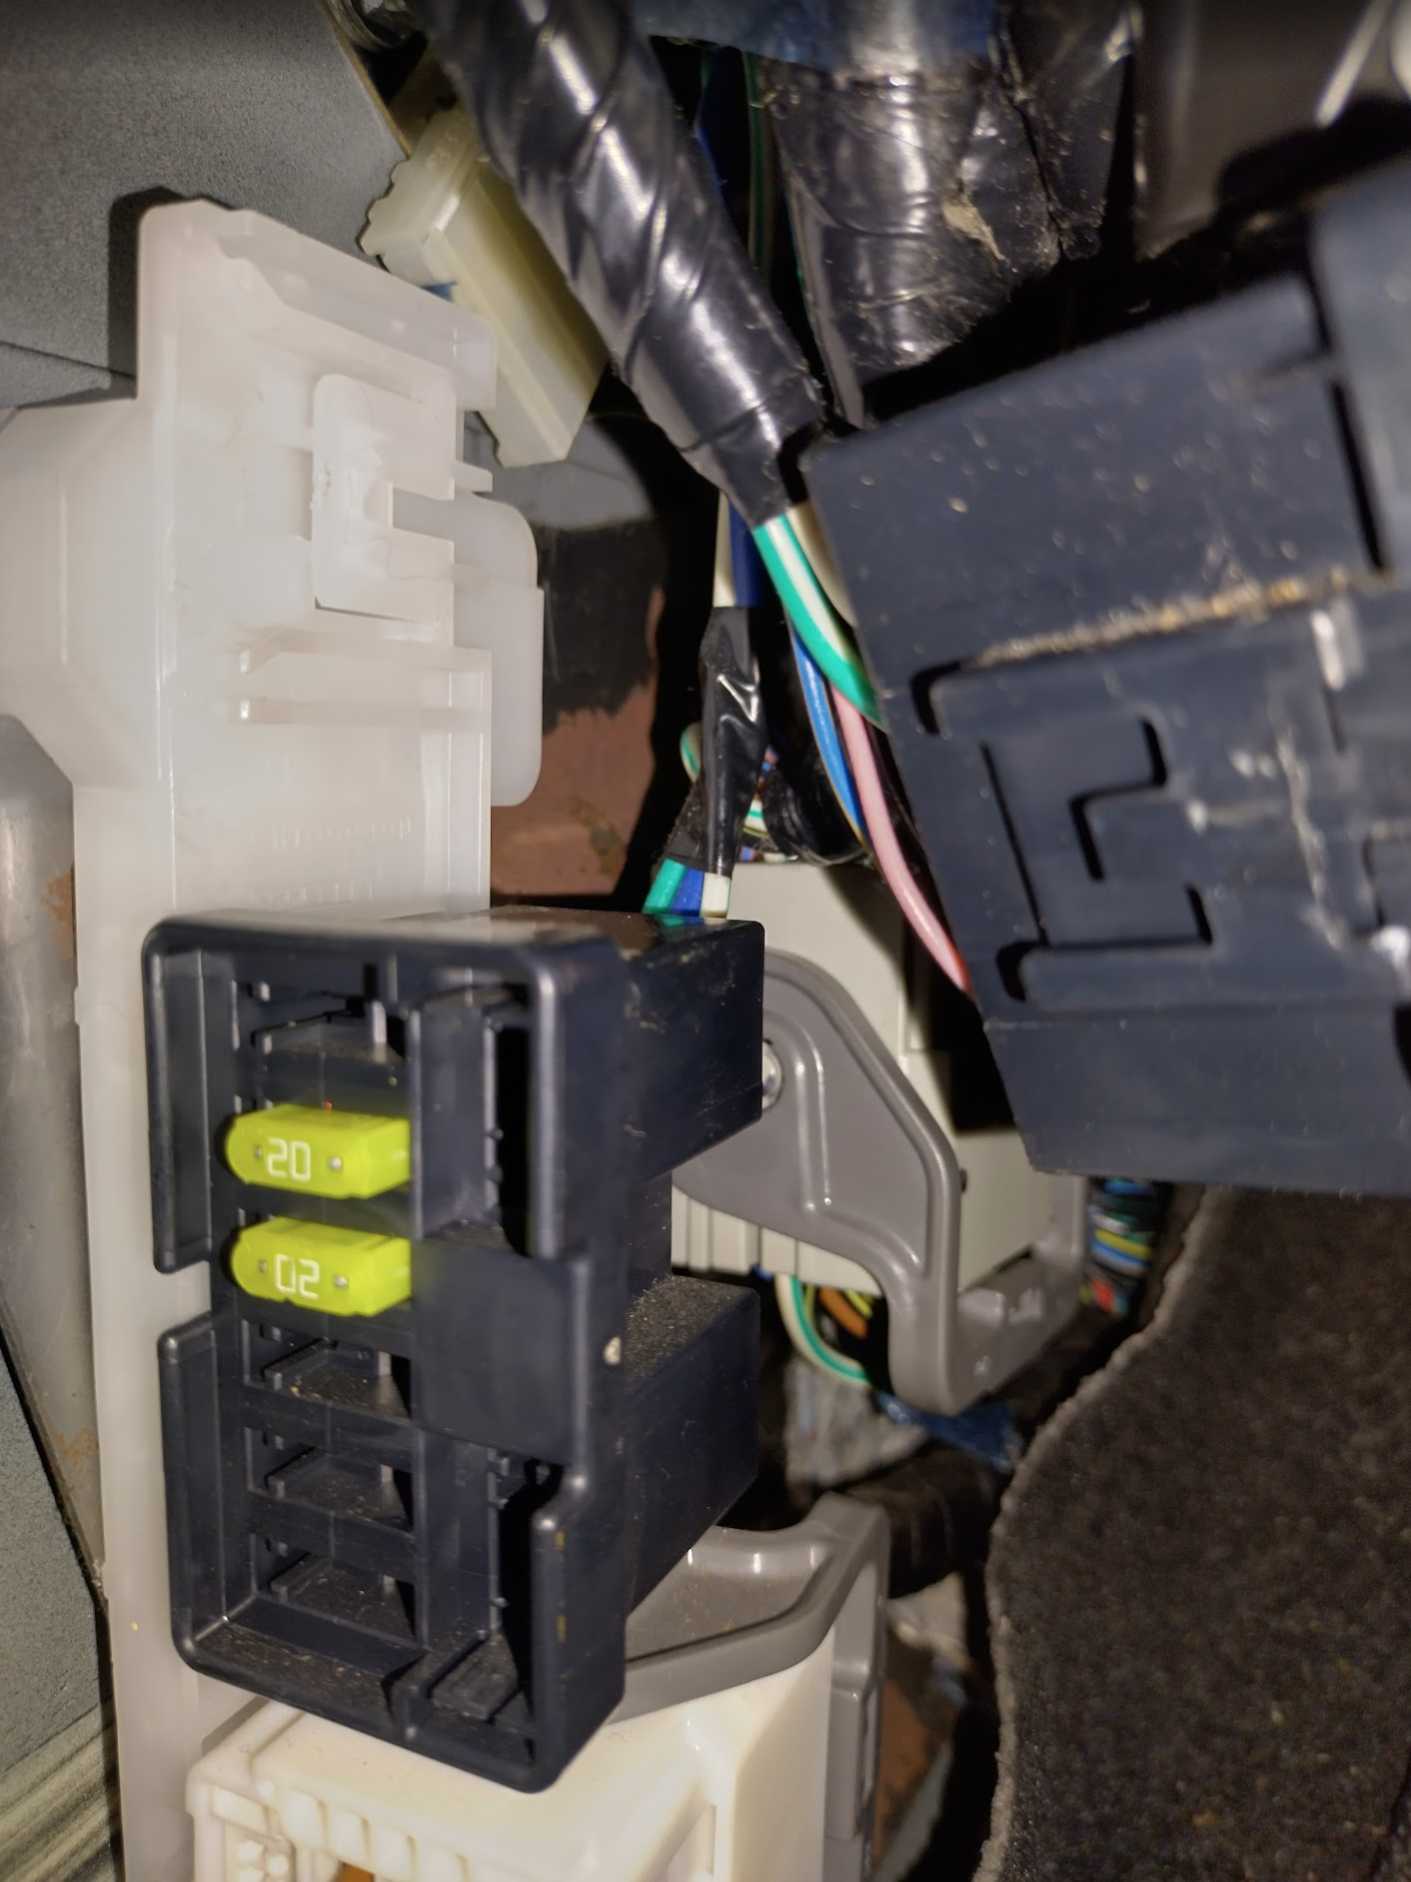
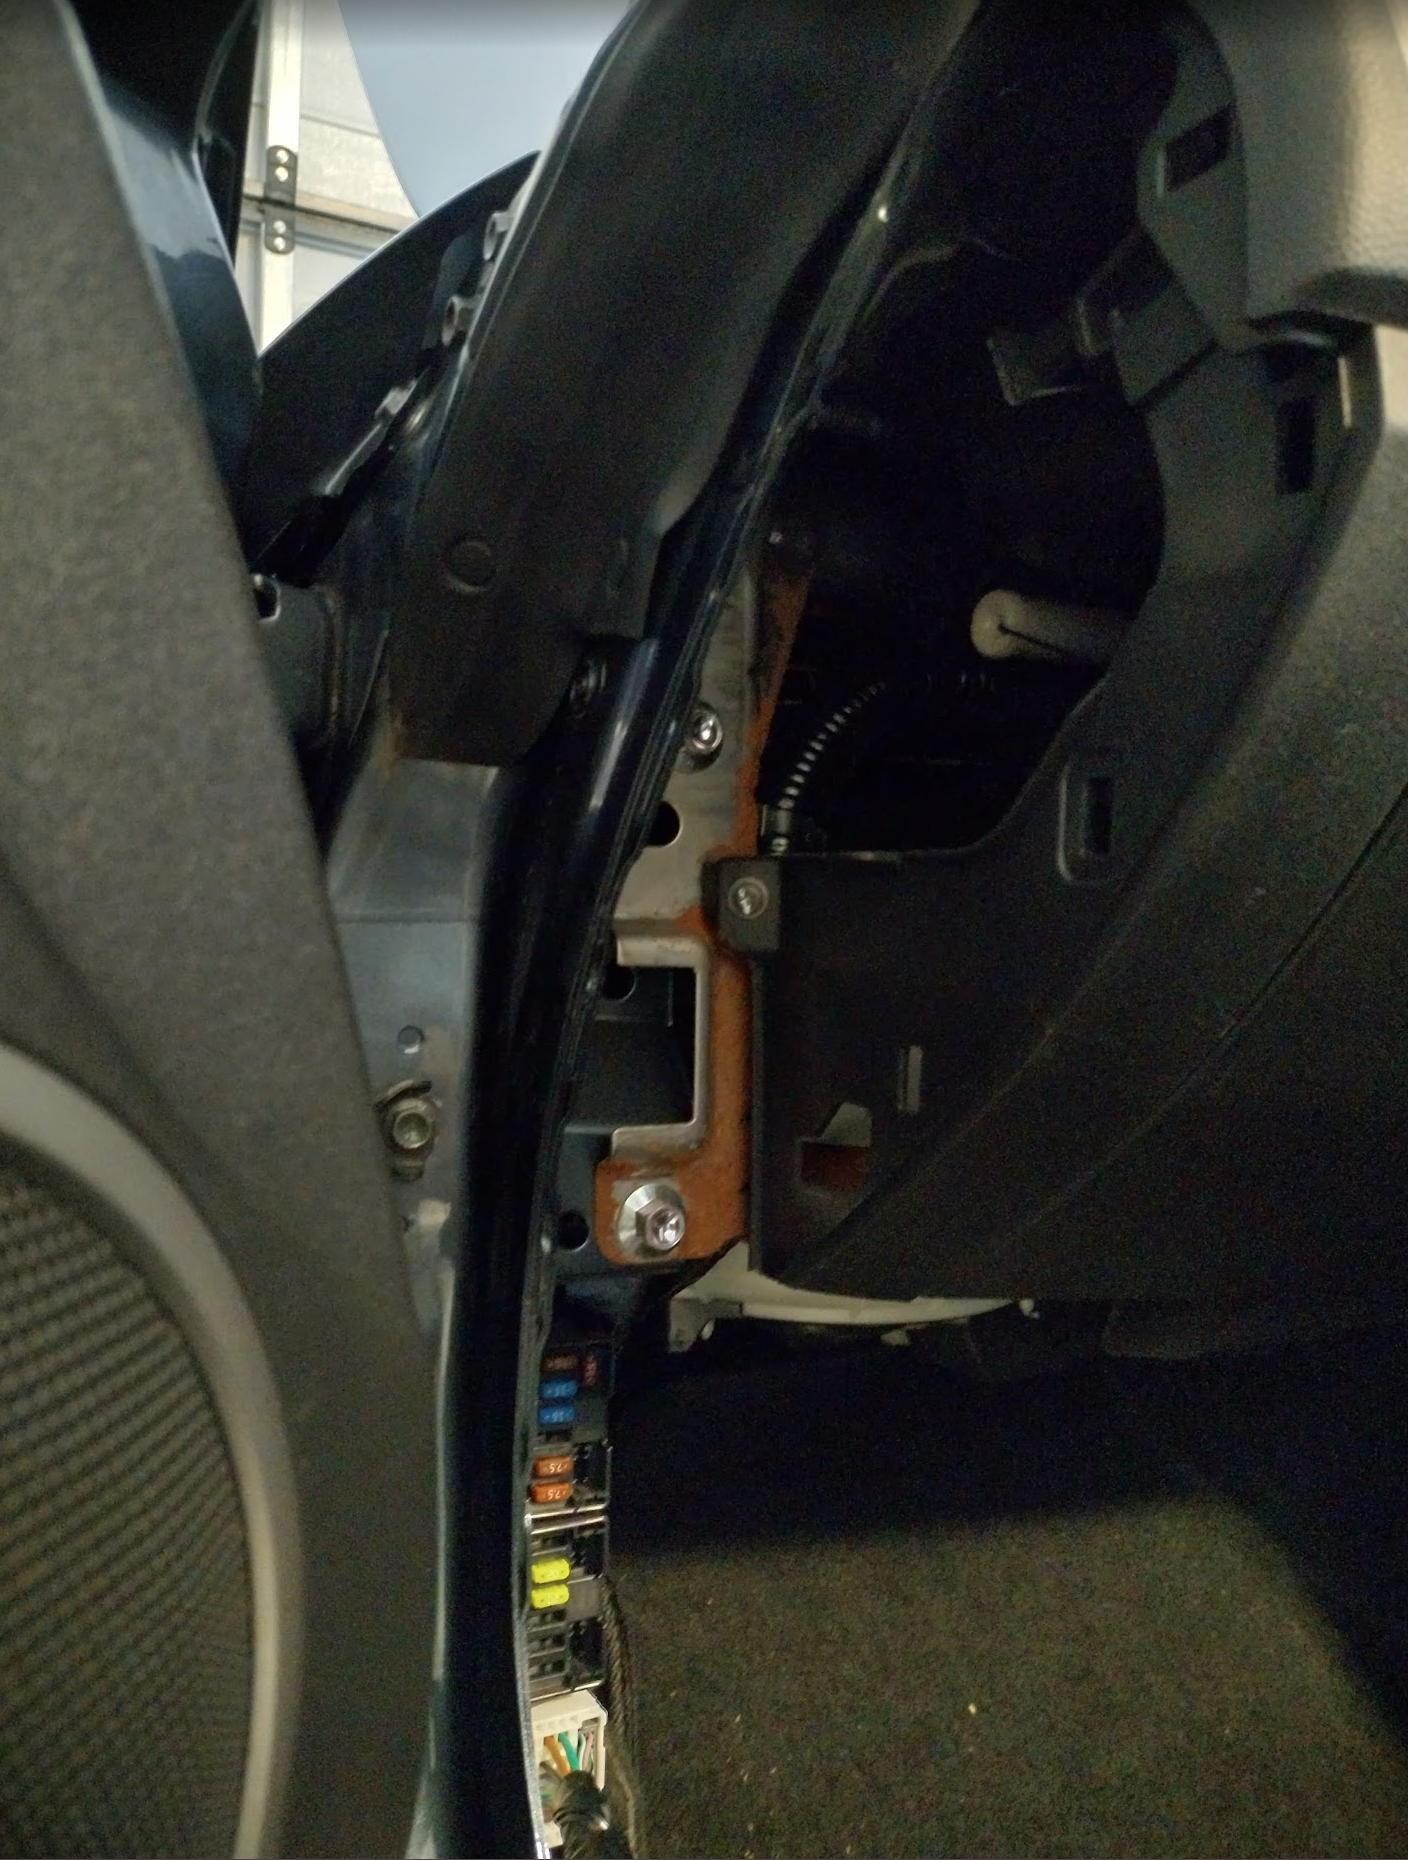
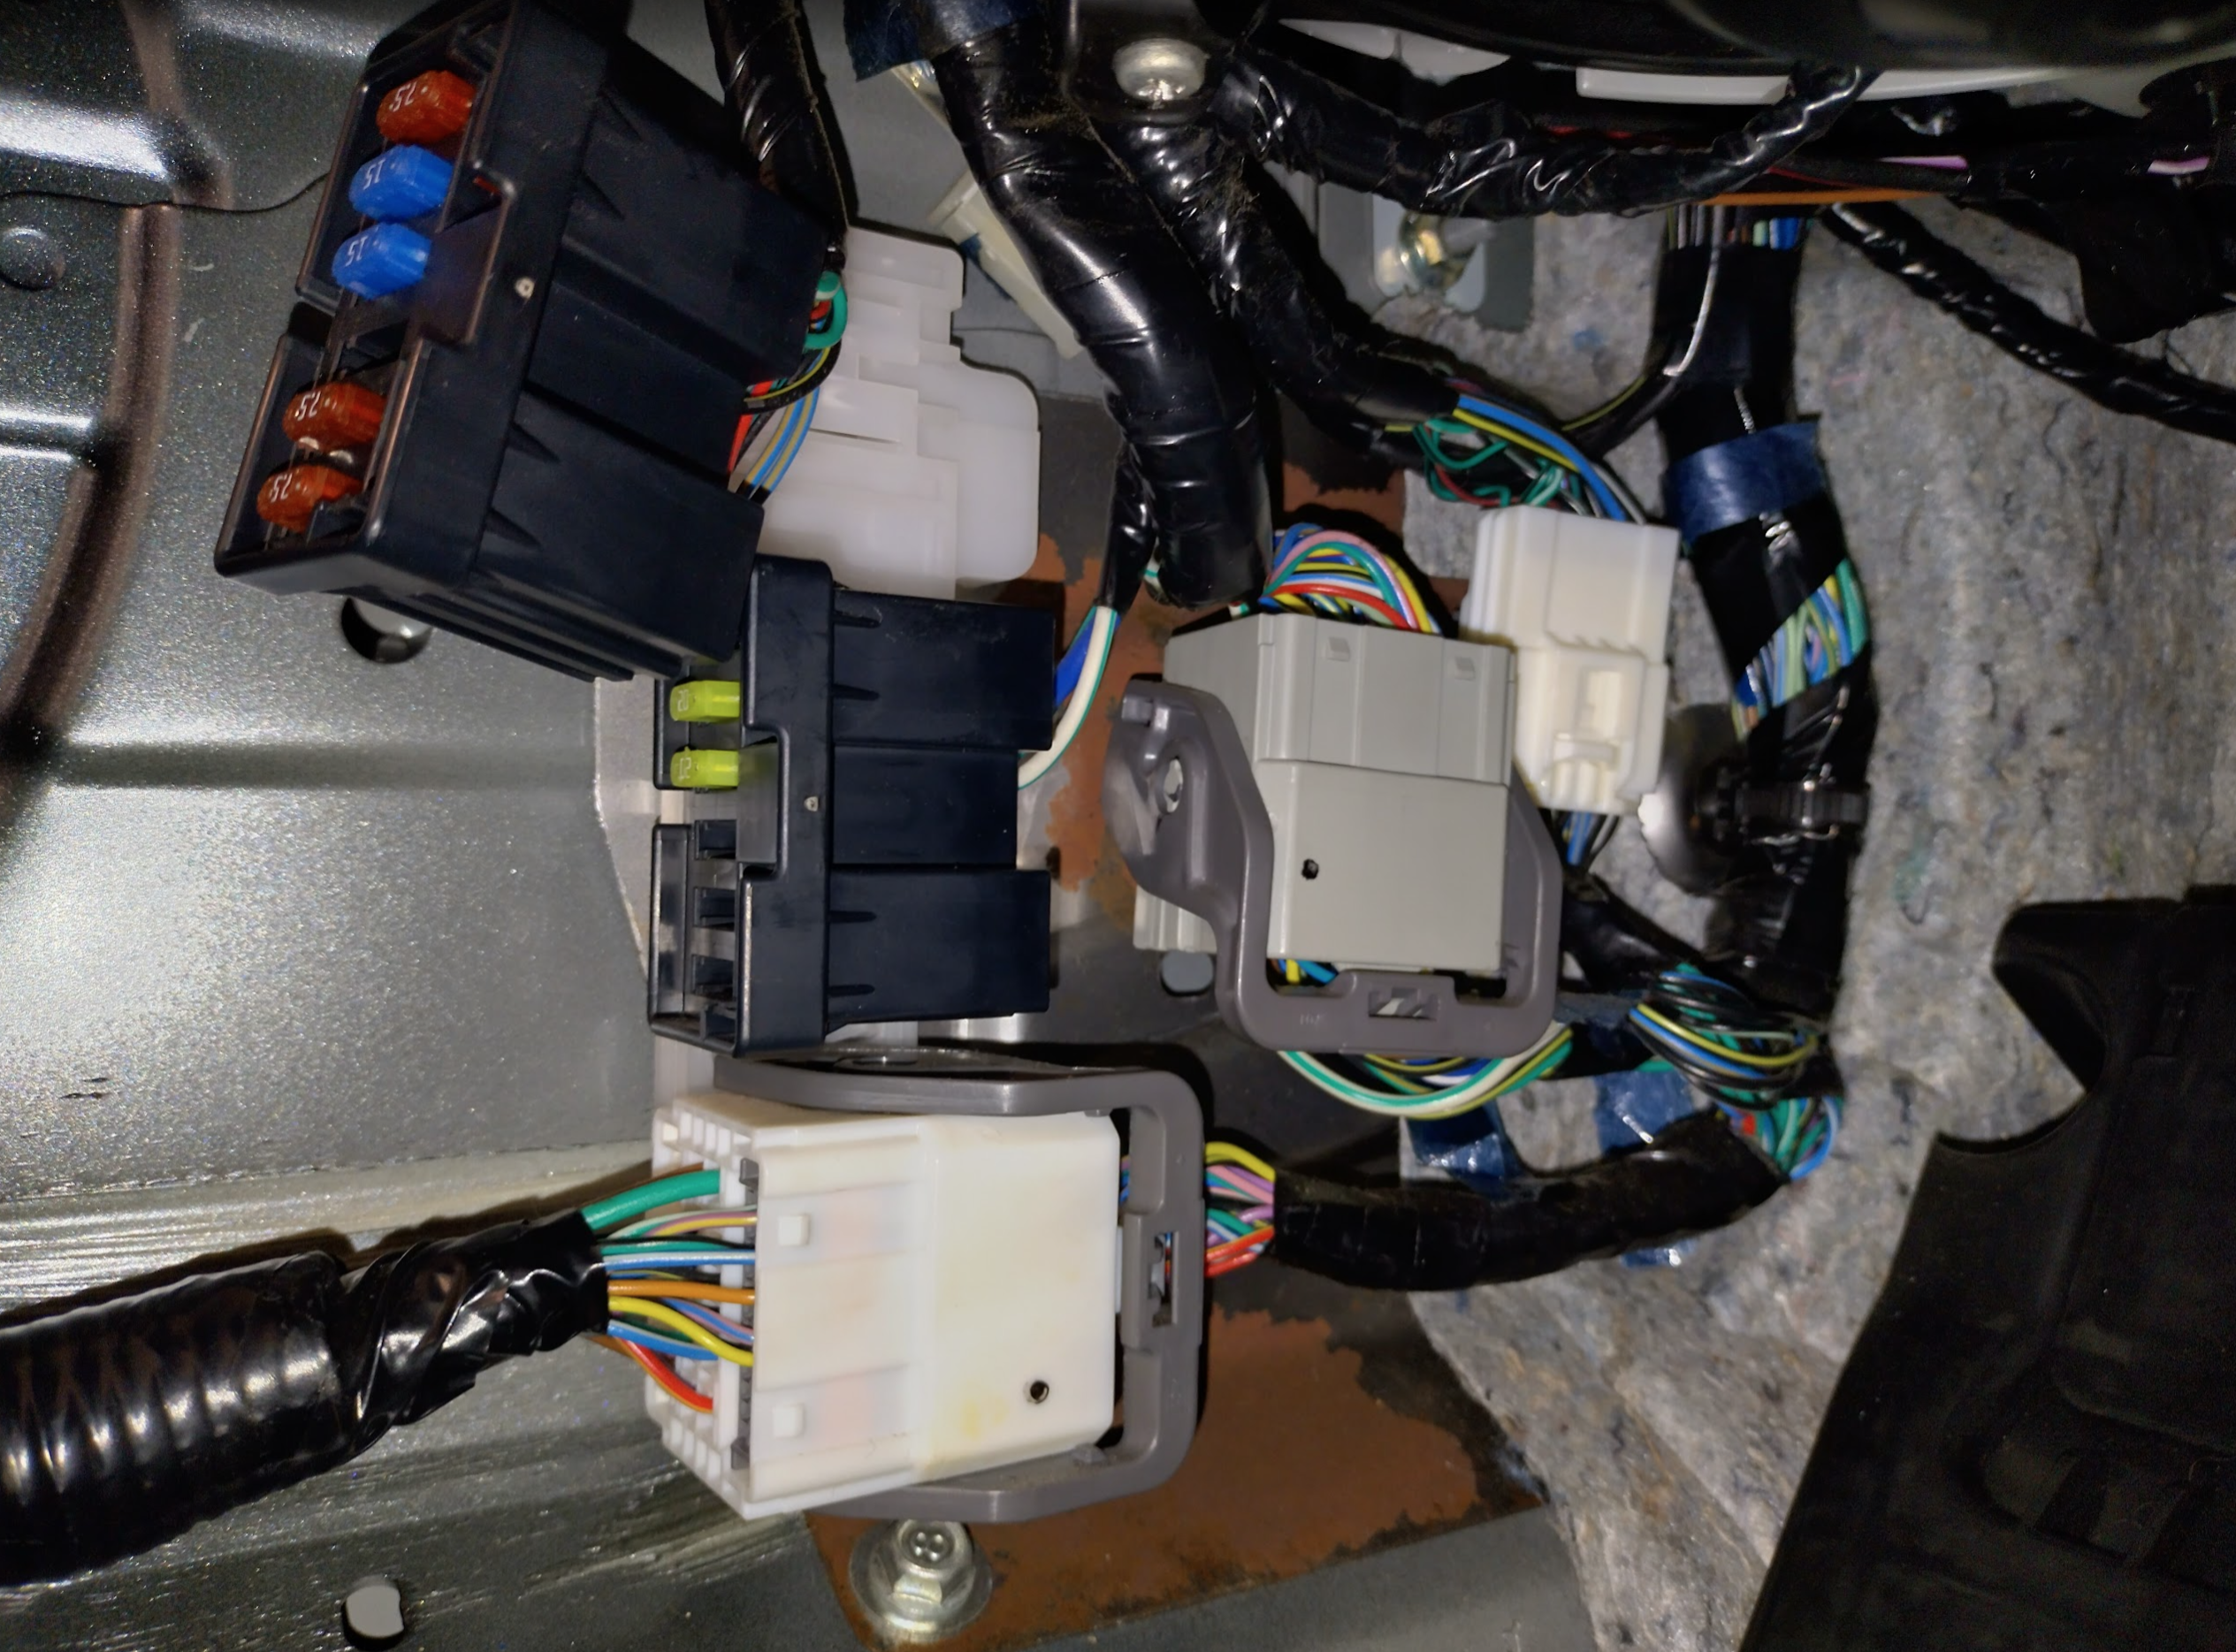
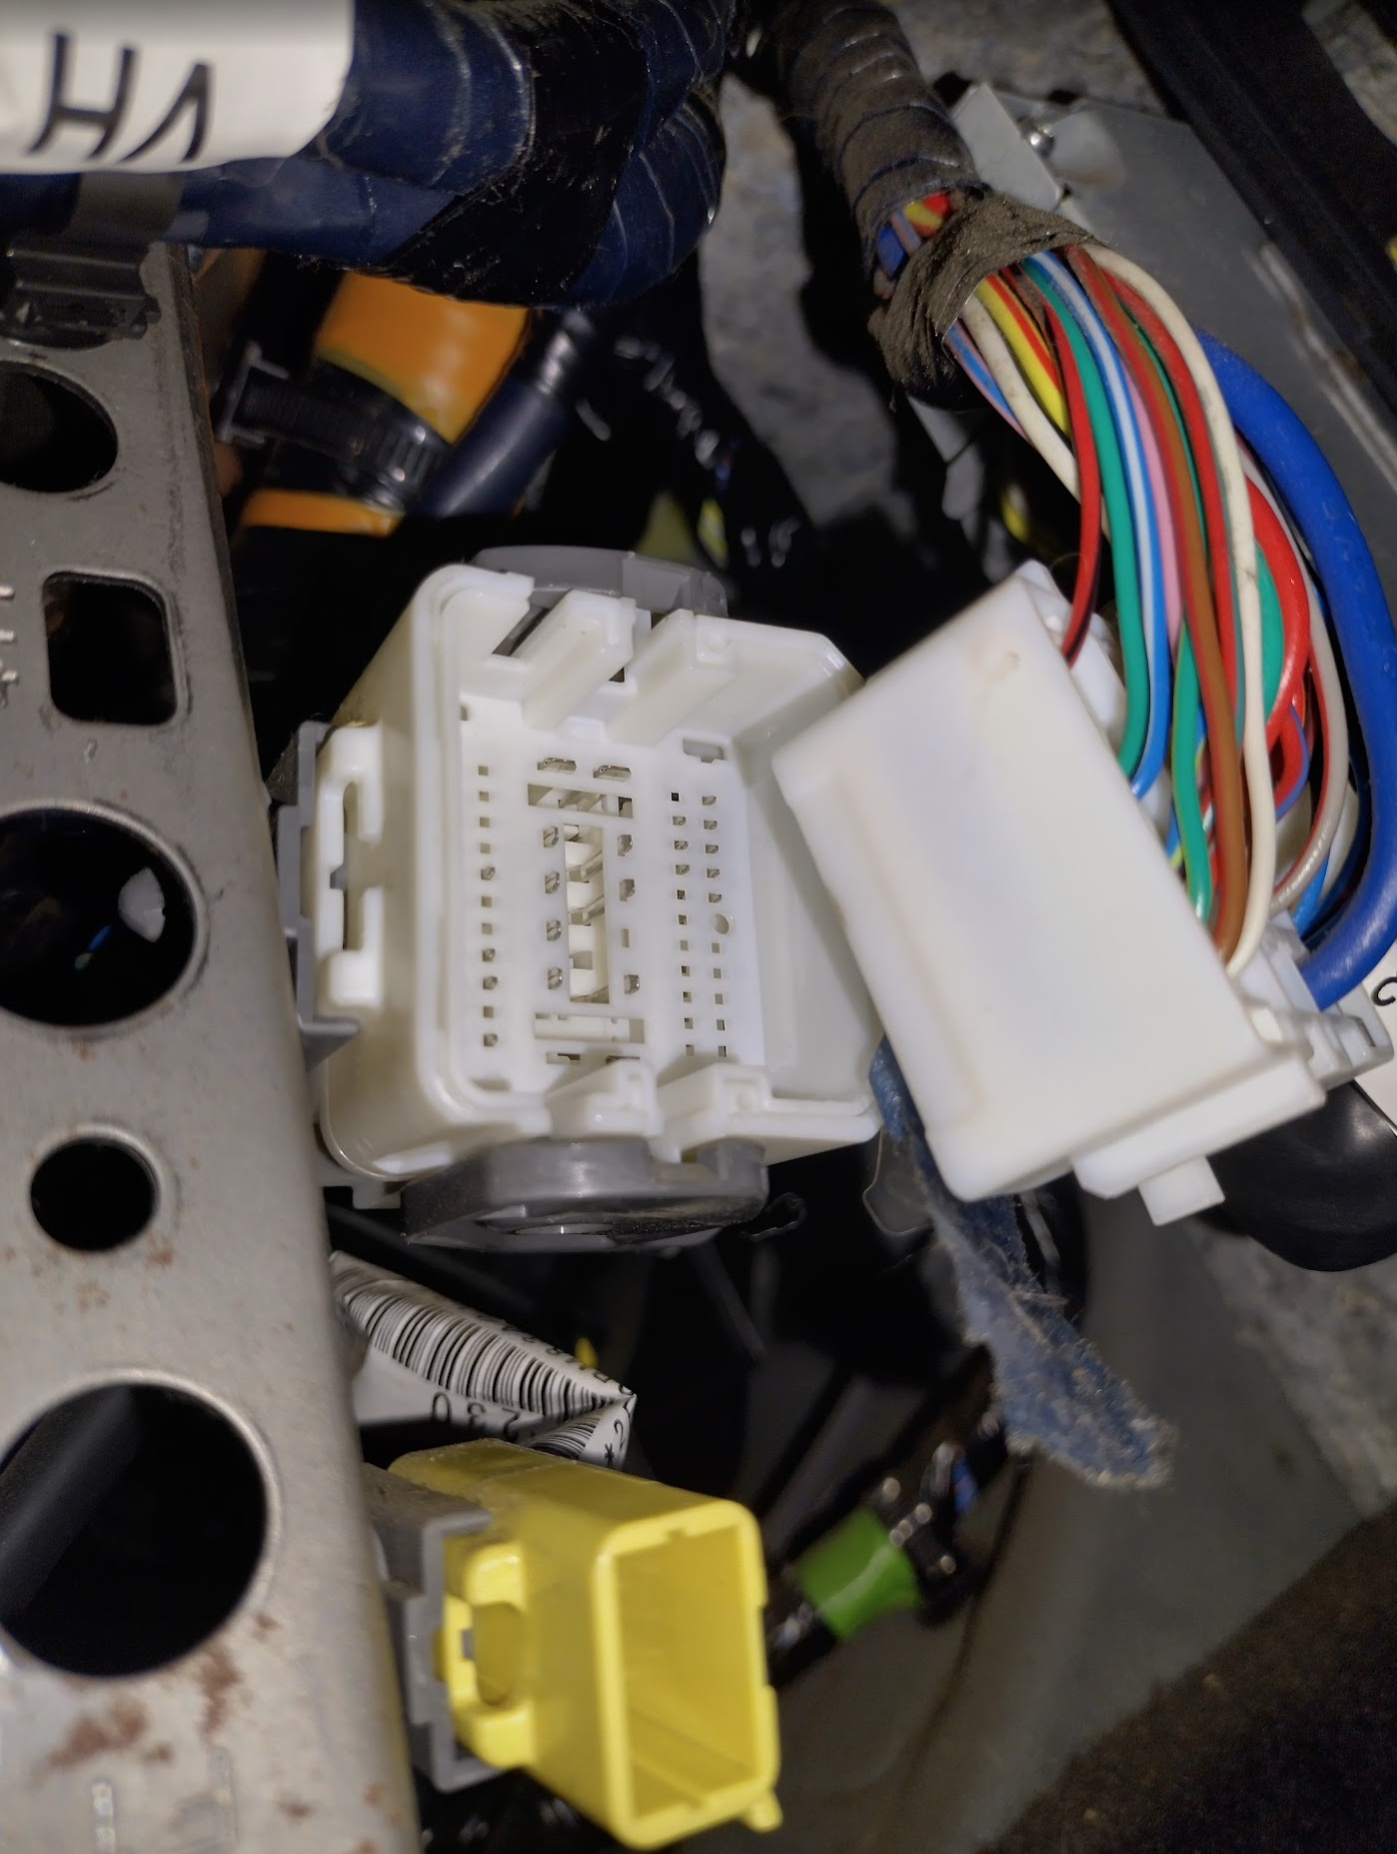
undo both connectors behind fuse block (the big one I haven’t worked out the trick to yet other than to pry the dark grey hinge bit a bit wider once in open position and while pulling) AND MAKE SURE TO POP THEM OFF THE METAL
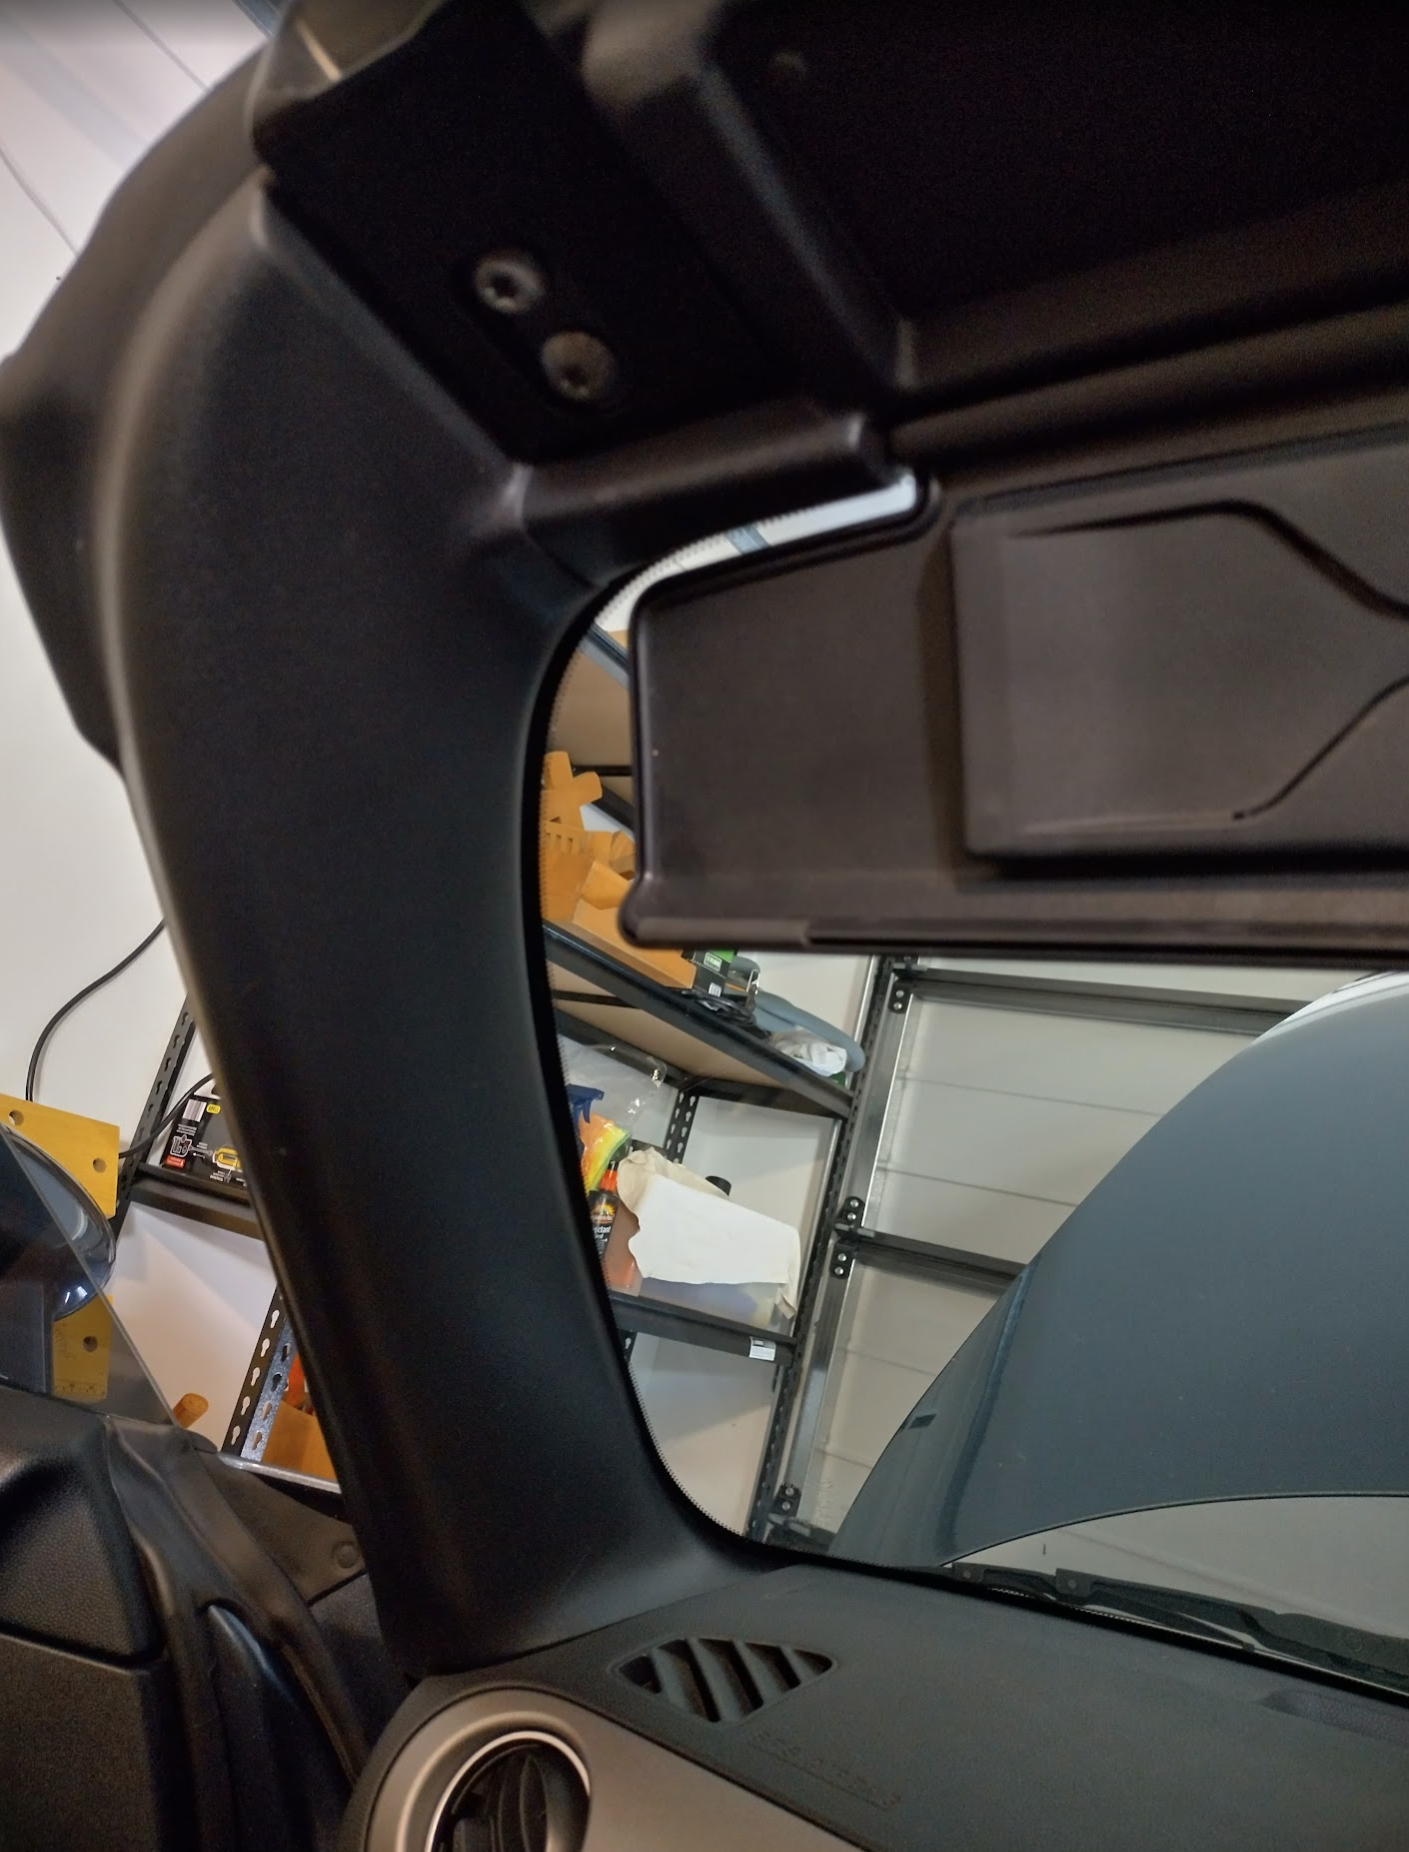
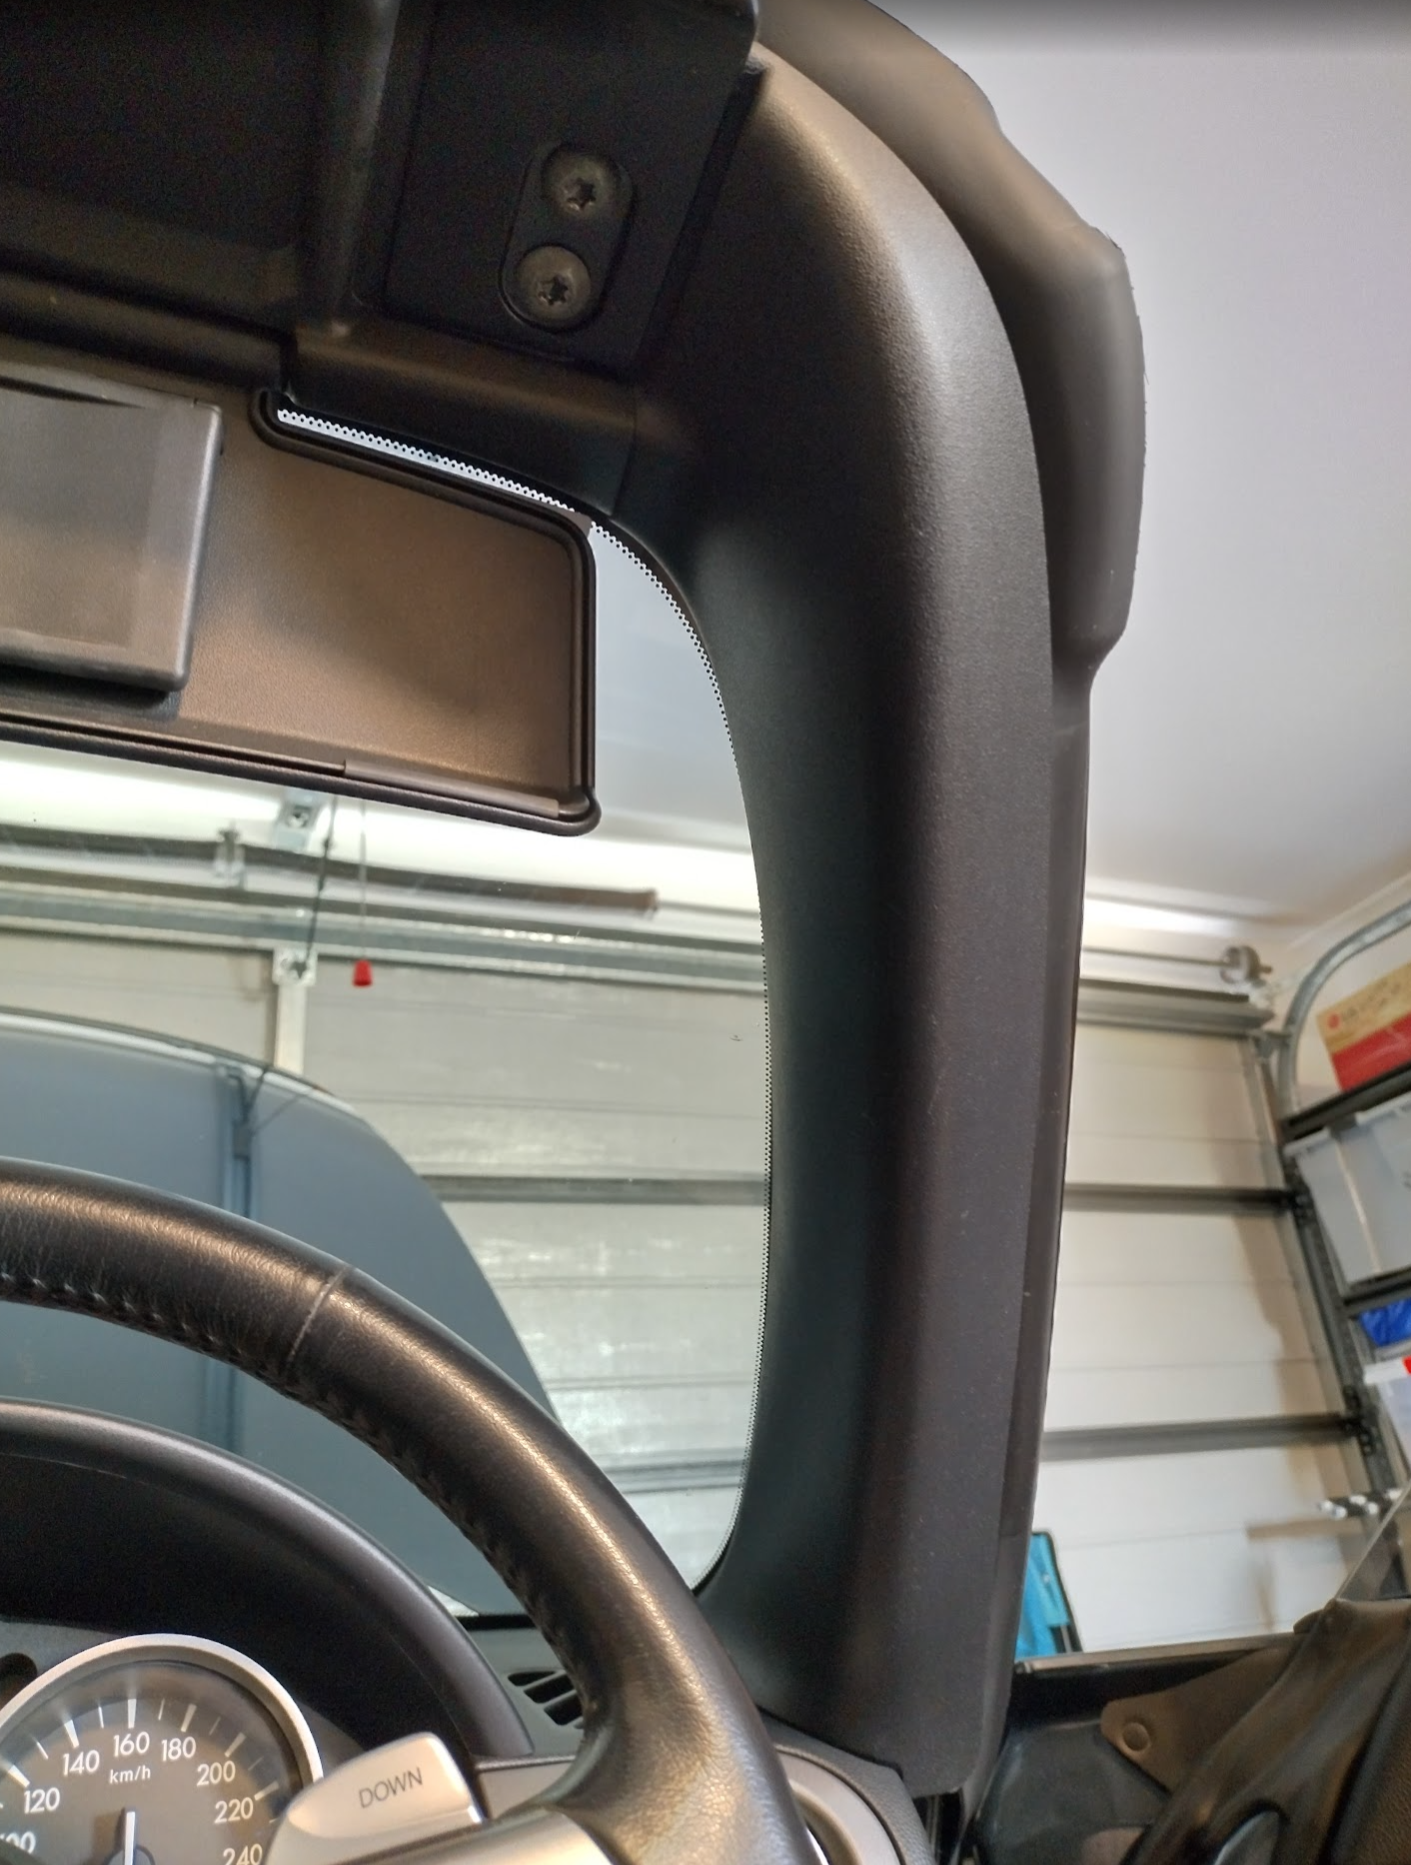
undo pillar torx screws (T-40?), and pop off pillar plastic (push to the side)
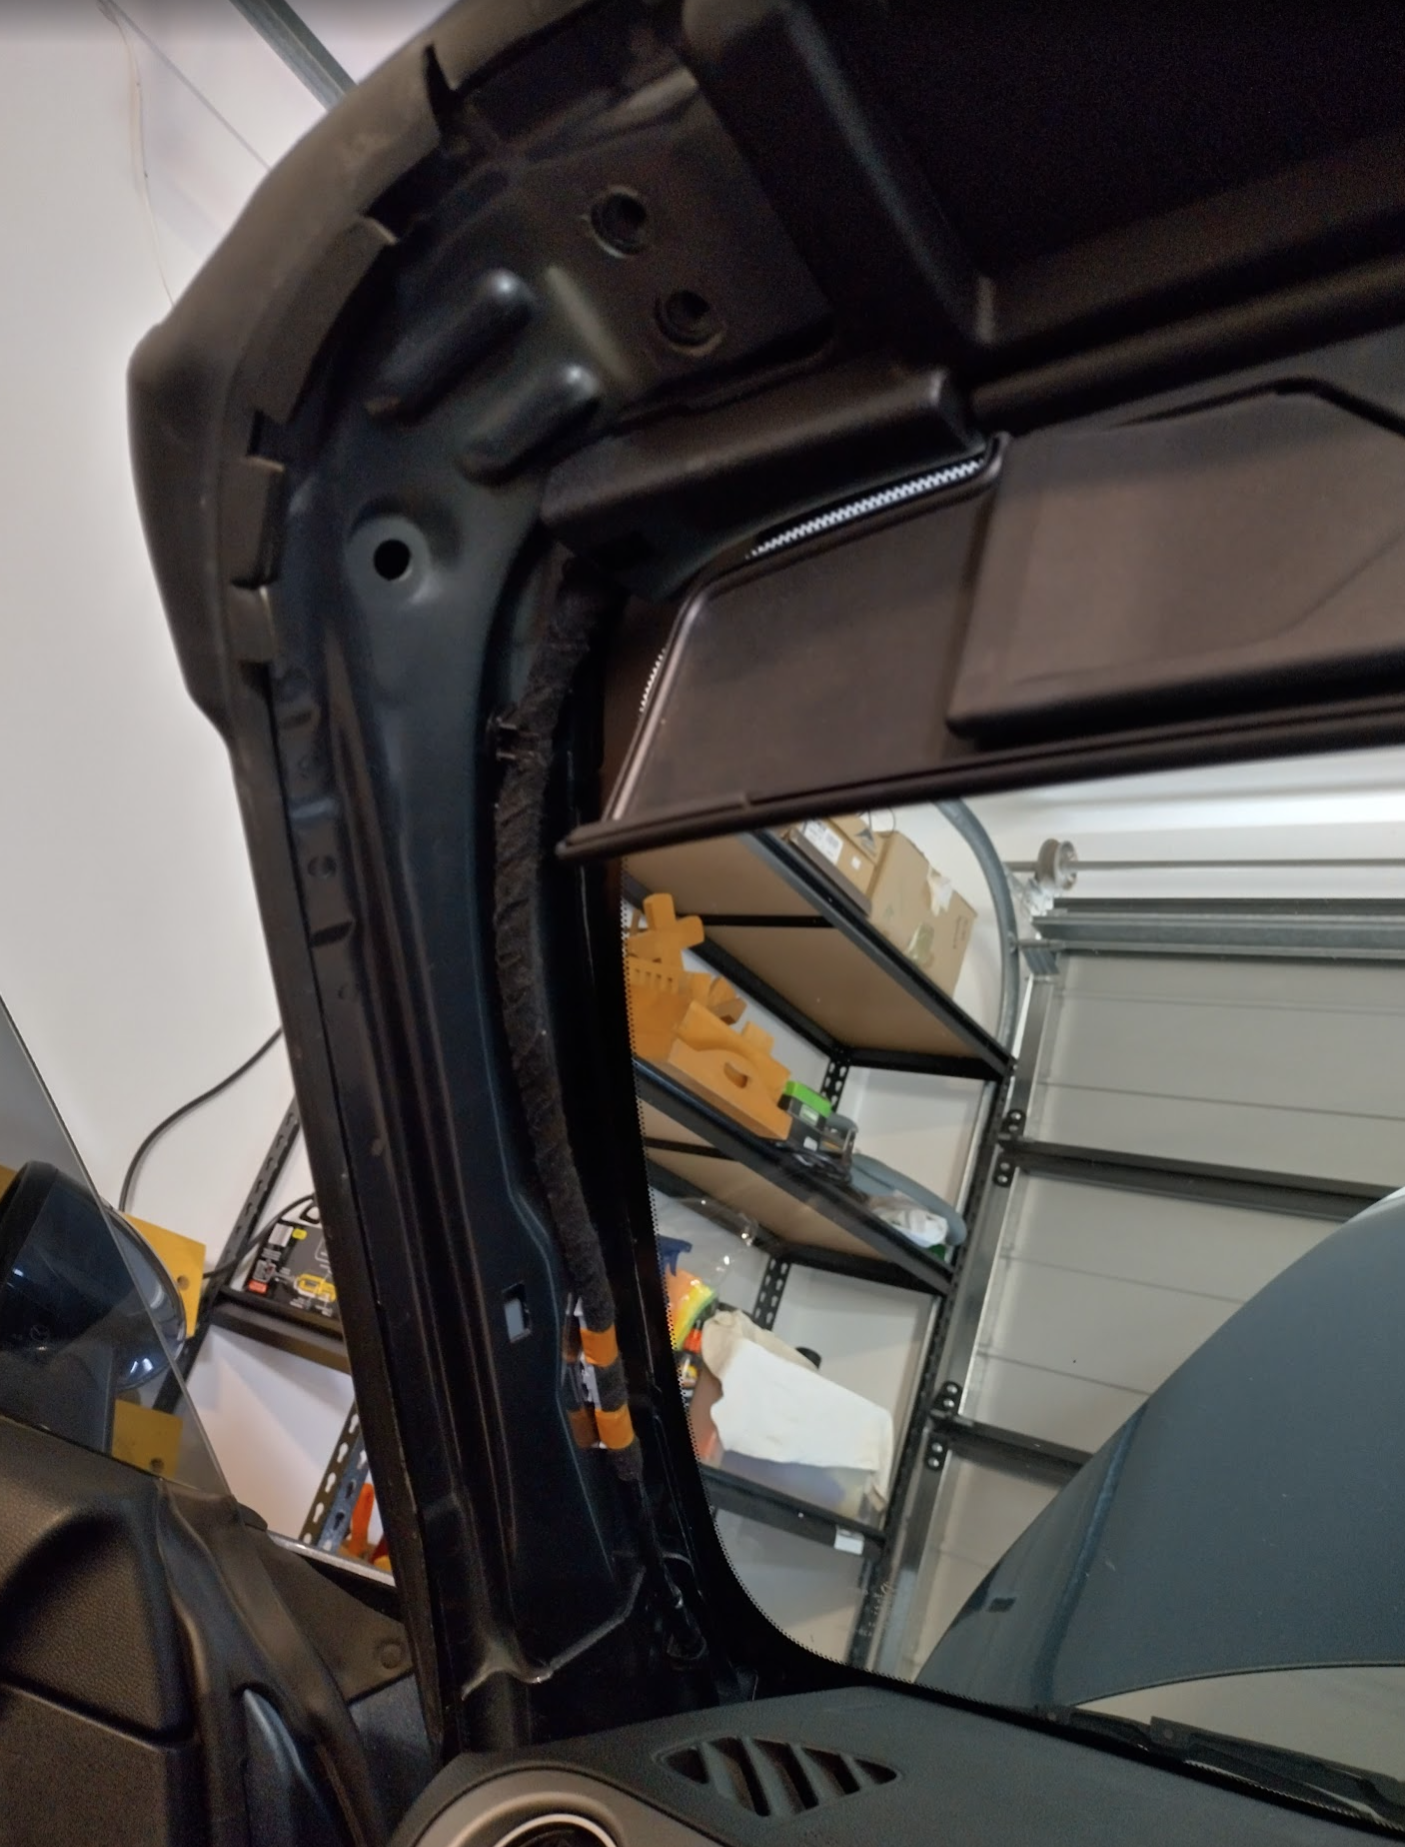
Drivers side (right in AUS)
Initial cover removals are the same as the passenger side.
Pop off step cover (lift up) & pull off rubber trim
pop off lower inner panel (pull the panel down)
pop off lower side of dashboard
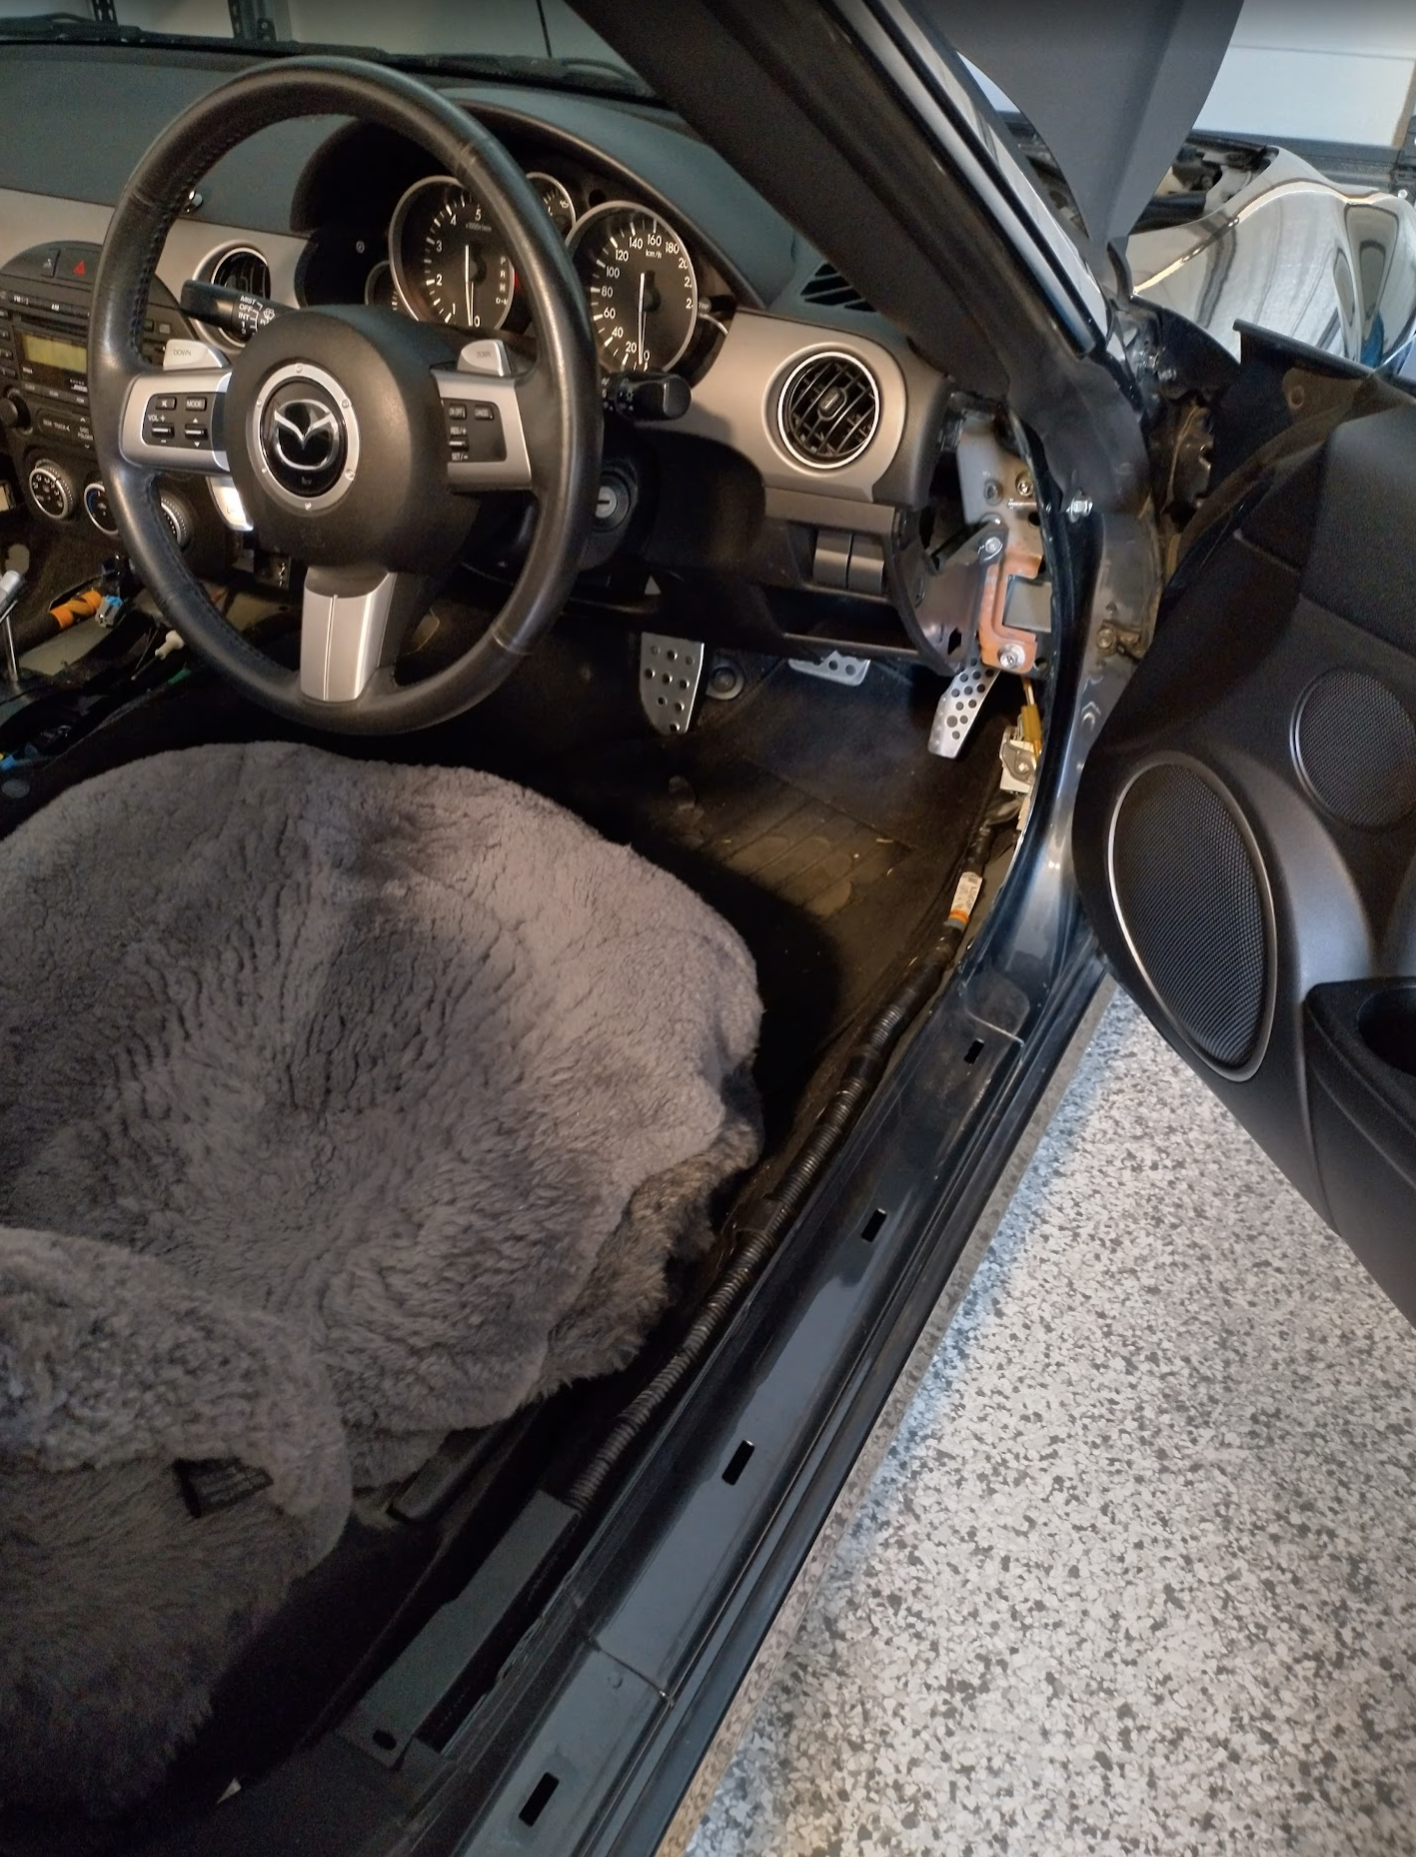
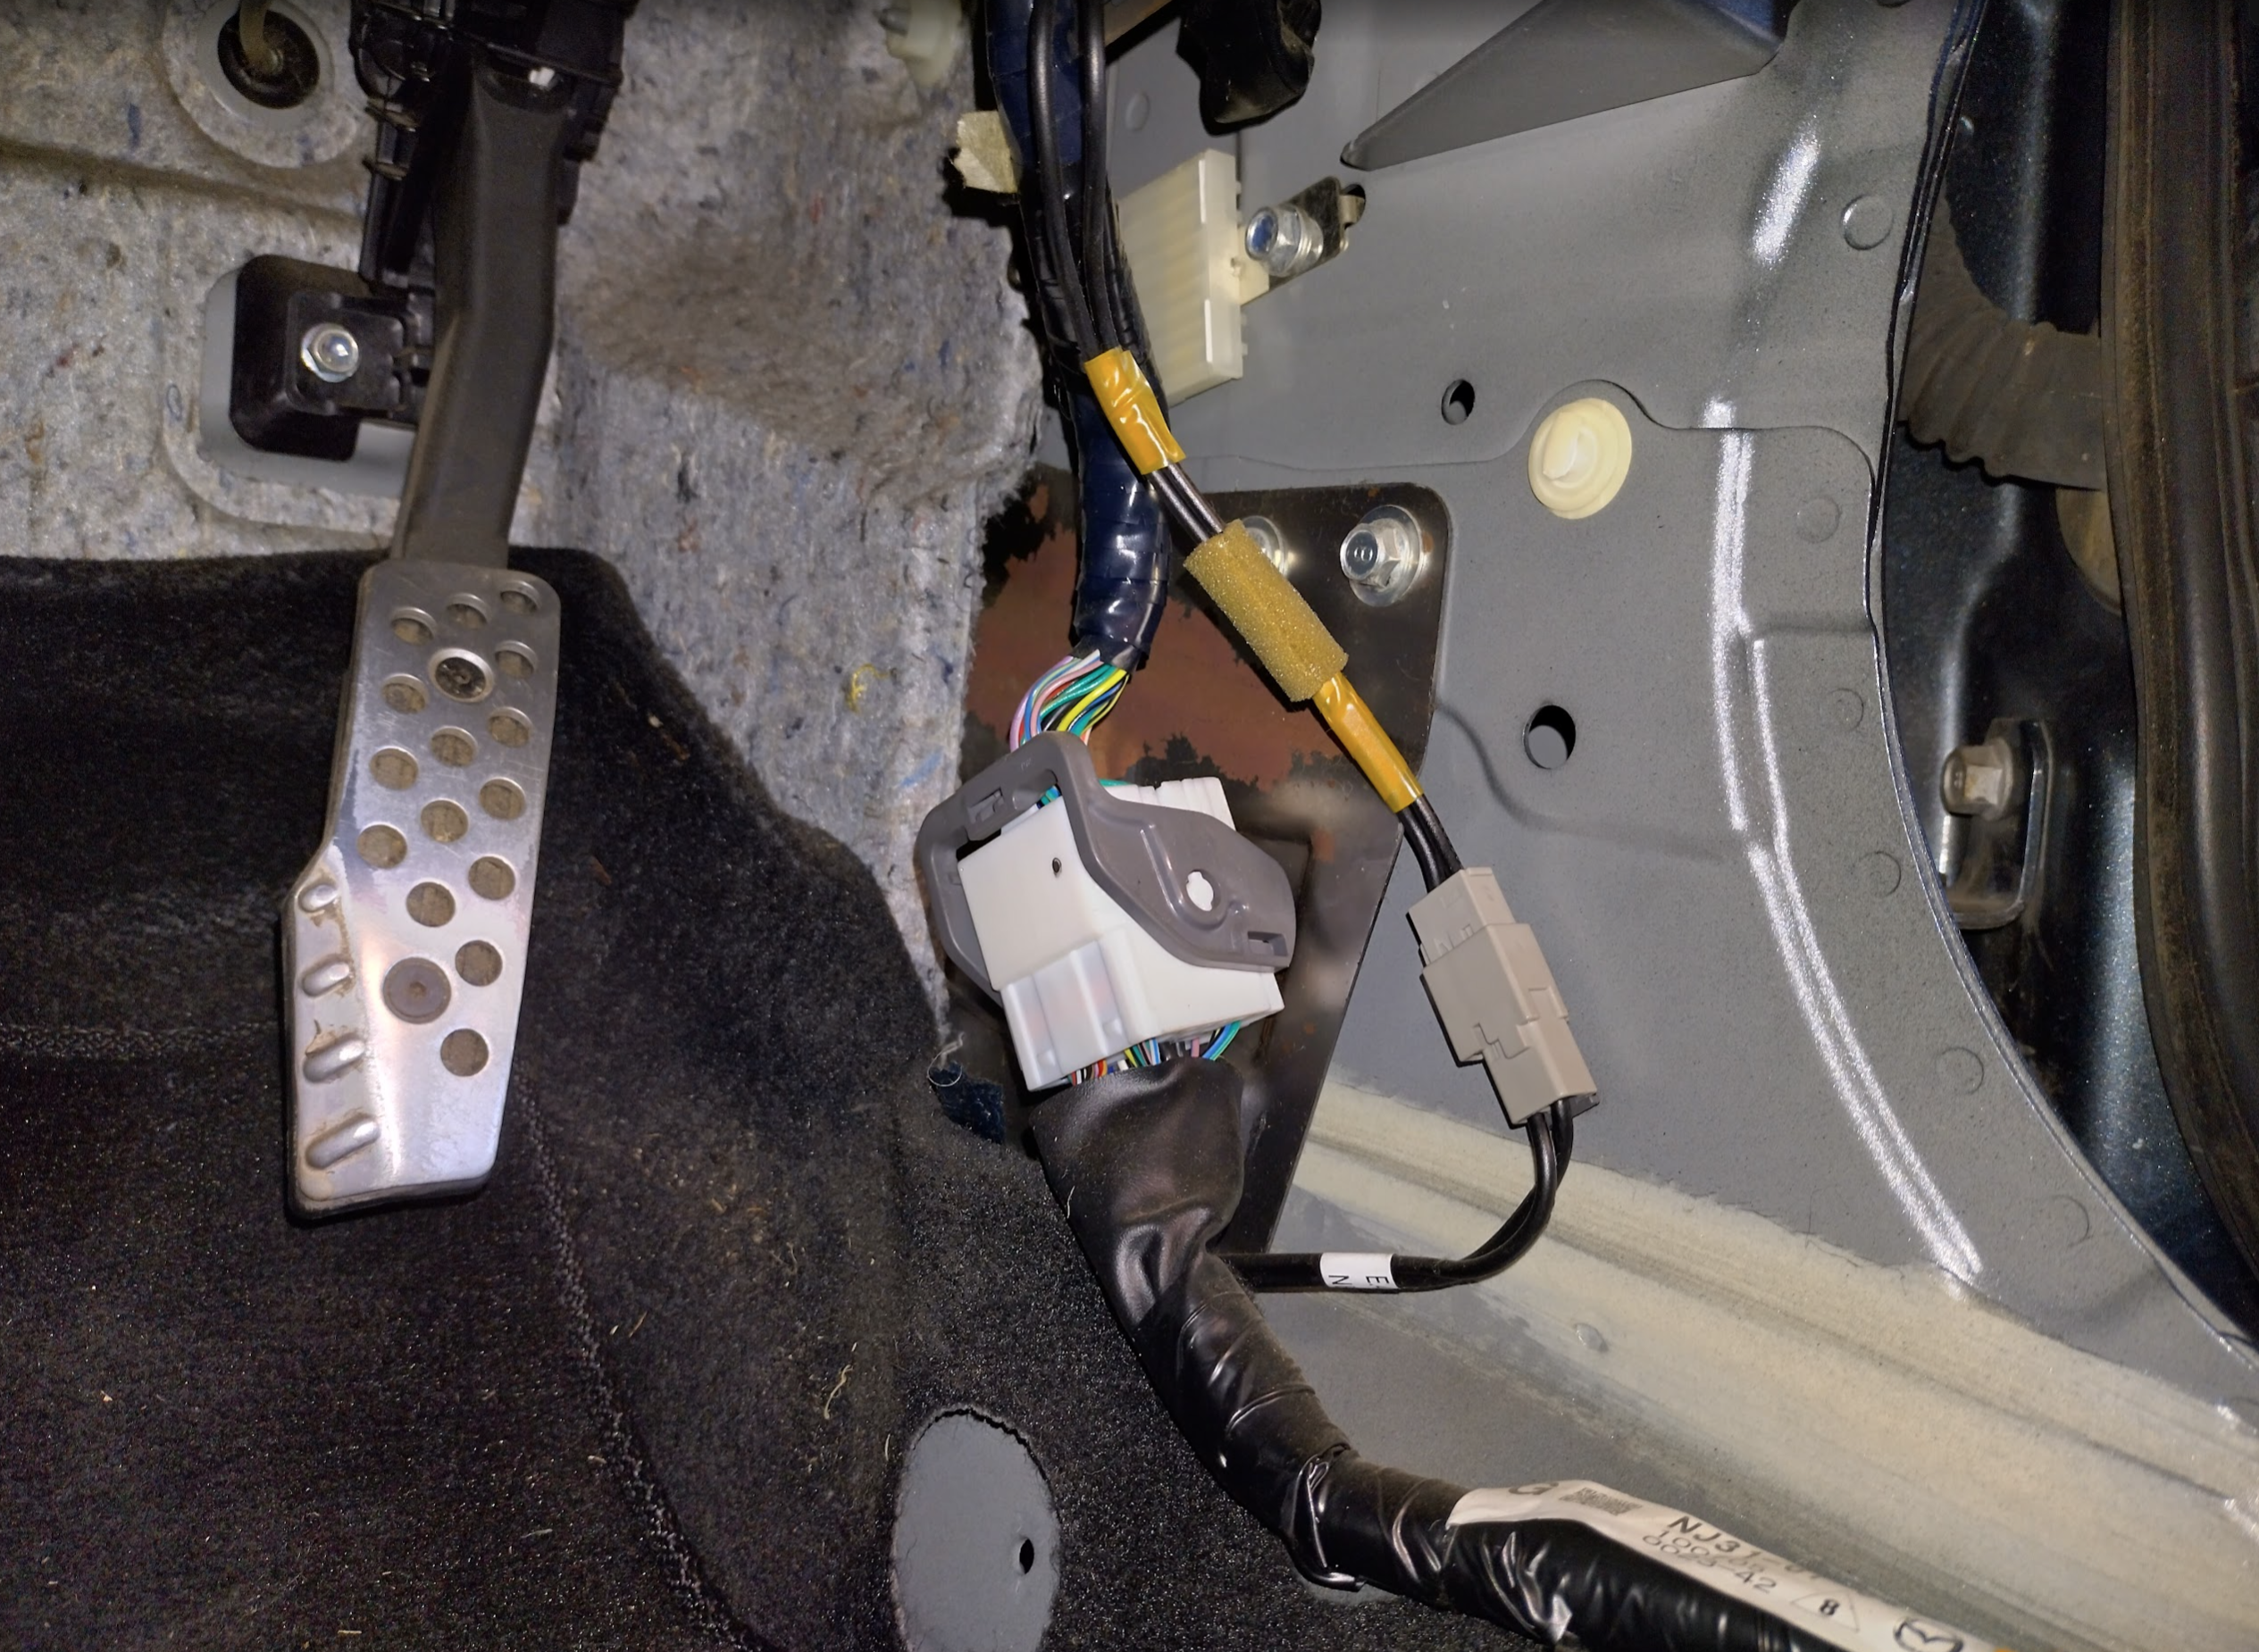
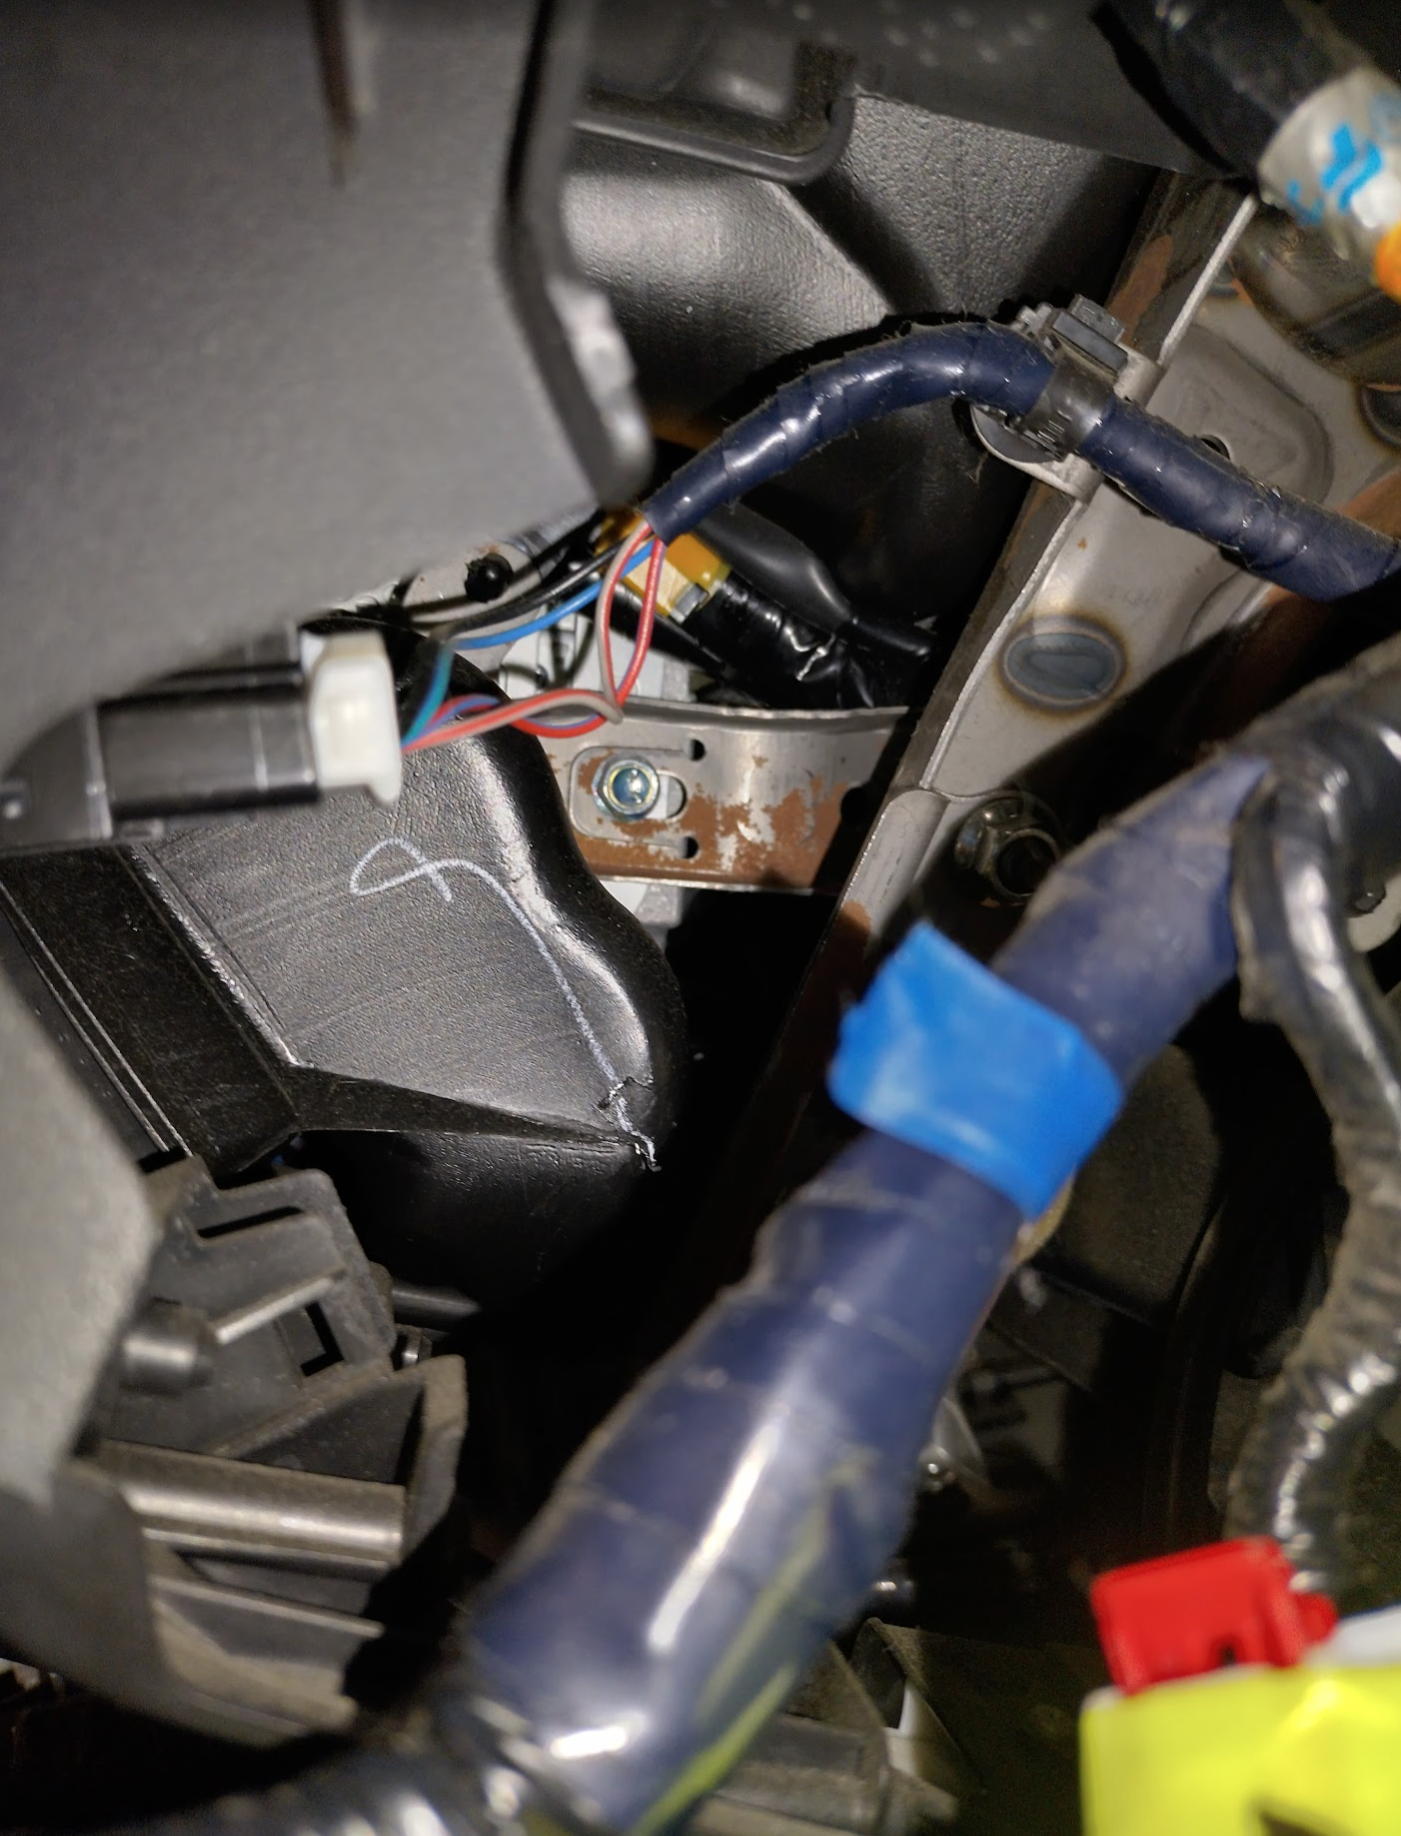
disconnect the large white plug & small grey plug in the drivers side footwell
undo pillar torx screws (T-40?), and pop off pillar plastic (push to the side)
Steering column
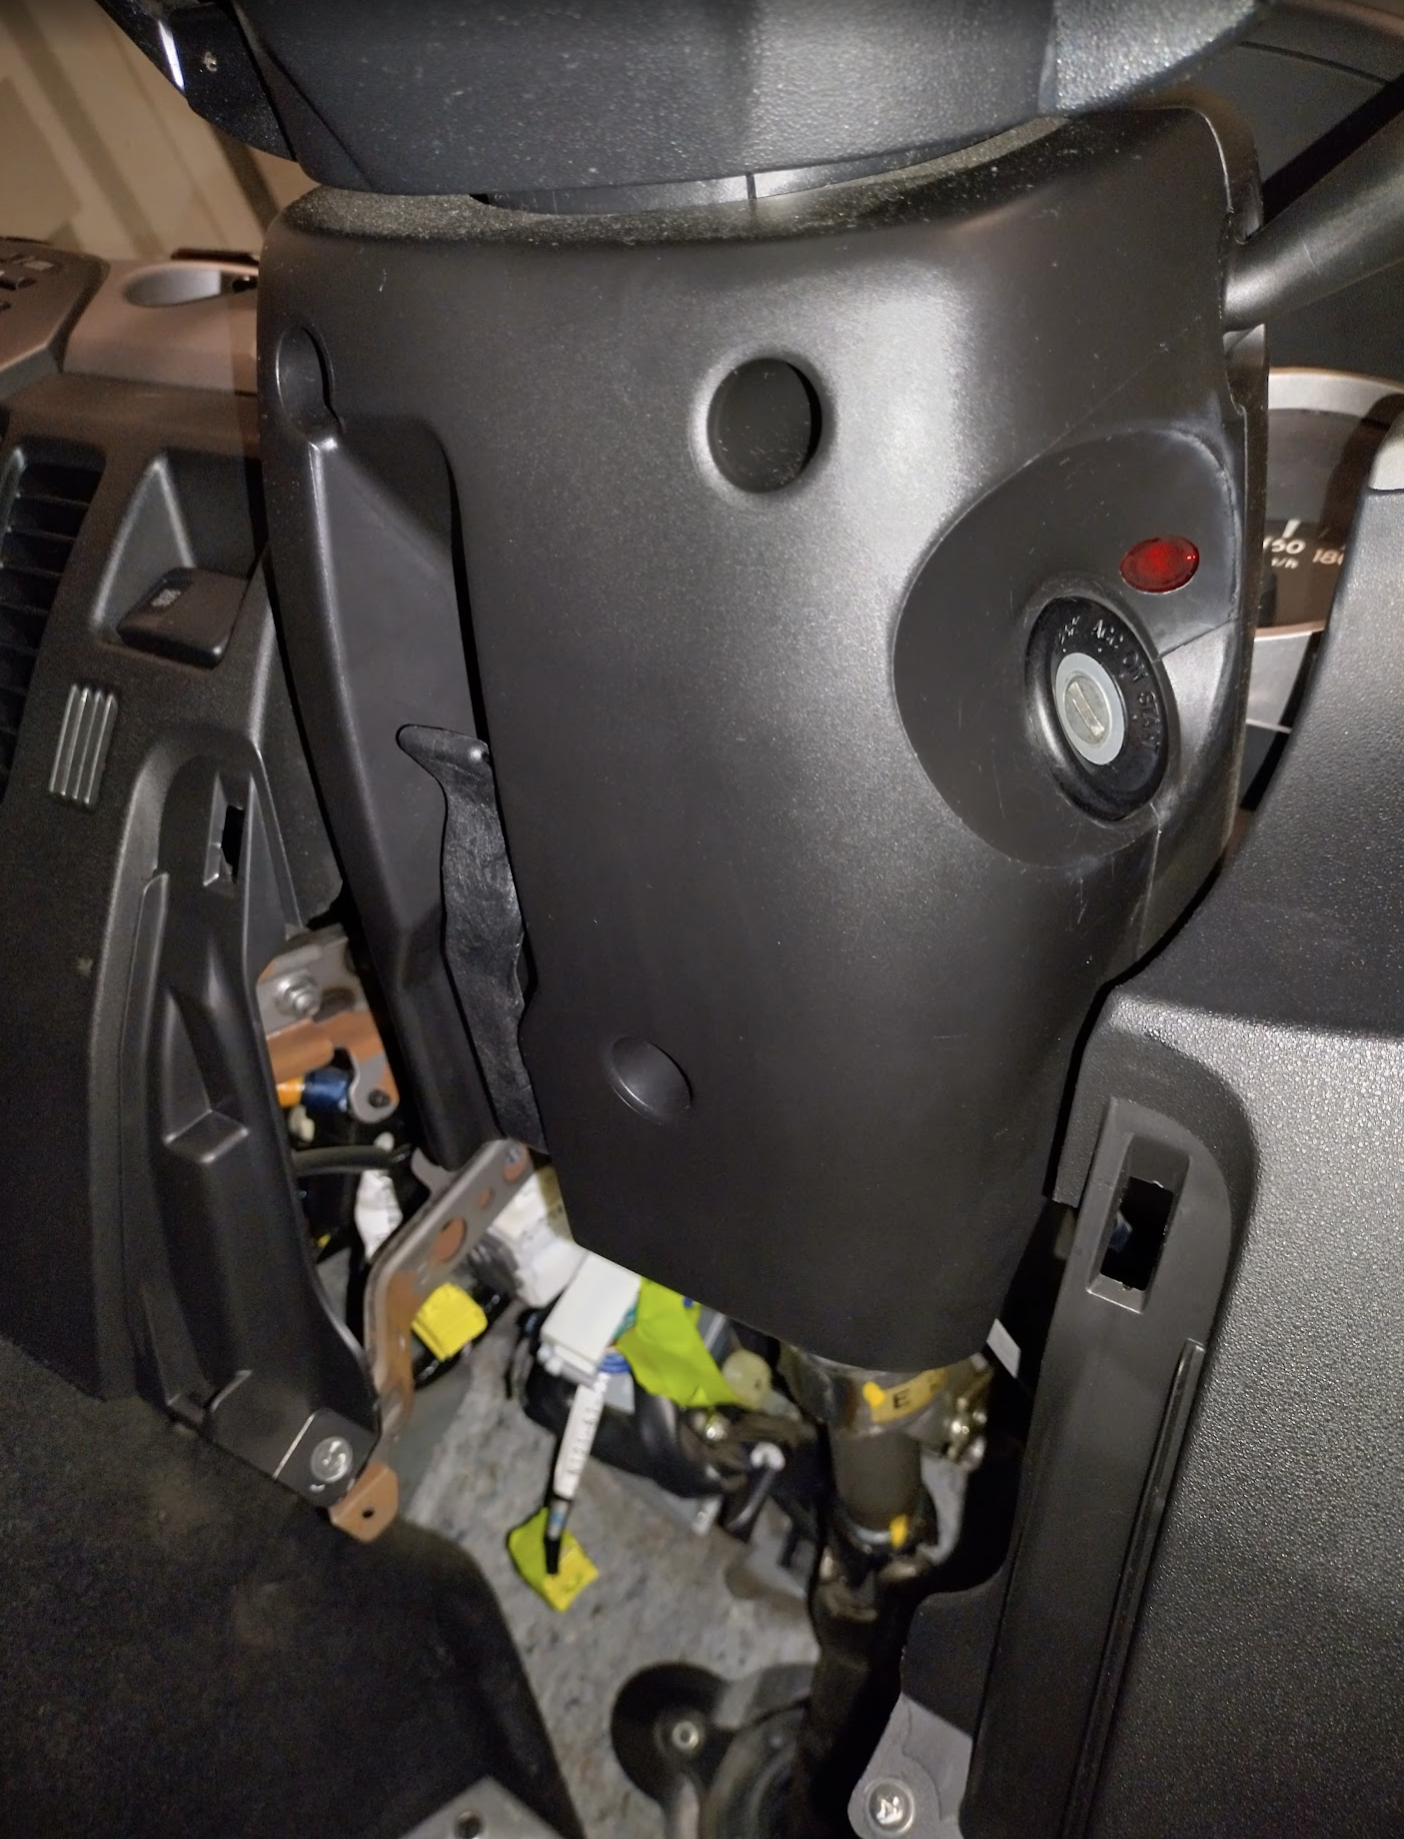
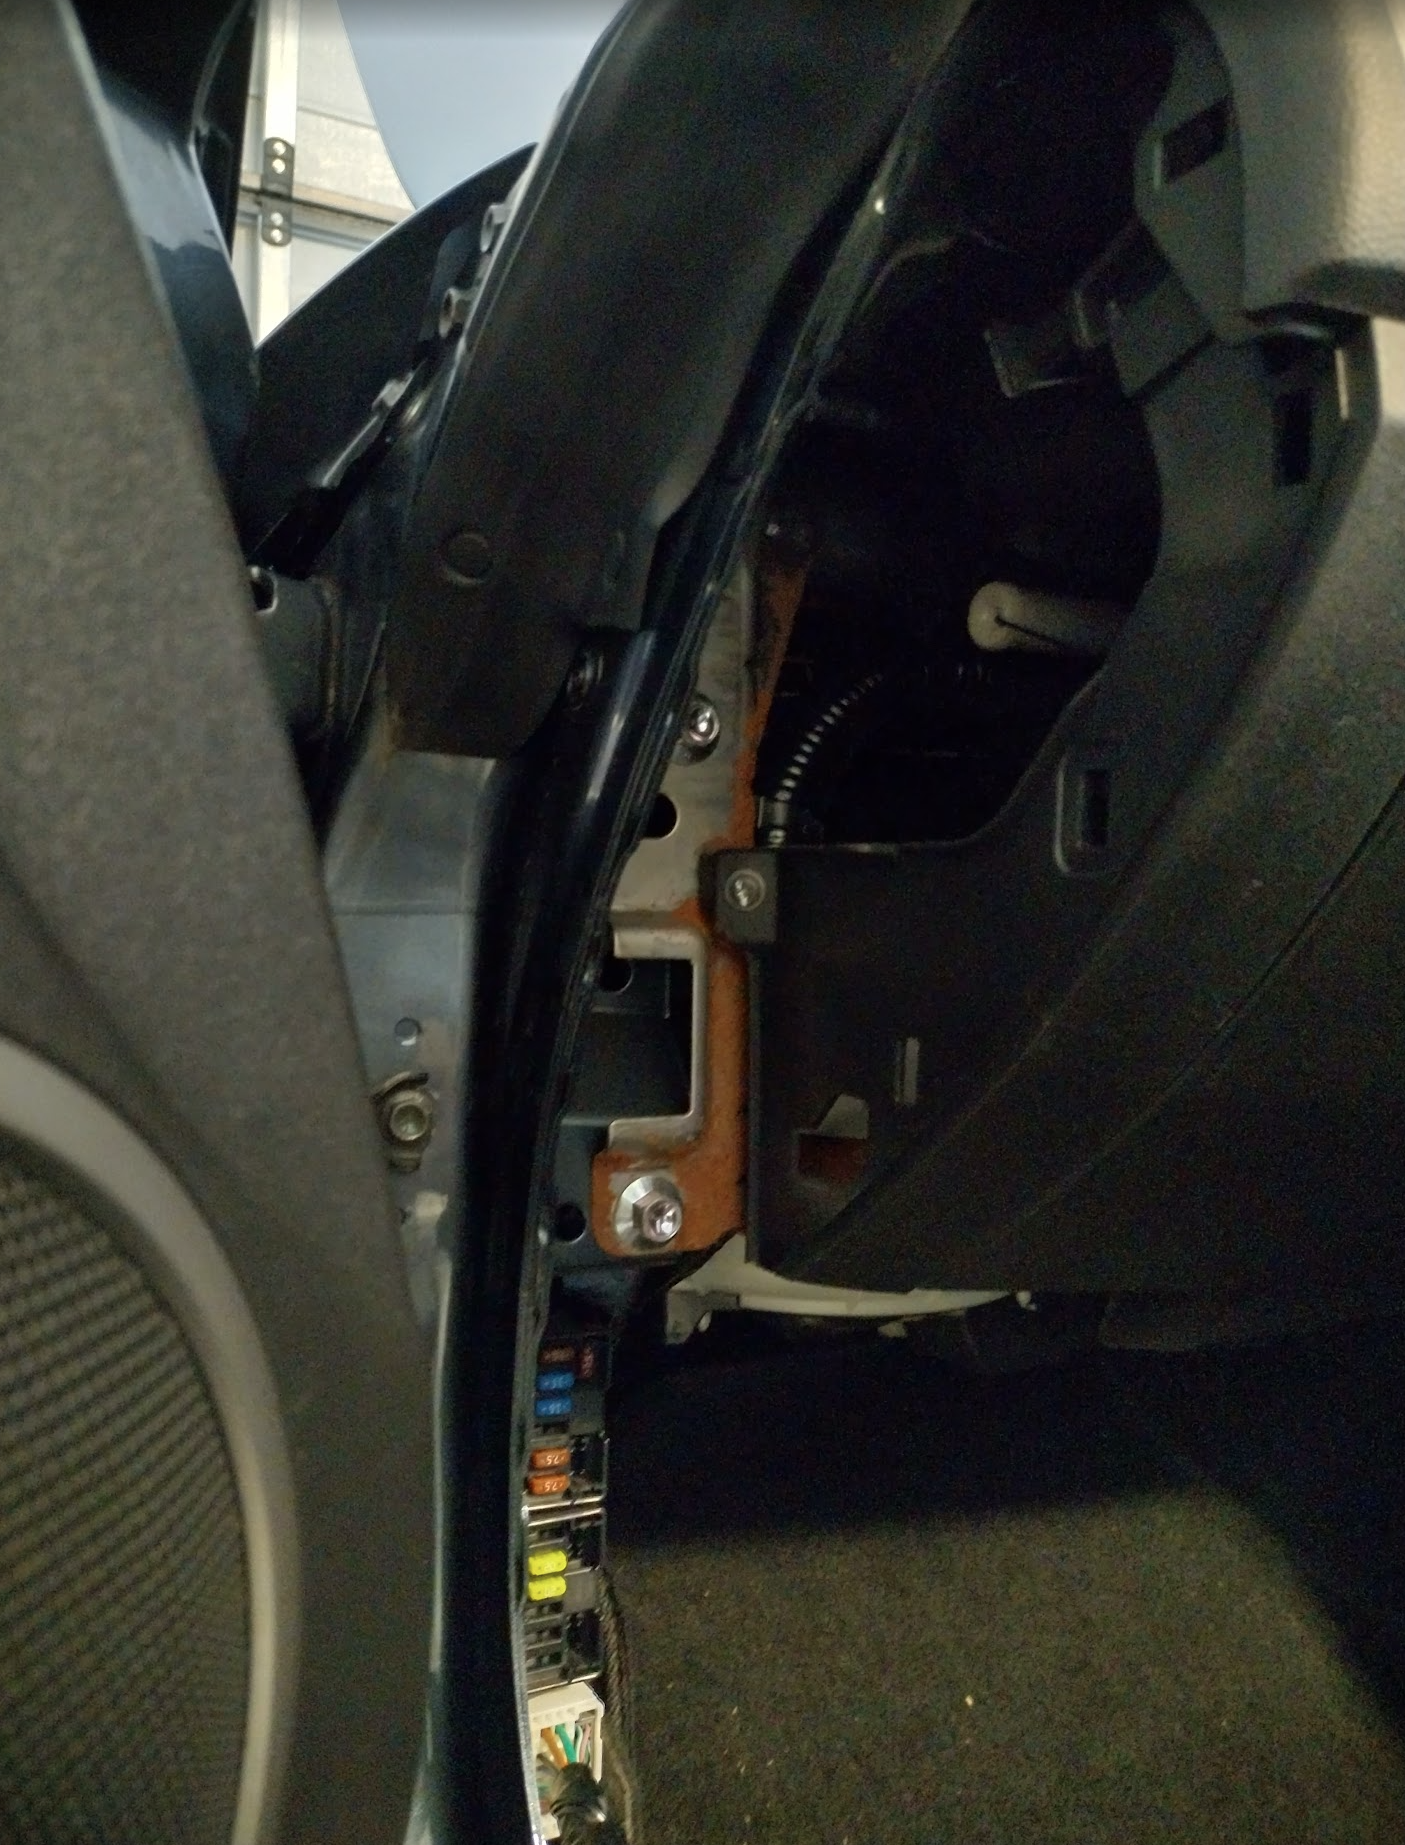
remove the plastic panel under the steering wheel. Mine doesn’t contain a similar metal shape underneath whereas almost every video or image online shows one. I’m unsure if my model or Australia just doesn’t have it as I don’t think this car has ever been apart to this degree. But if you have it, remove it also.

undo 3 screws on the bottom of the steering case (one small black at back?) and remove case (unplug red ignition light attached to bottom)
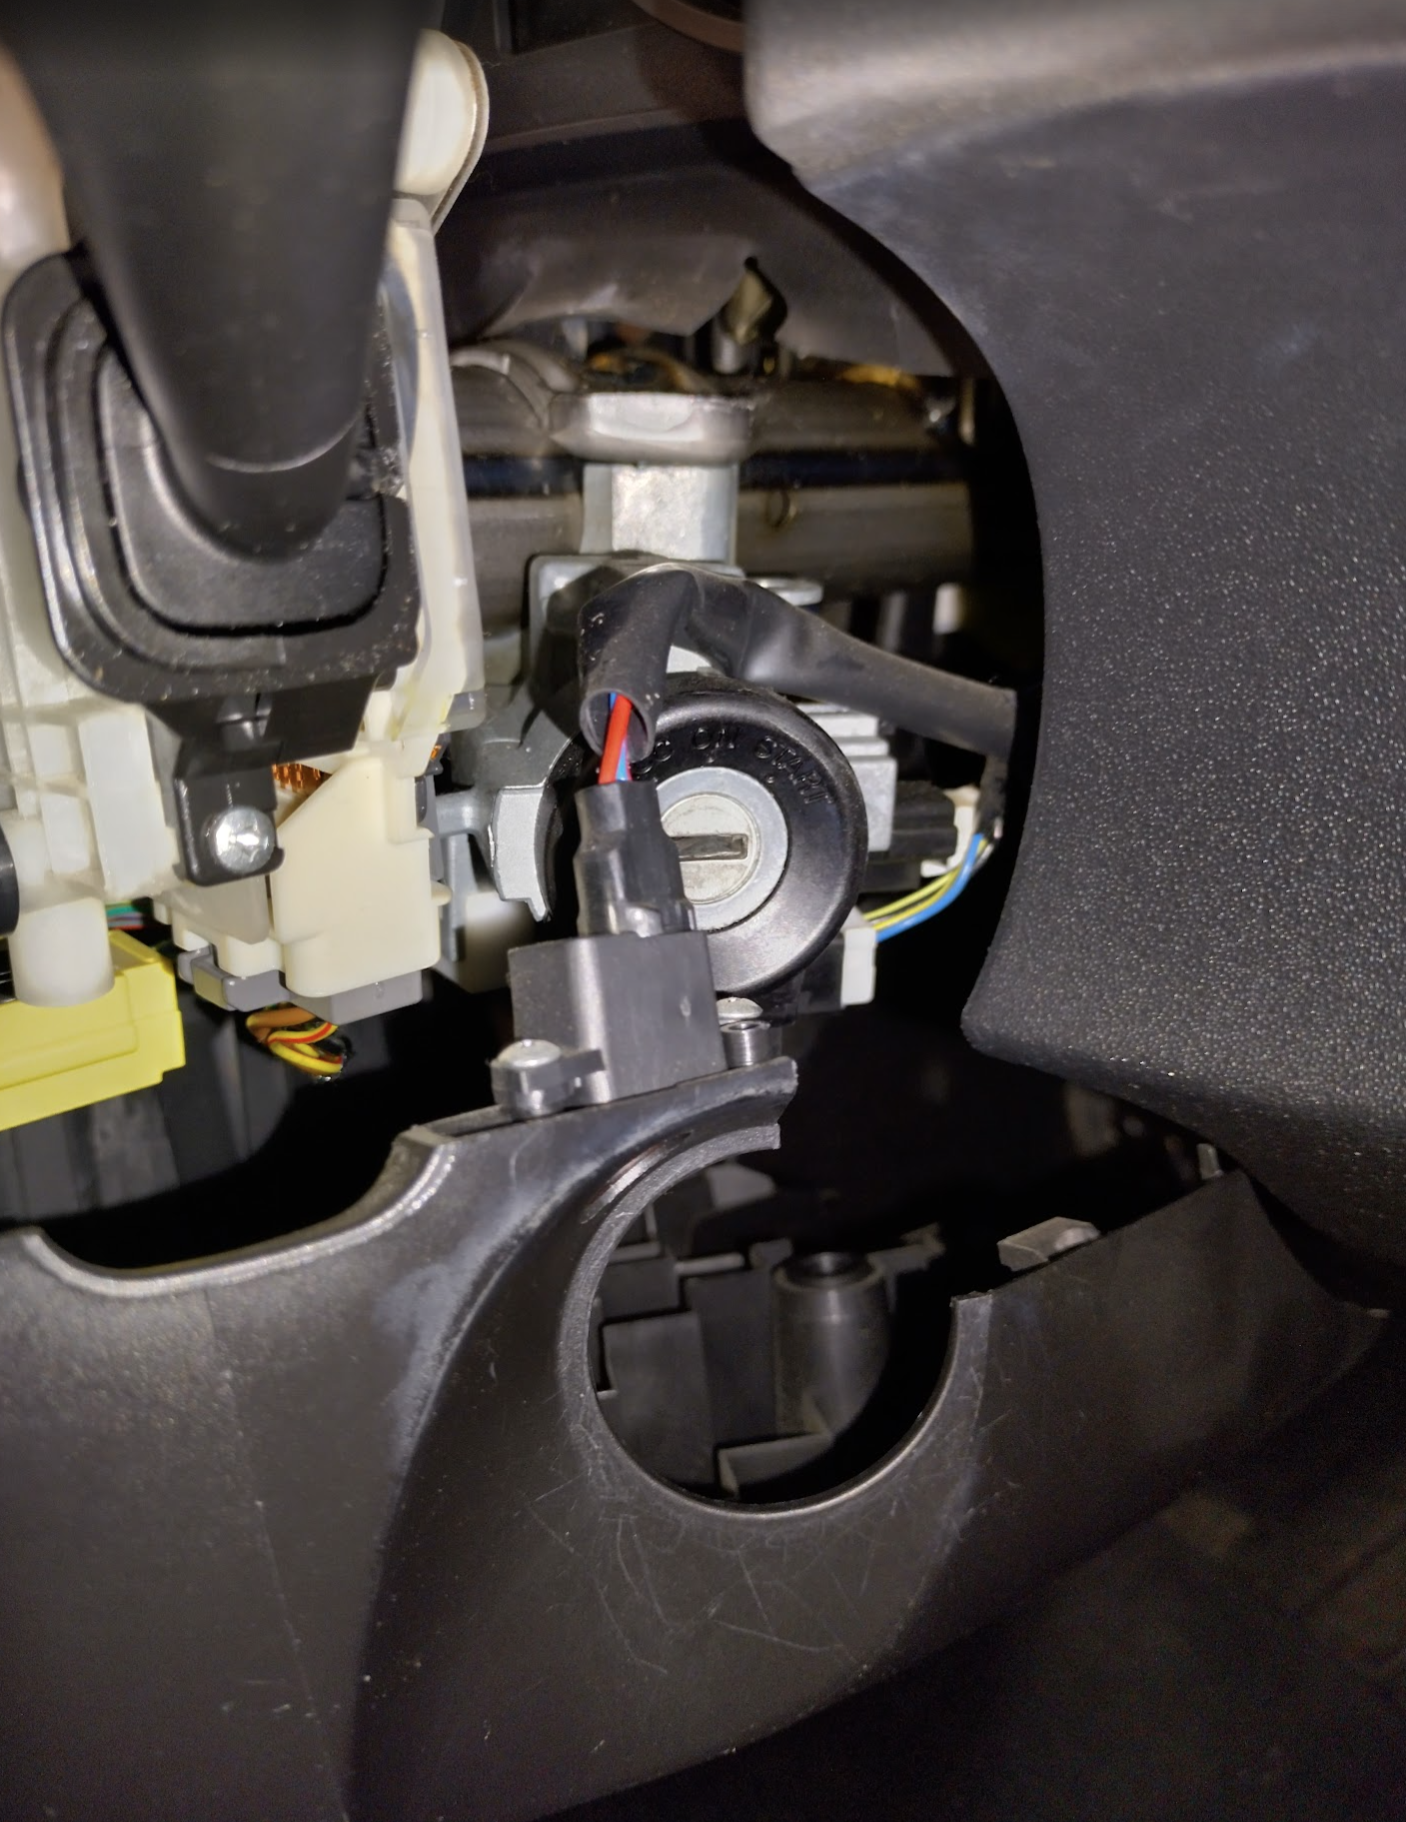
unplug all cords (7 or 8?) – the big white square that converts to a beige circle has a red tab you need to slide – apparently it’s a Ford style plug according to the earlier video. Don’t forget the two on the ignition.
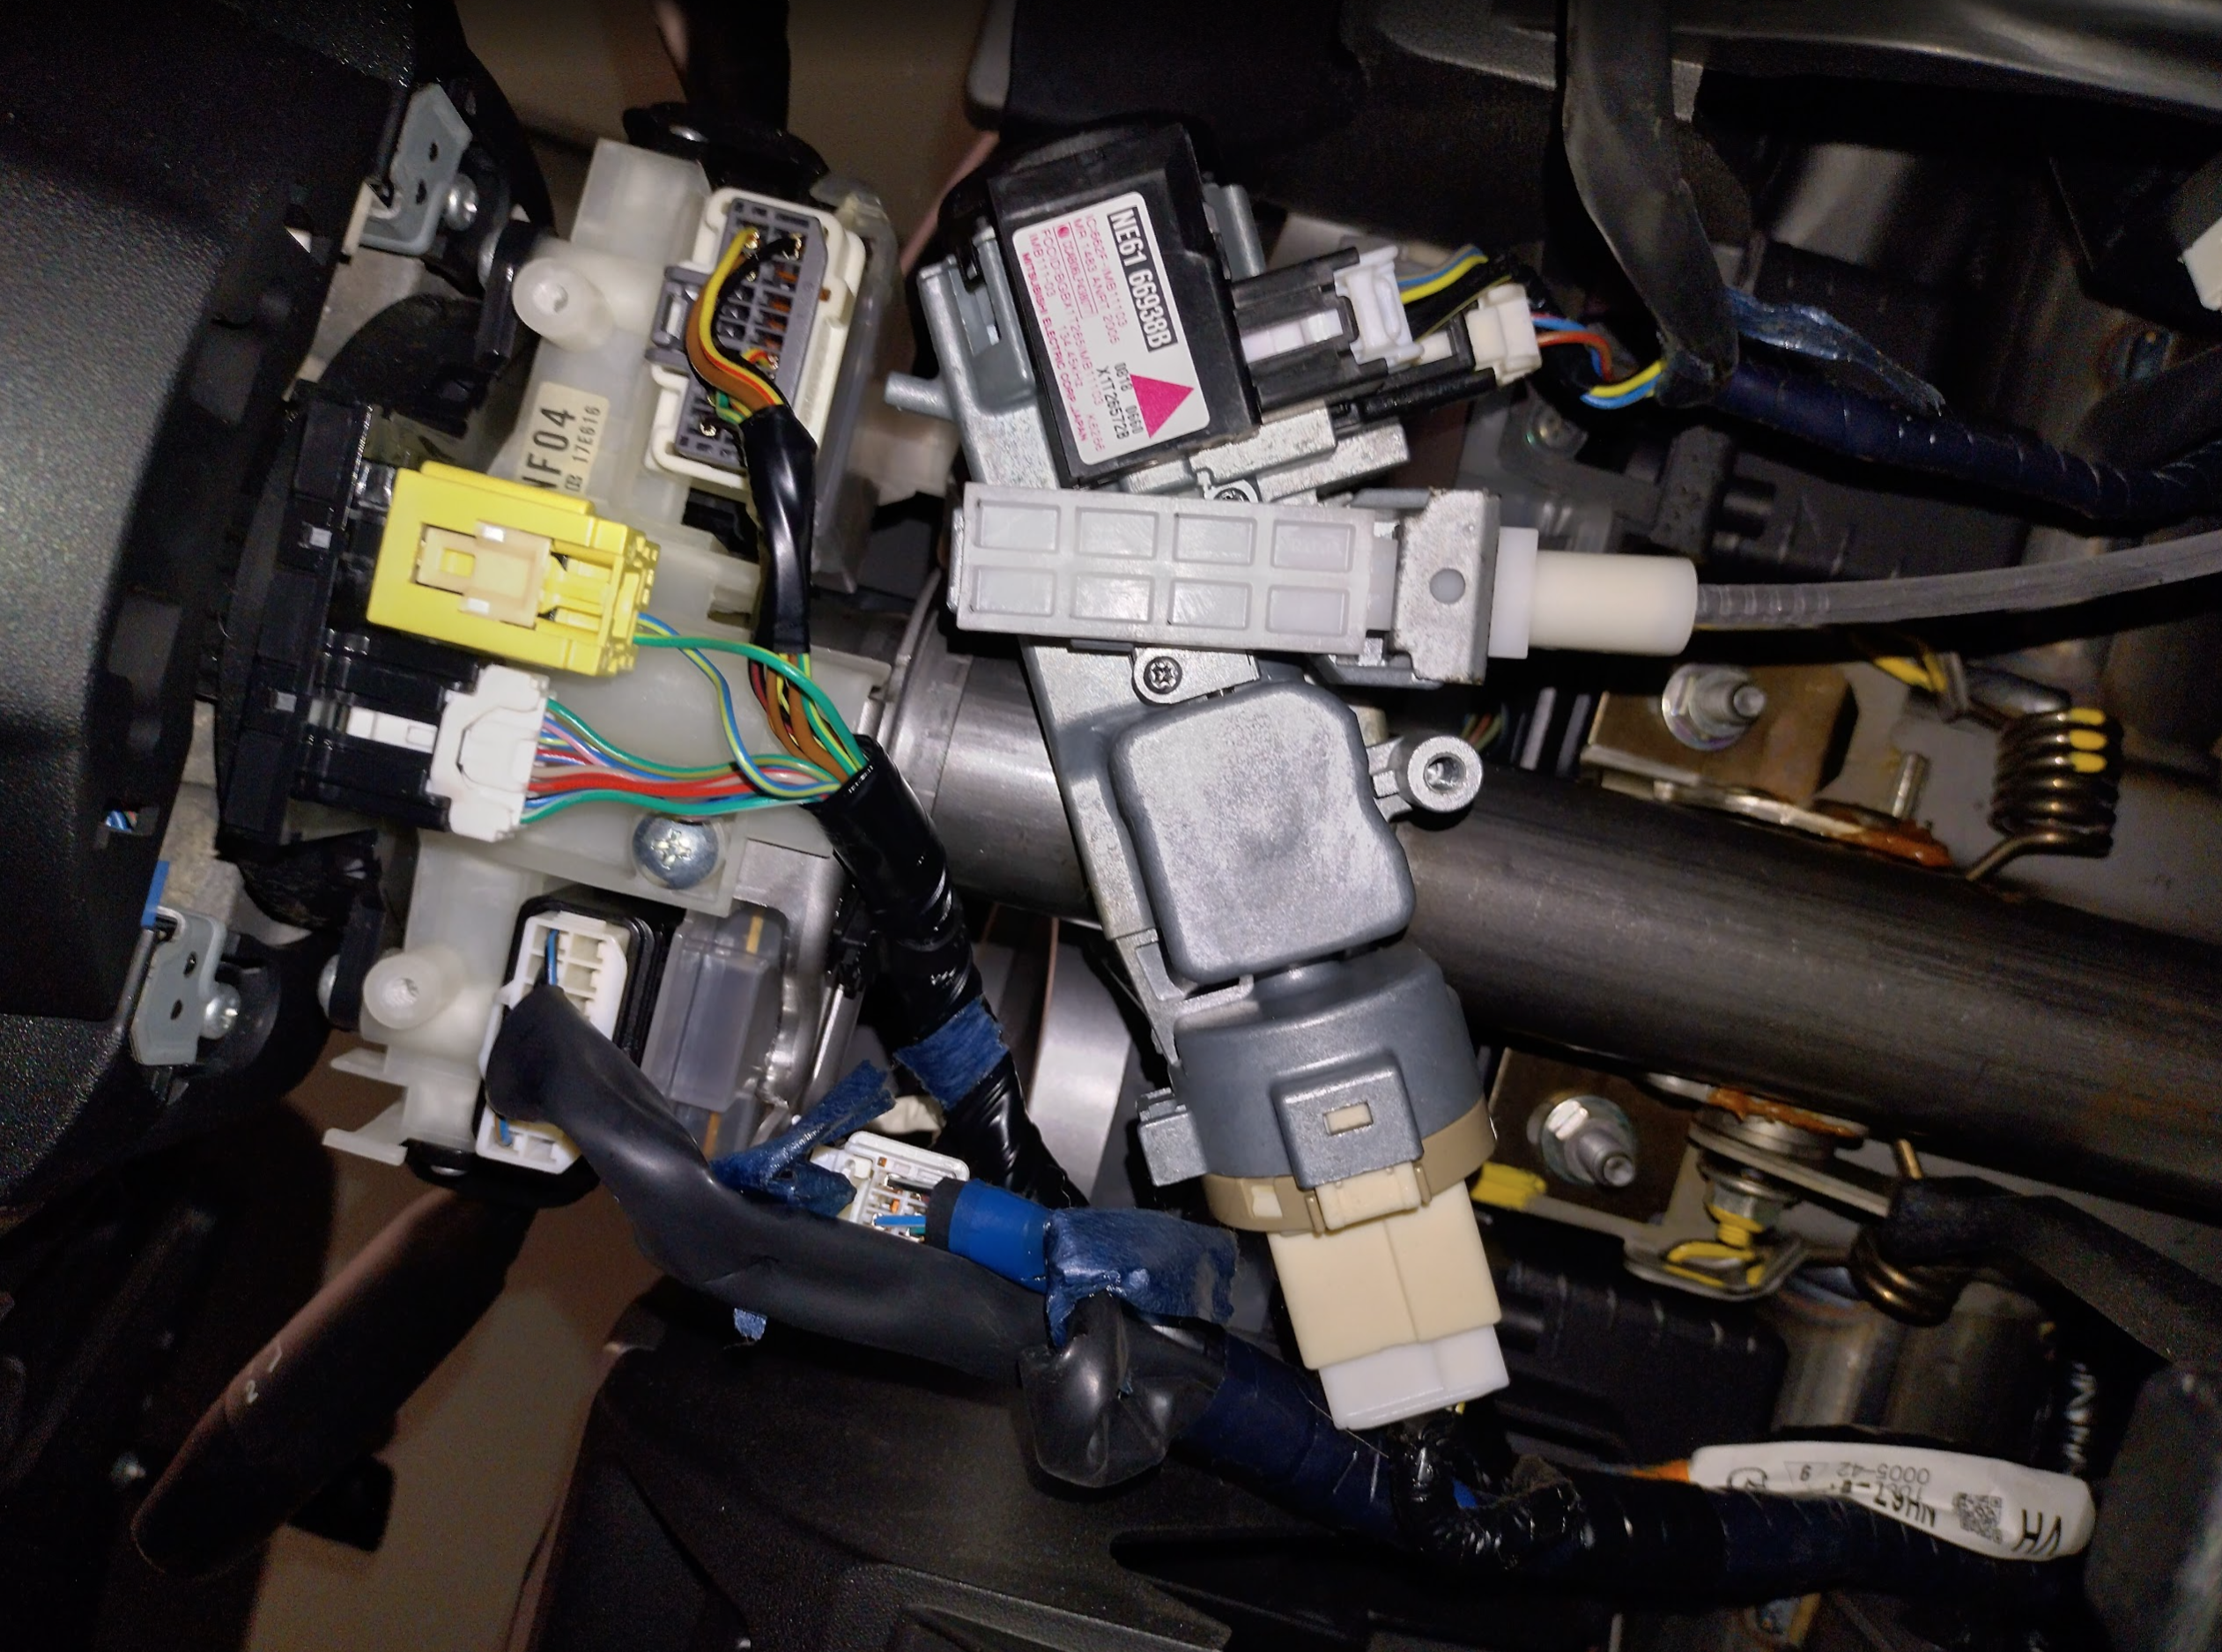
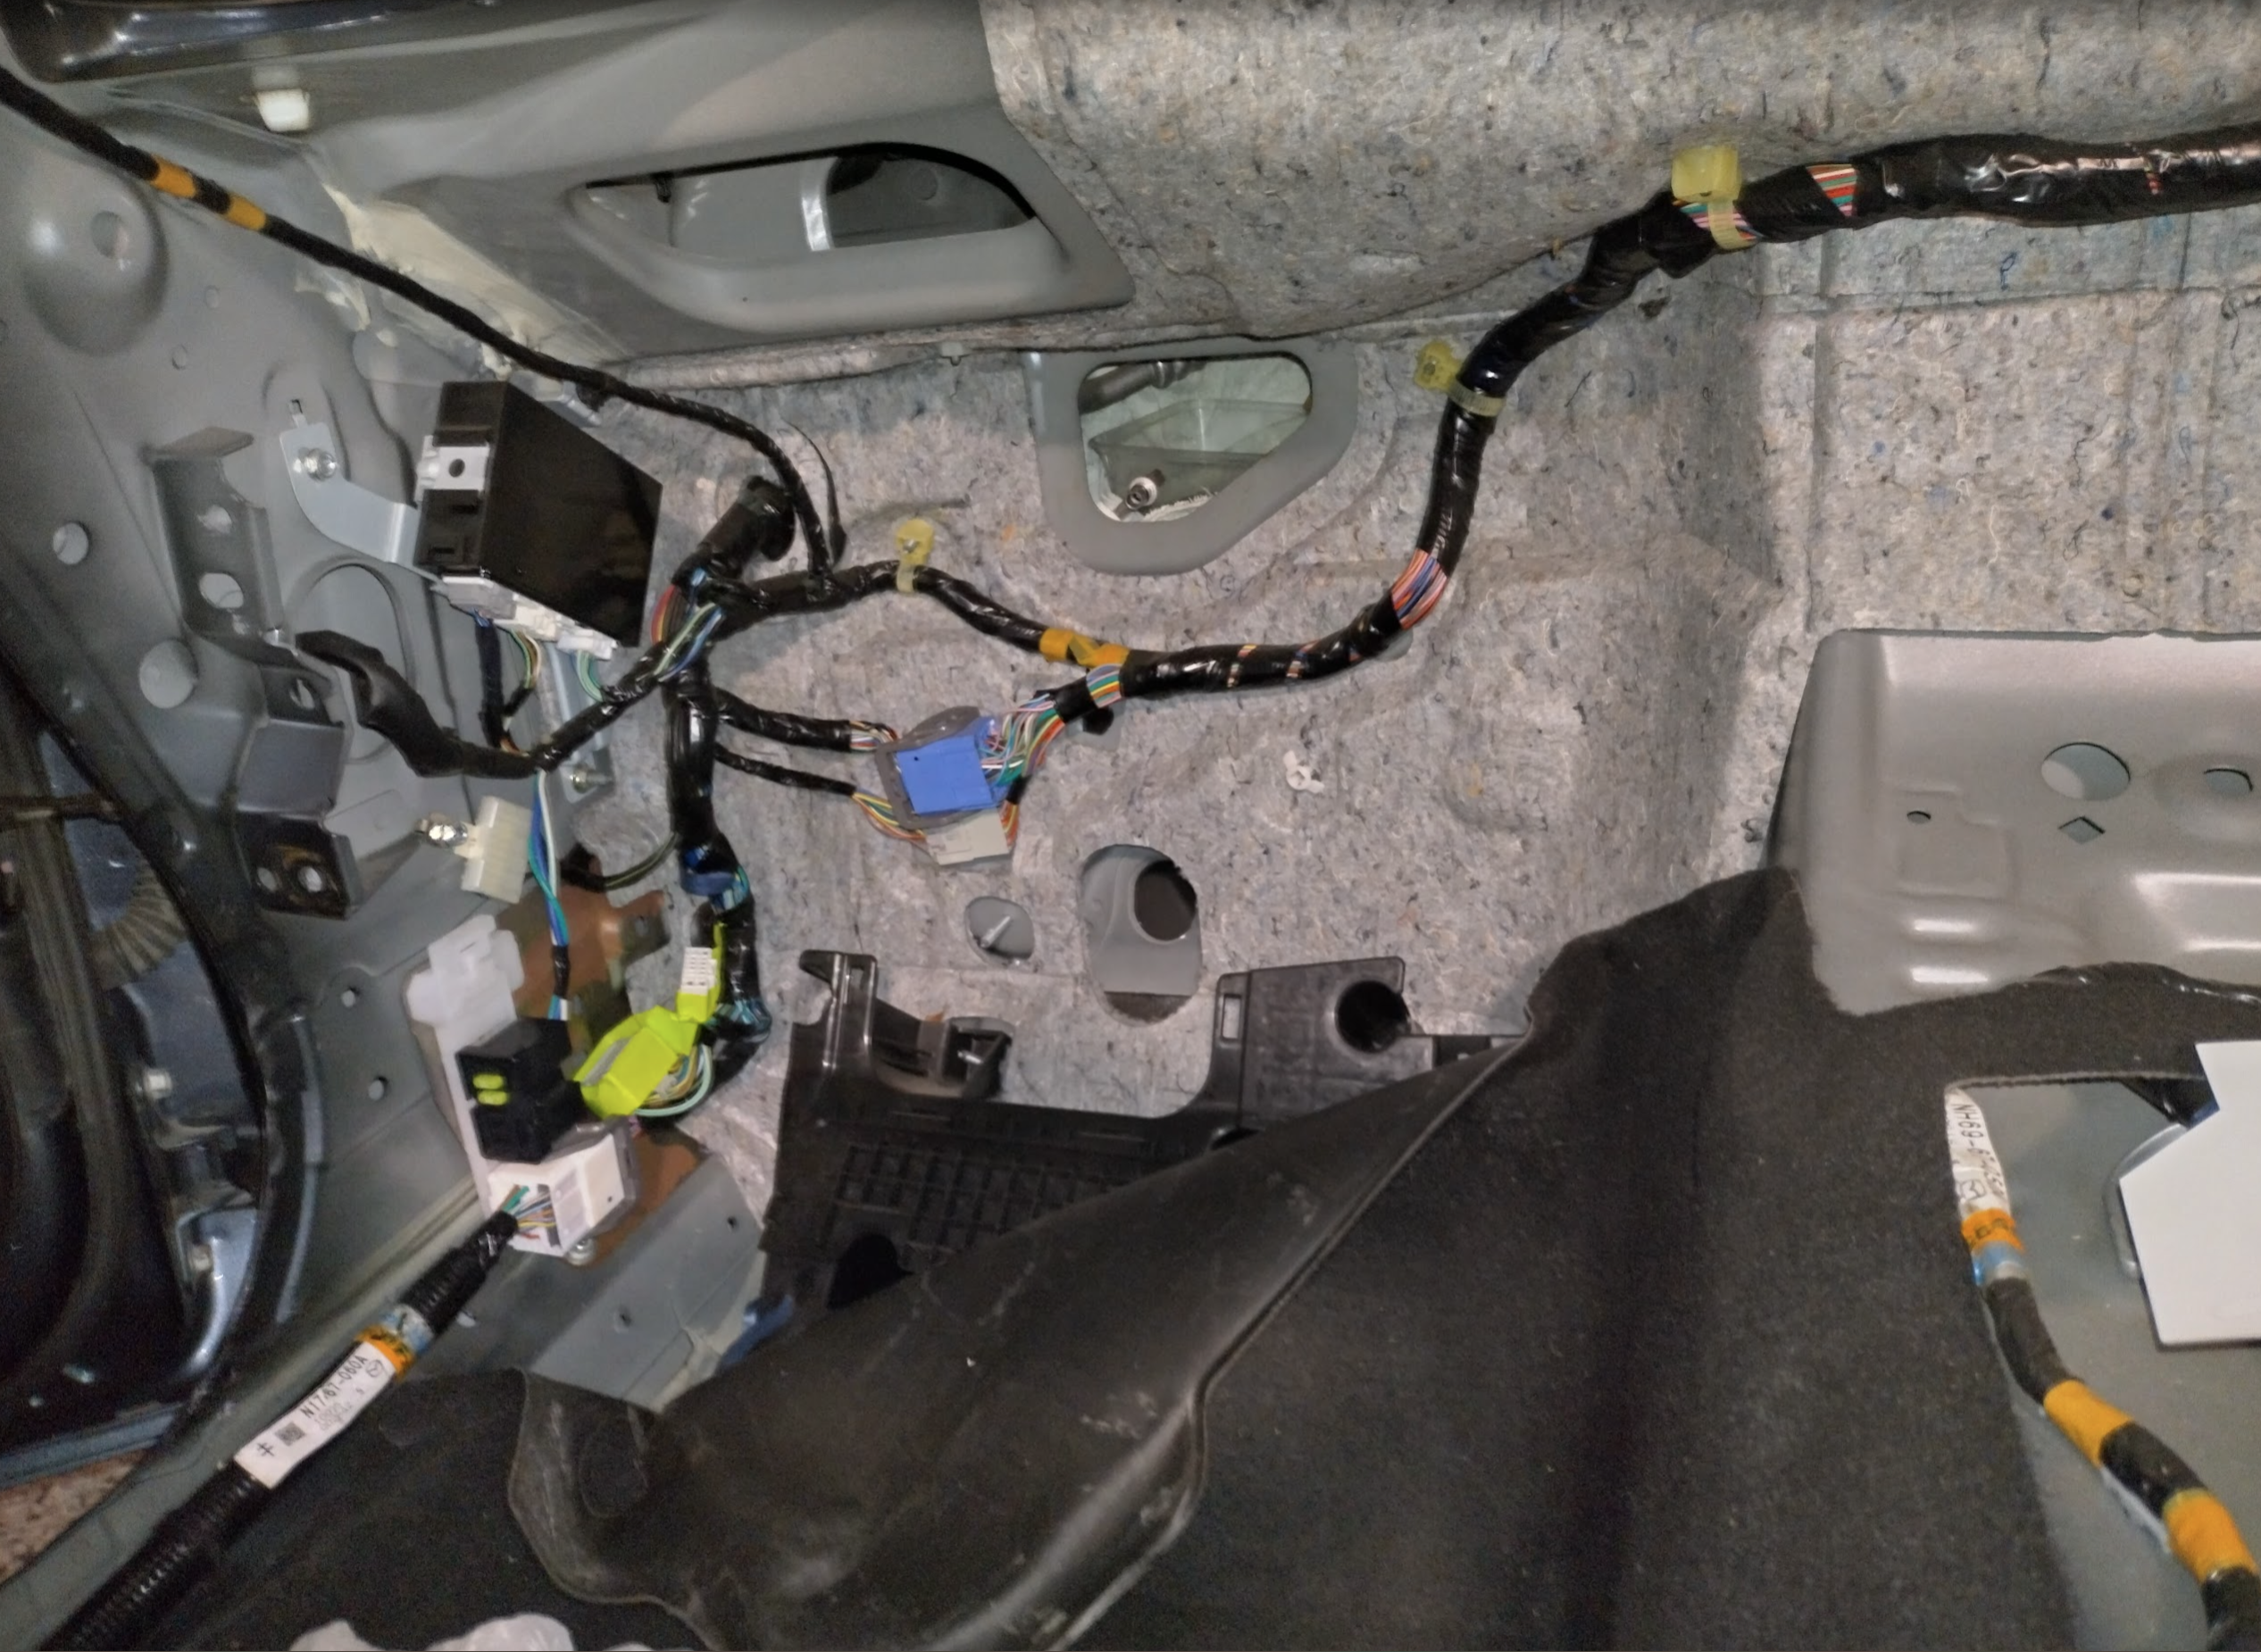
Unhook the above wiring loom from the steering column
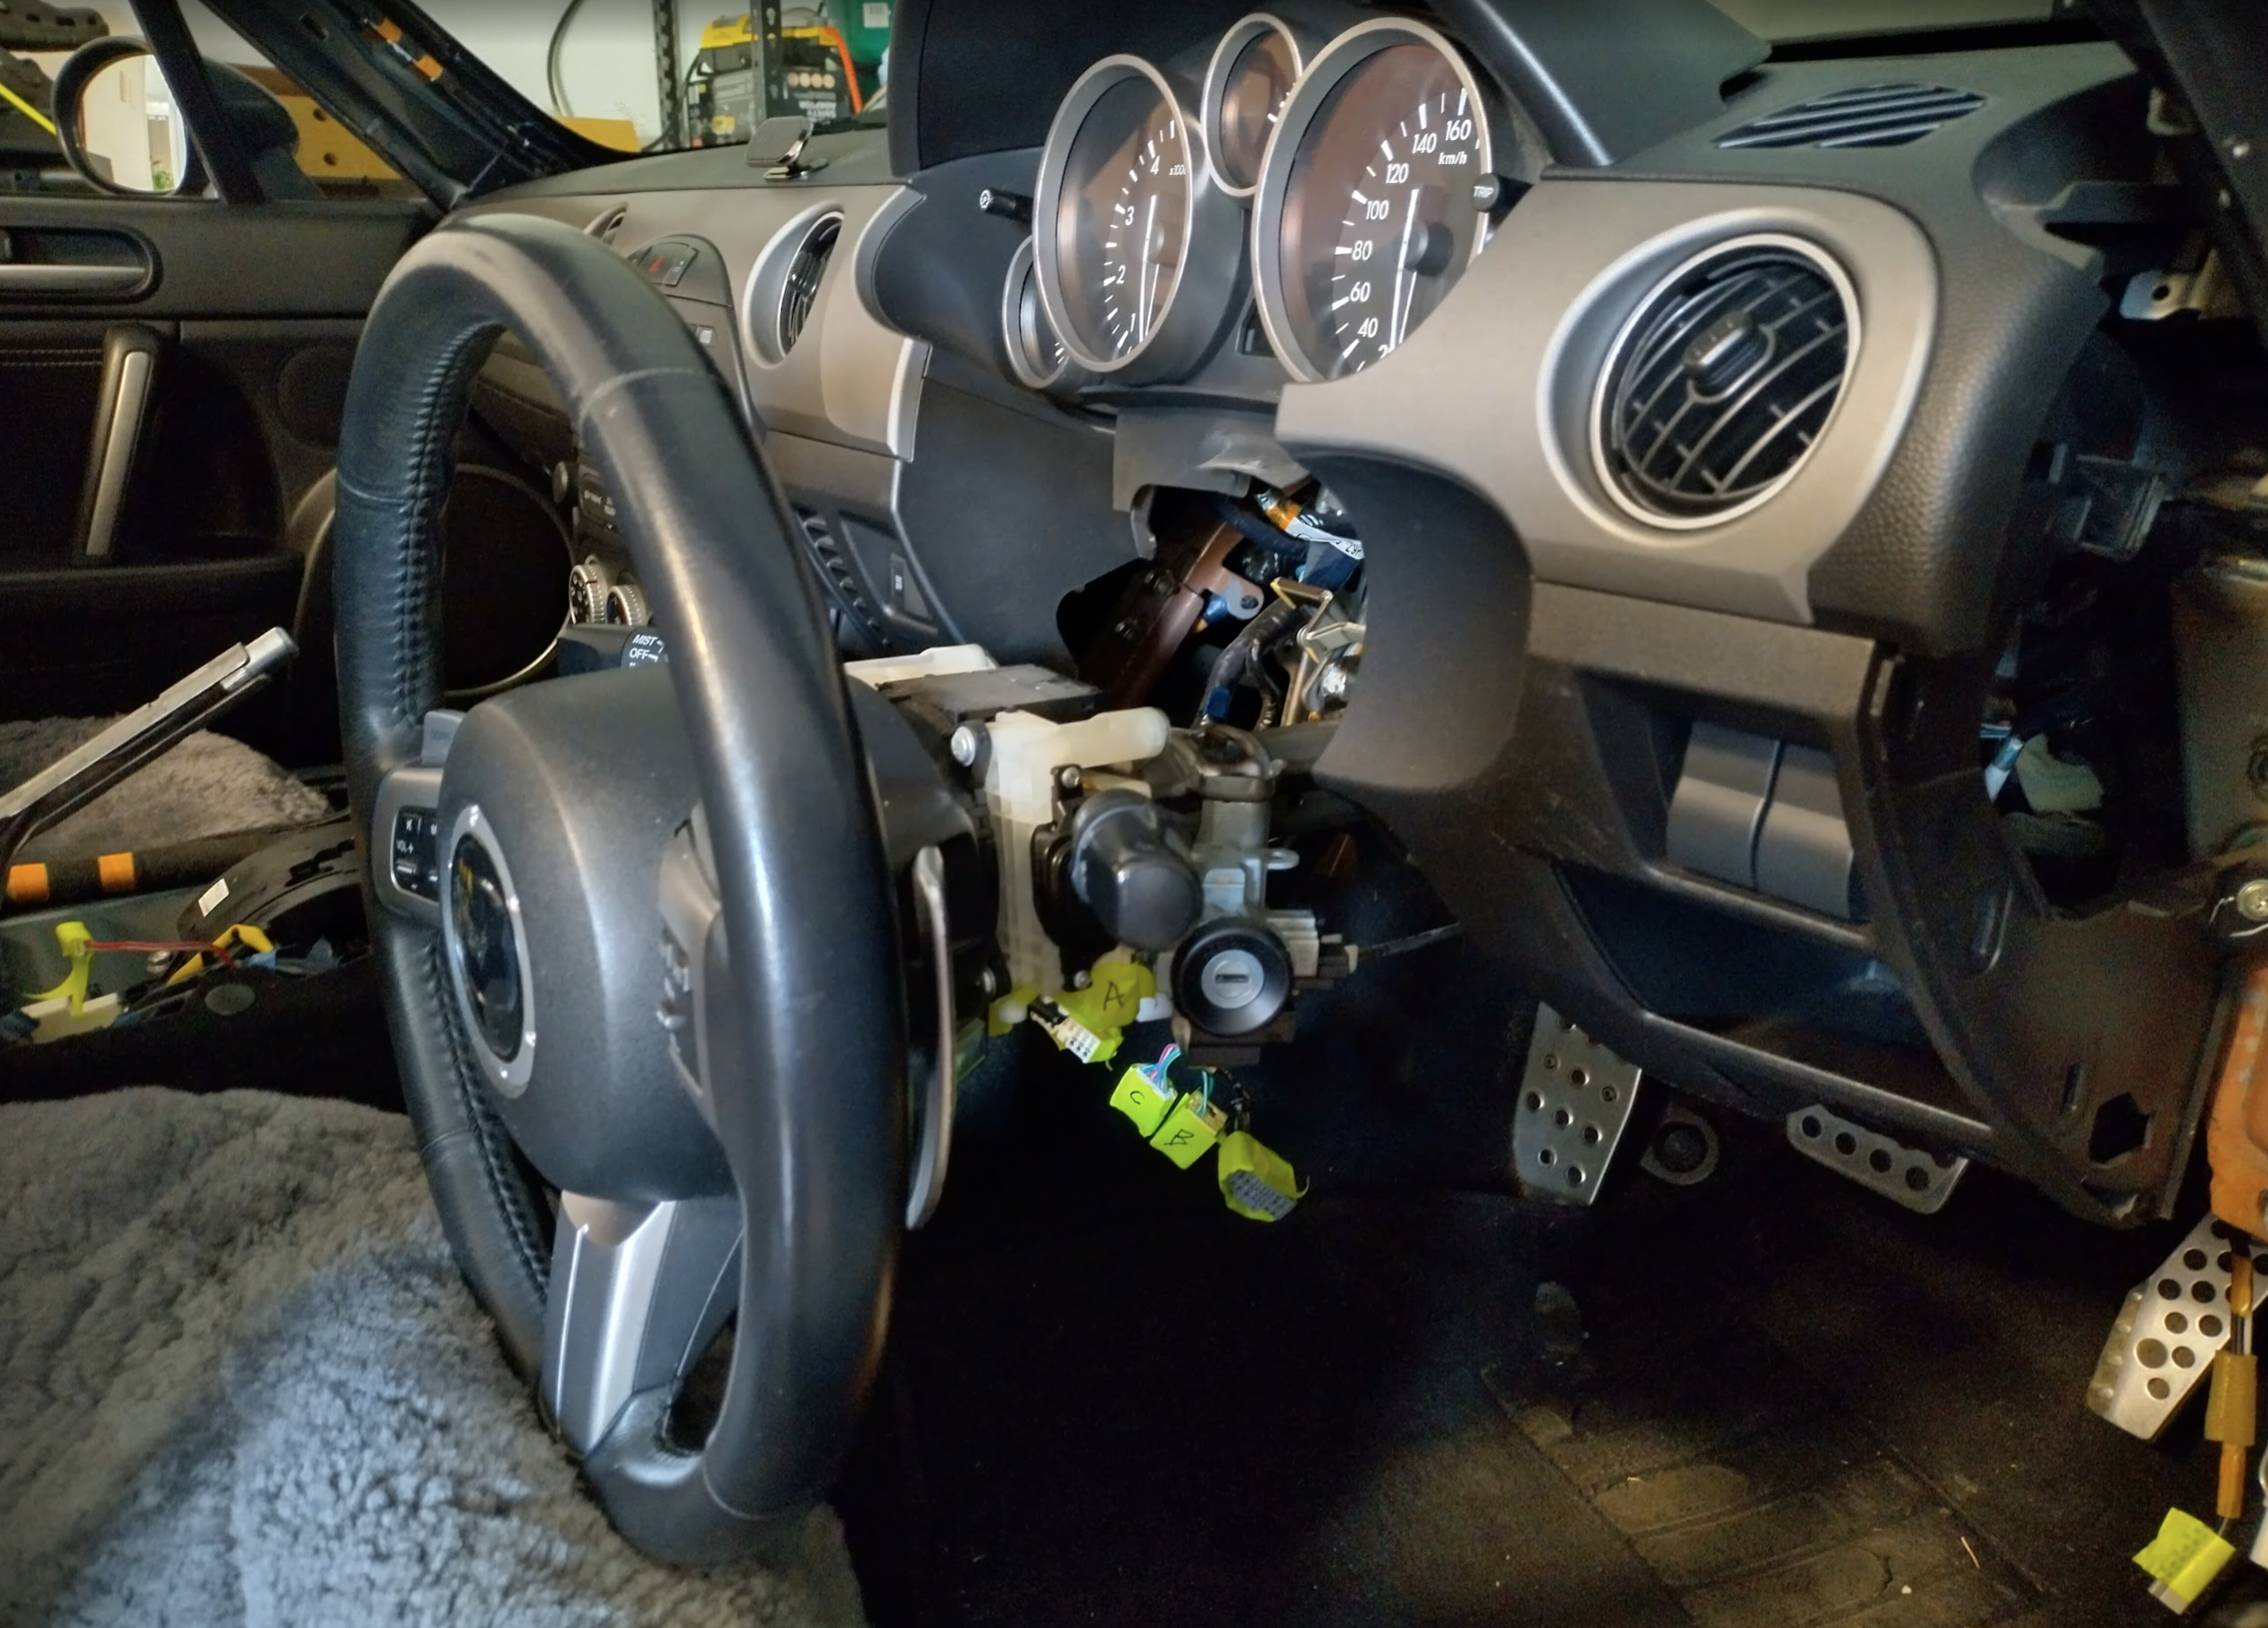
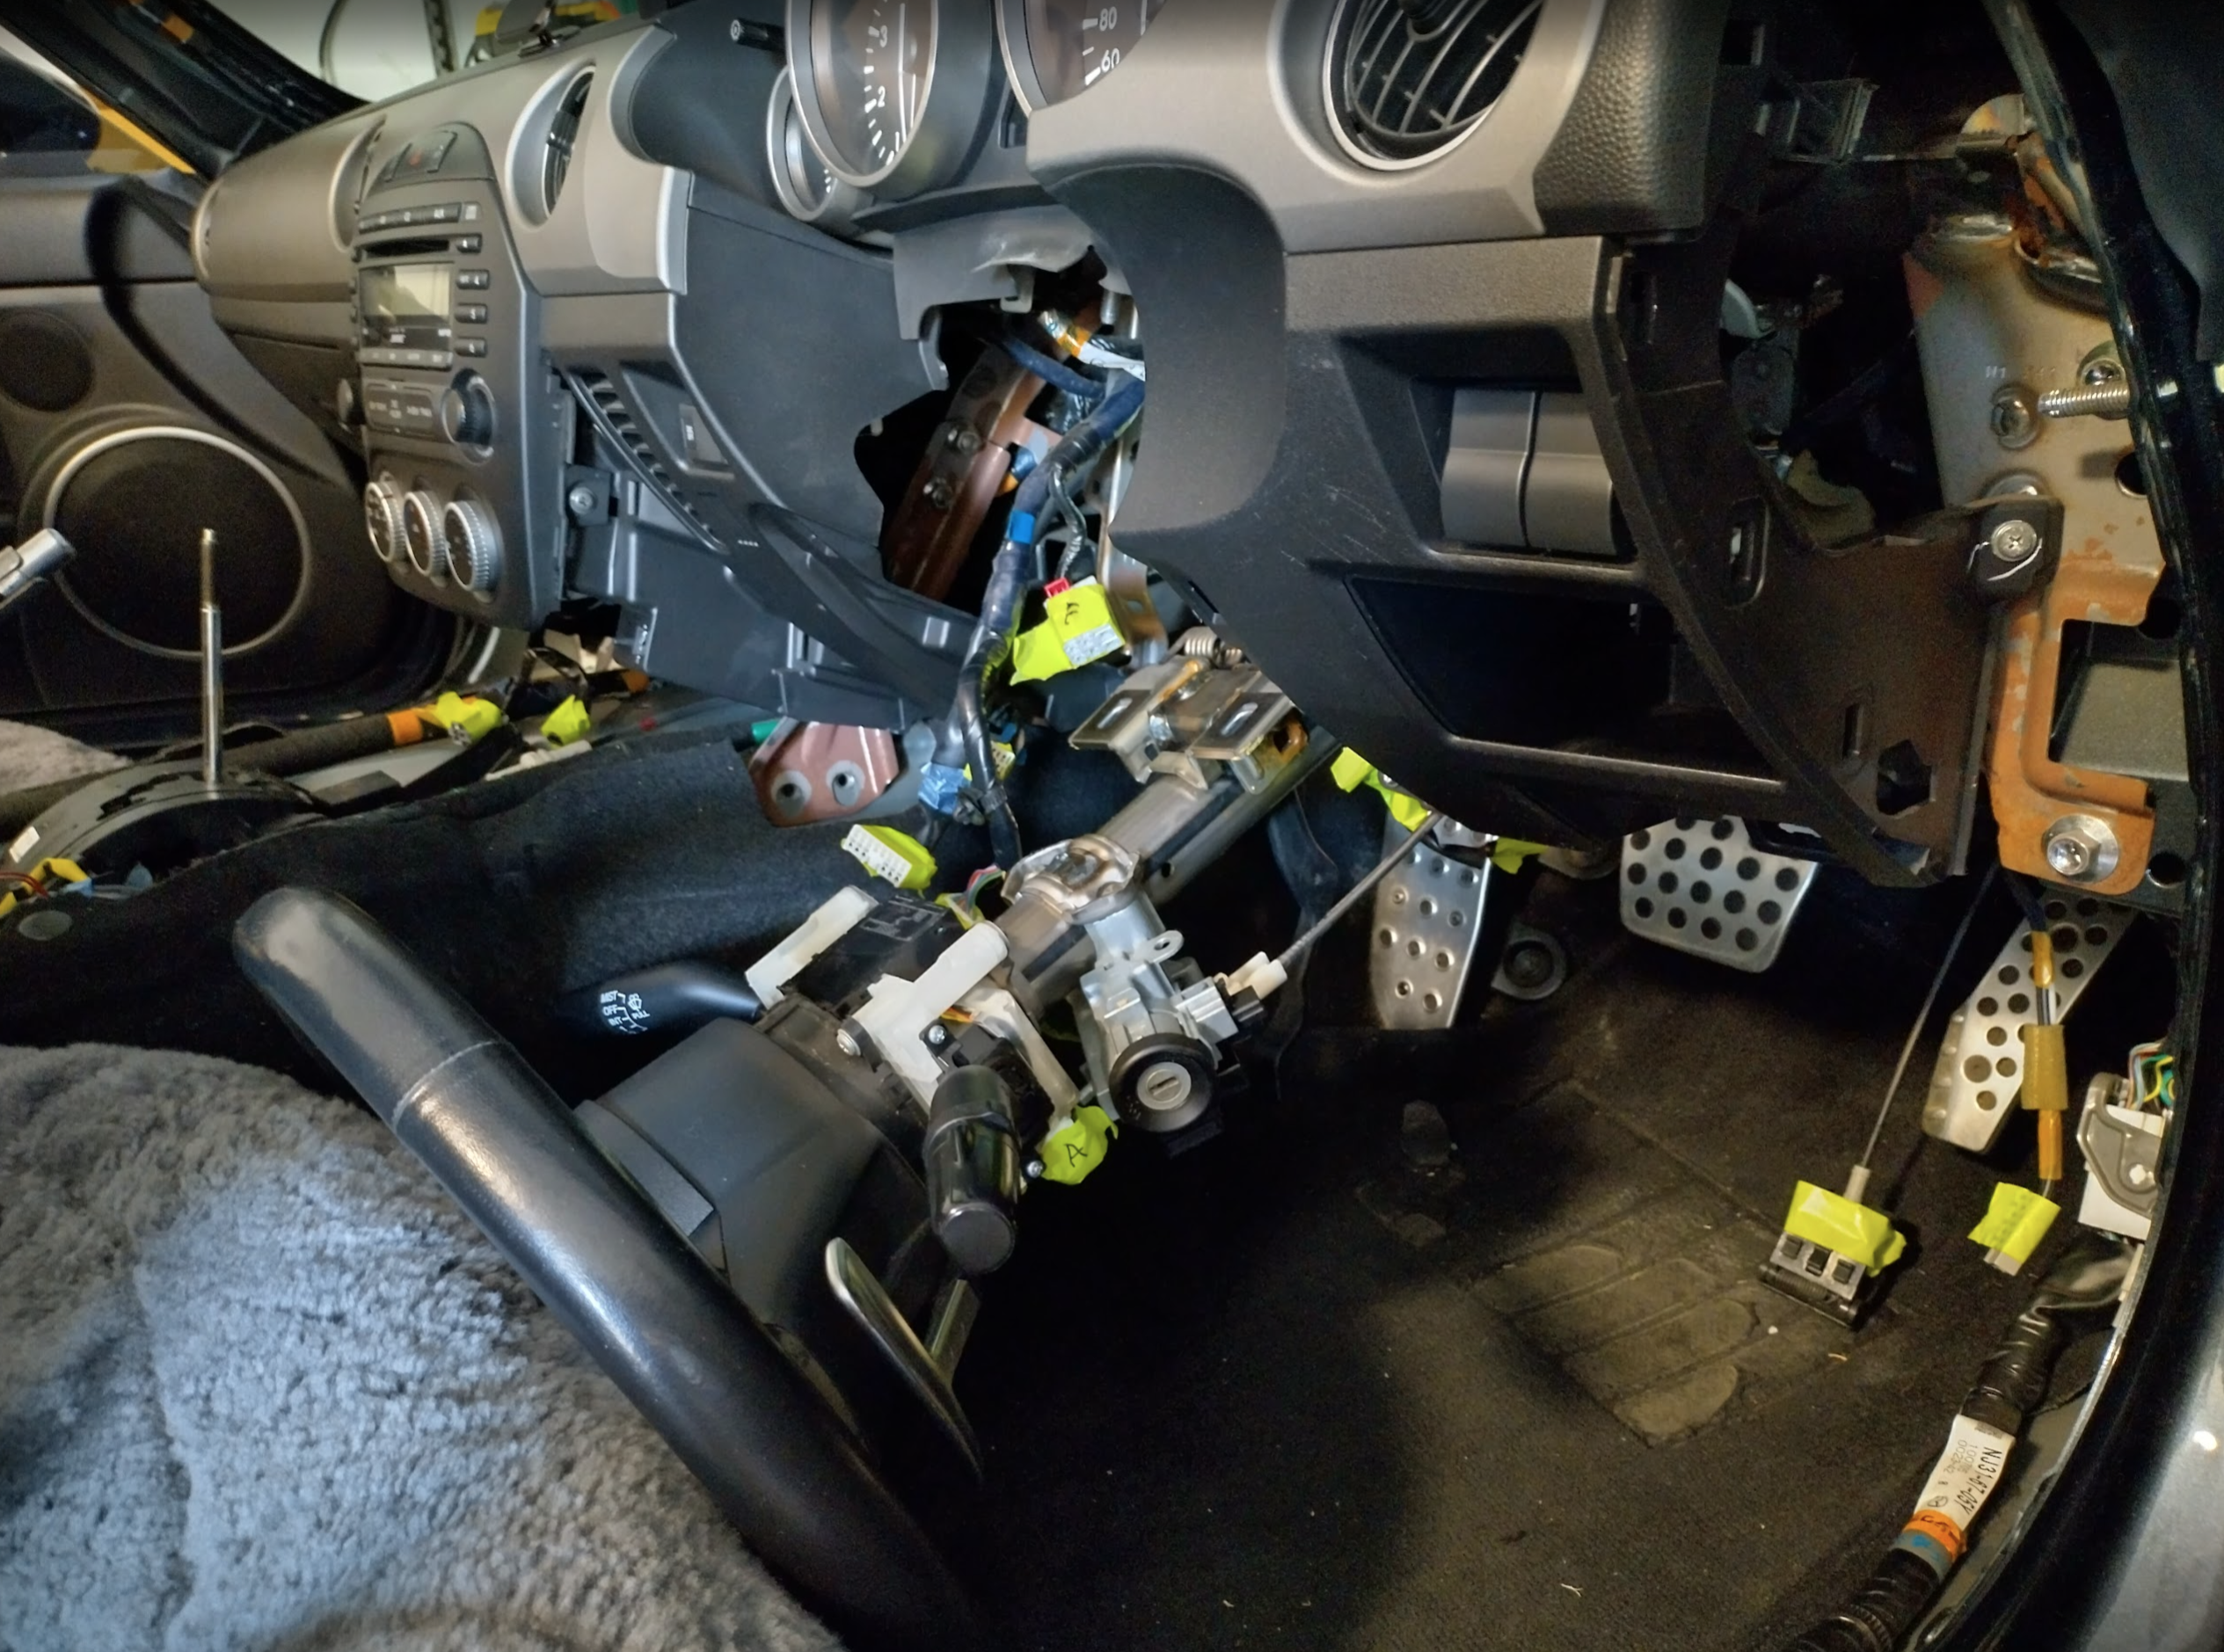
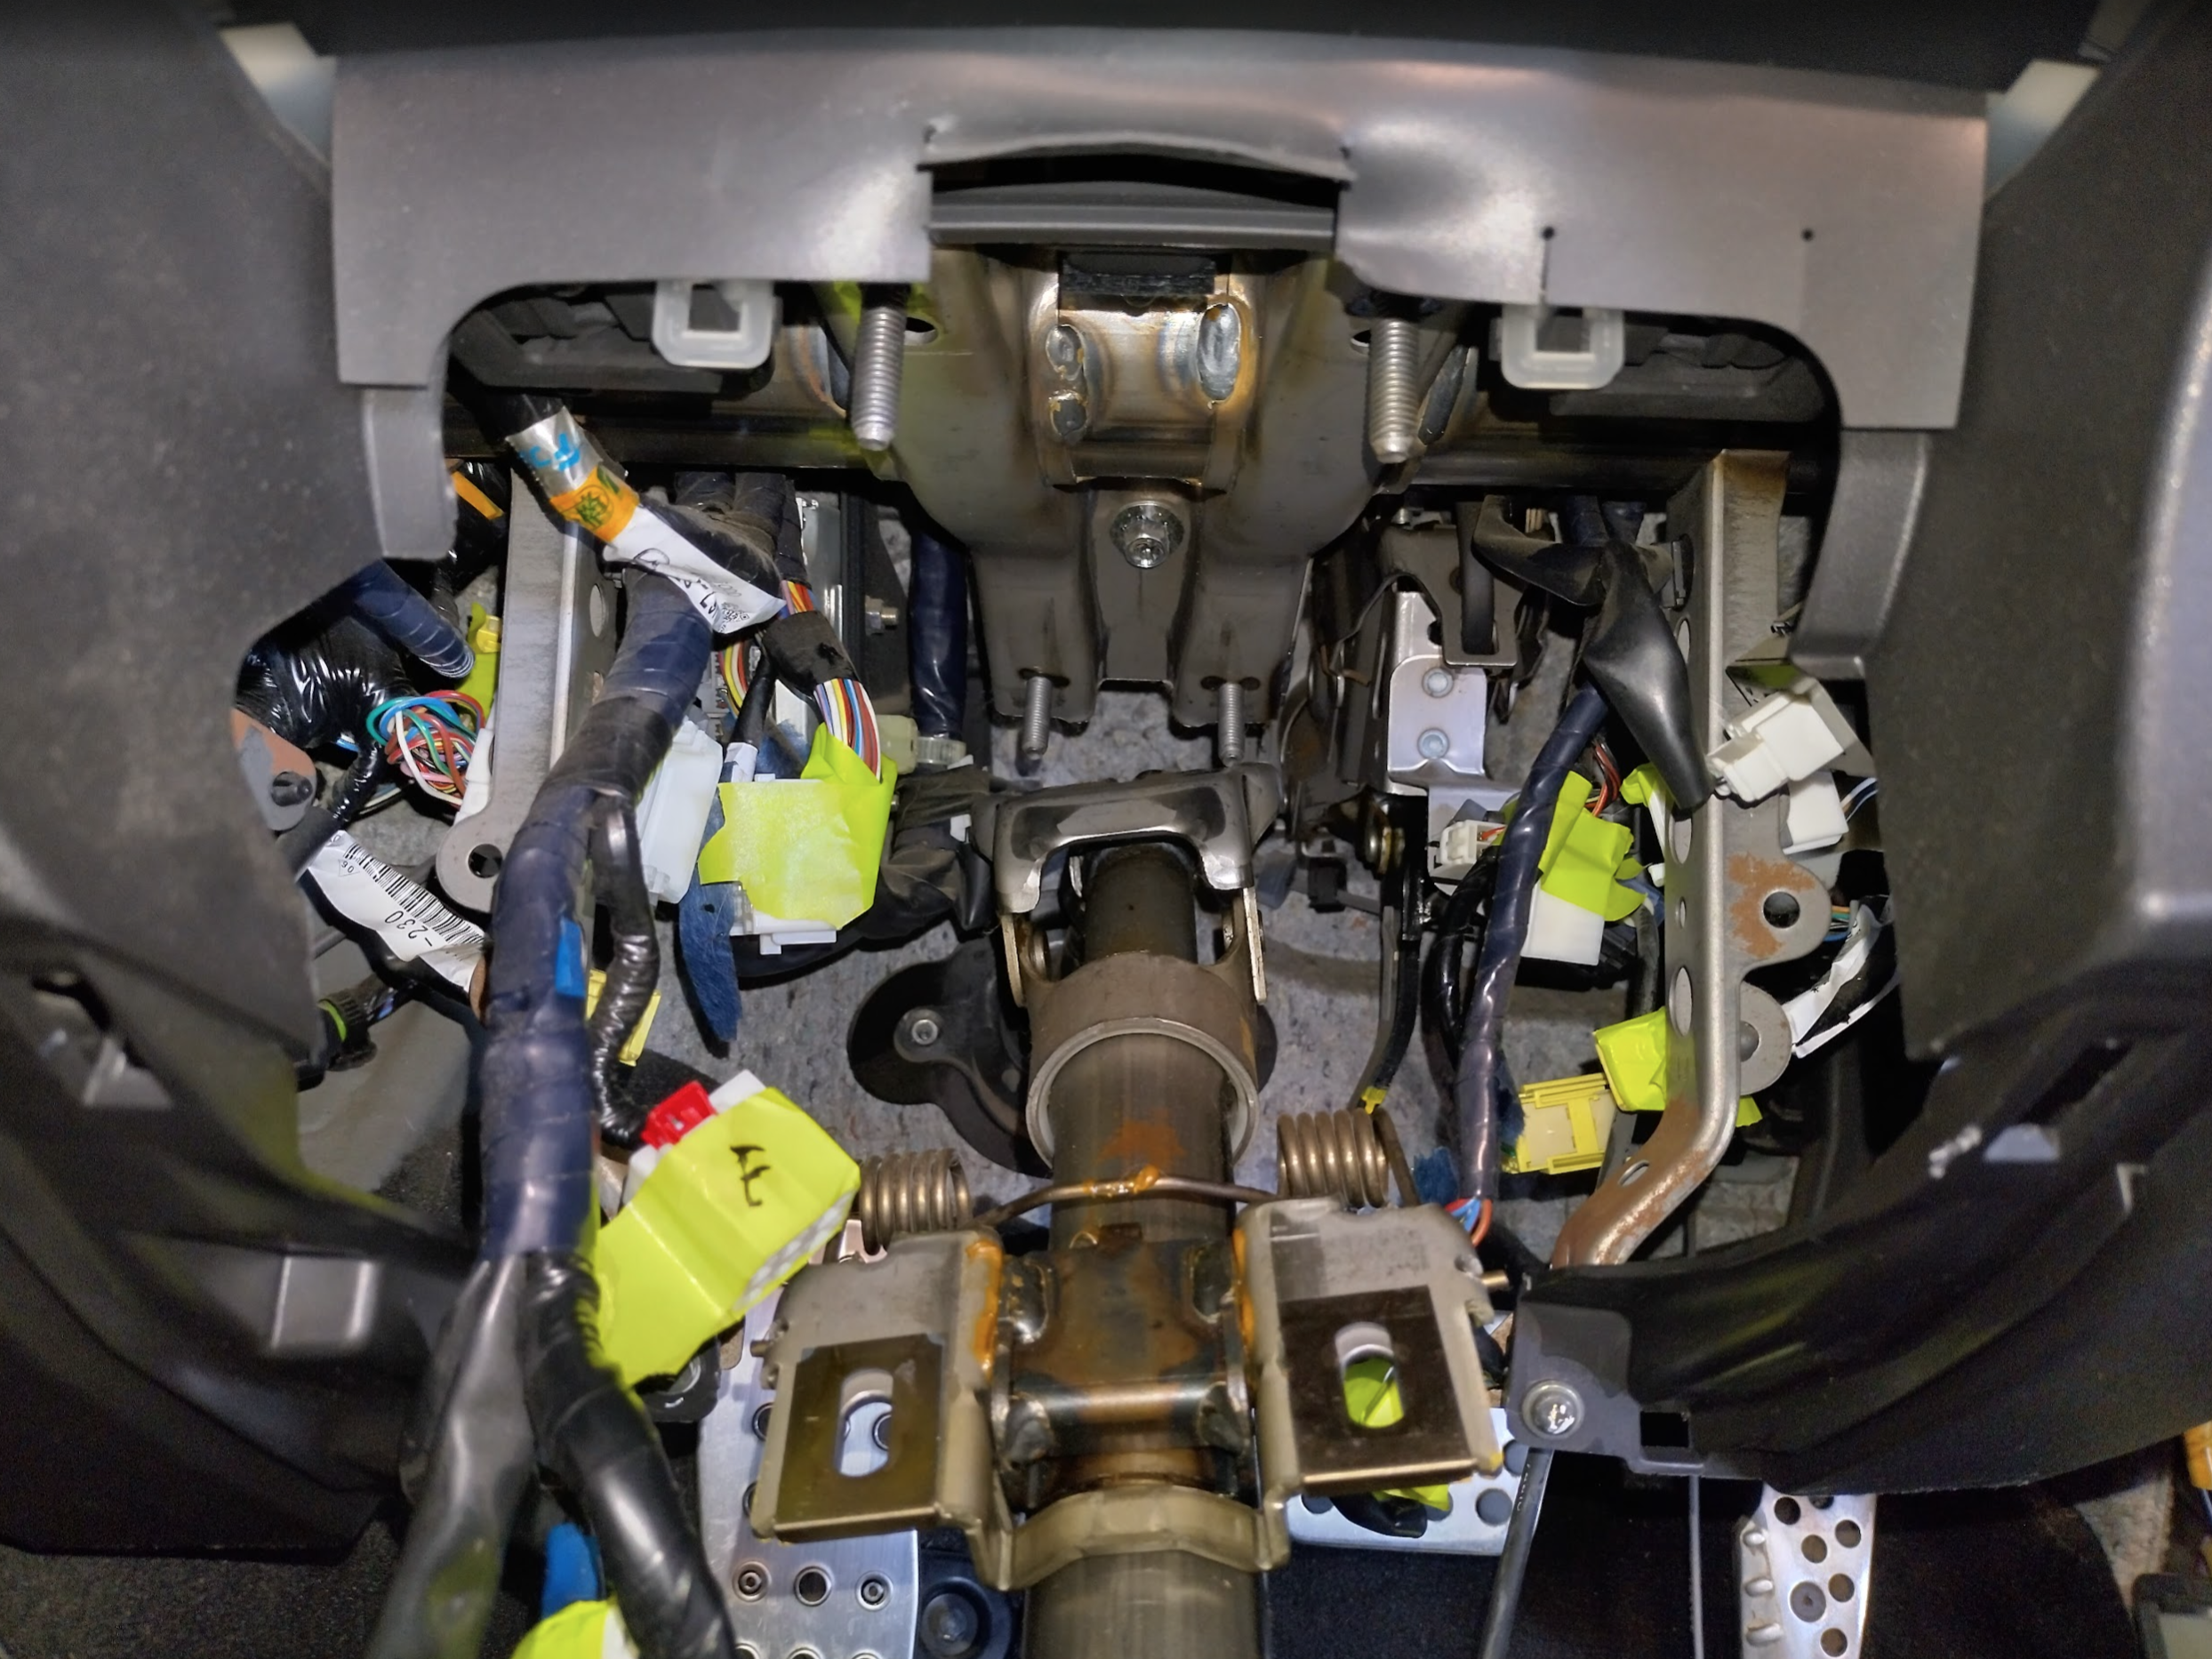
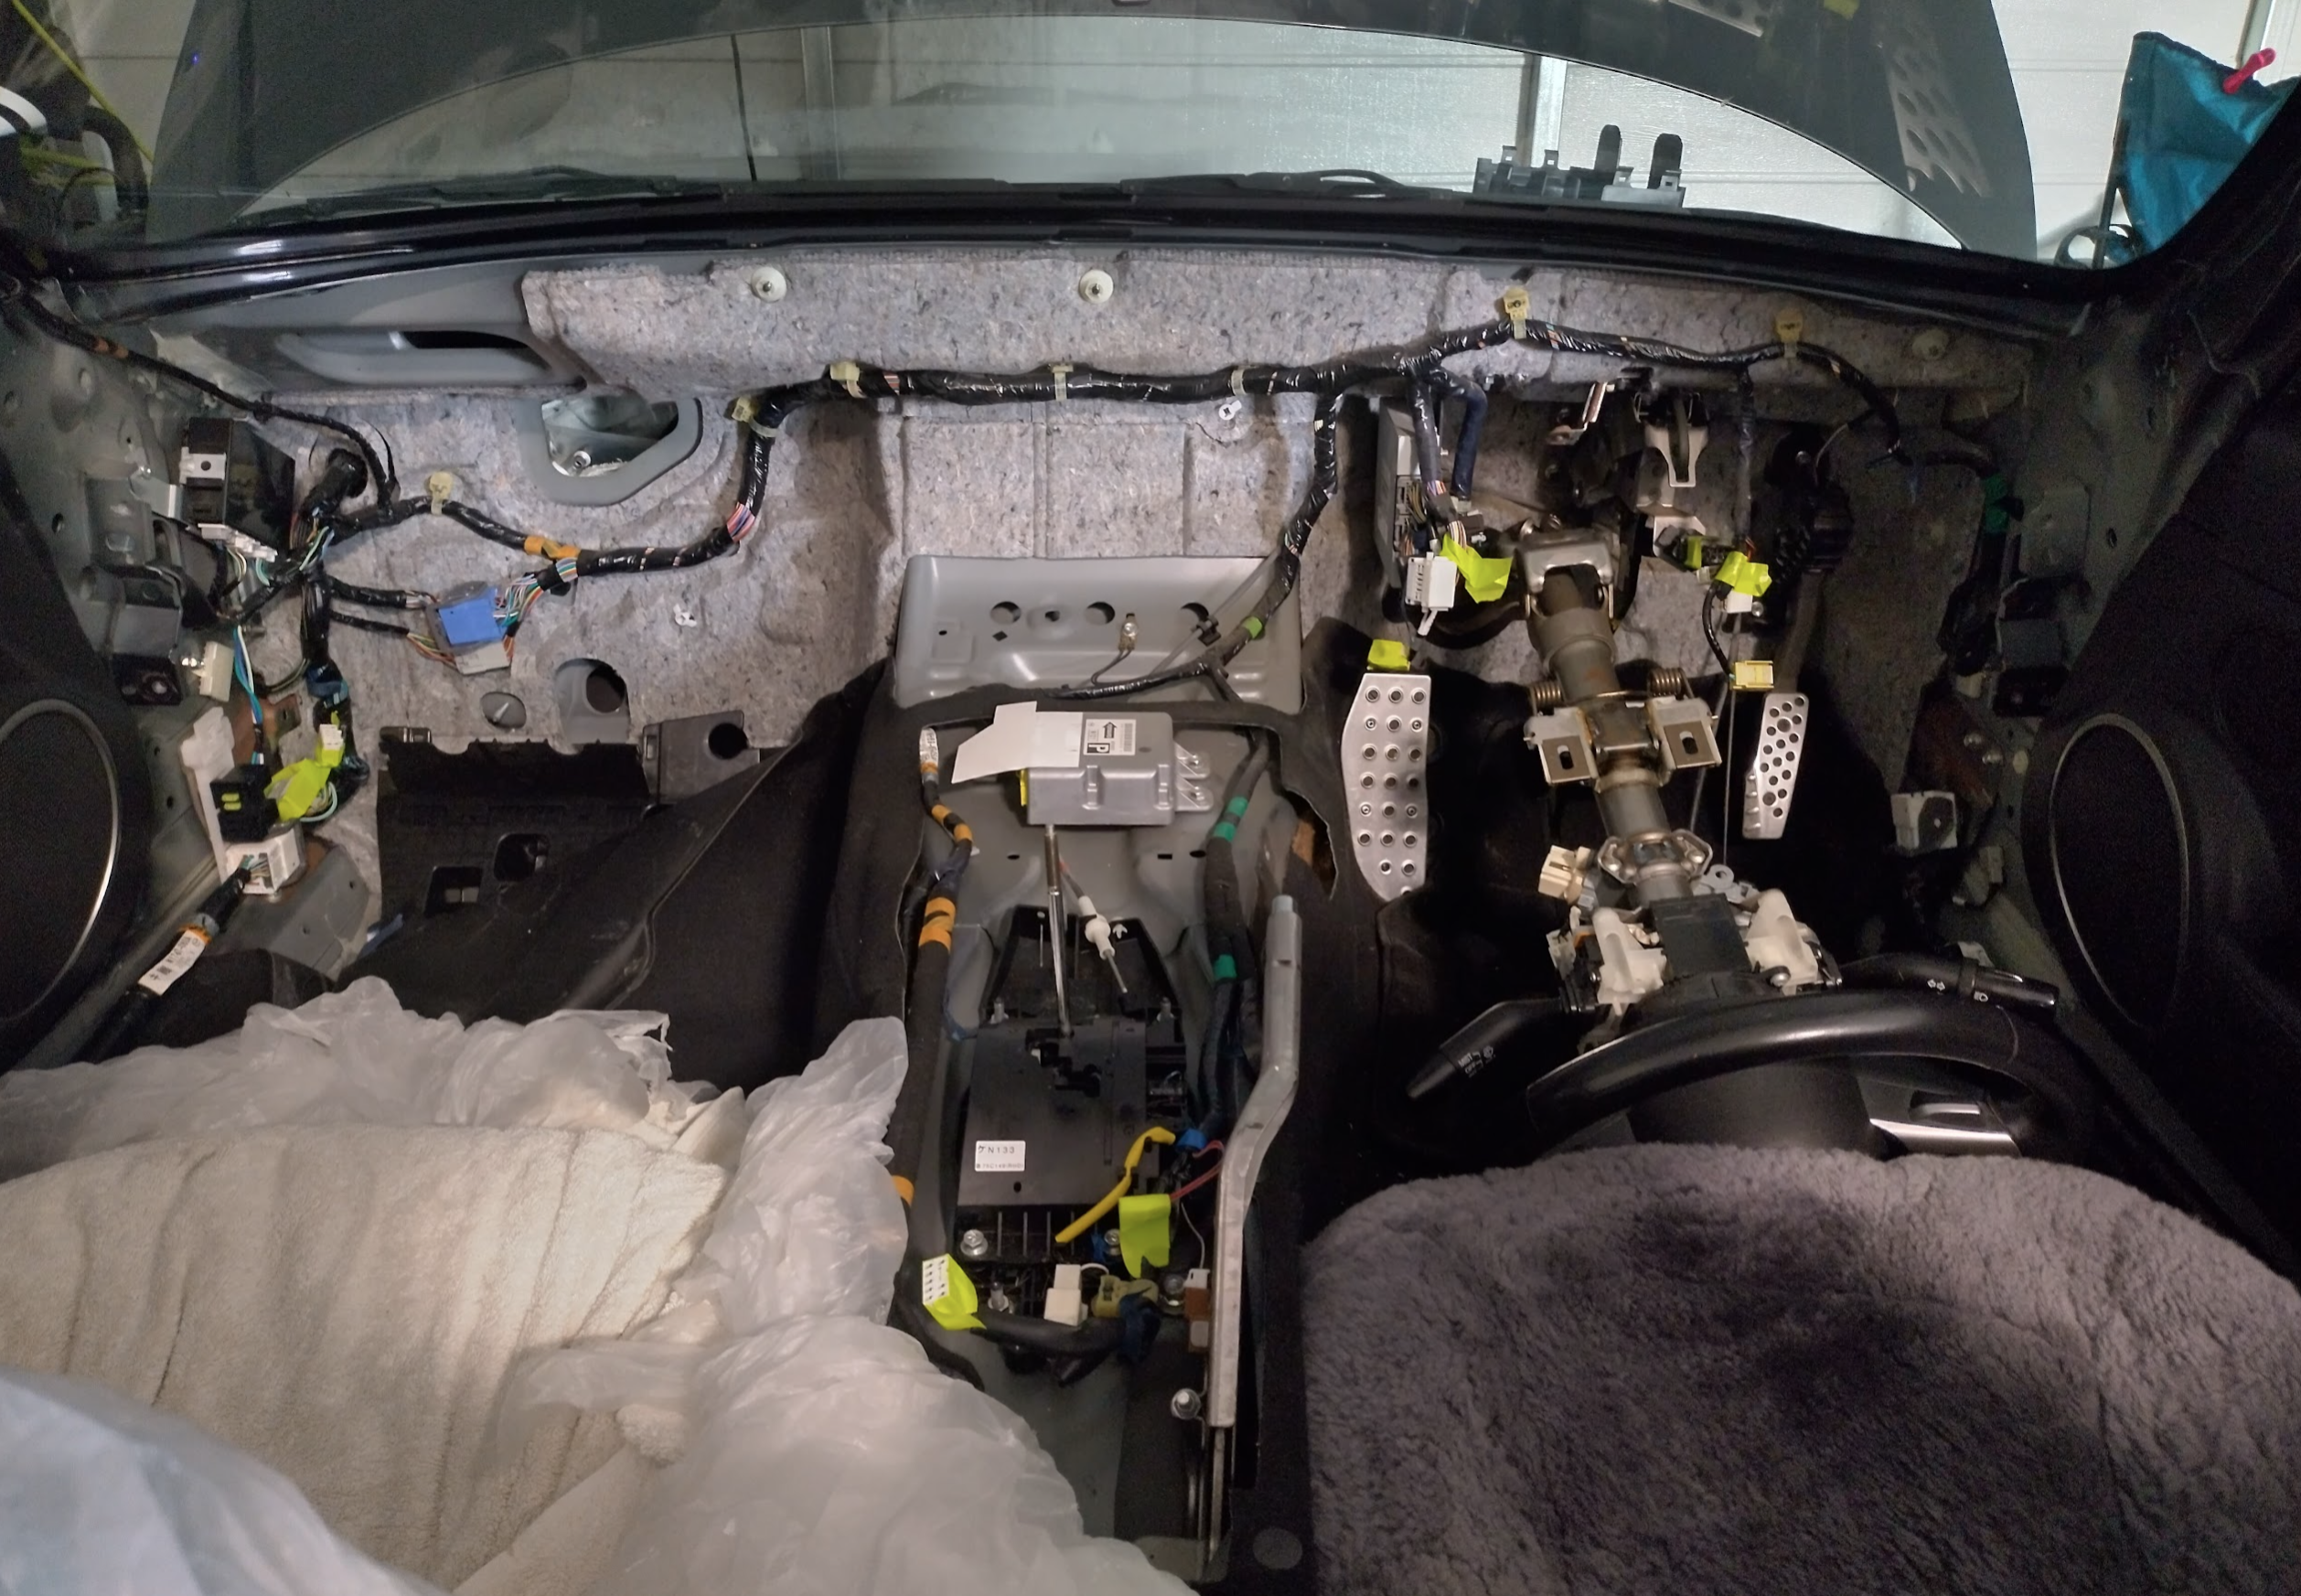
This is where we’re at, you can see my labelling system highlighting all the required plugs with bright tape.
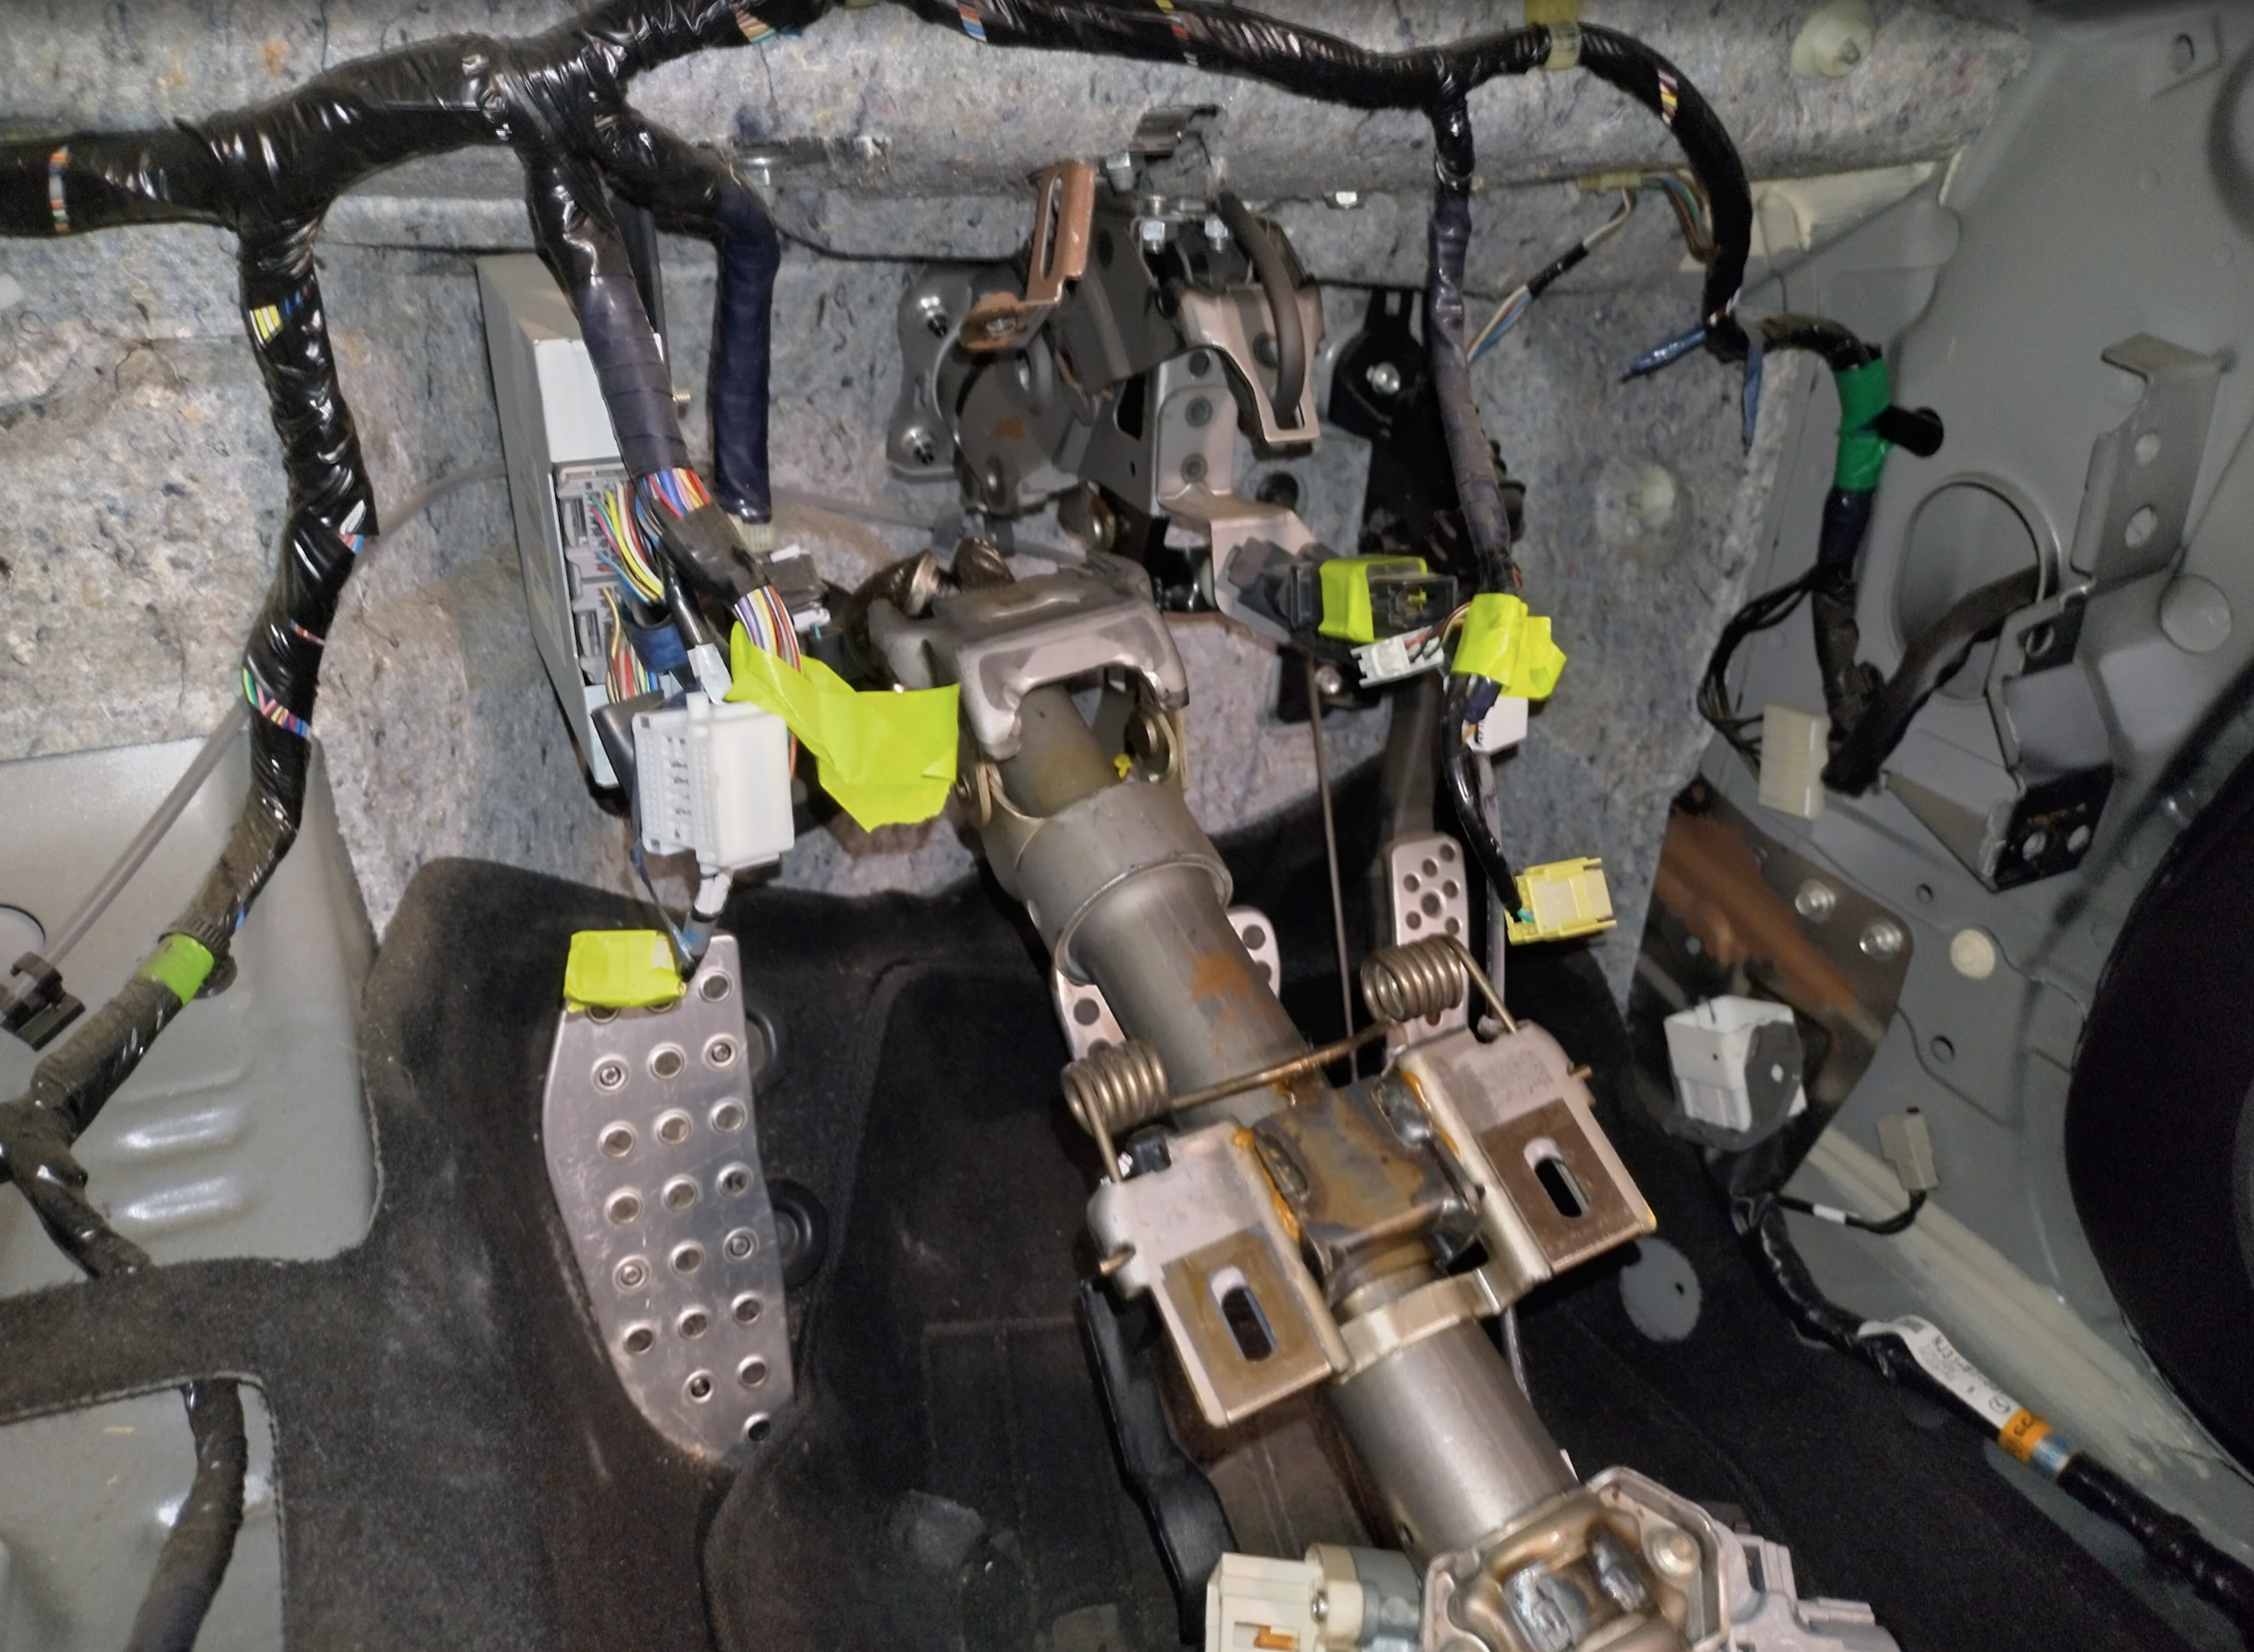
unbolt steering column’s 4 bolts (12mm, deep socket). These were incredibly tight, I had to use a mallet to unstick them.
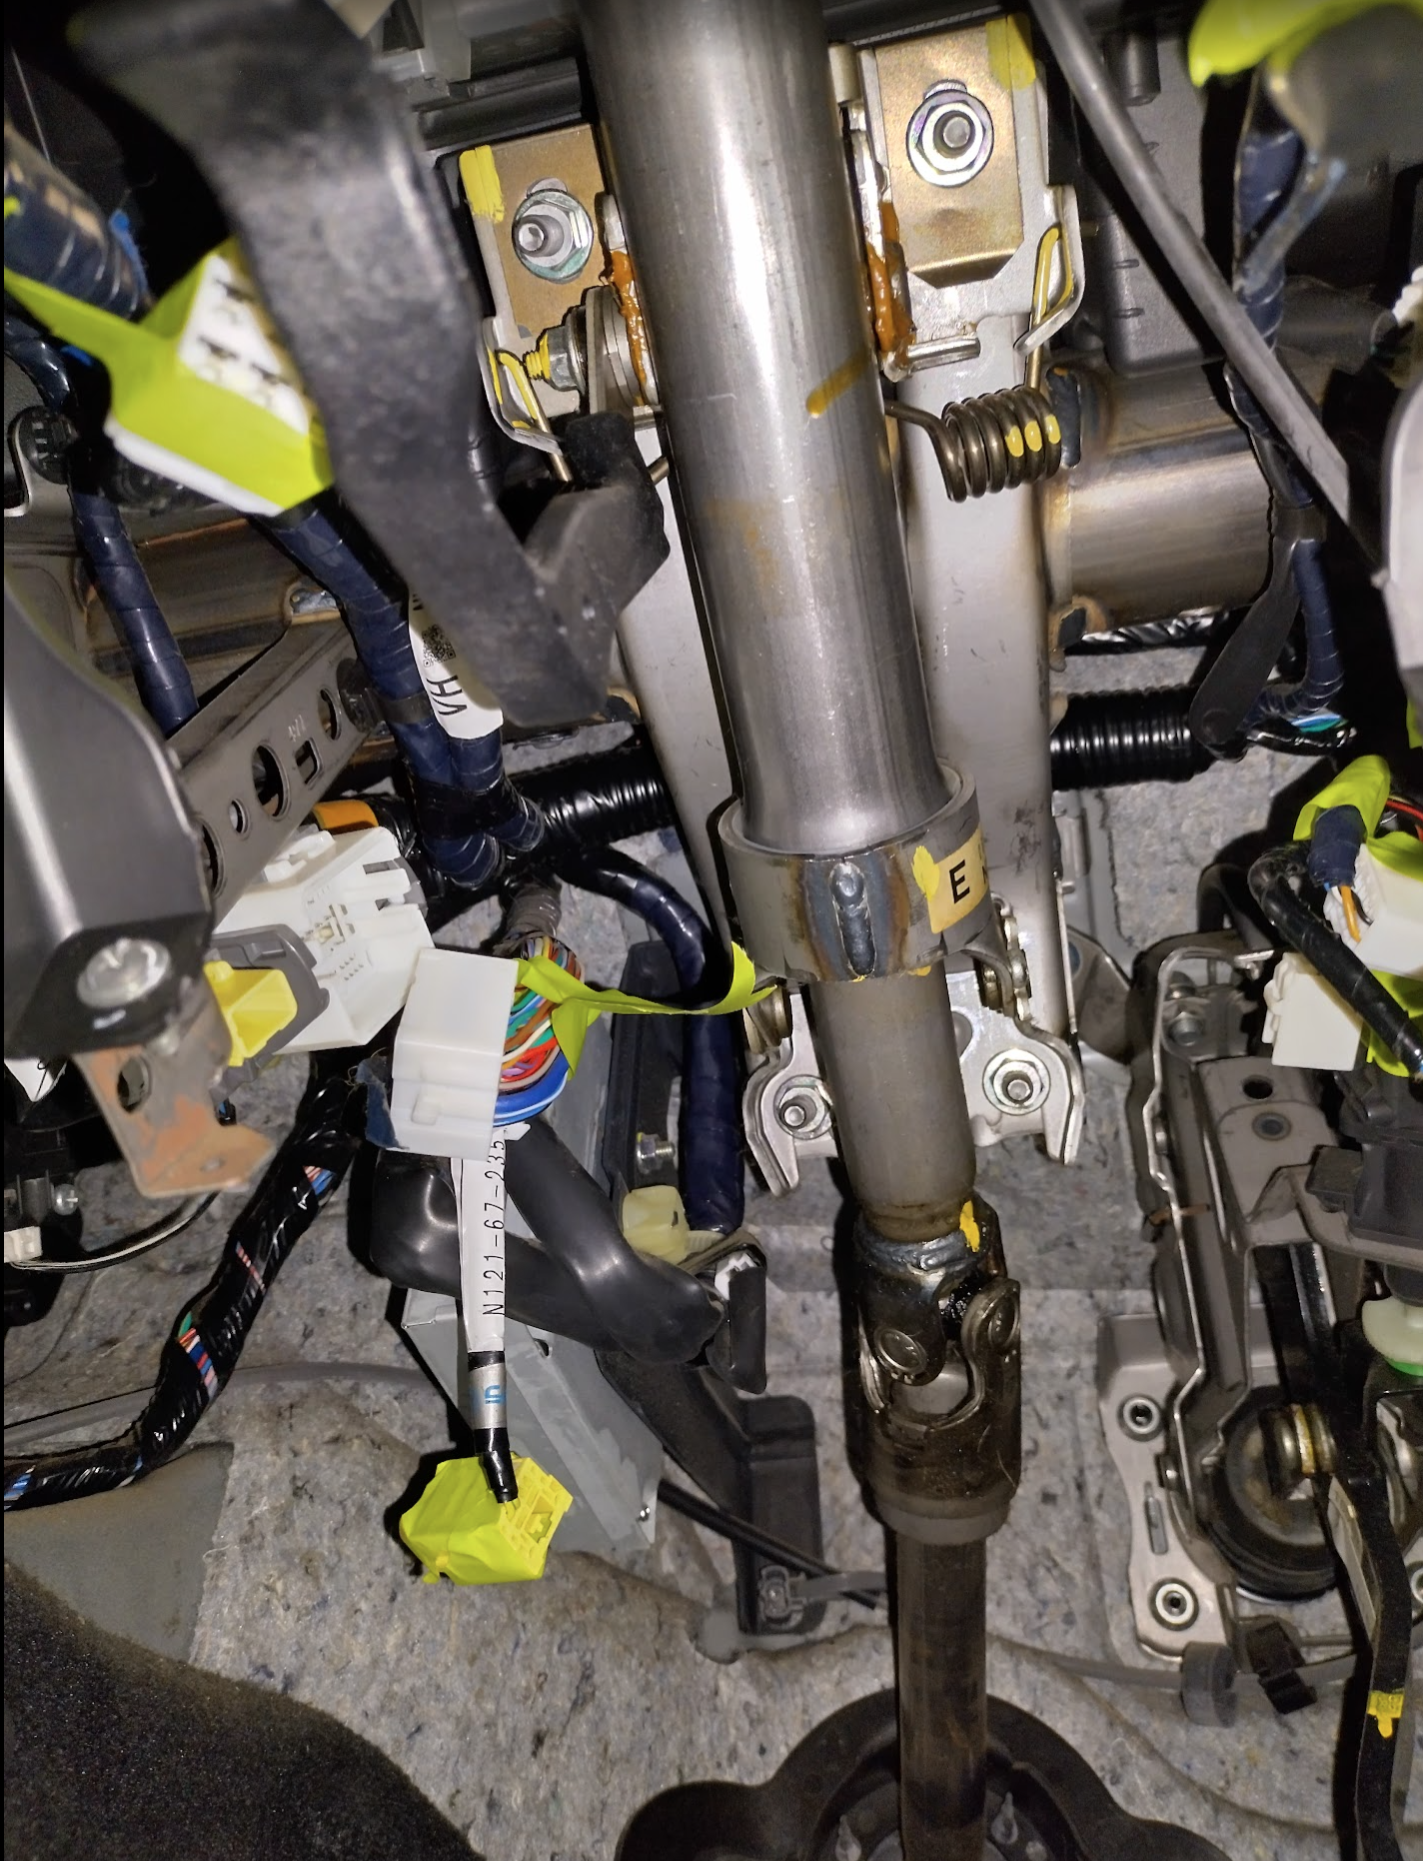
move seat back all the way back and down and put the steering column right to the floor. If you have trouble like I did, the column can be pushed in towards the dash to just squeeze in the gap.
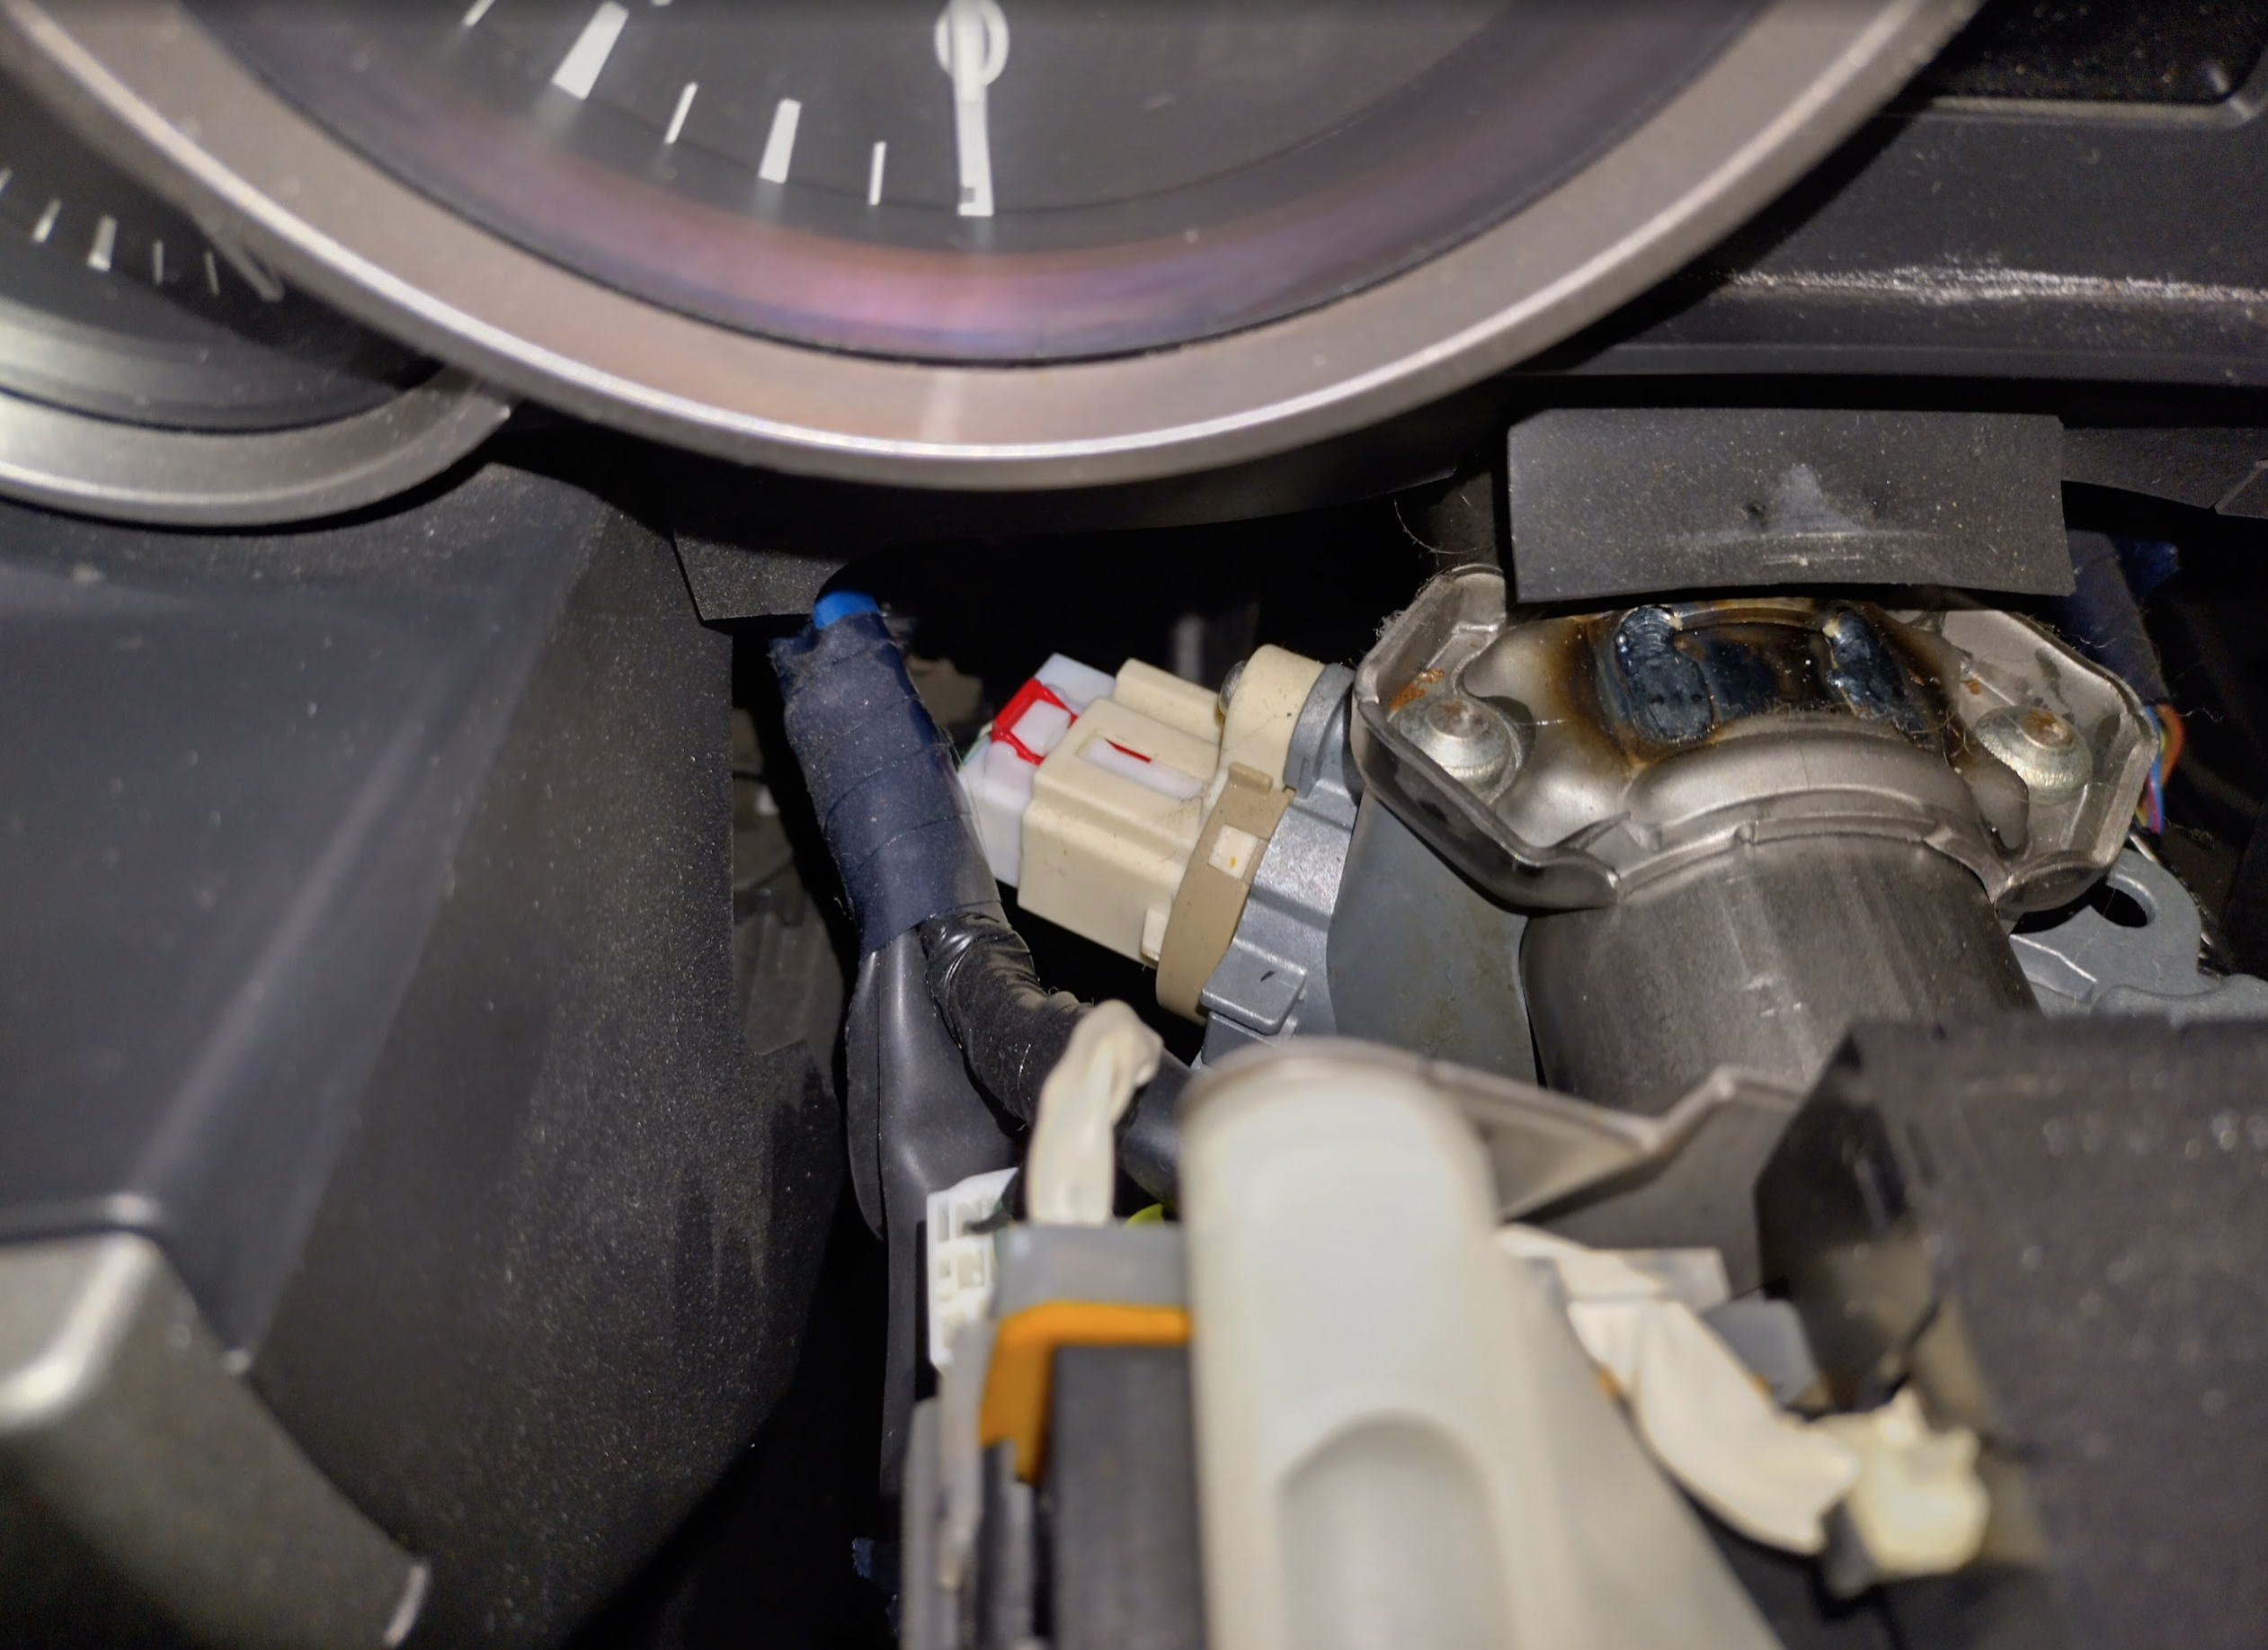
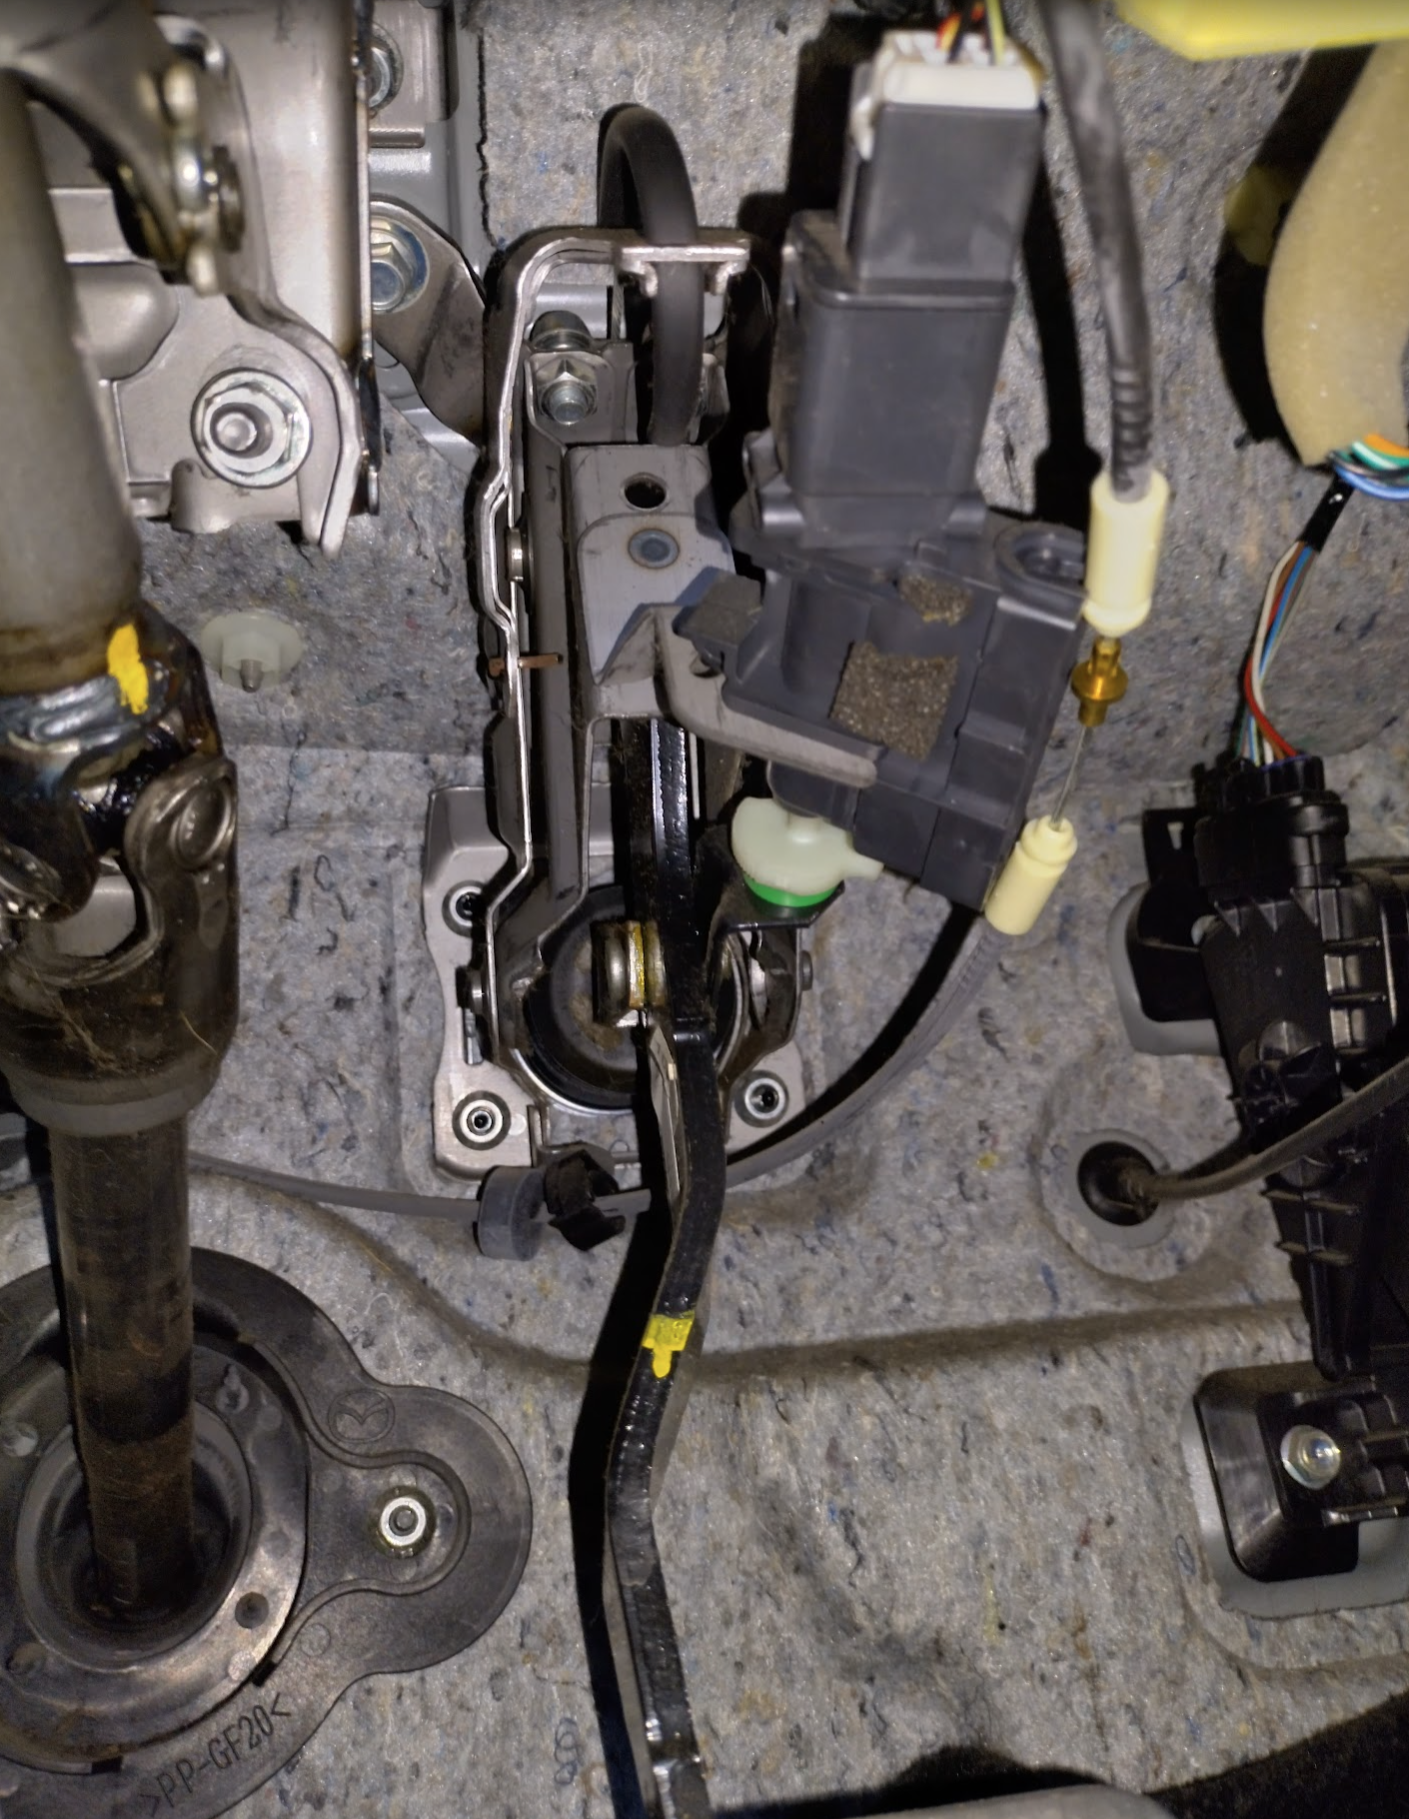
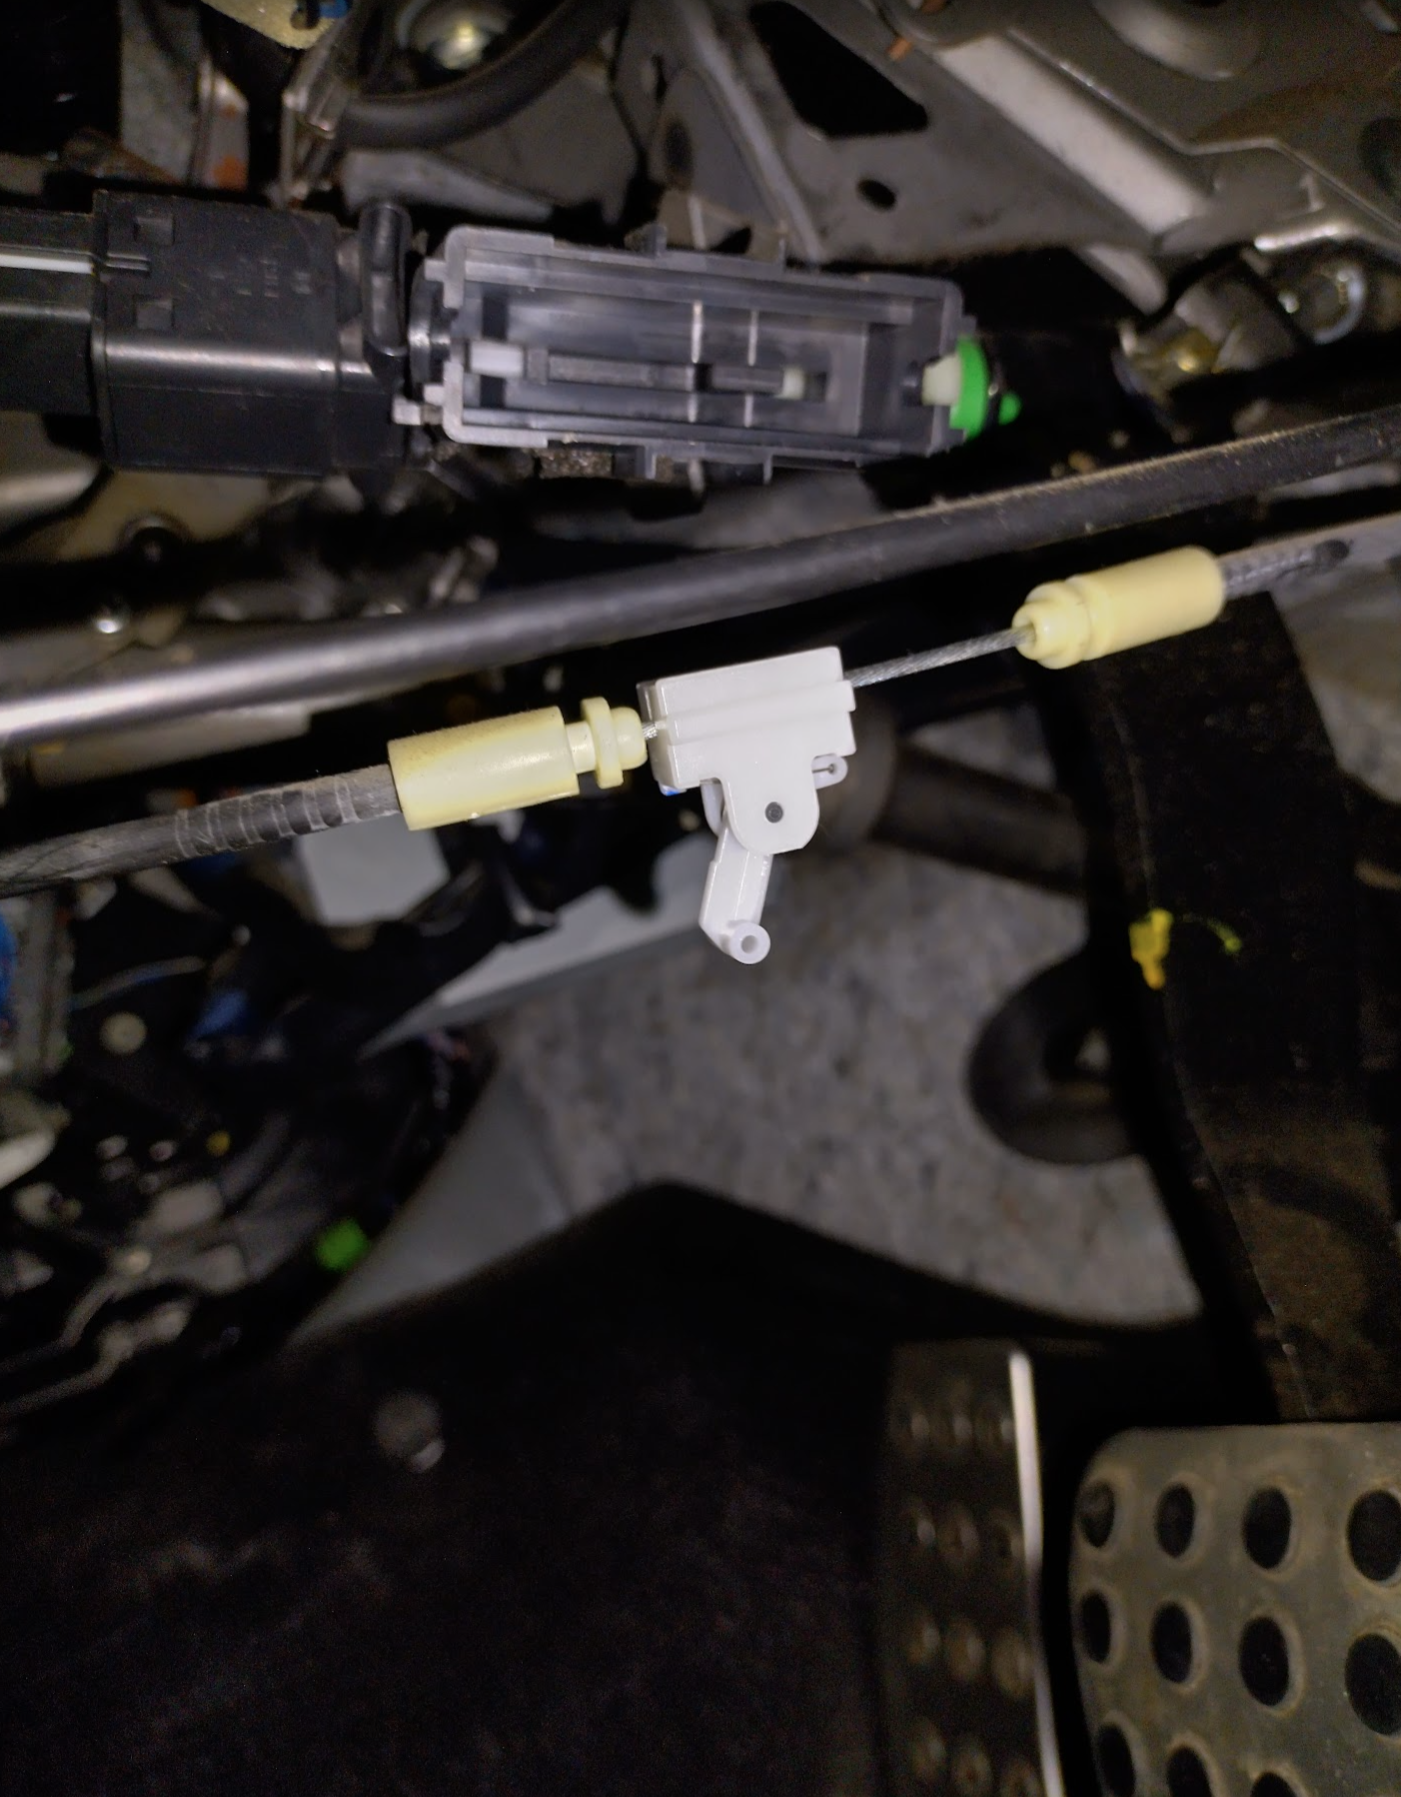
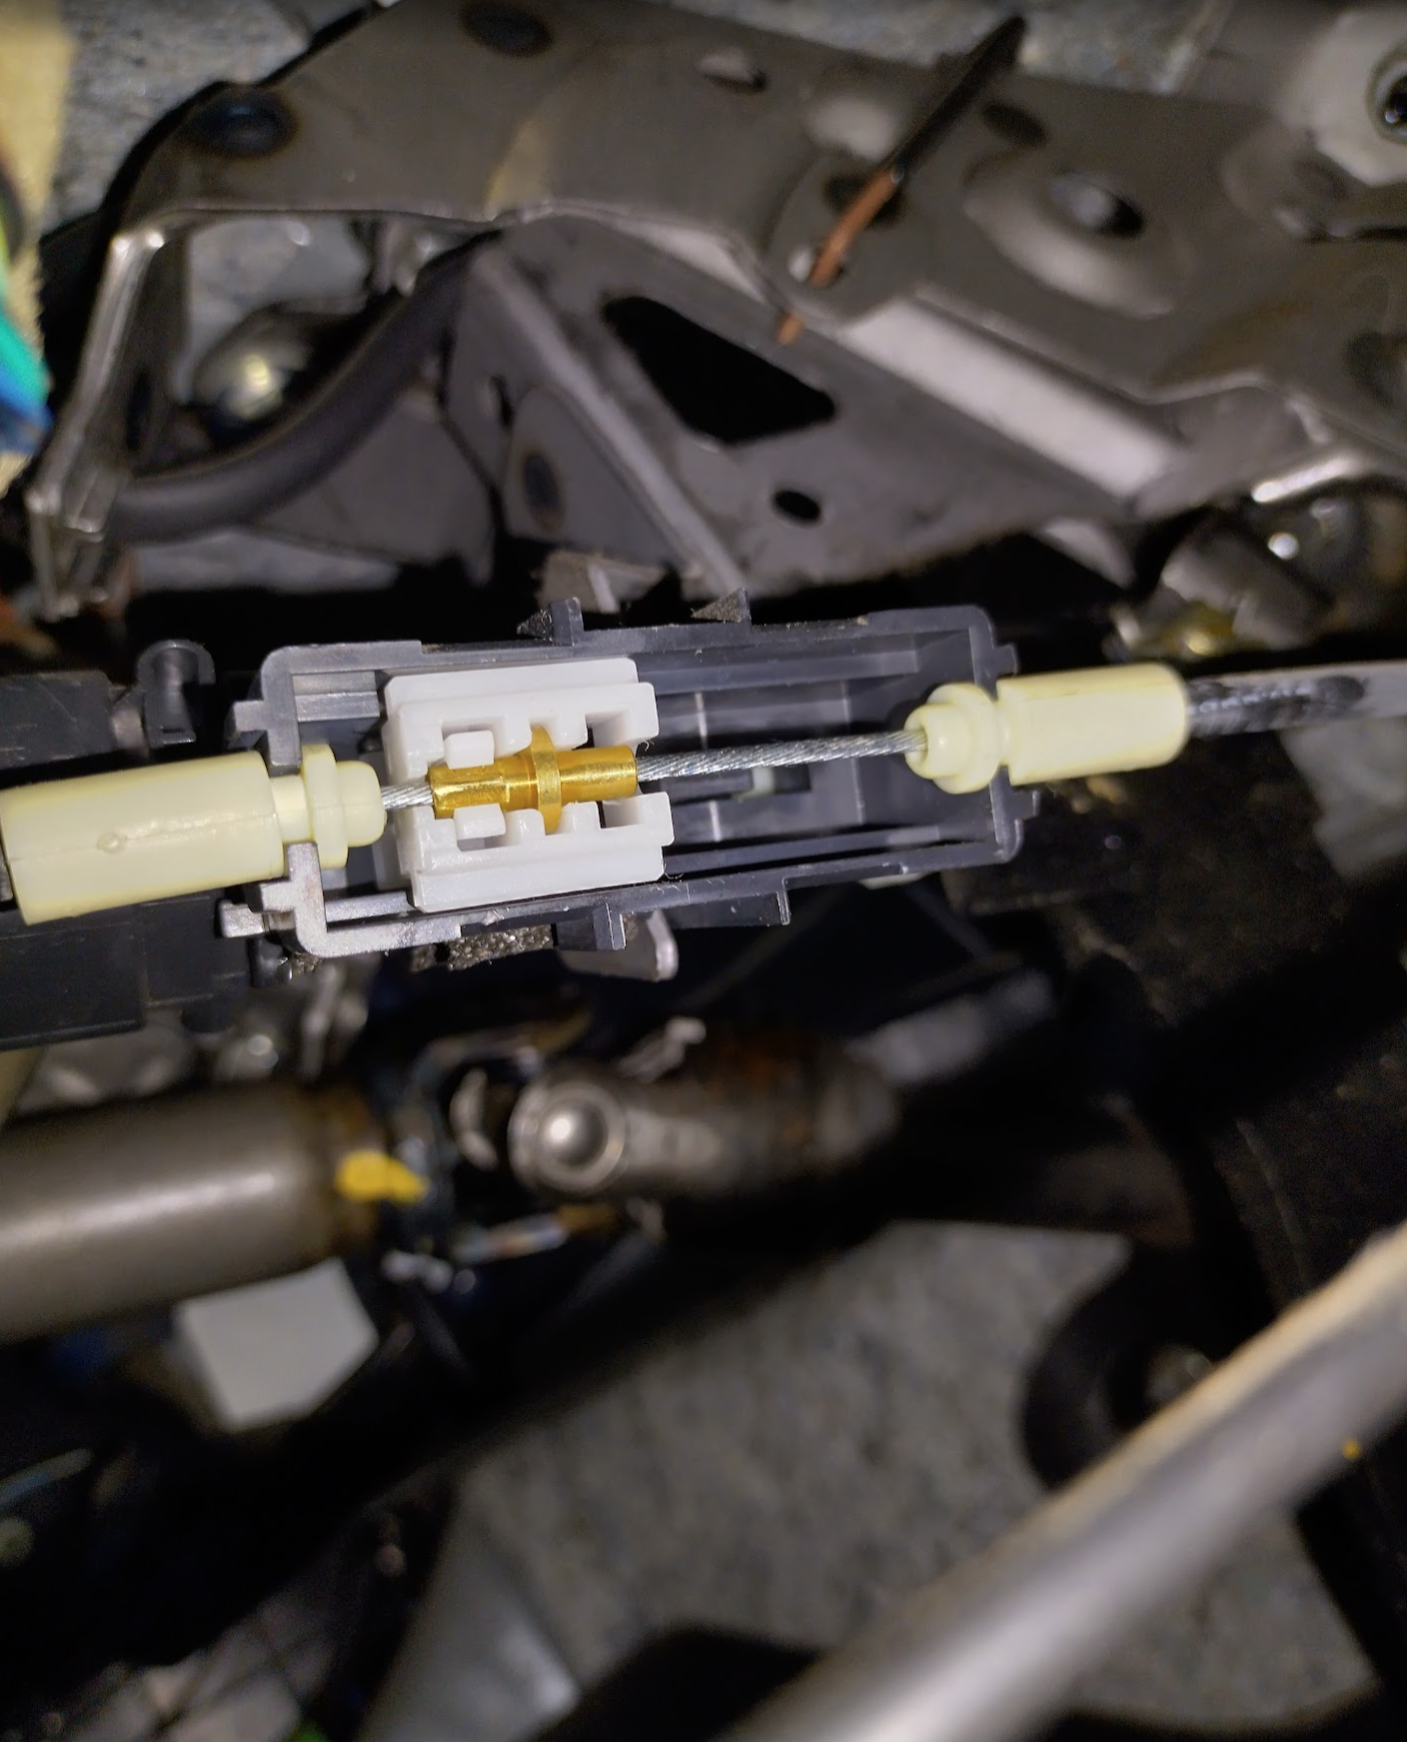
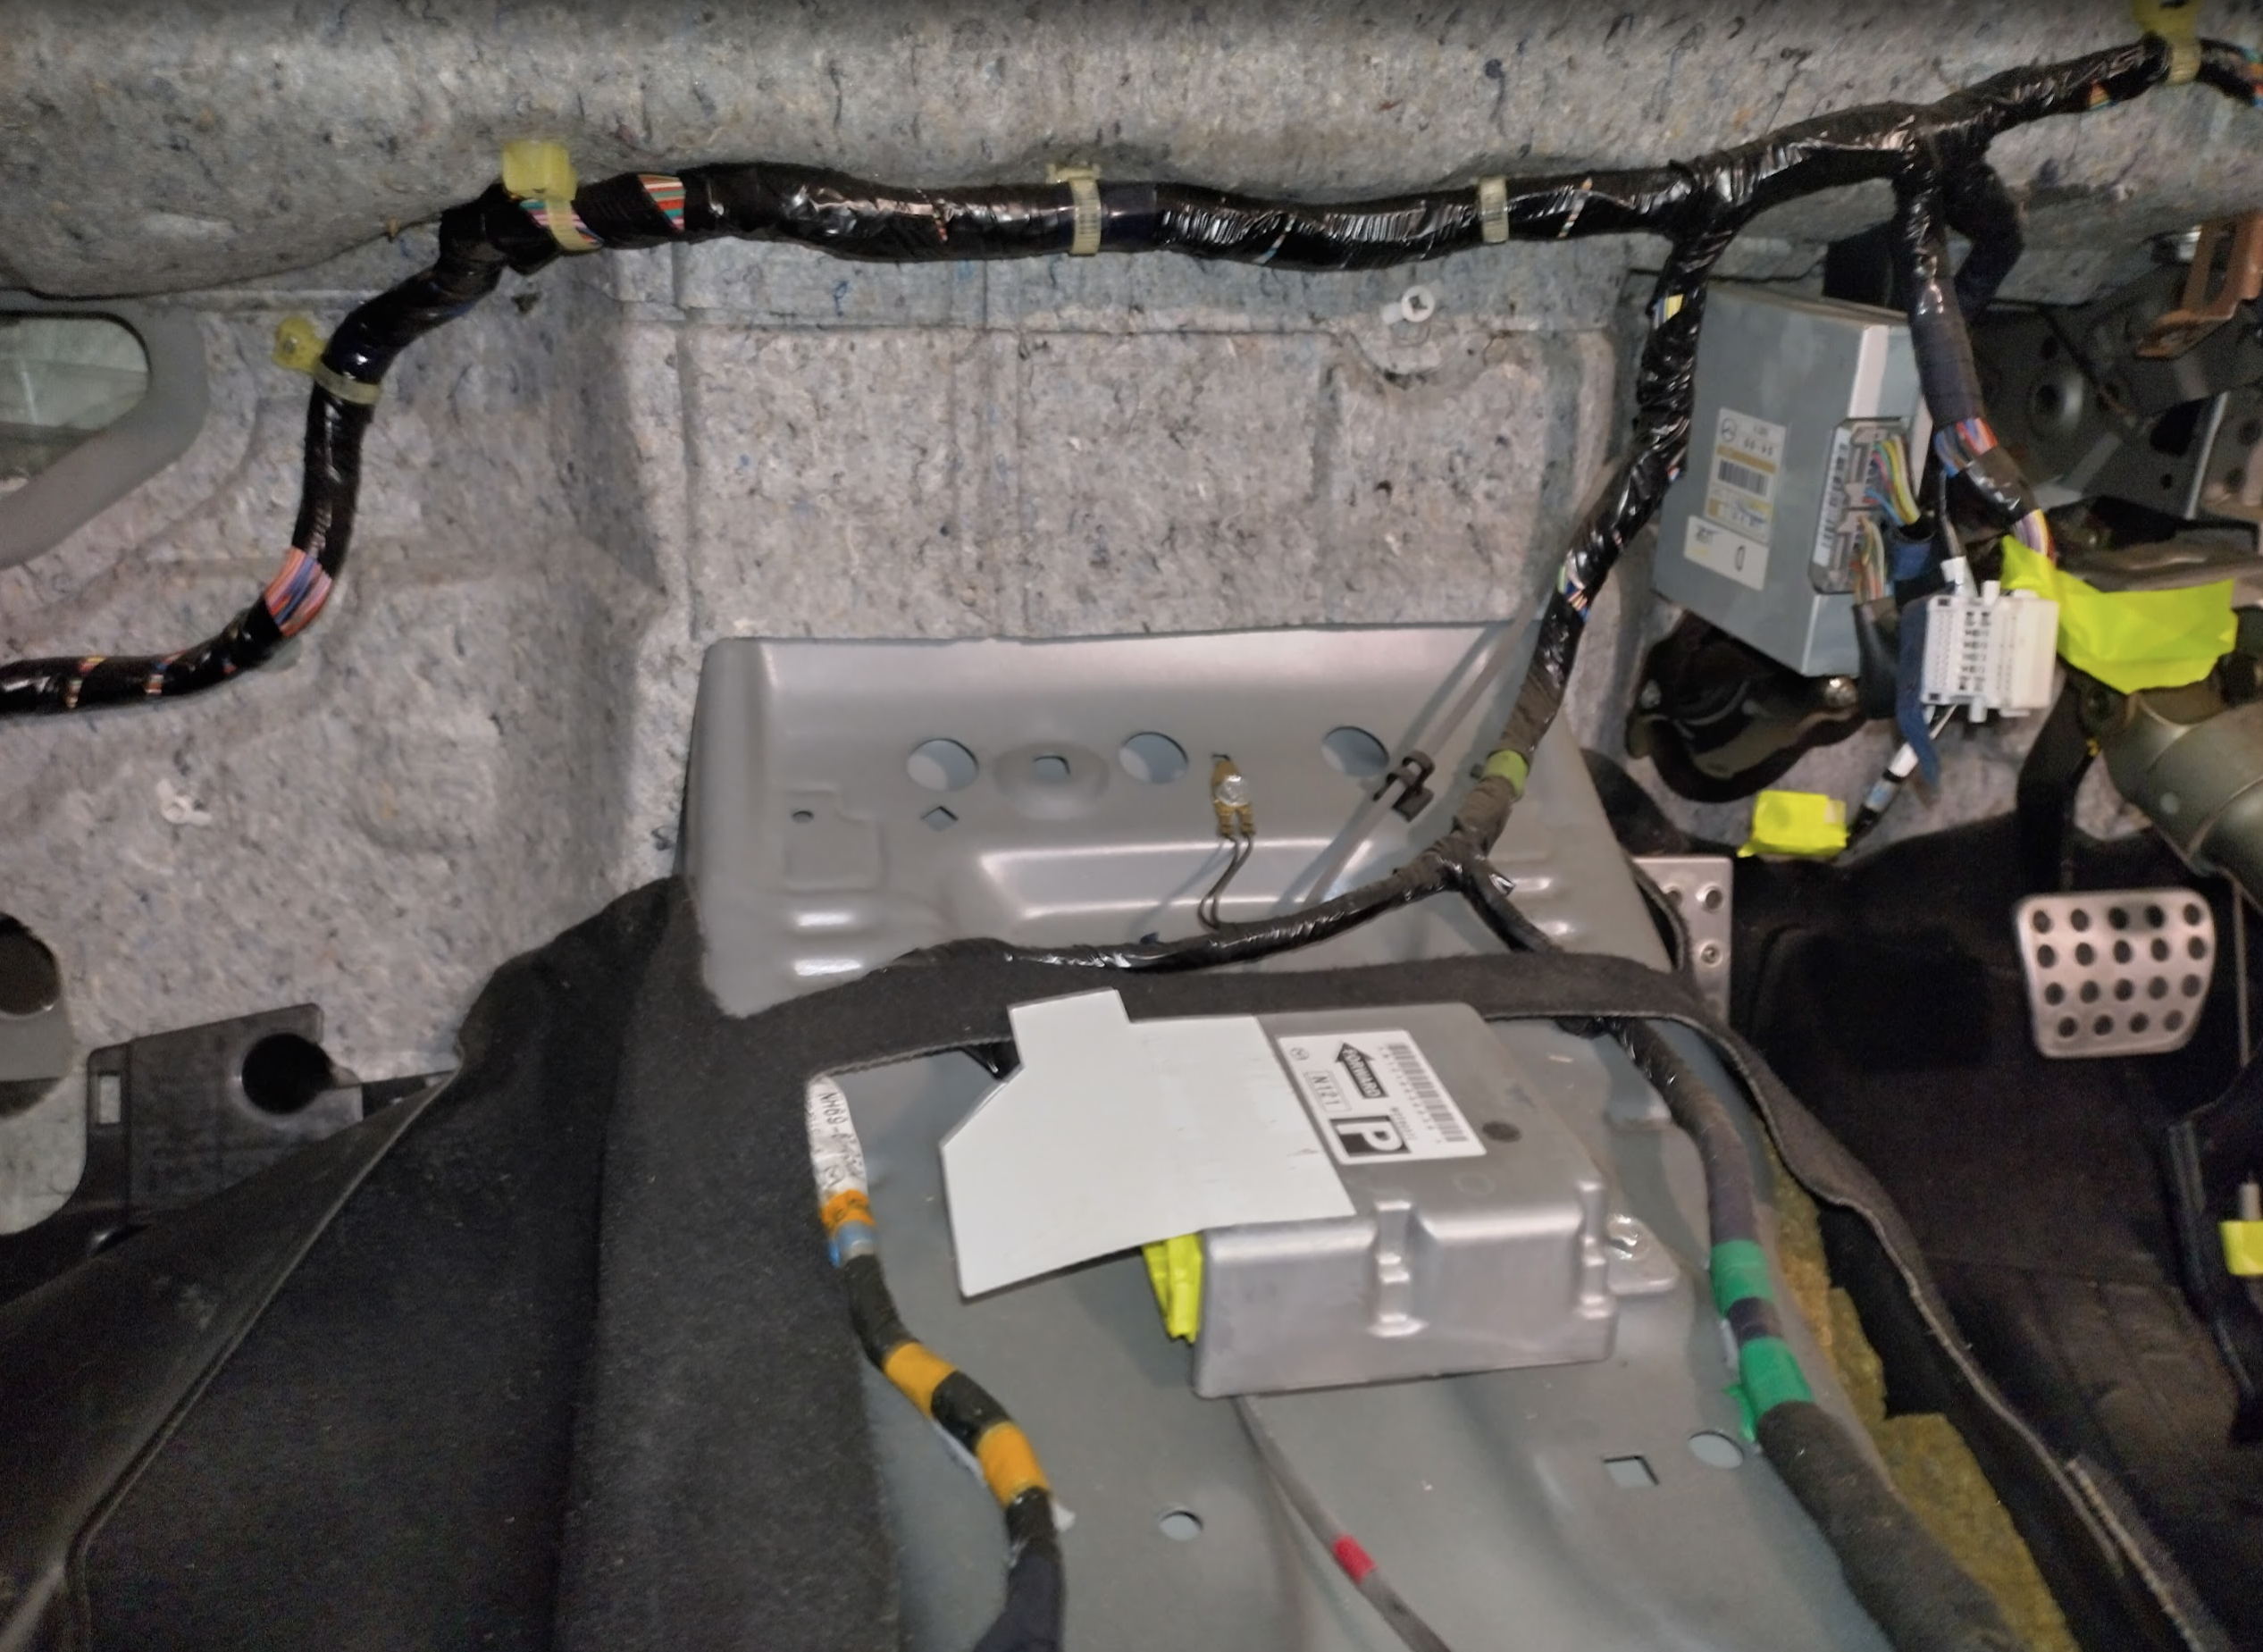
Also the firm cable directly from the ignition via the brake pedal and through to the centre console (The only name I have found might be ignition interlock cable? – prevents shifting gears or turning key if not in park) seems to be something that stops easy movement, I managed to get it caught on a bracket which caused the holder to split apart when trying to get the steering column back up. So if yours splits I have included photos here as I was unable to locate any on the entire internet of how it all goes back together.
Update: It’s a “mechanical shift interlock cable”. Other vehicles have a tiny square panel and/or a slot next to the gear lever which you can stick a key in to move the gear lever when the car isn’t on. In this car however you need to fiddle with this box. Still don’t know how it is meant to go back together exactly and it causes the car to prevent releasing the key occasionally. The workaround for now when it’s very stuck is to pump brakes, wiggle the gear lever, and even start the car again and put it in drive.
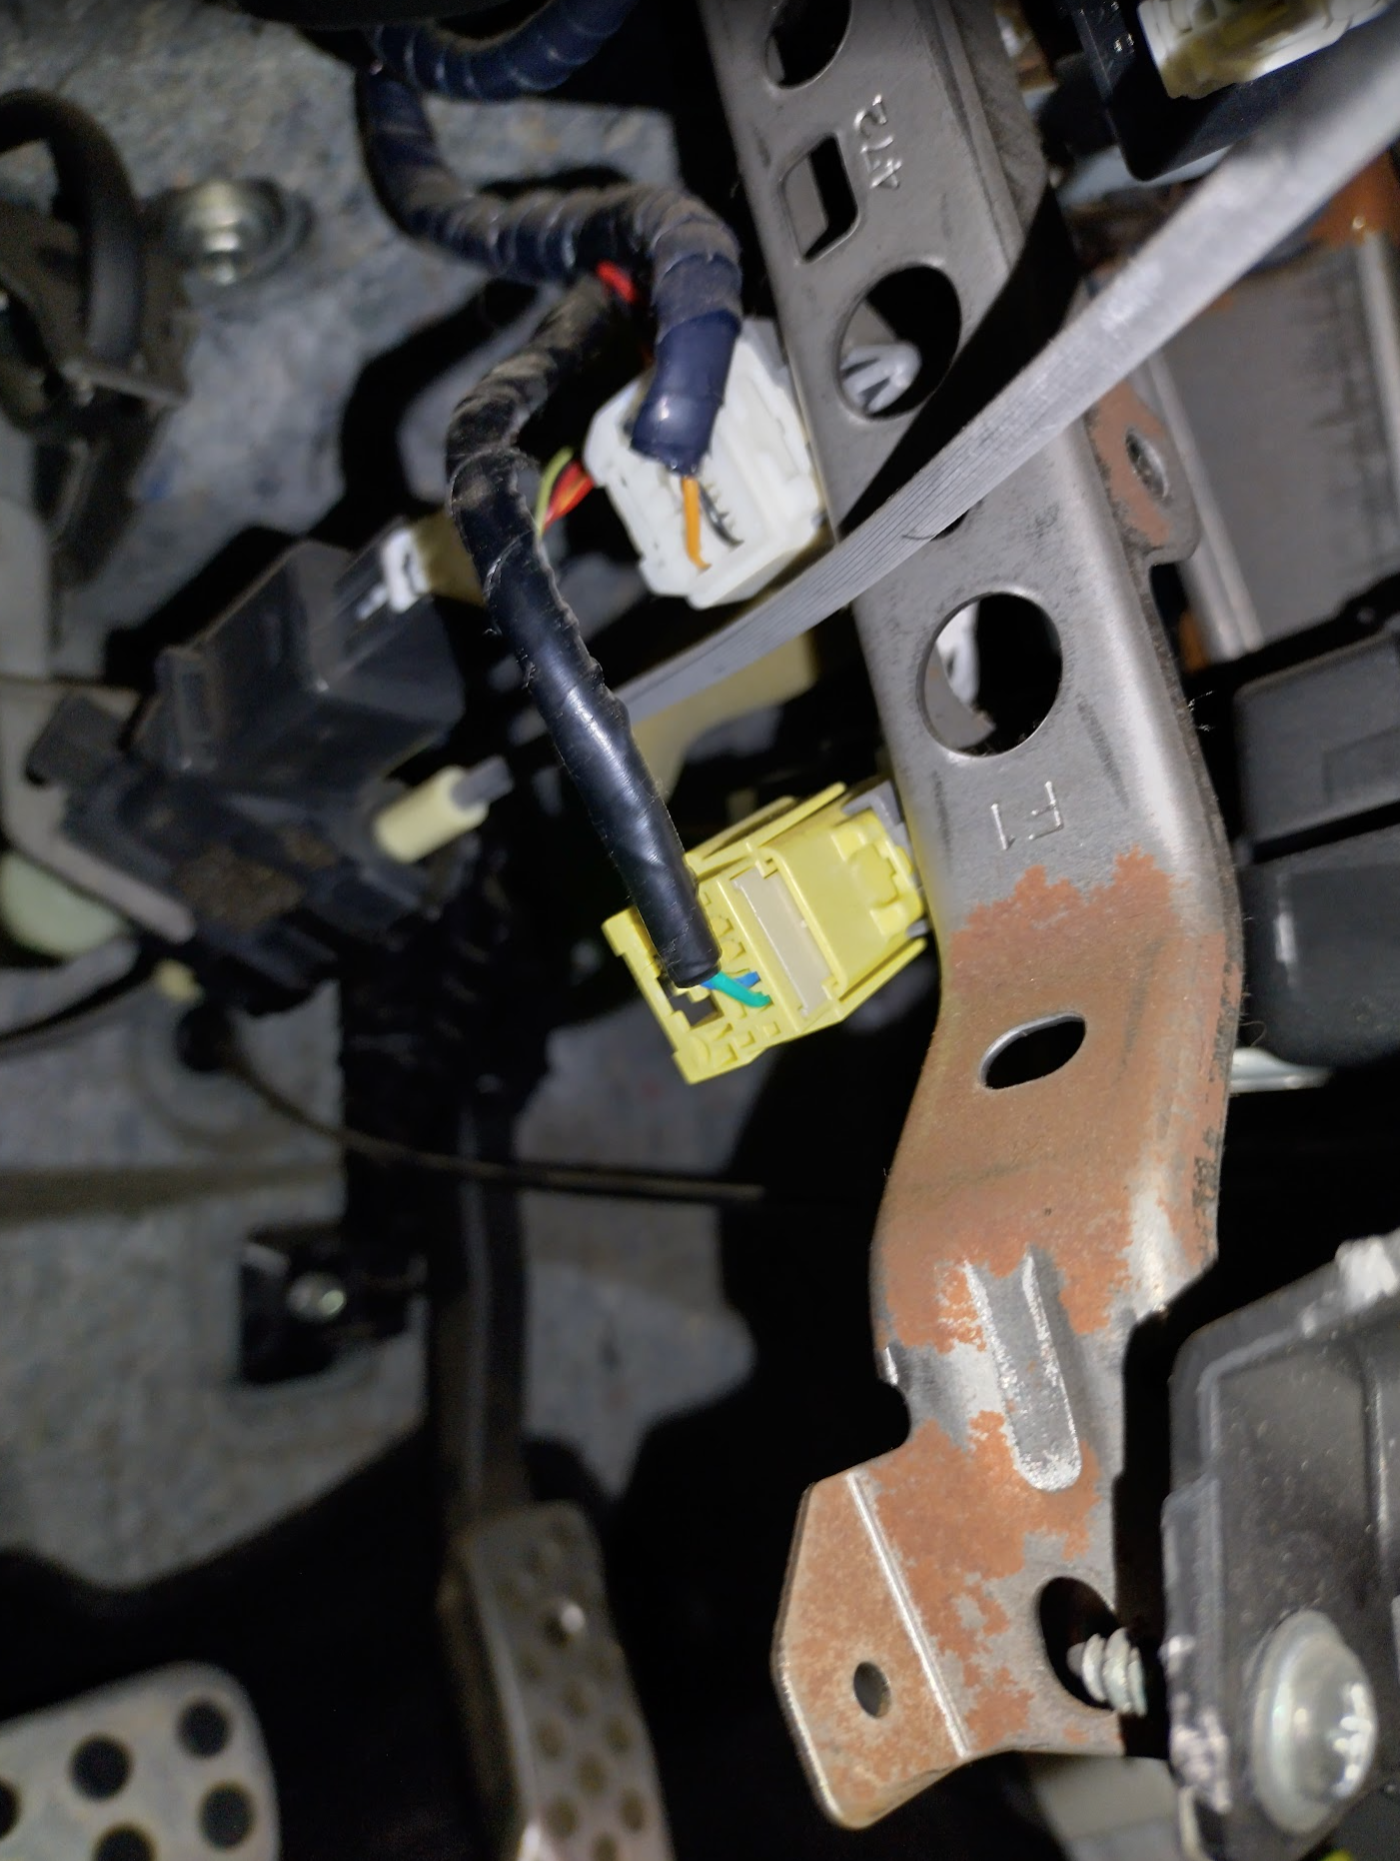
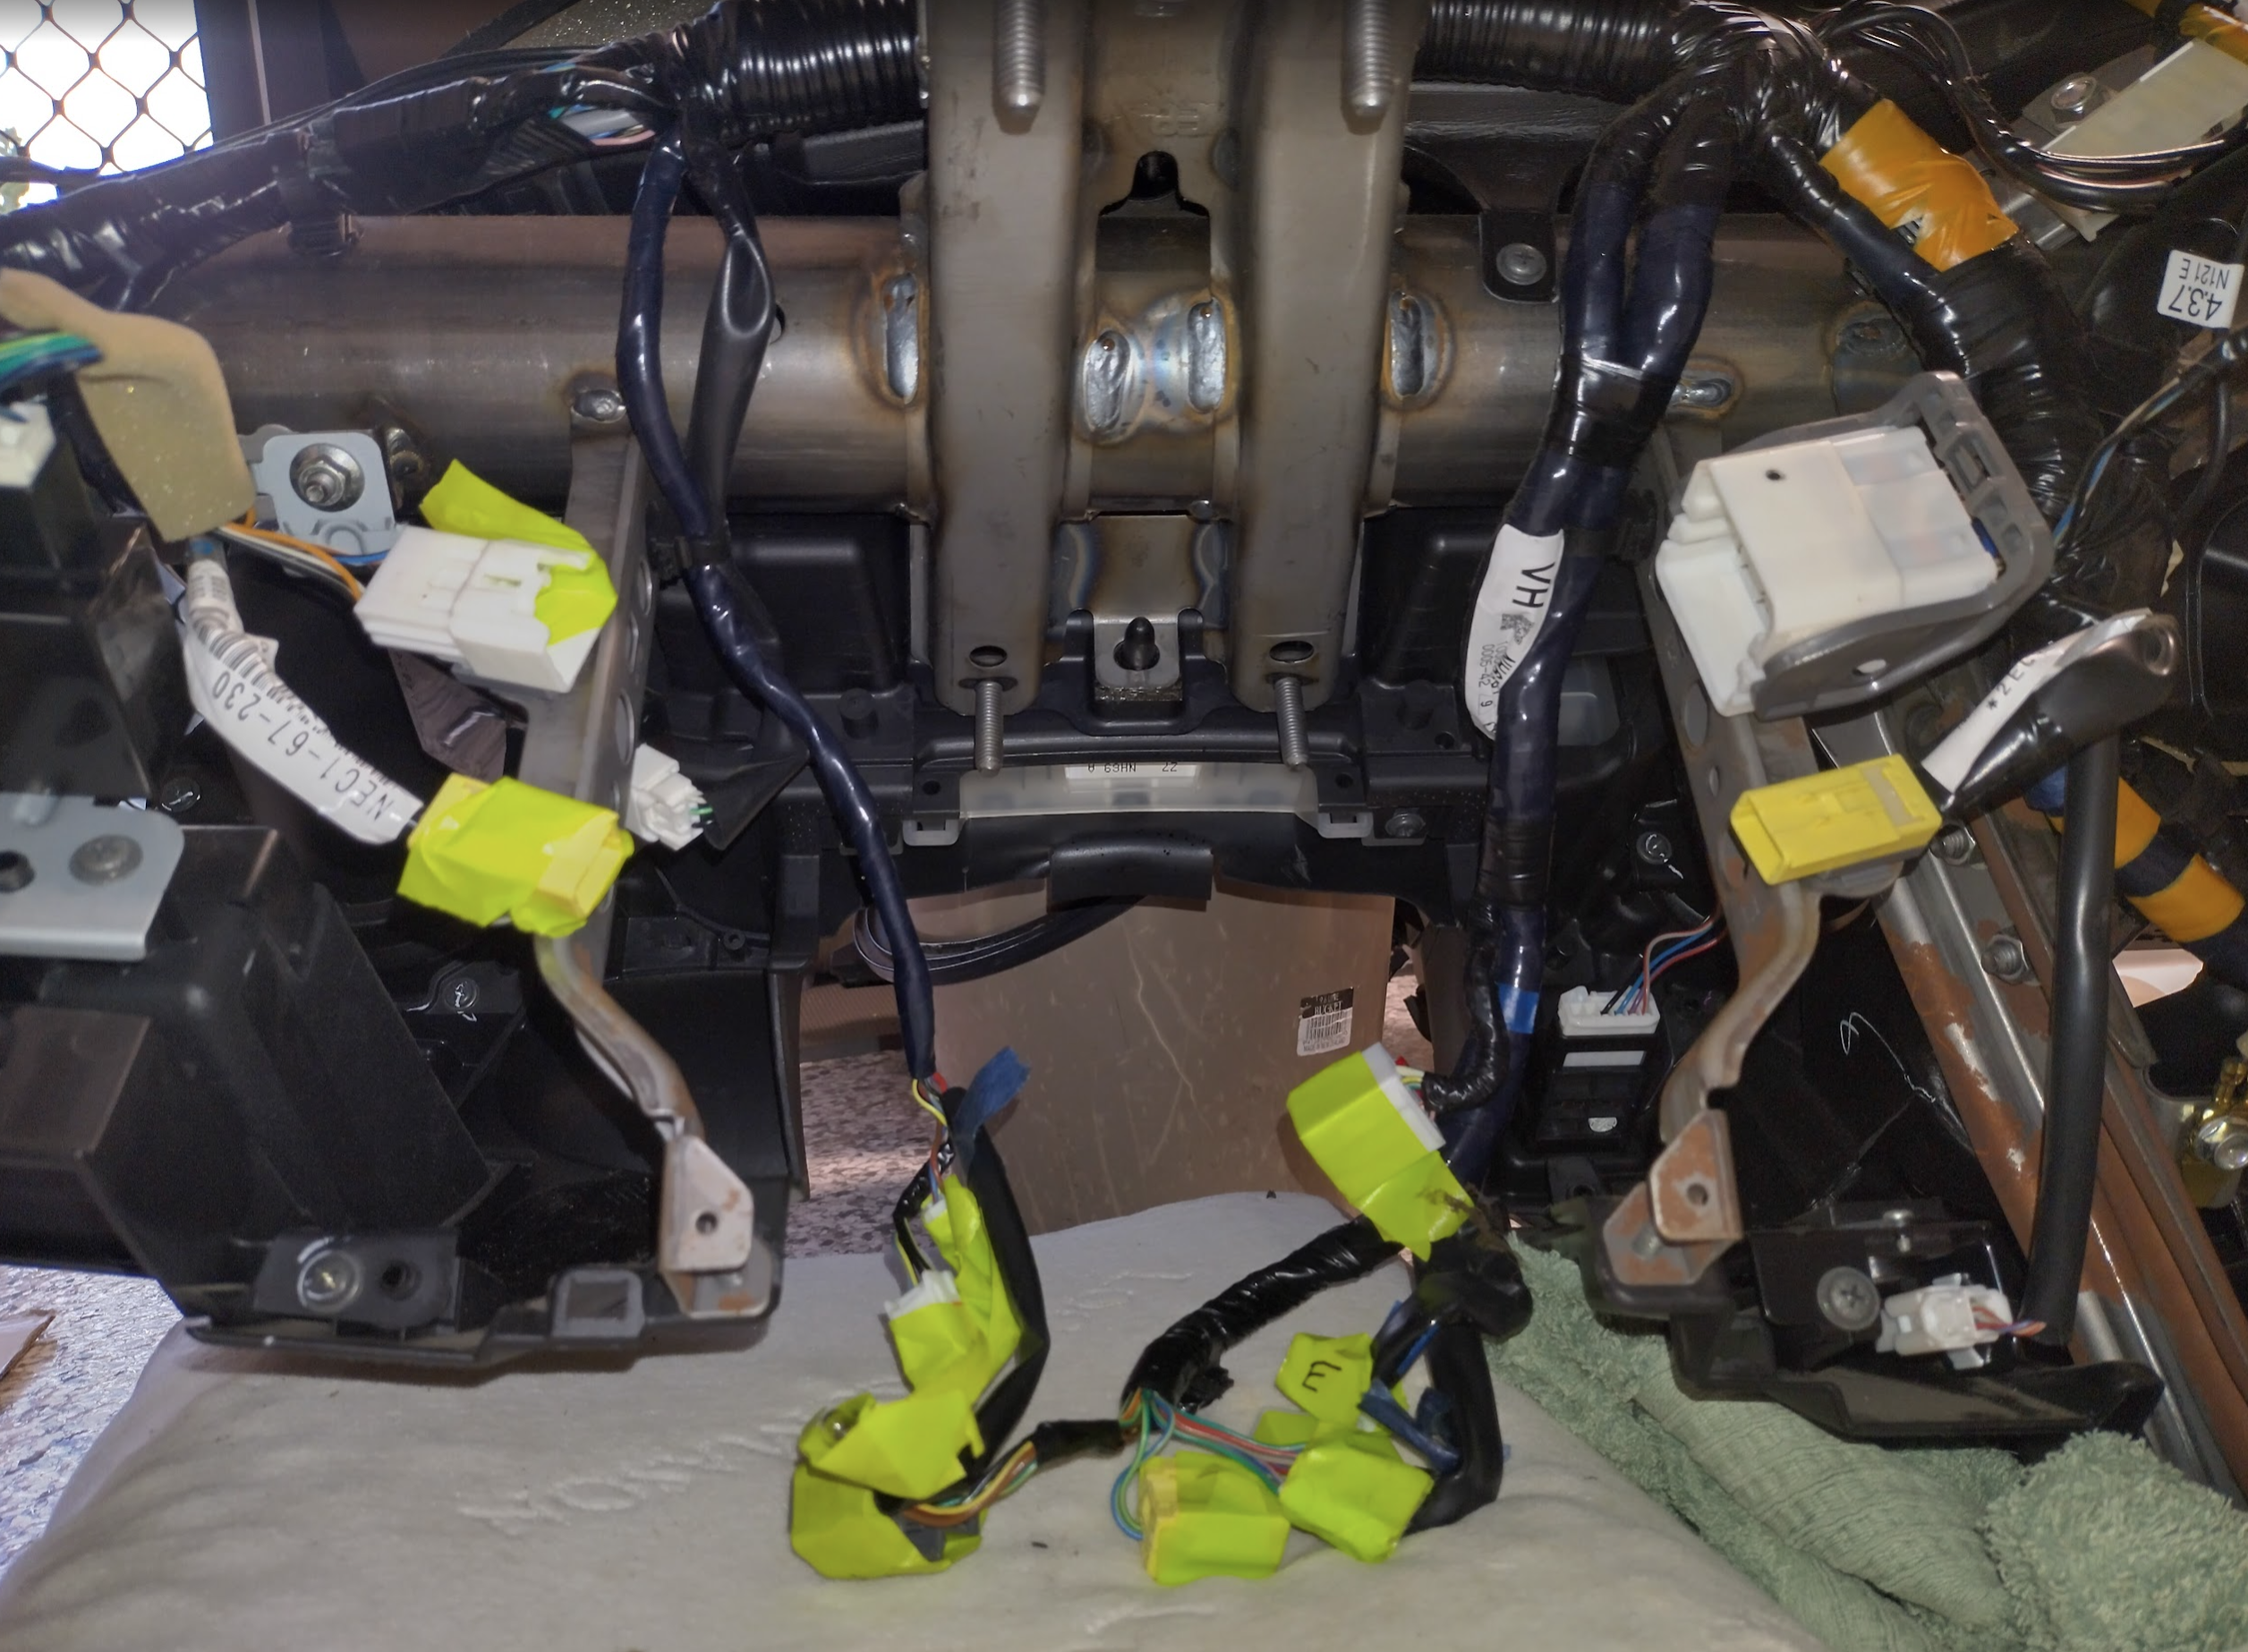
yellow plug (slide white bit to unclip) and big white plug on middle of the footwell
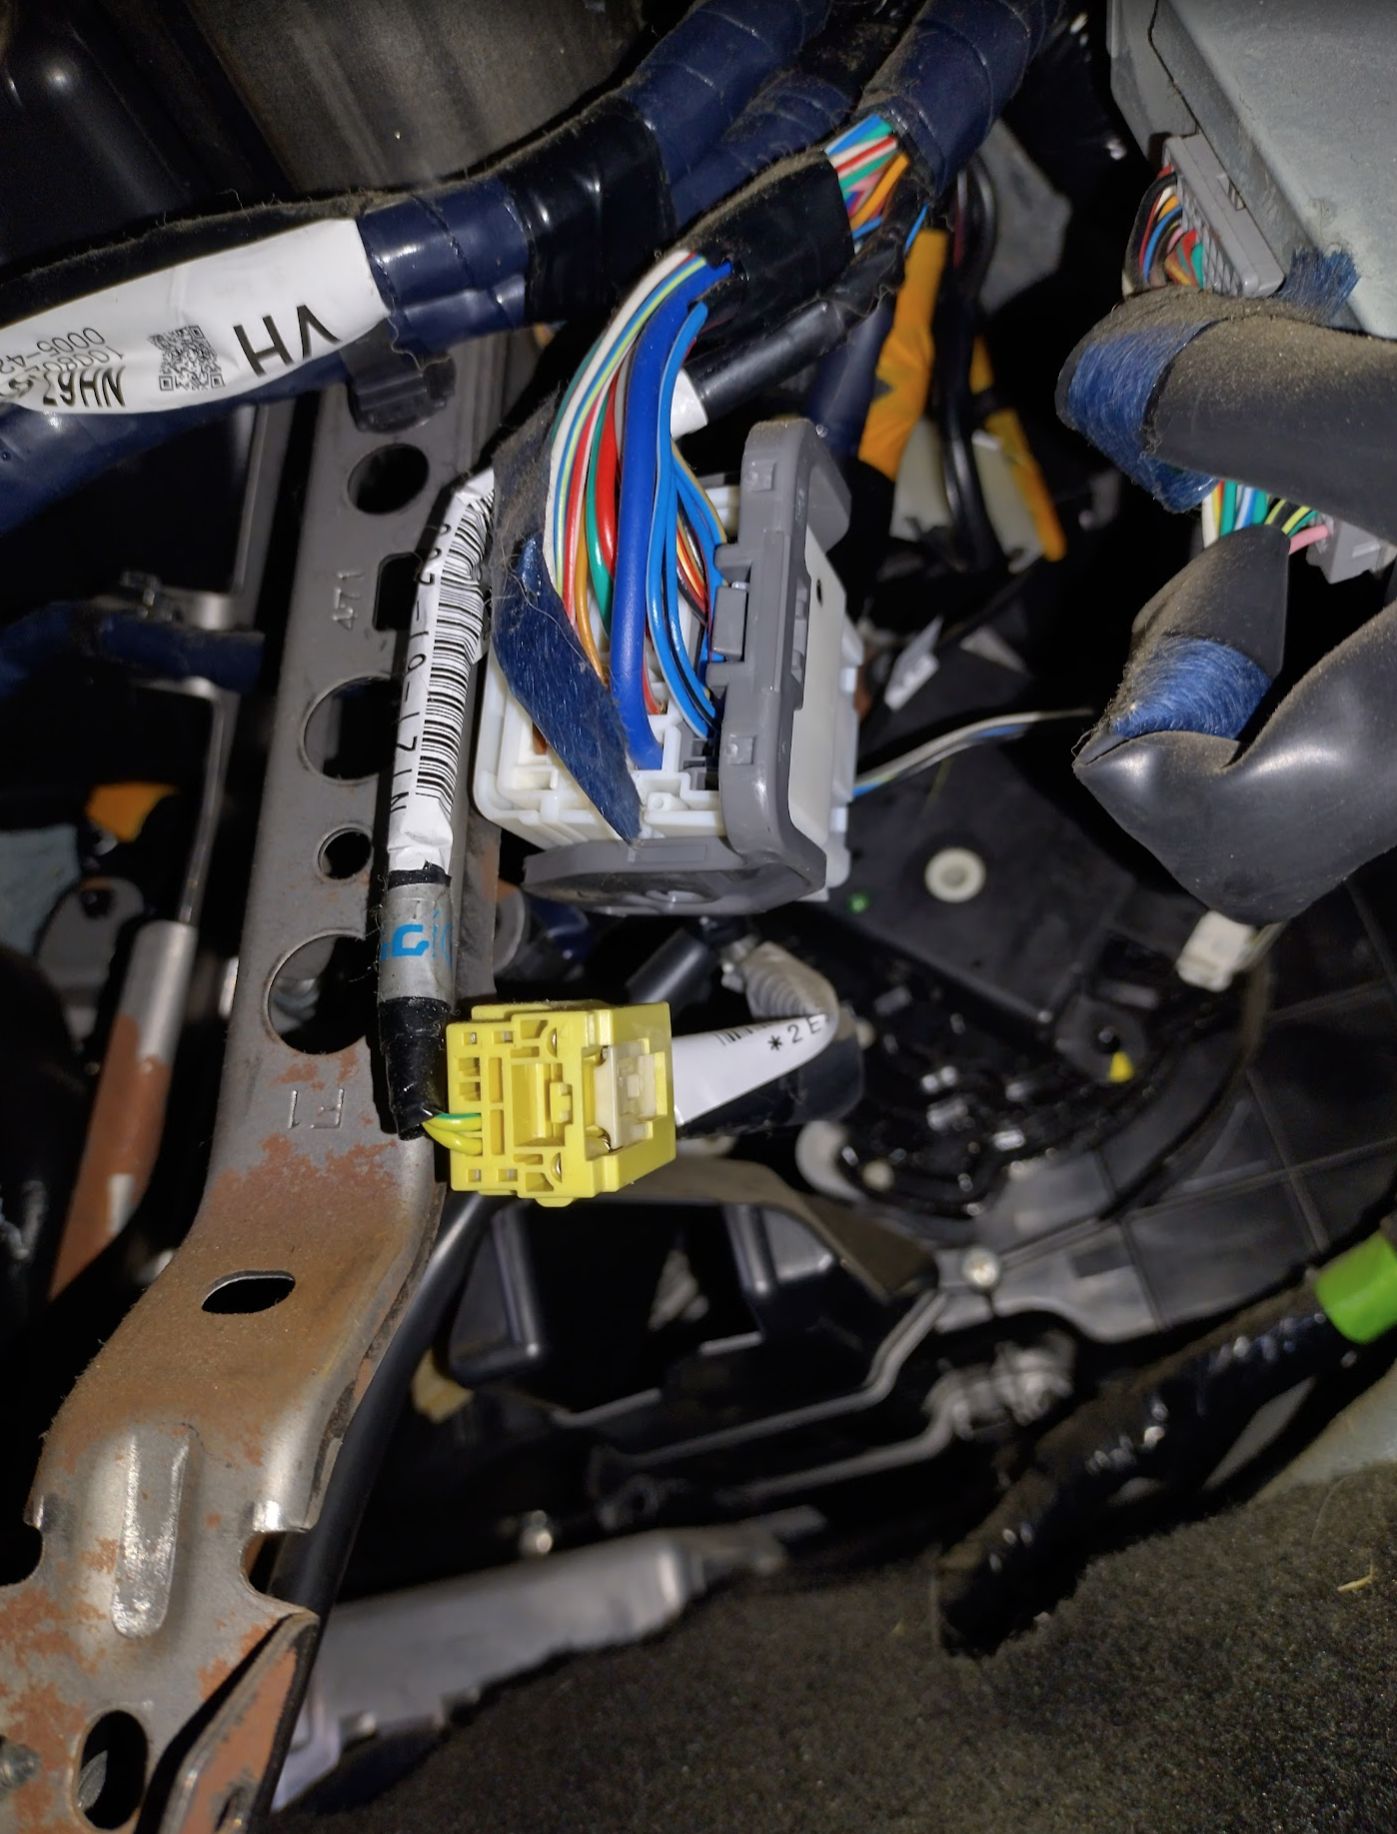
undo other yellow plug with two white plugs on the opposite side
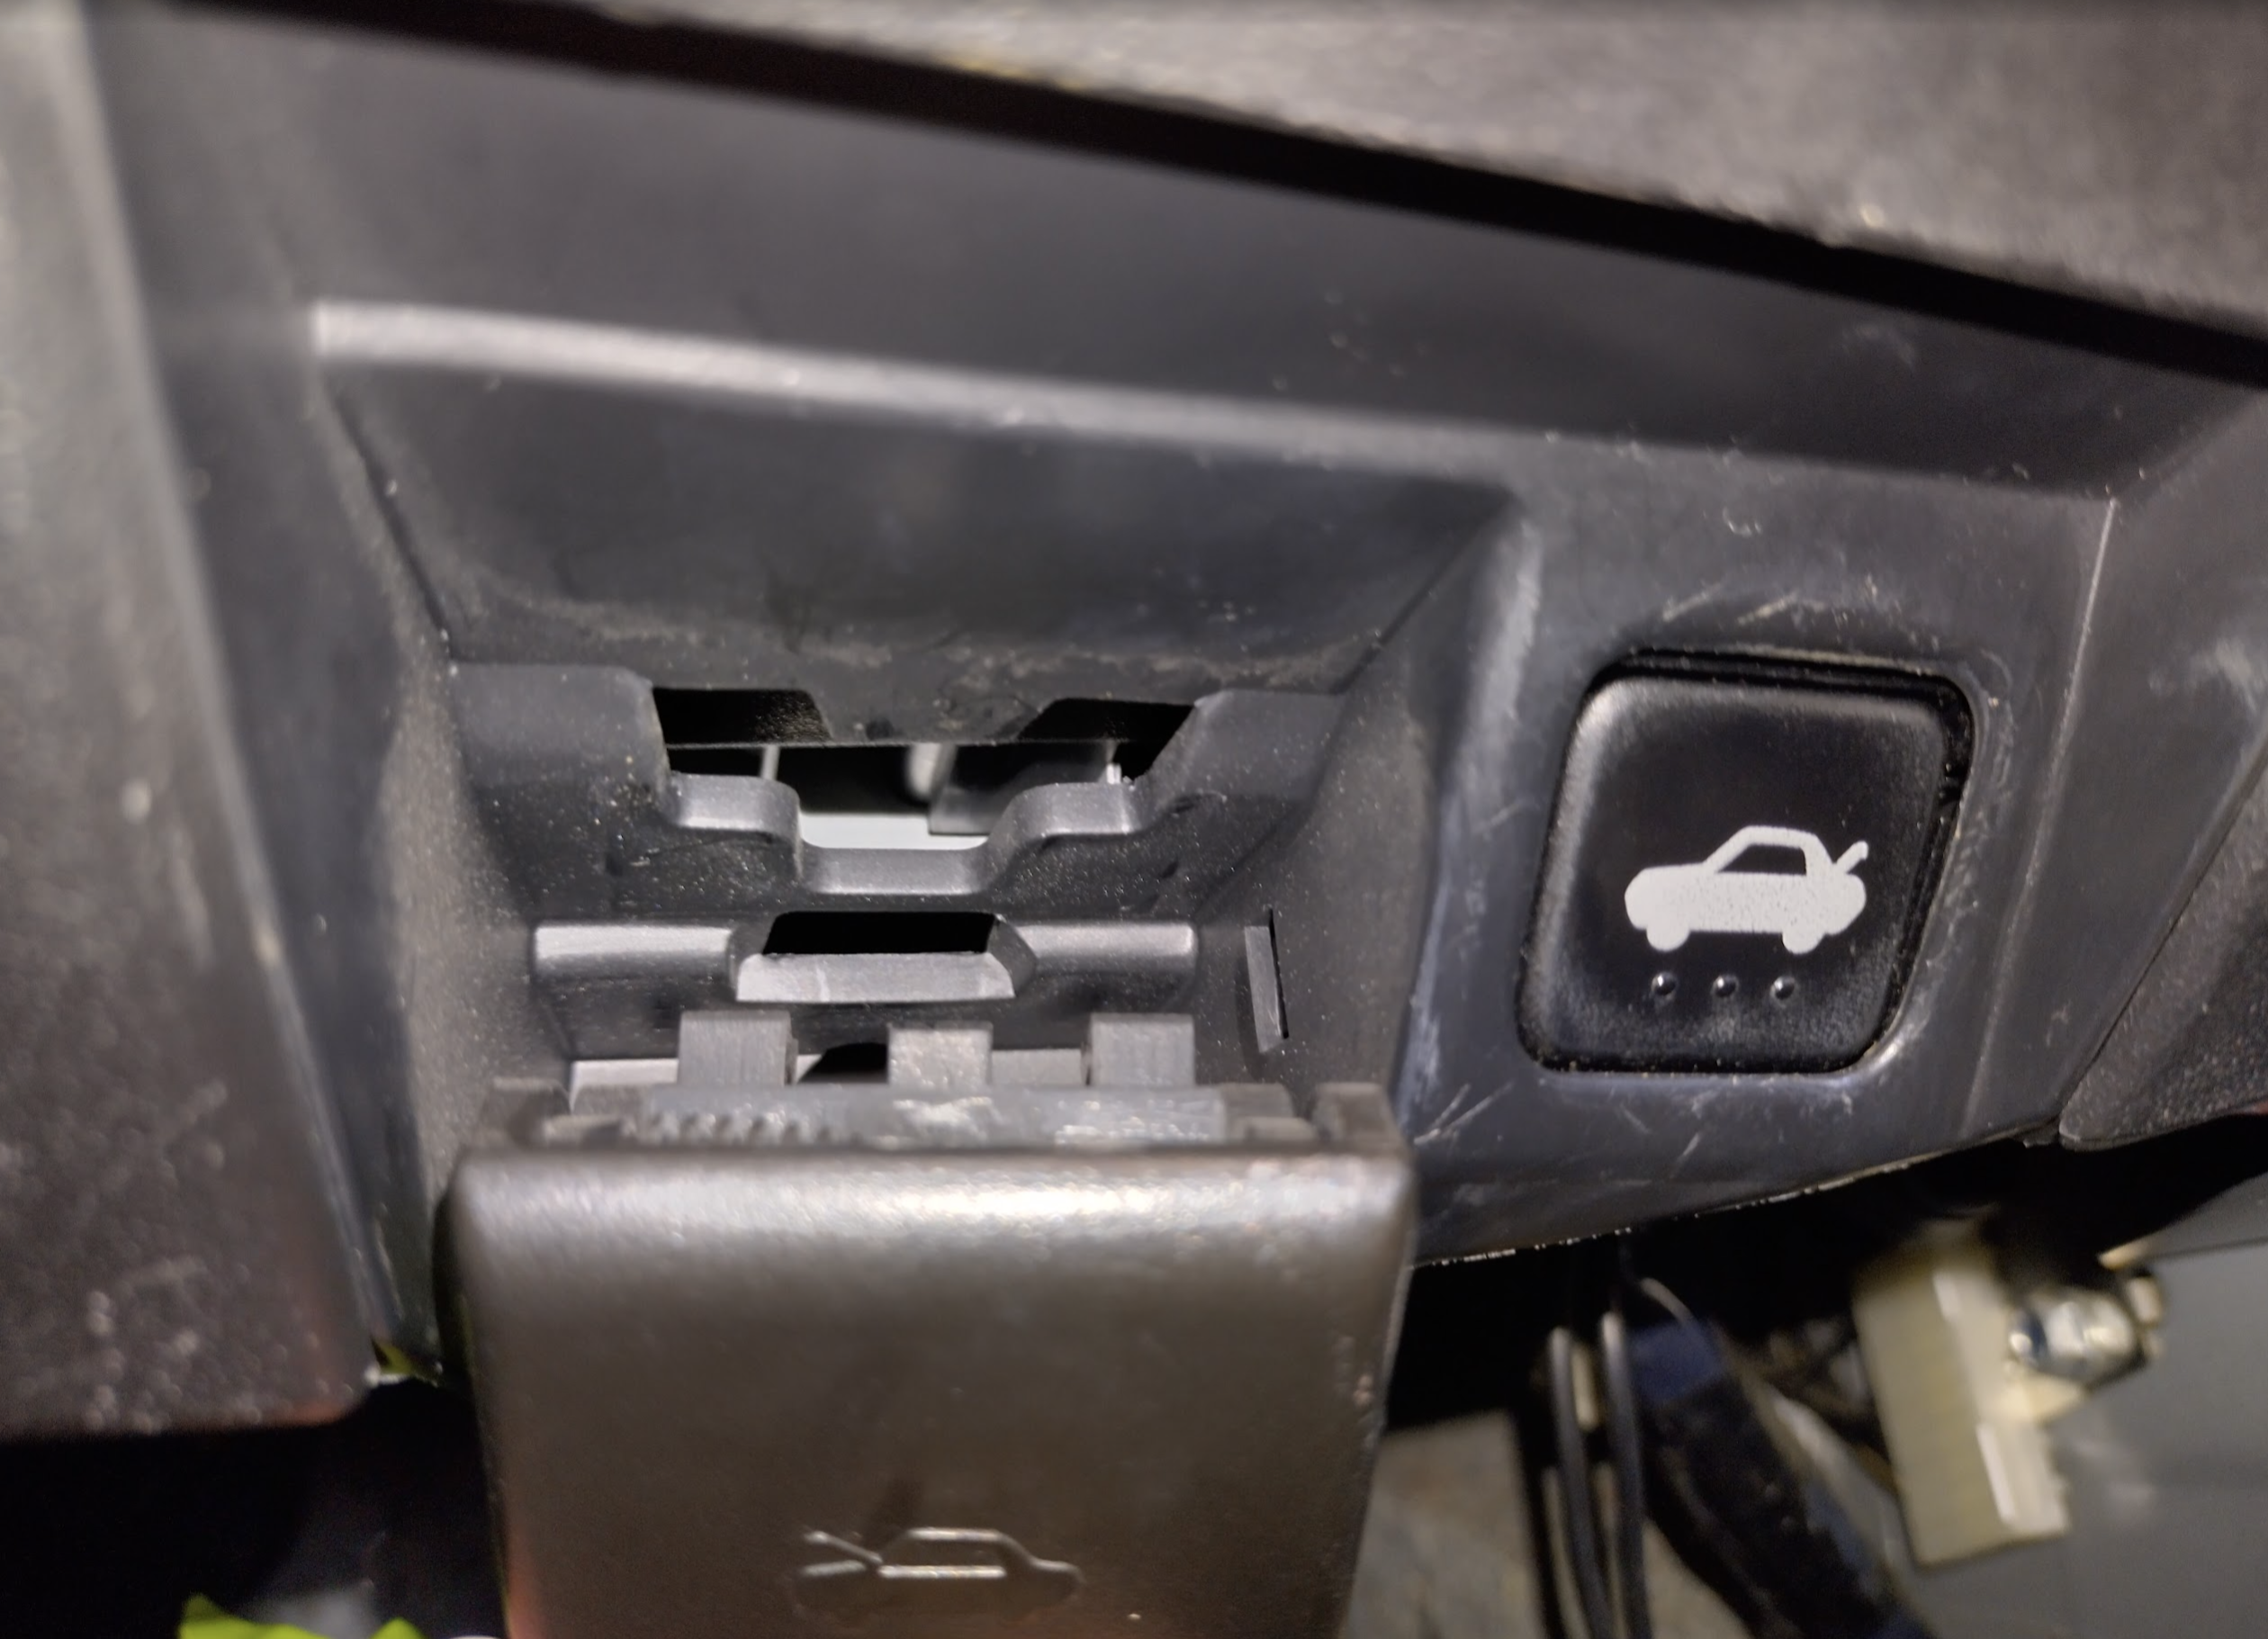
unclip the bonnet release tab by pushing up on the middle thing
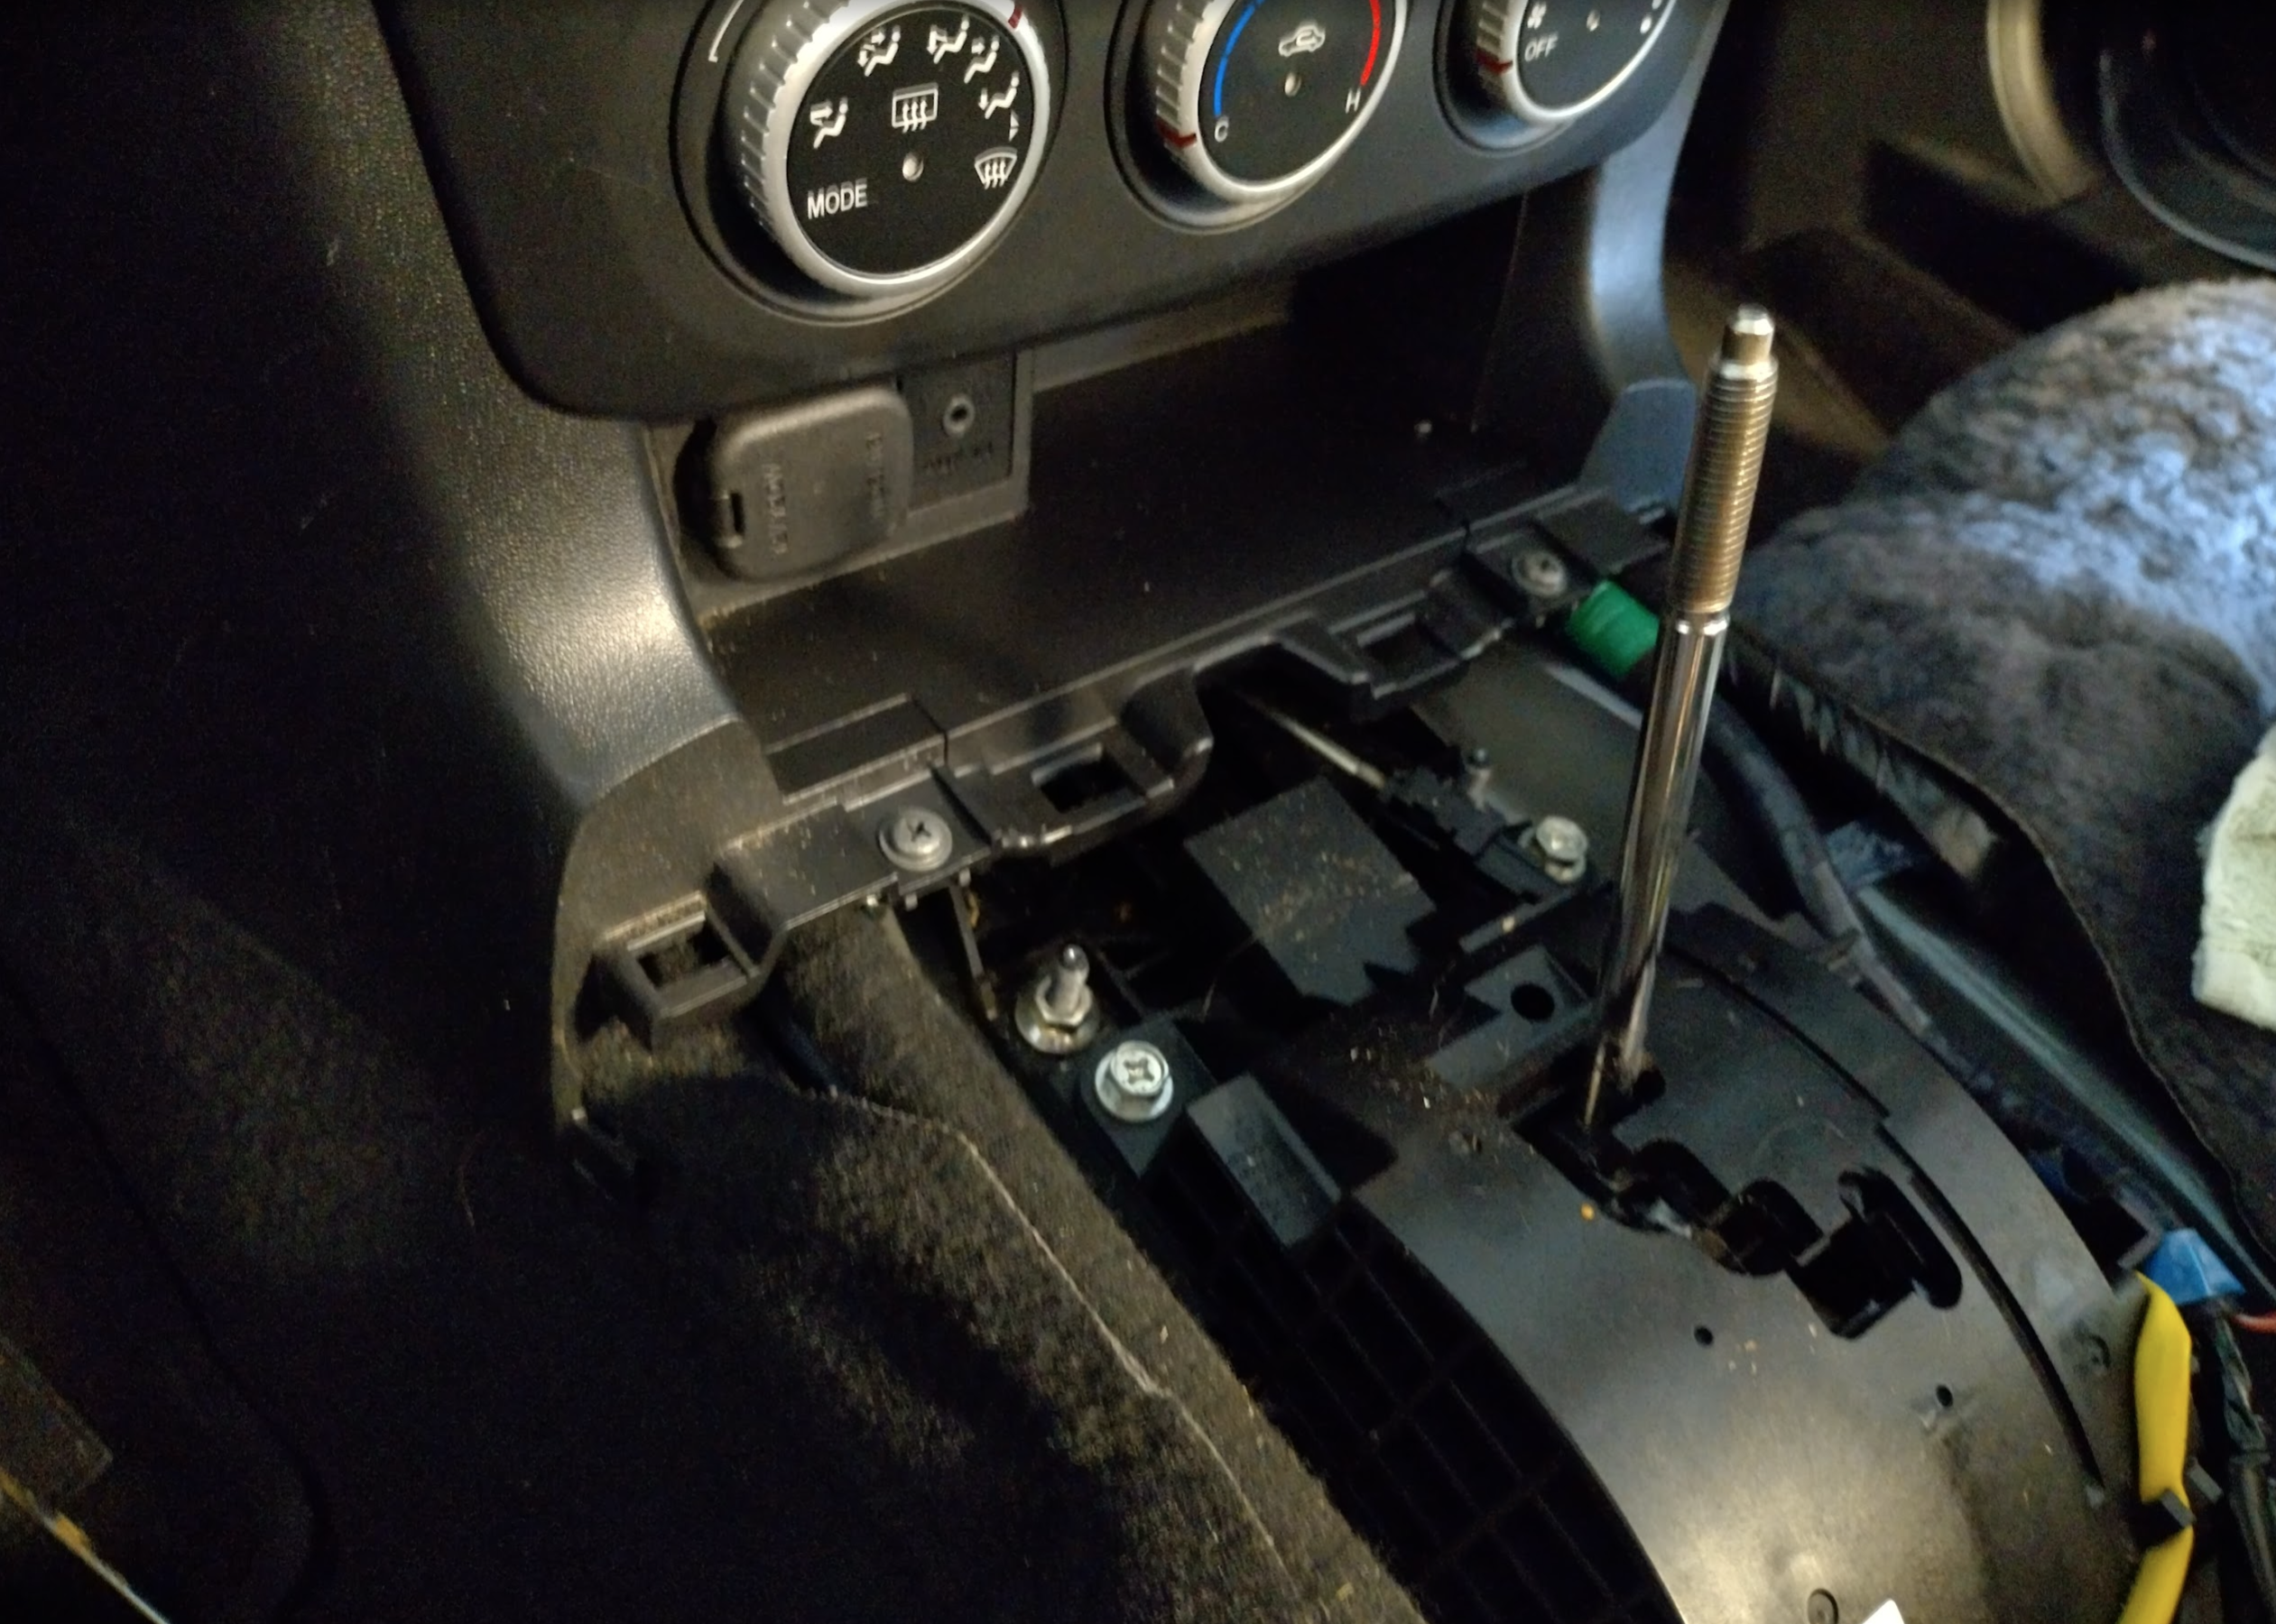
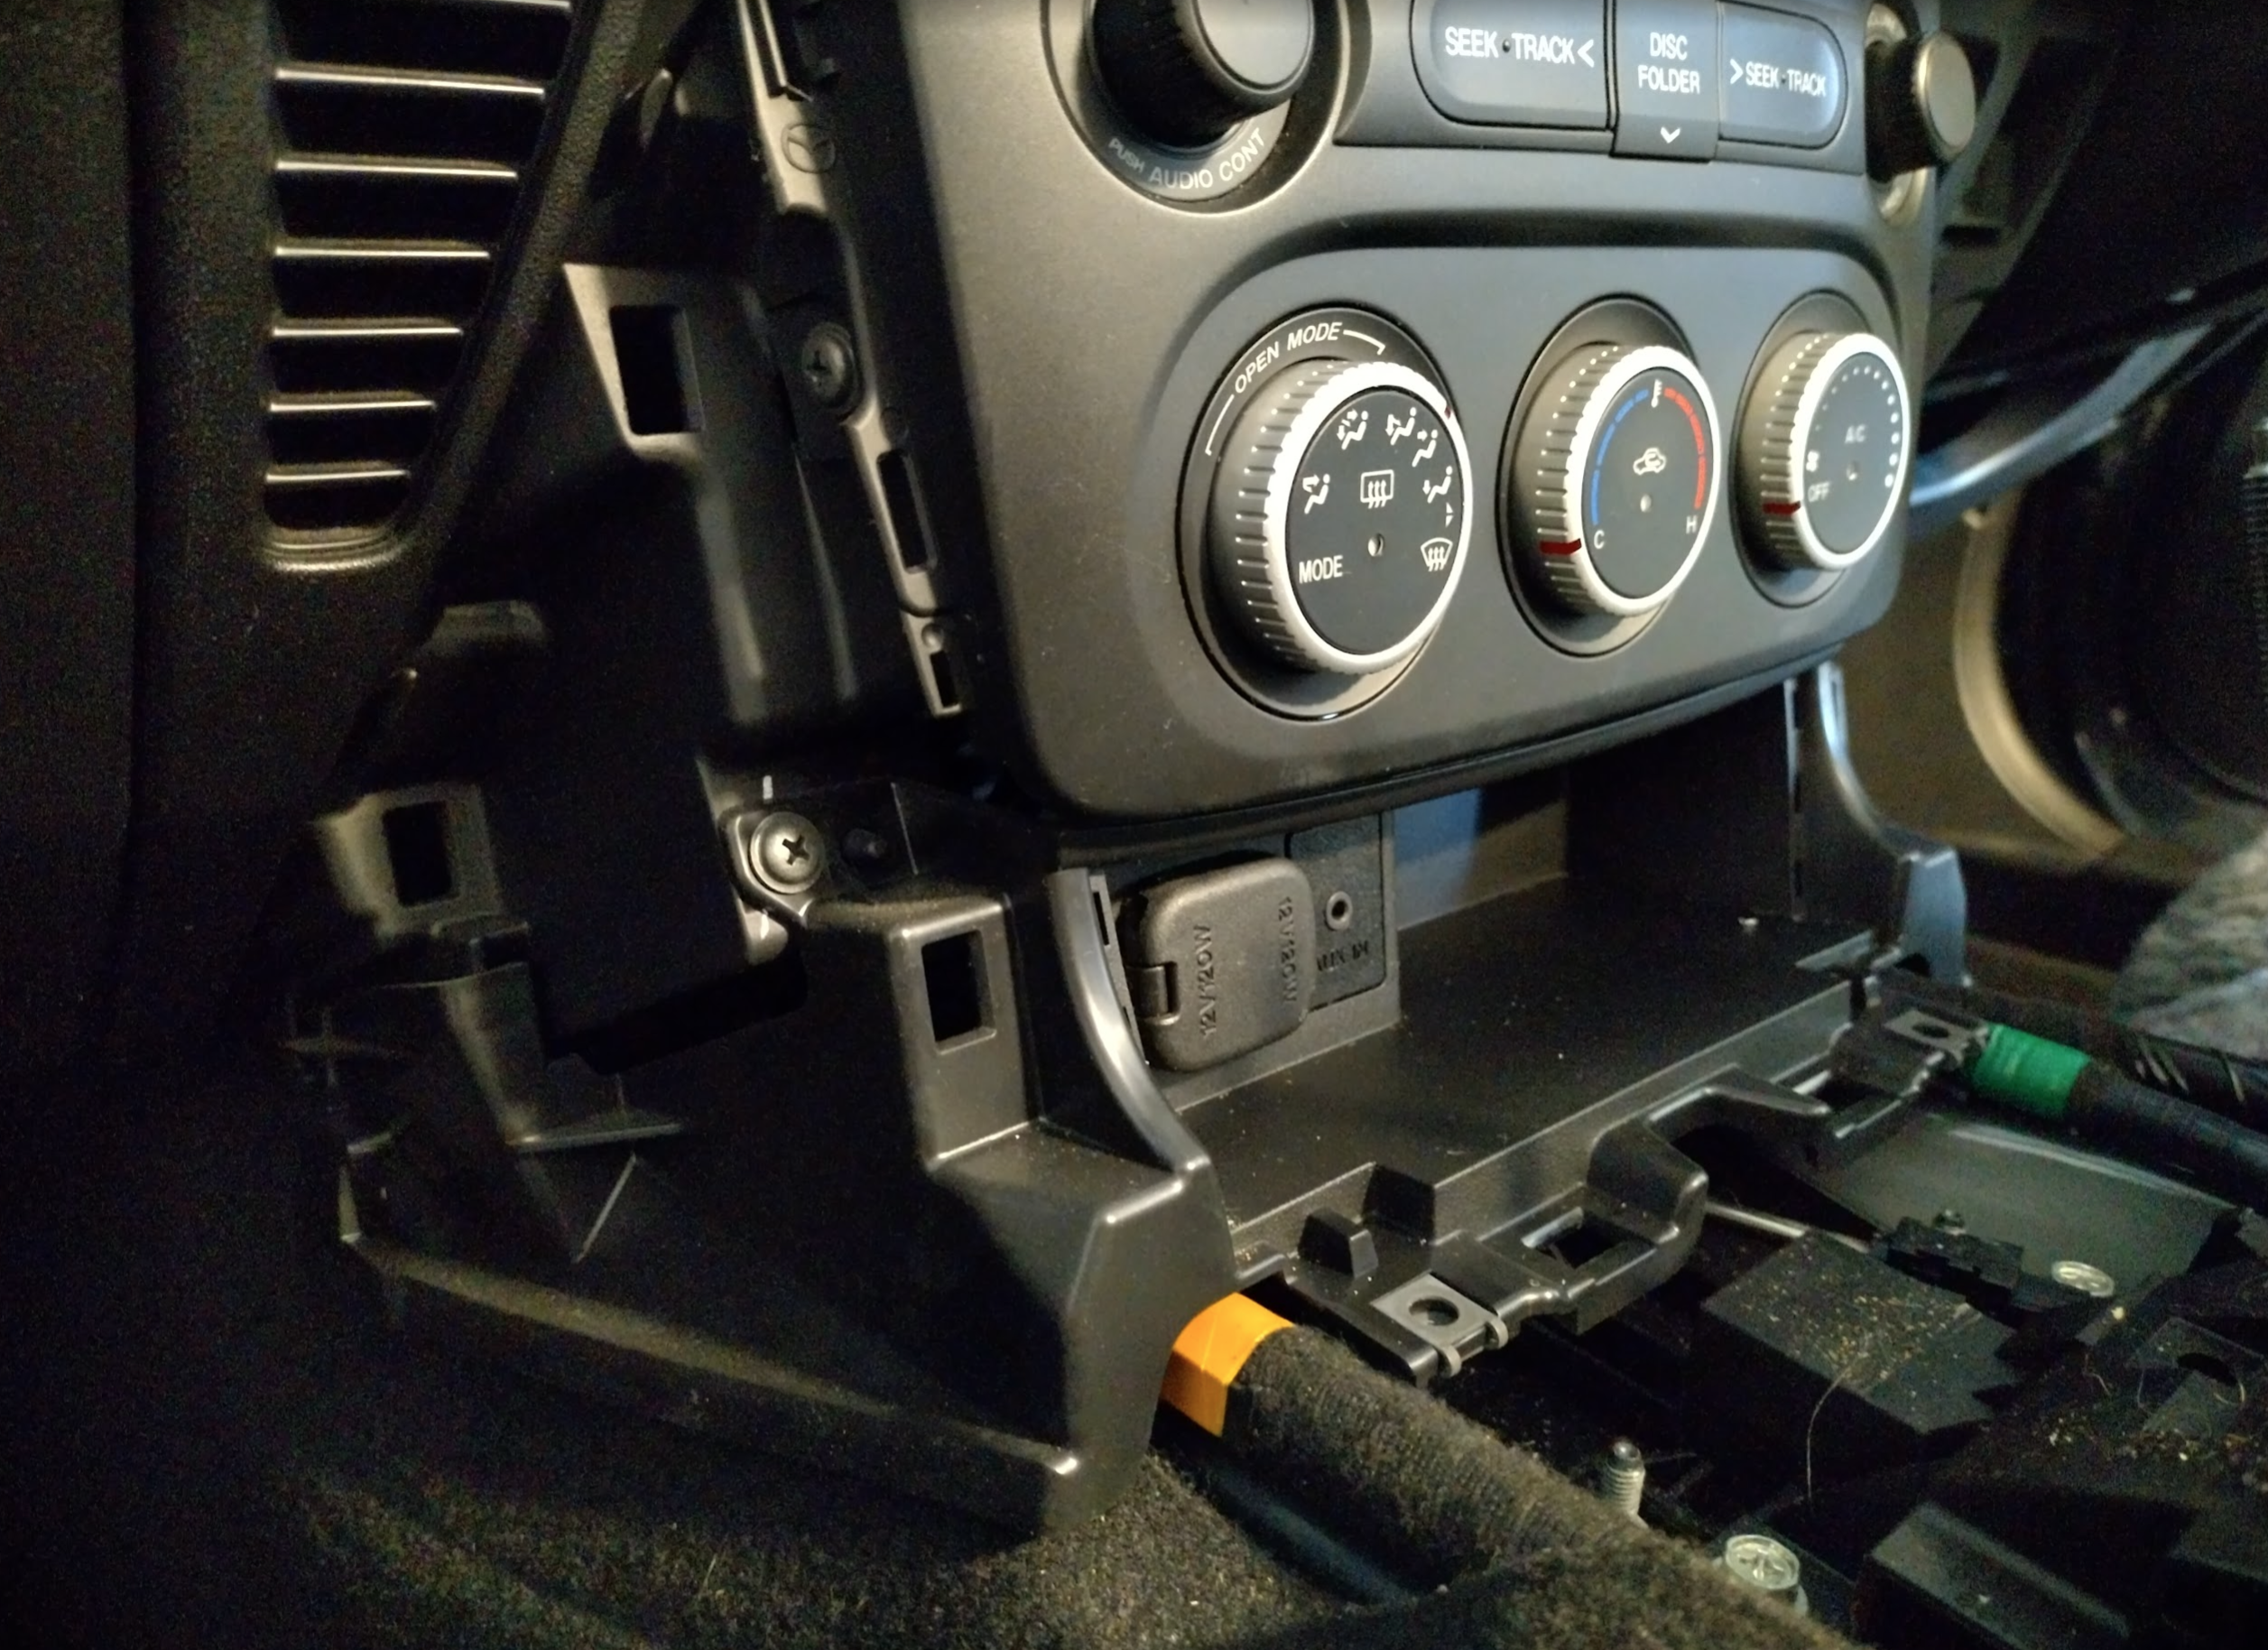
AC controls
Note: If you have a manual and managed to keep it in 4th, you may not need to do this step. However it makes it much easier regarding clearance so it might be worth it regardless. And it removes some weight!
Undo screw on each side.

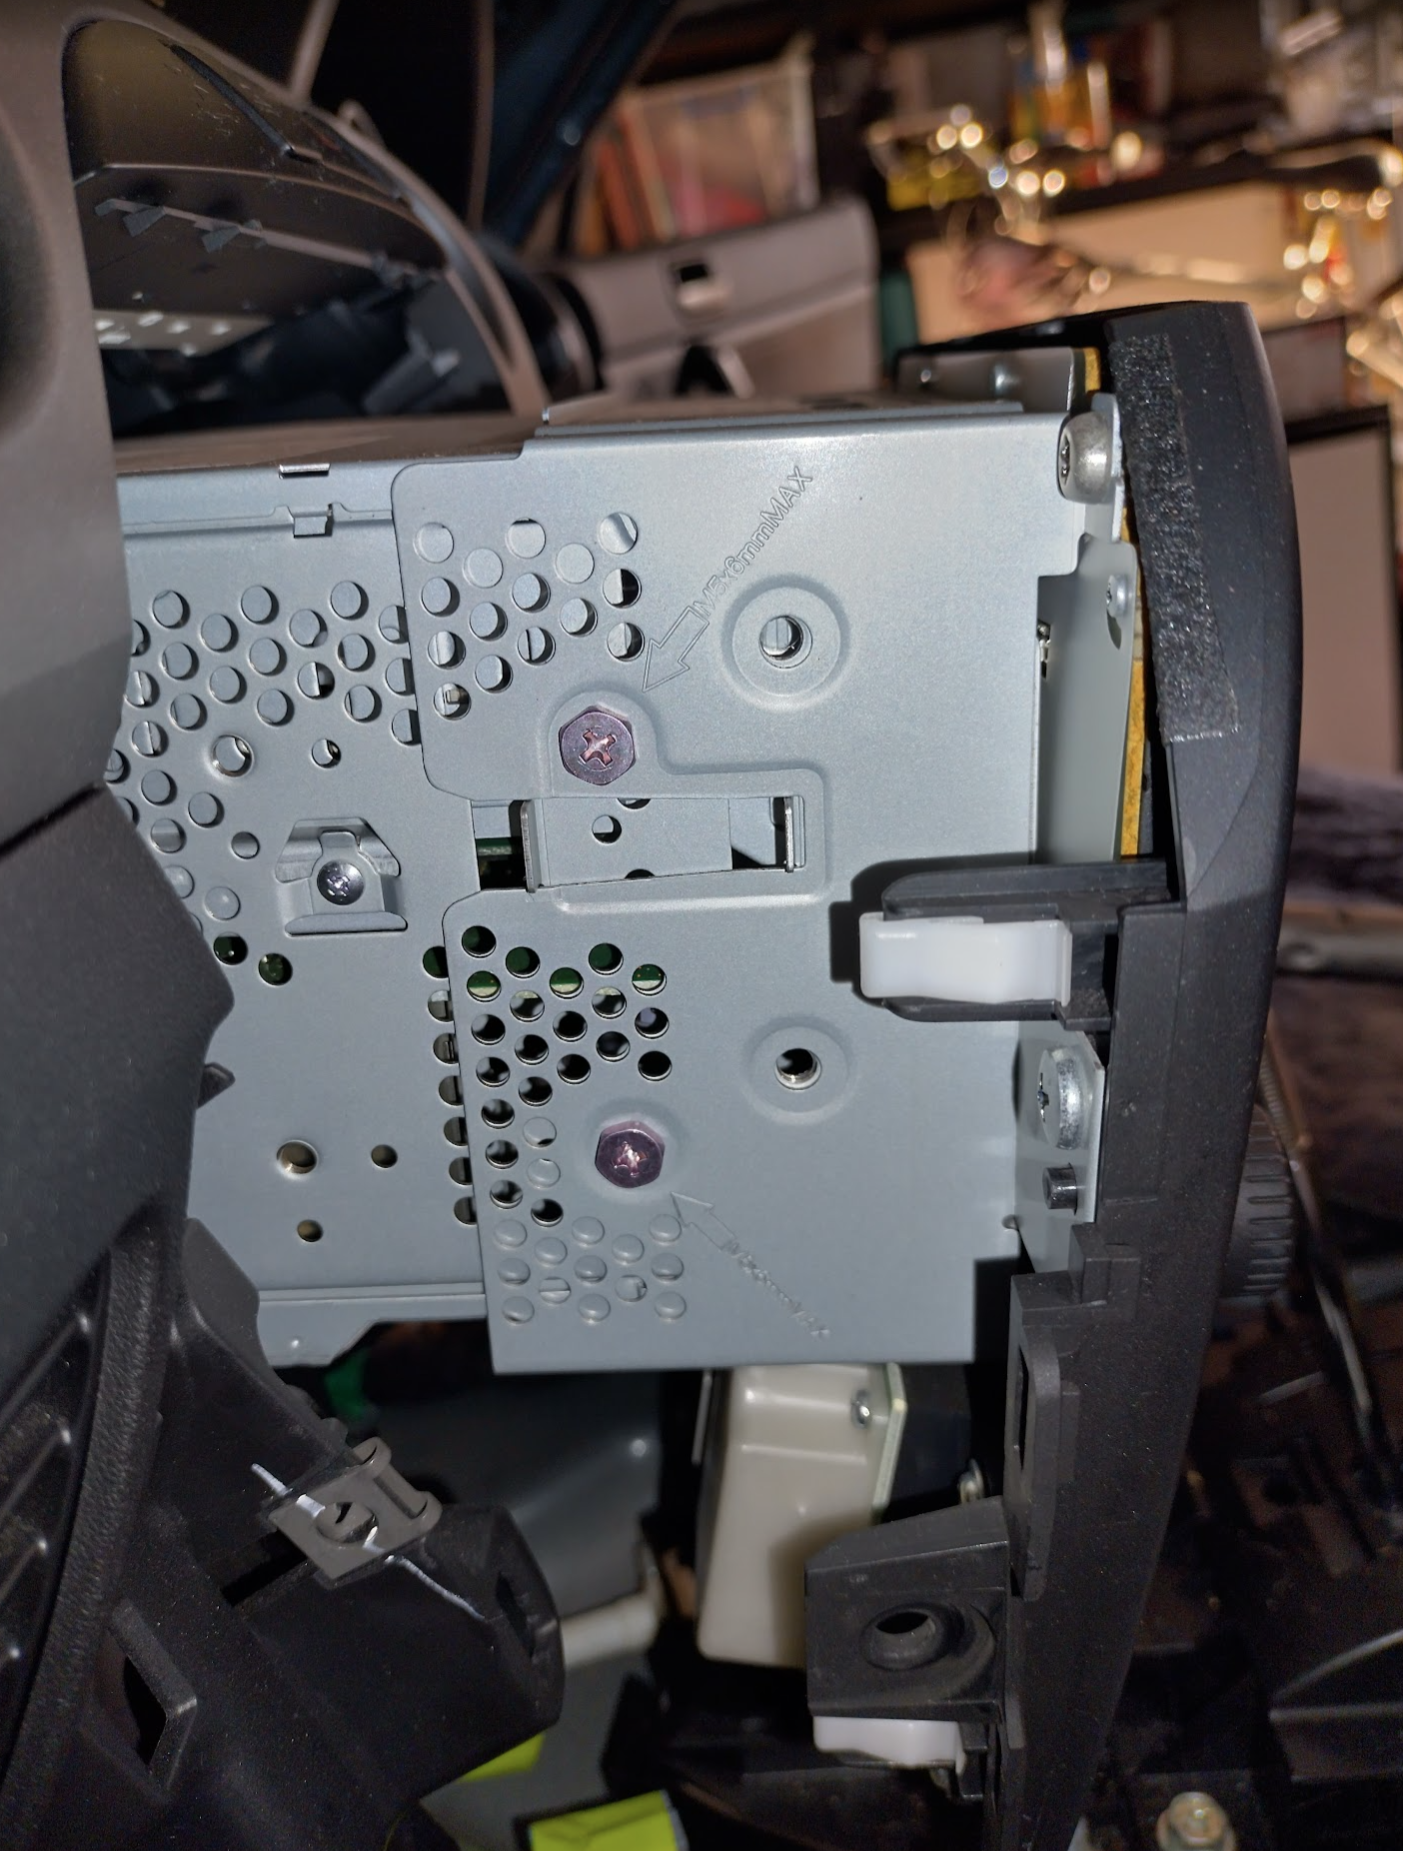
undo the bolt inside the dash (looking in from the steering well). If yours has had a radio replacement, this bolt may not be there anymore. I may not put it back as it’s a nightmare to get to. And to call it a nightmare after getting this far is saying something.
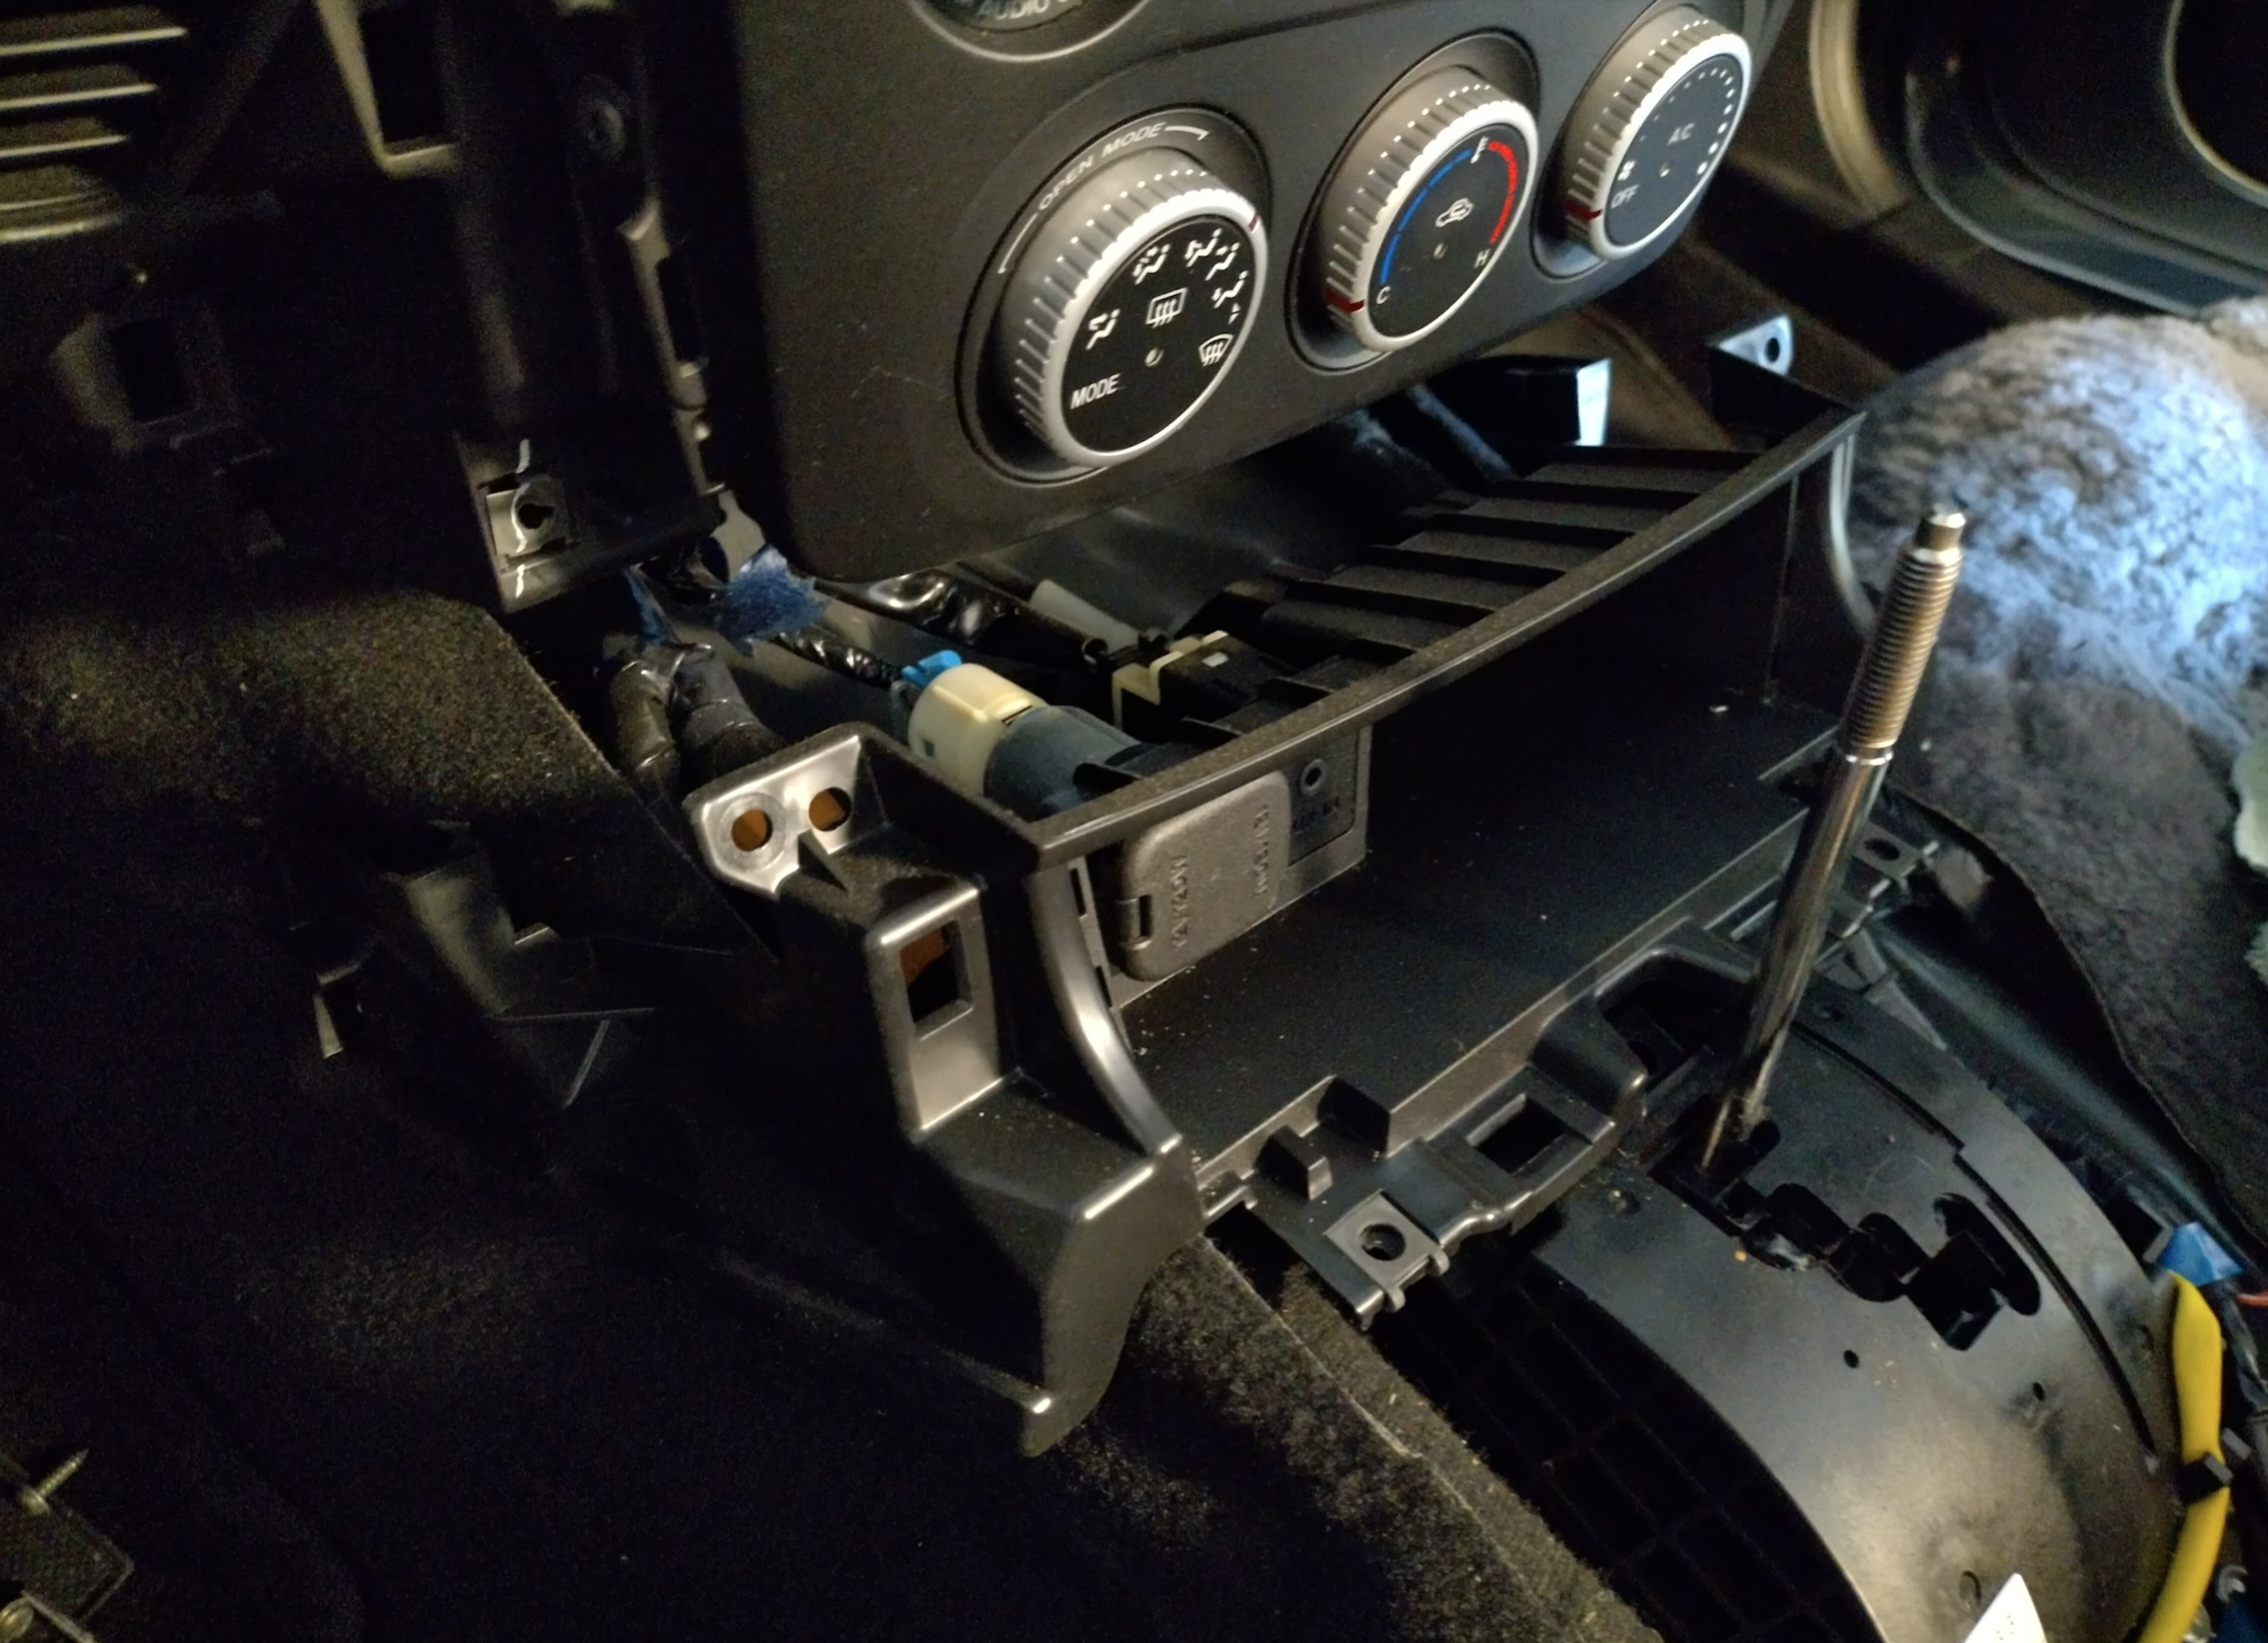
Pull entire radio panel out a bit & disconnect plug at back of aircon controls

Undo 2 screws on each side holding the radio part in to disconnect the entire faceplate
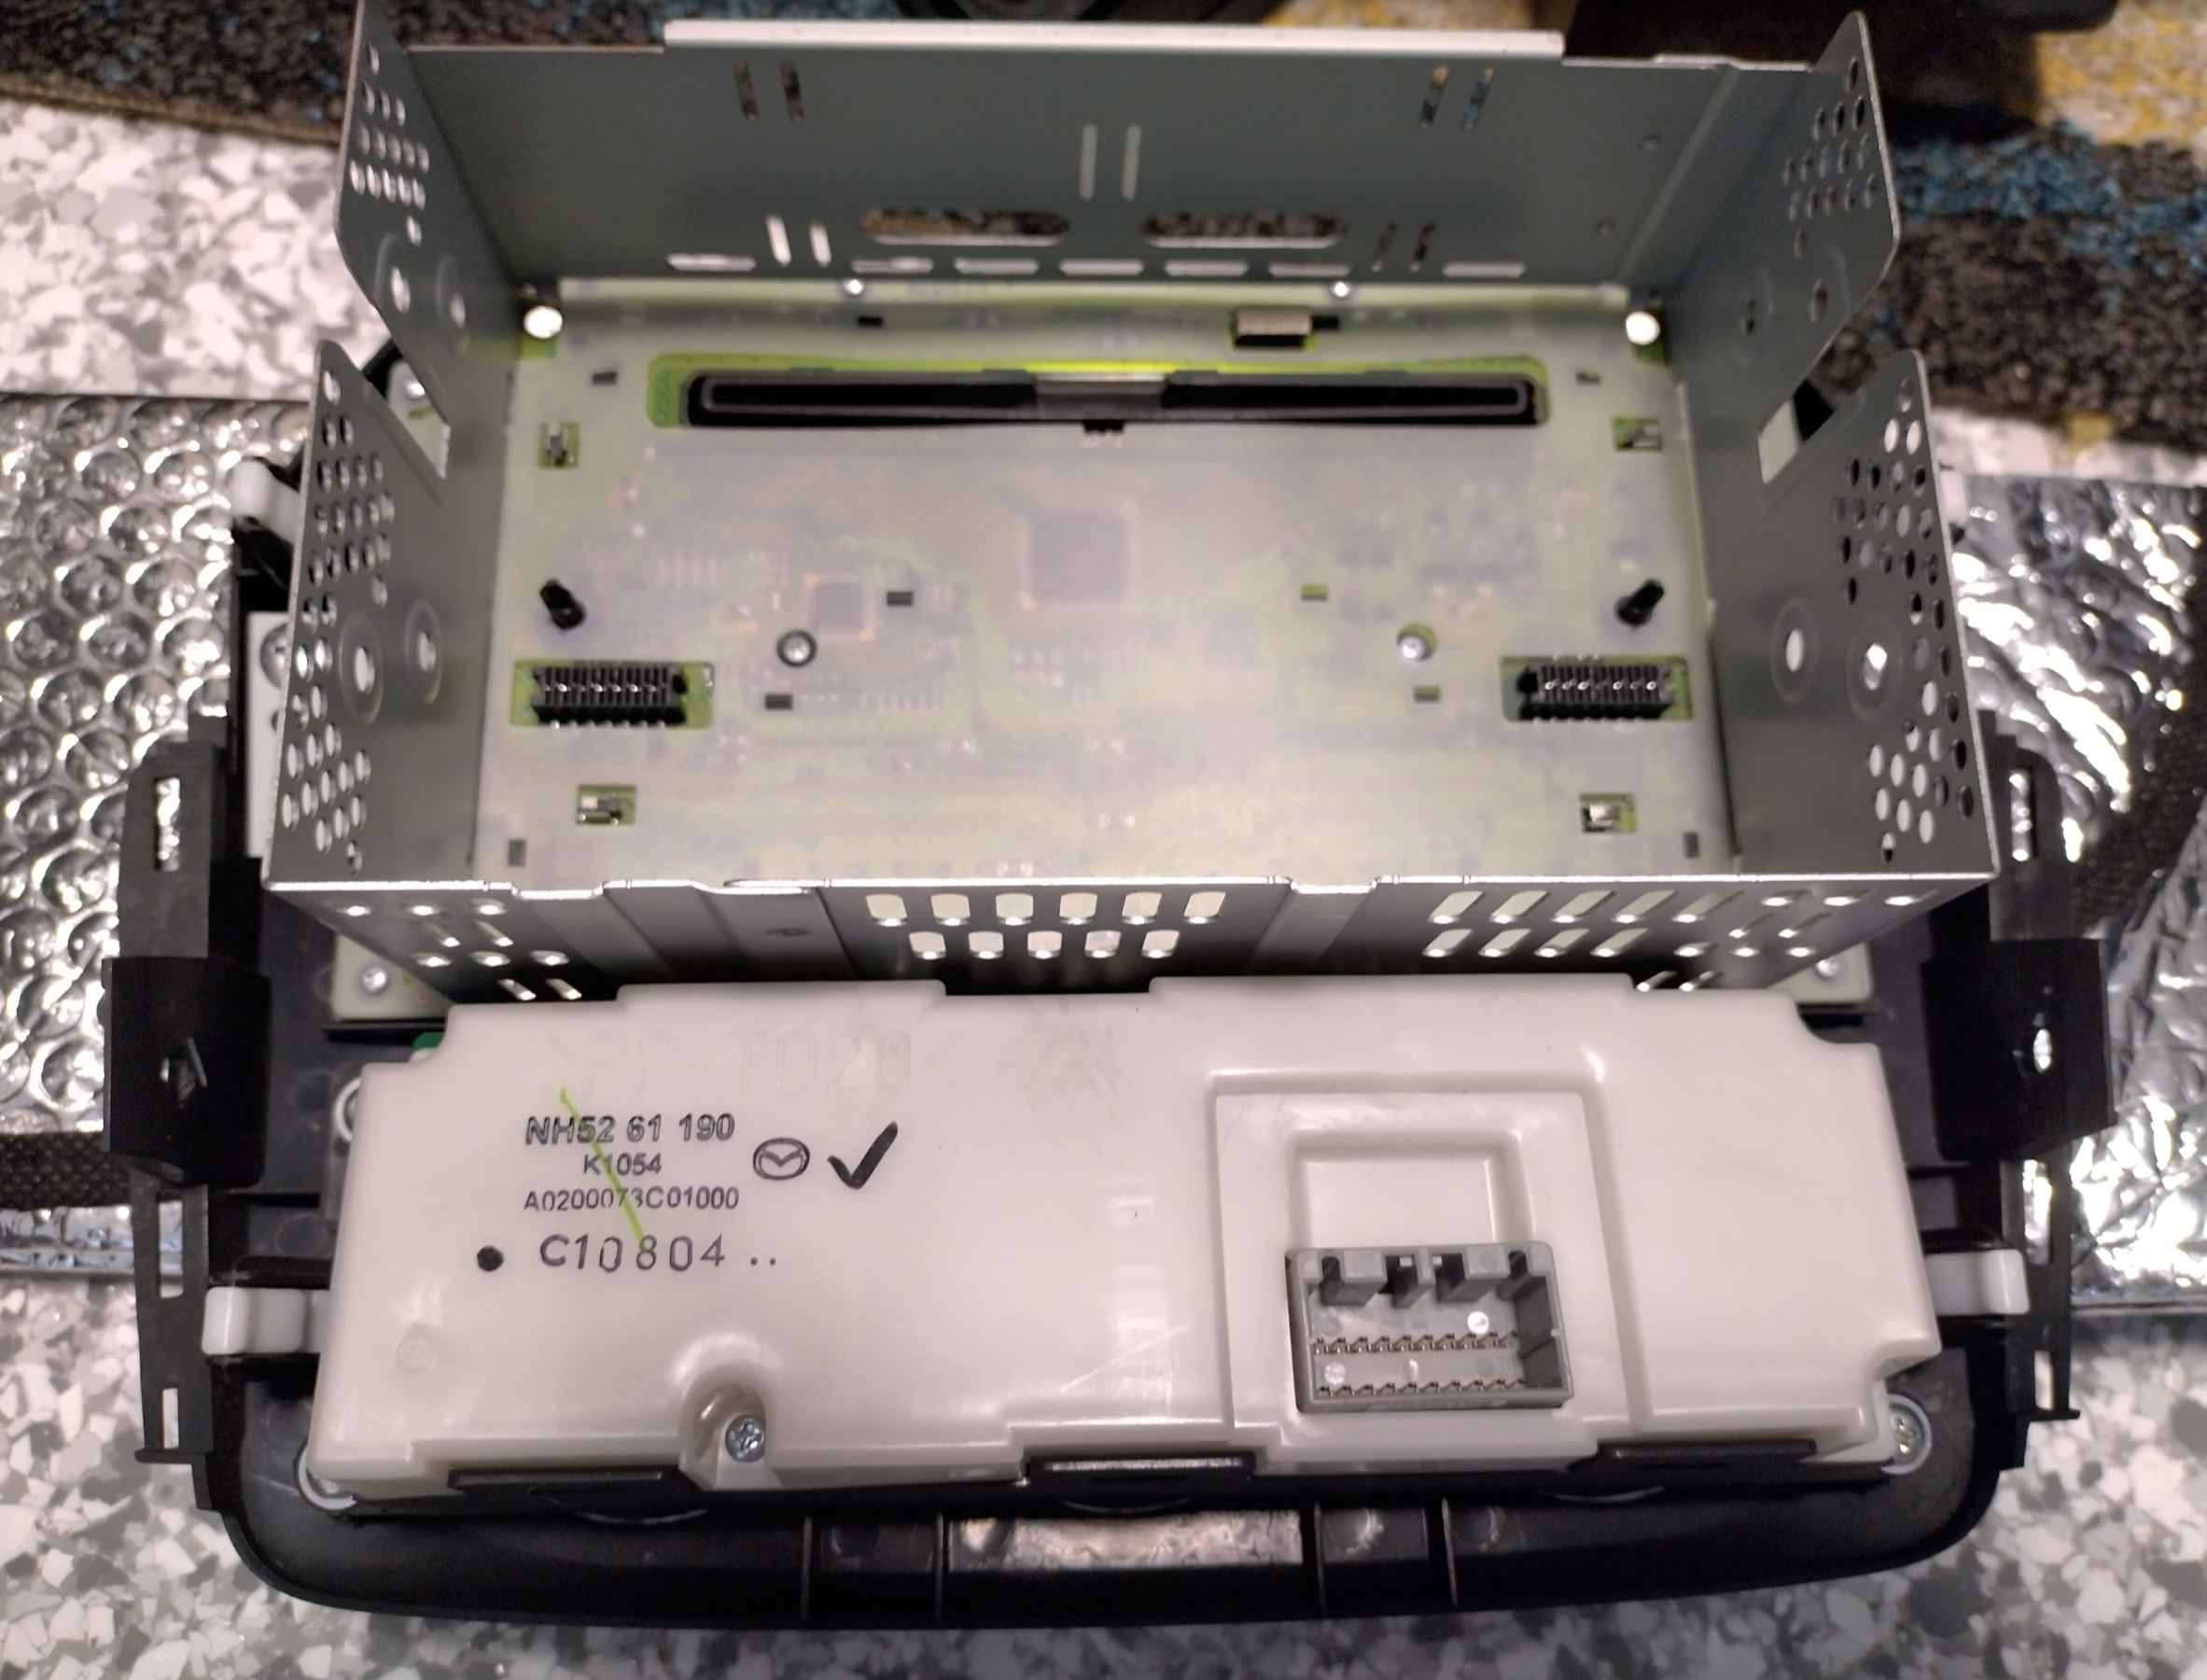
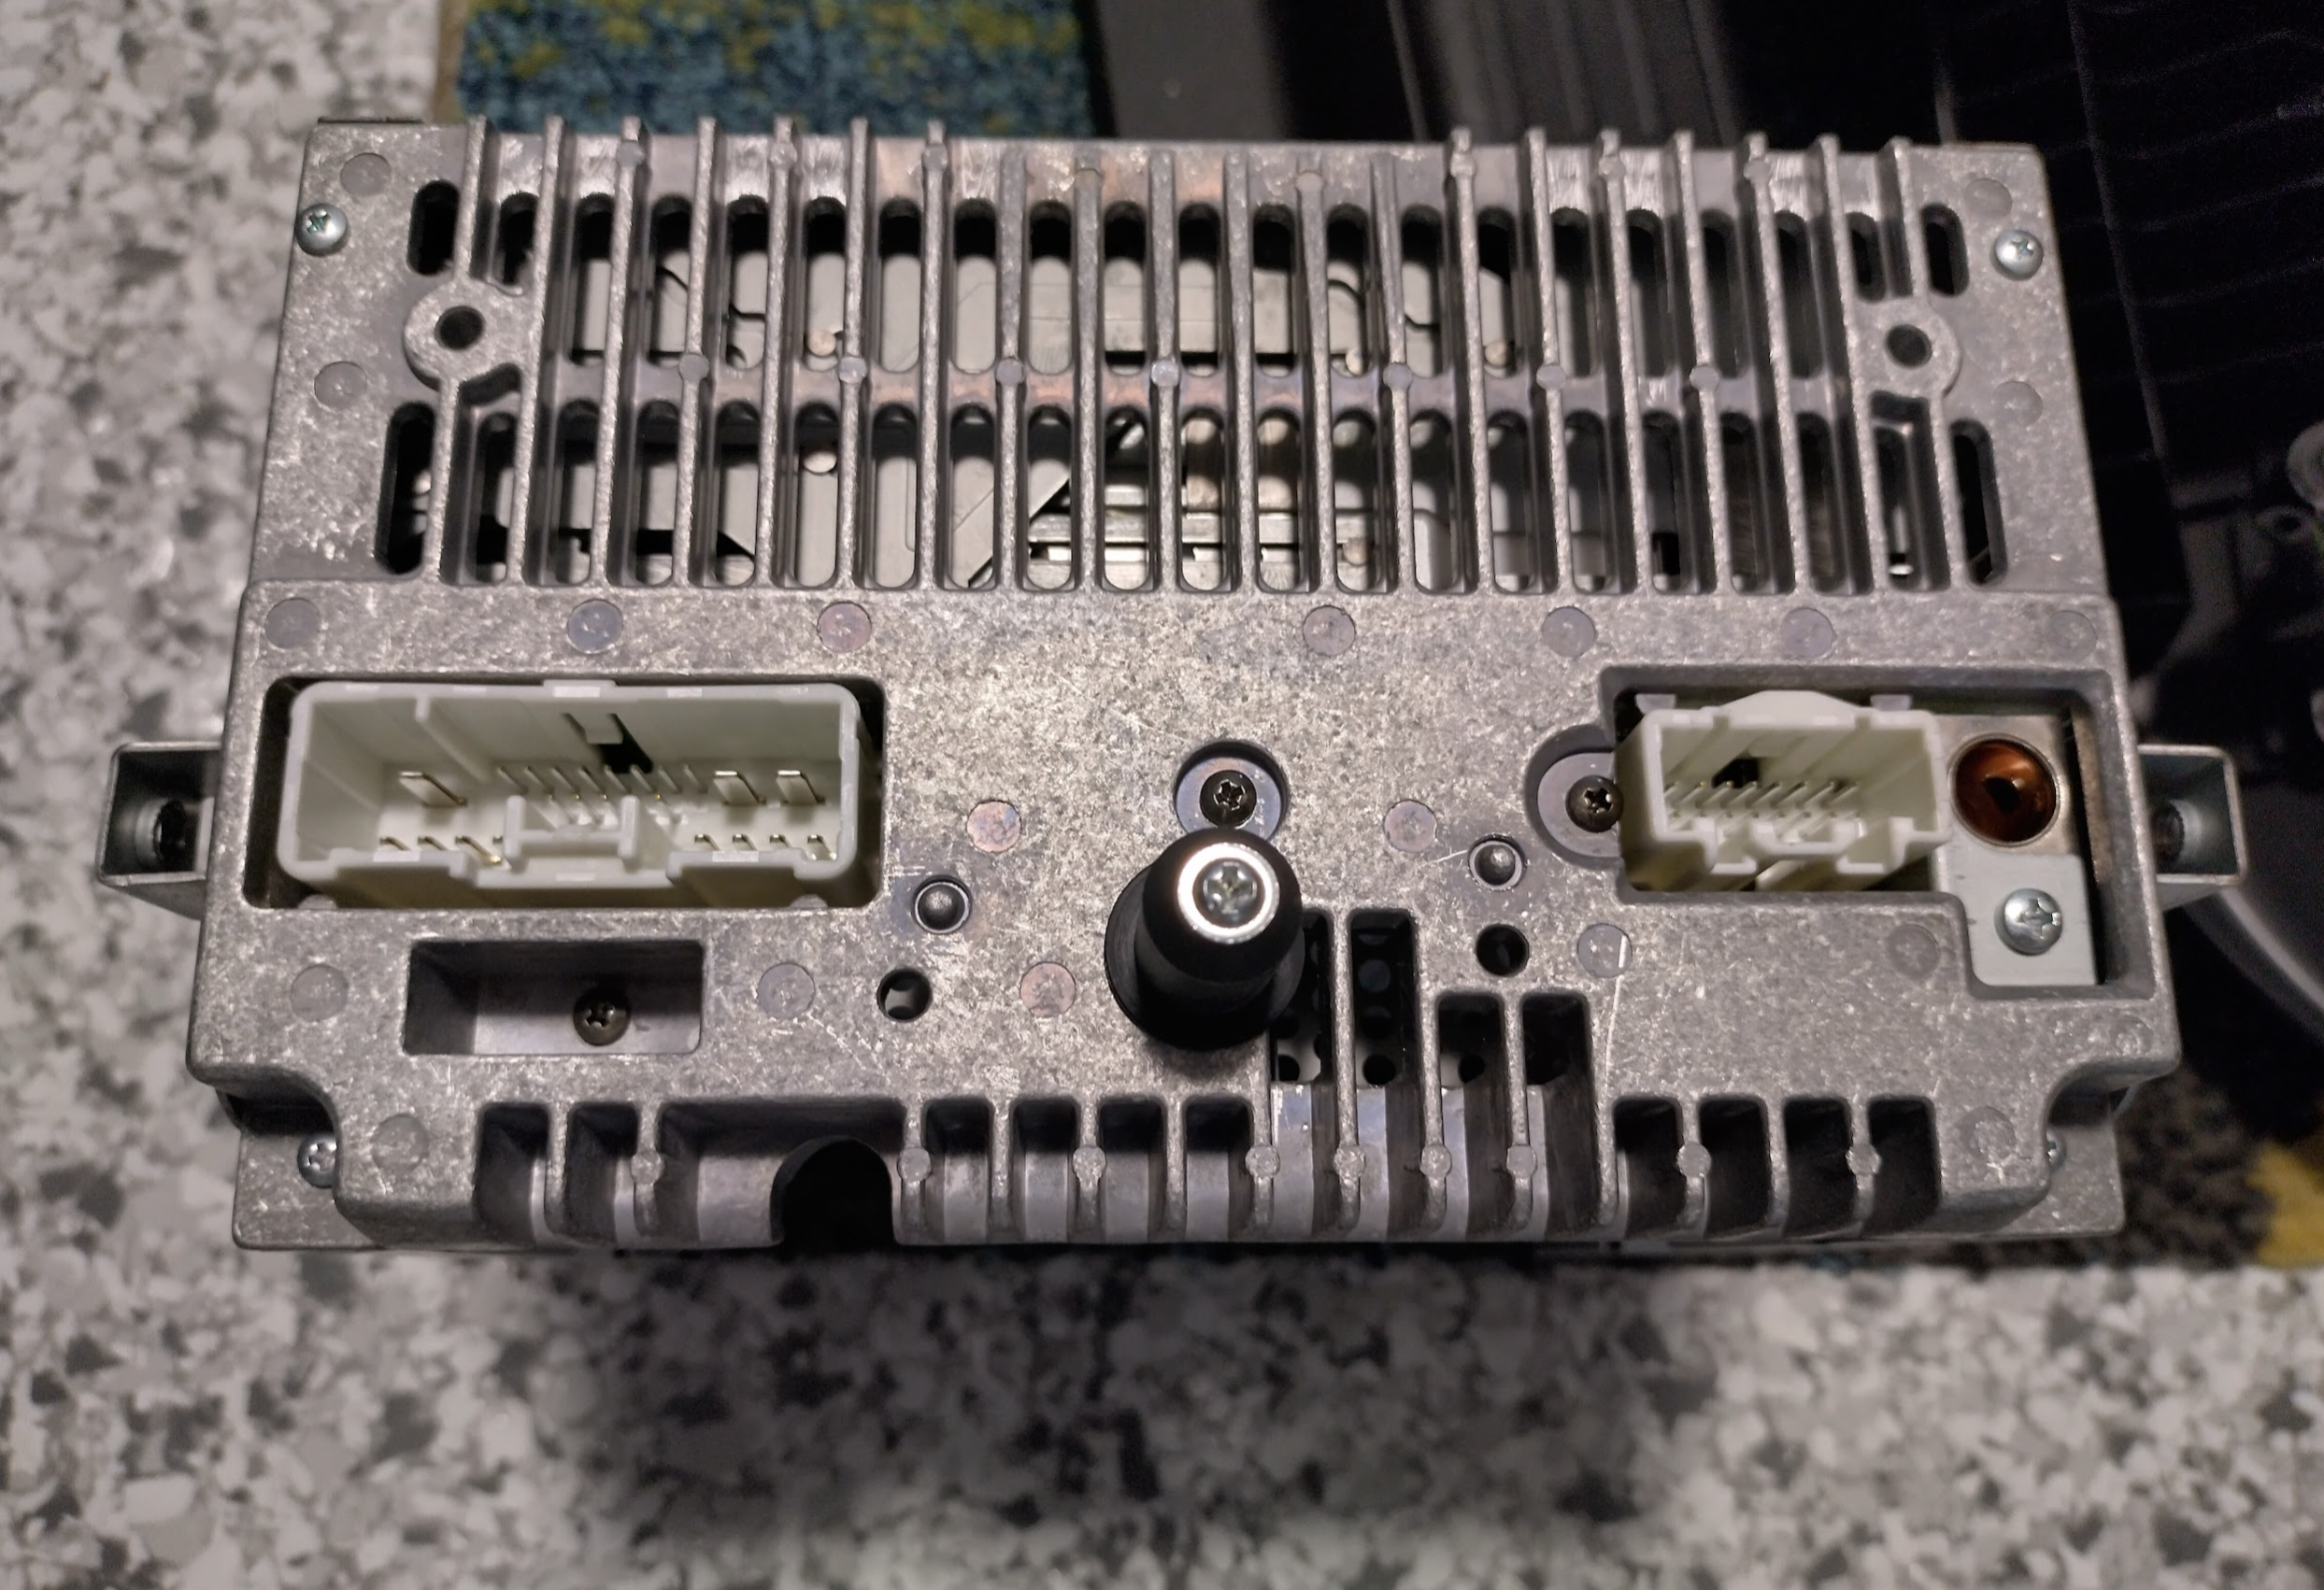
pull 3 plug(s) out of back of radio (reach in behind through the glovebox area if need be) – the big plugs both have tabs on them you have to press. There’s one on side which is the antenna, connected with just a small banana plug.
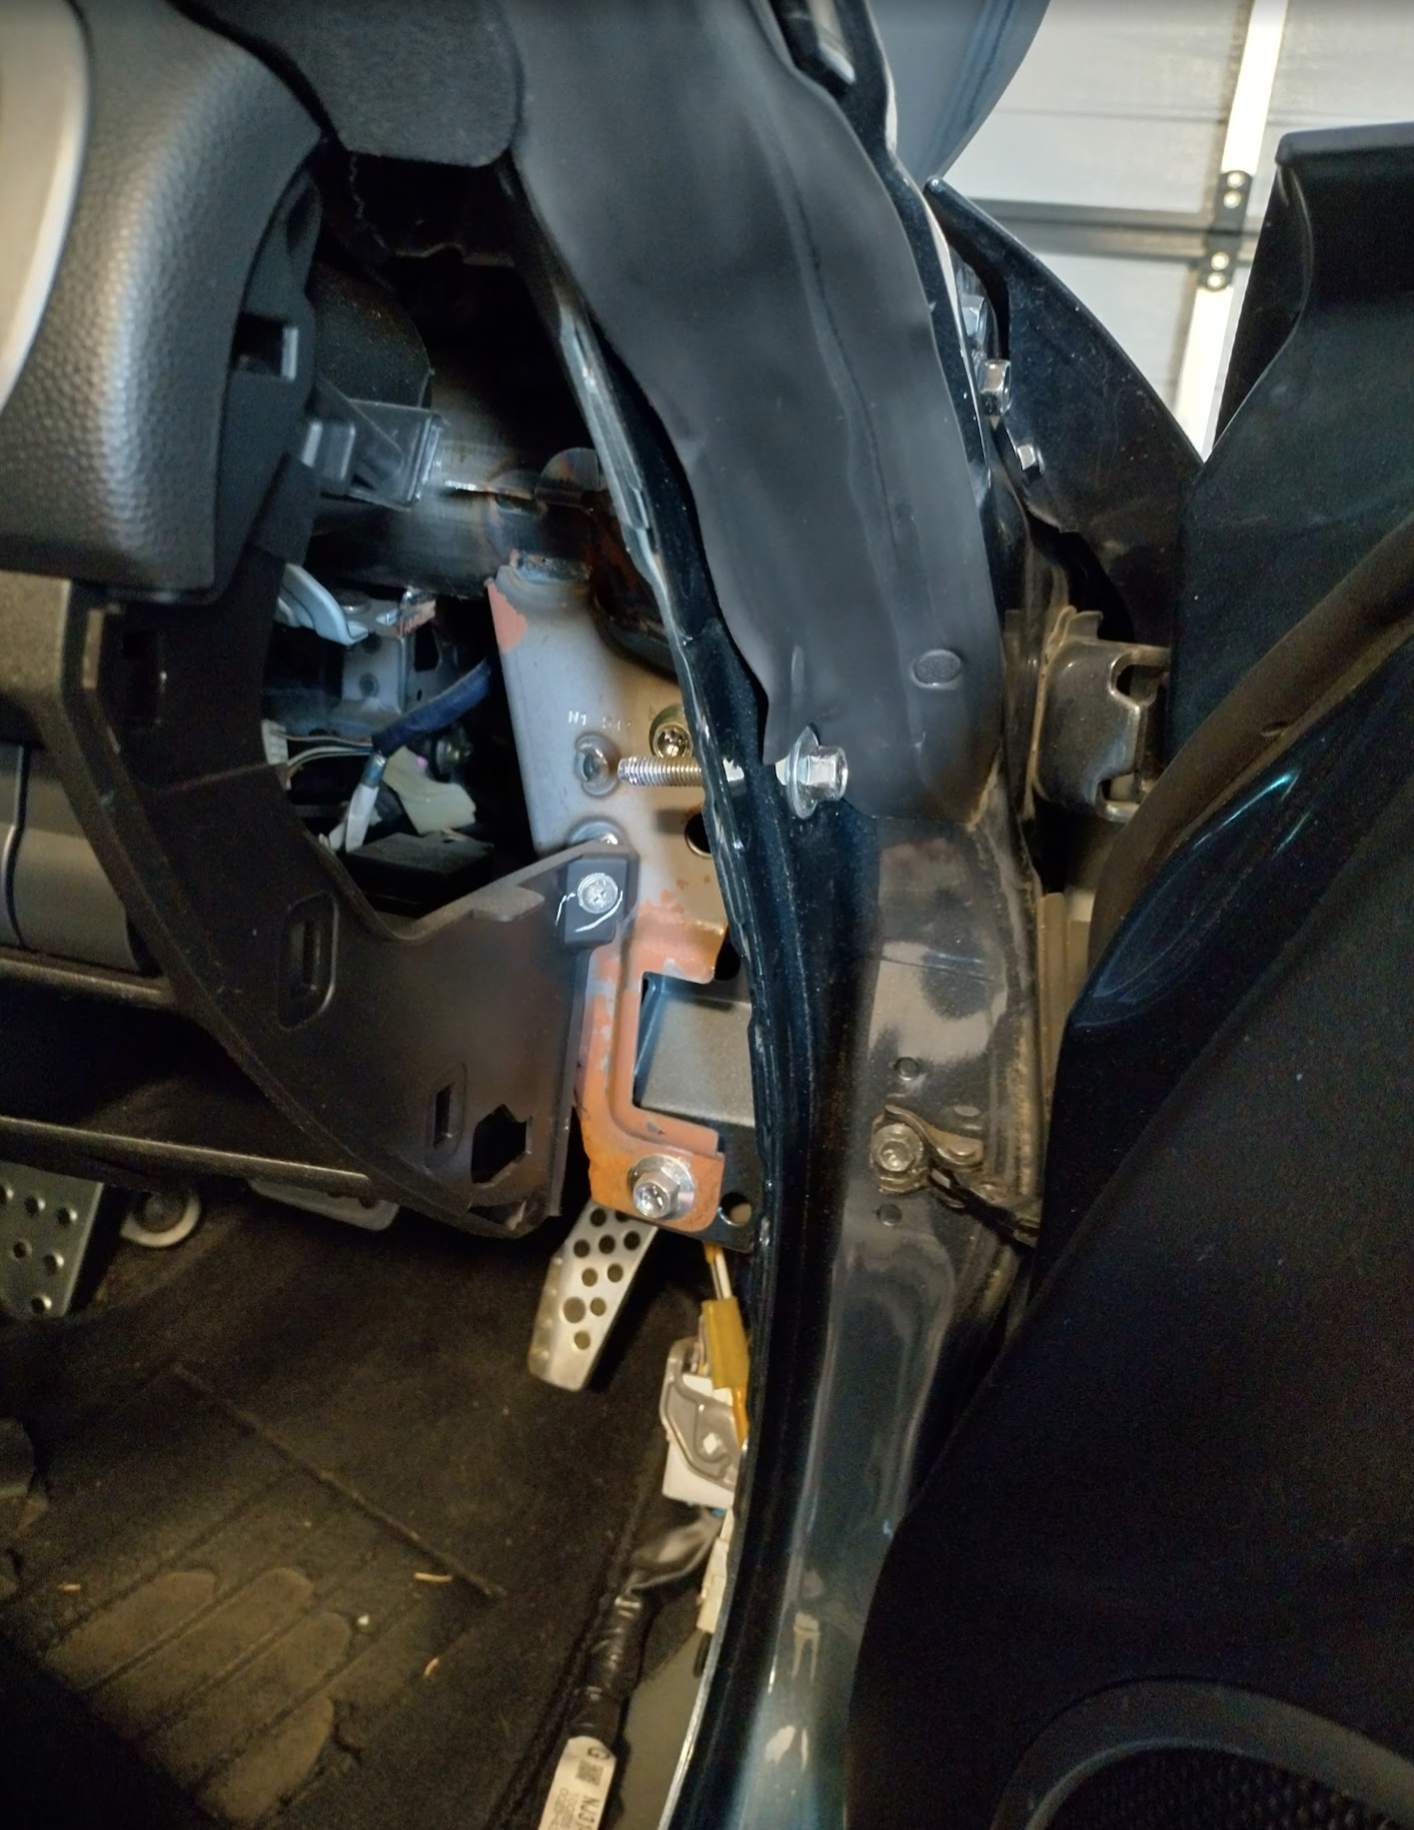
Bolts
Going from left (passenger/fuse) side to the right (drivers side in AUS)
Undo 2 bolts inside, and one outside (covered by a black rubber bump). Leave the lowest one still screwed in a few turns to help hold the whole dash in place until you’re ready to remove.
peel back carpet (a long way) & undo bolt at the far back (10mm) – leave carpet peeled back. Mine has a little velcro tap at the top corner which I think the sole purpose is so it can velcro to itself while peeled back to hold in position. If so, I hope the Mazda engineer got a bonus for this! Then fold back the black plastic door on the floor.
centre console – undo two bolts on brown metal bracket (12mm)
undo bolt behind steering column -> VERY difficult to get to with any number of socket adaptors.
drivers side – undo 2 bolts inside, and two bolts outside (covered by rubber bumps). Leave the bottom one still screwed in a few turns to help hold the whole dash in place until you’re ready to remove.
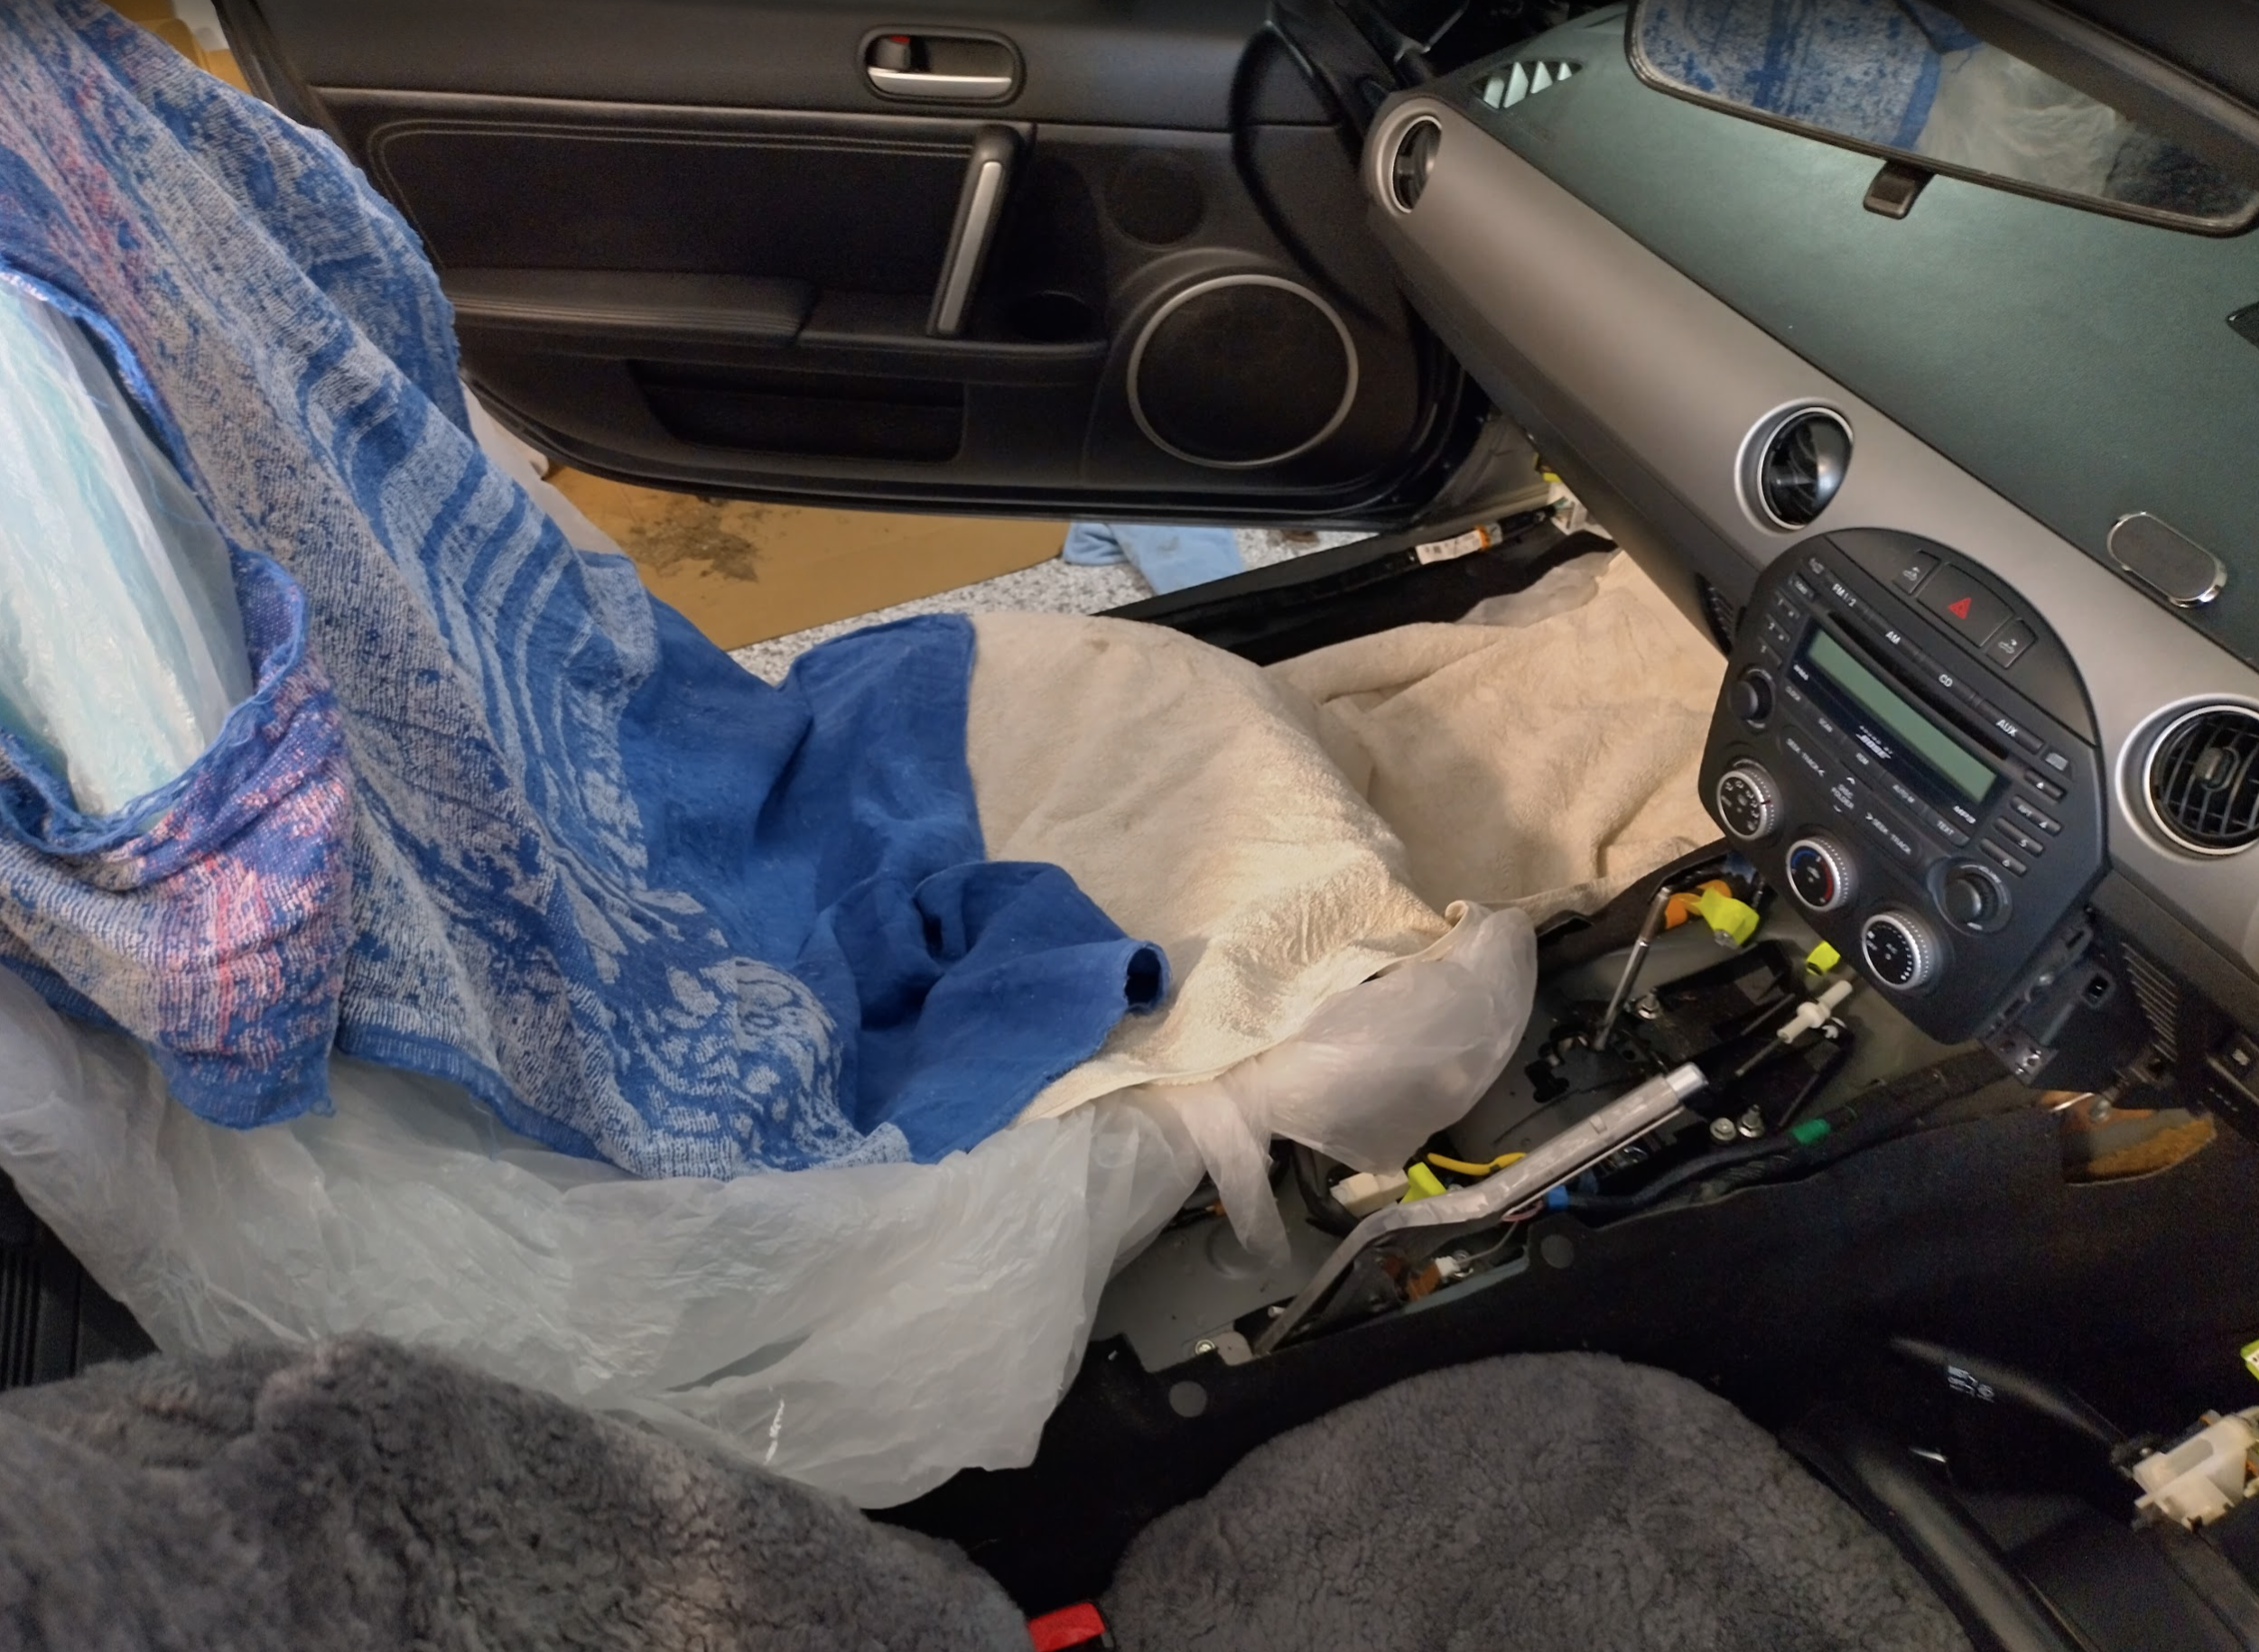
Lifting Dash Out
Cover the Passenger side seat and floor area with a drop sheet and towels.
Remove radio antenna if you have the original big one, & cover car just in case.
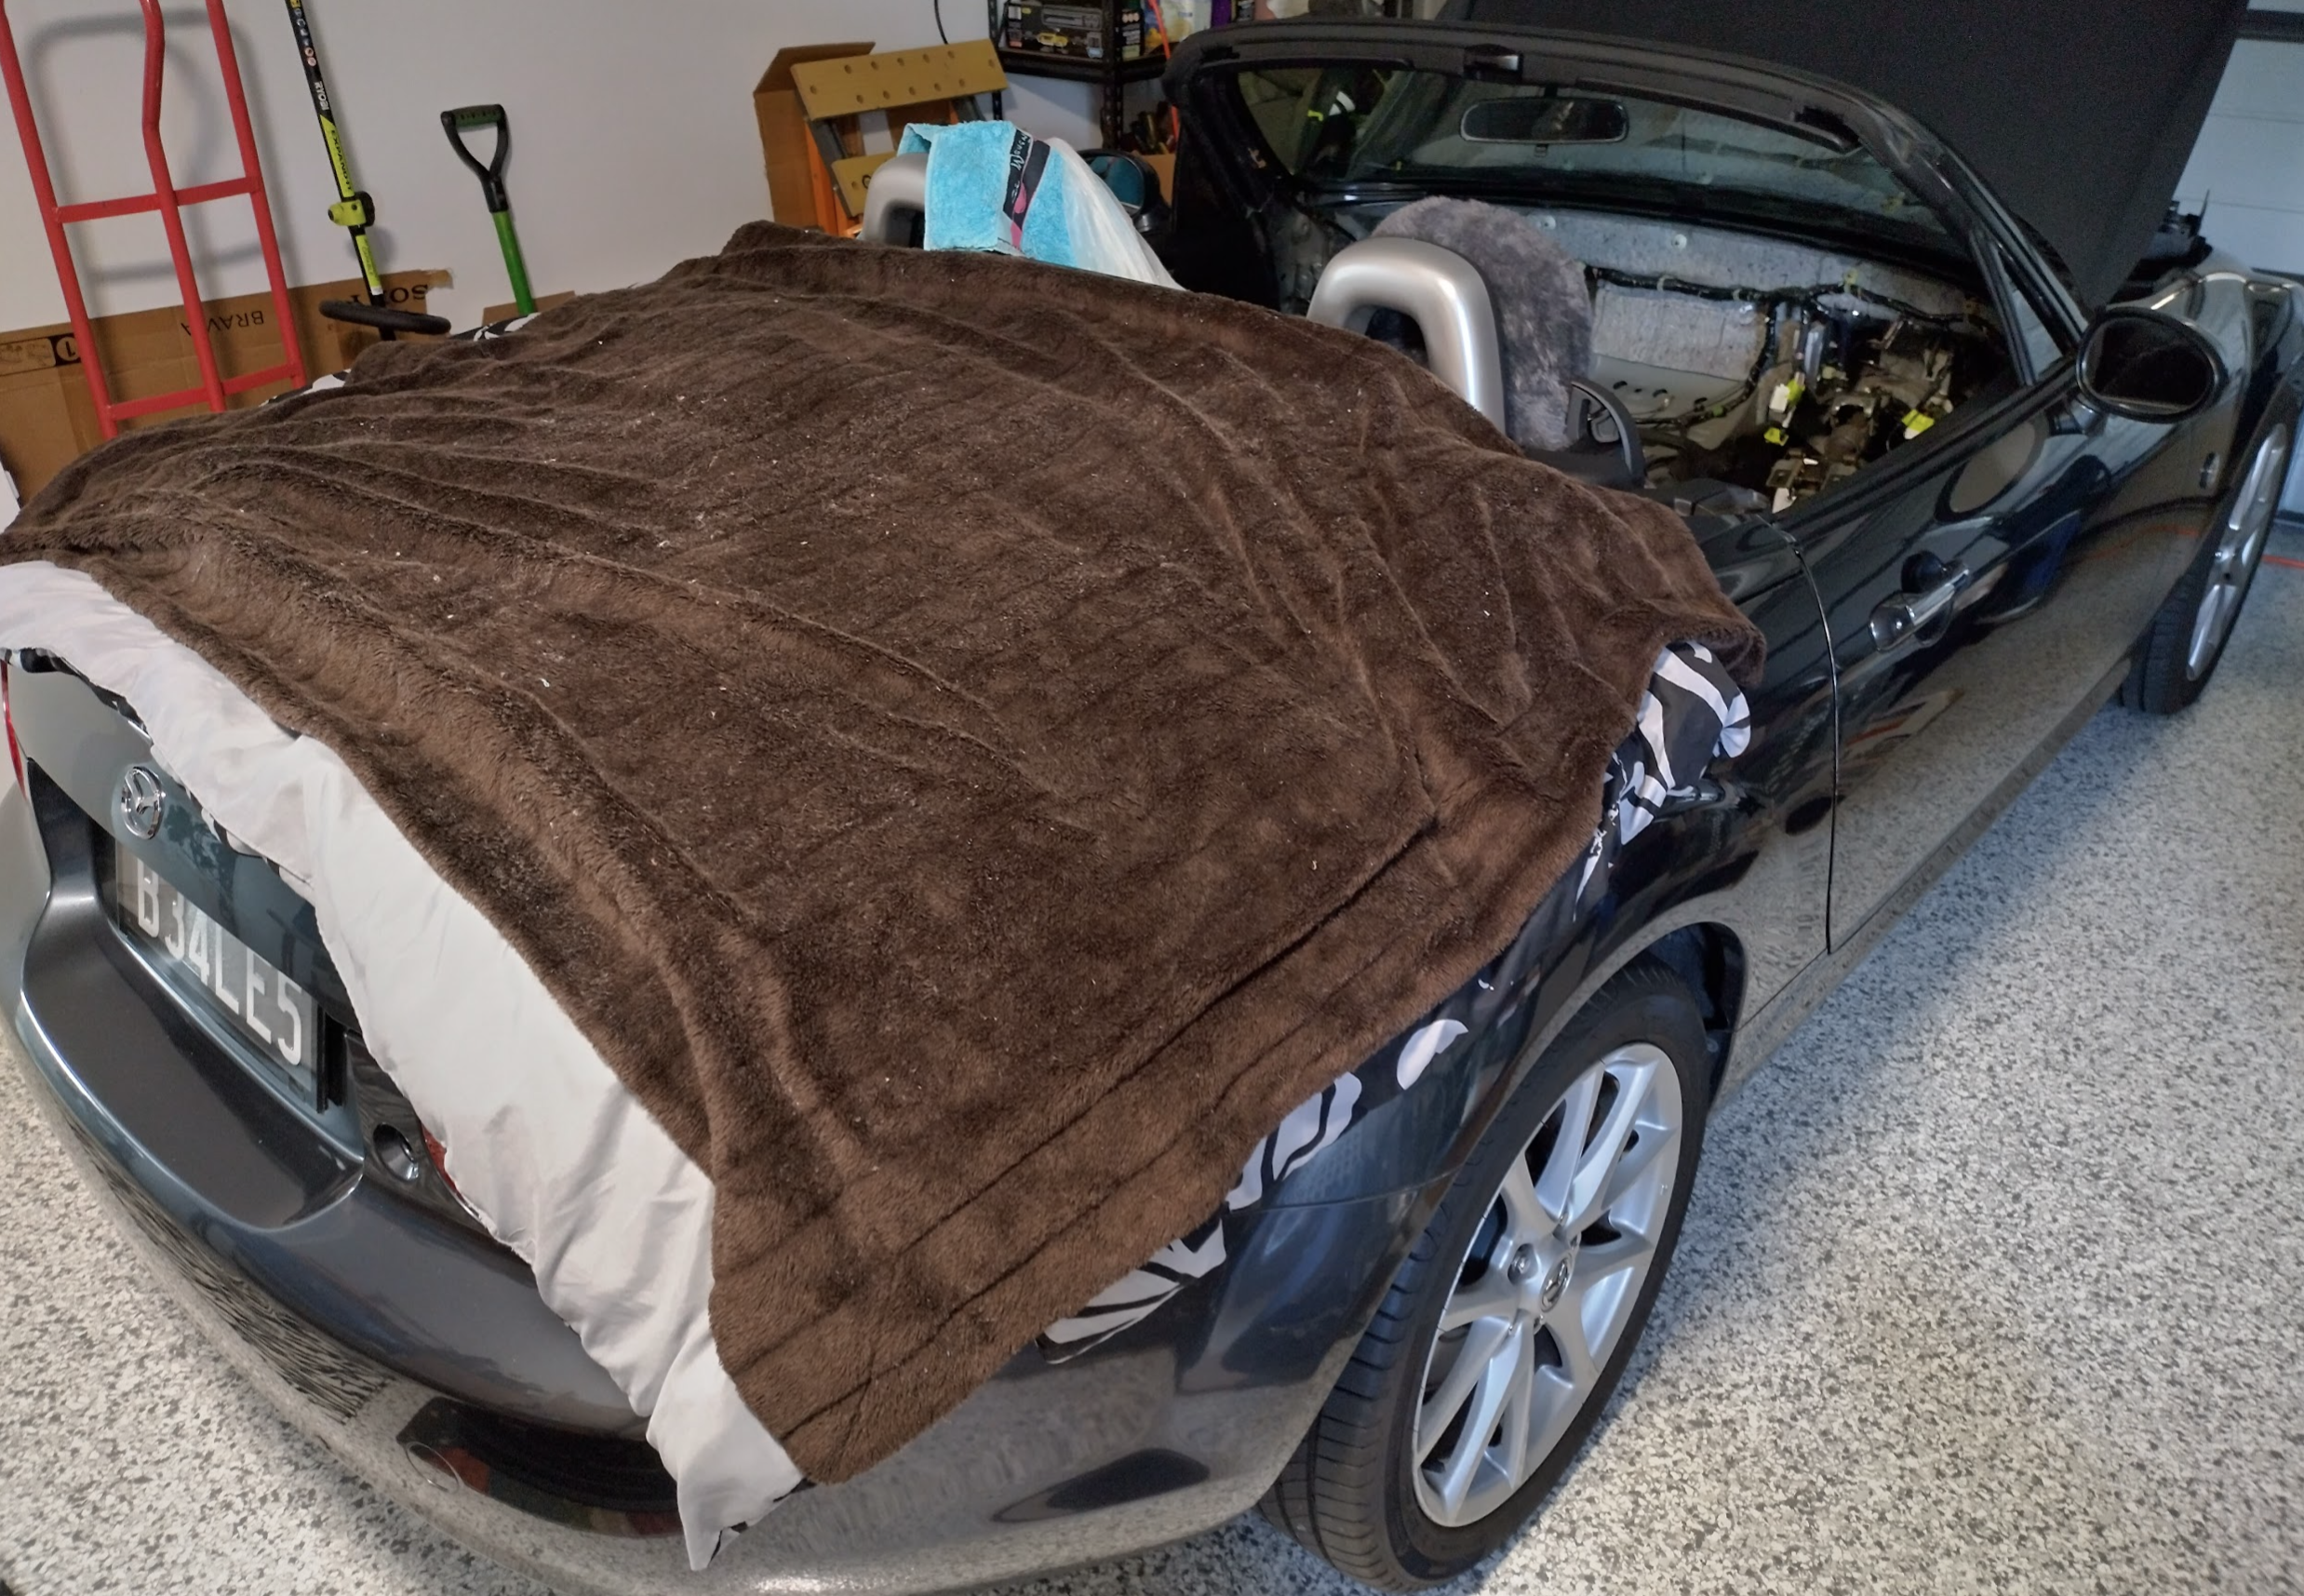
WEAR GLOVES – decent/thick eg gardening, not just rubber.
The weight is more towards the glovebox side – you could take the blower out to save a bit of weight.
HAVE TWO OR MORE PEOPLE.
Pull up and out a little to see if anything is stuck or you have missed any plugs. If so, you can push it back in and hand screw in the two lower bolts on each side. If you’re good, keep going until you’re over the gear shift, then you can lift up and over the car. We did have to readjust due to the weight balance once we had it over the headrests.
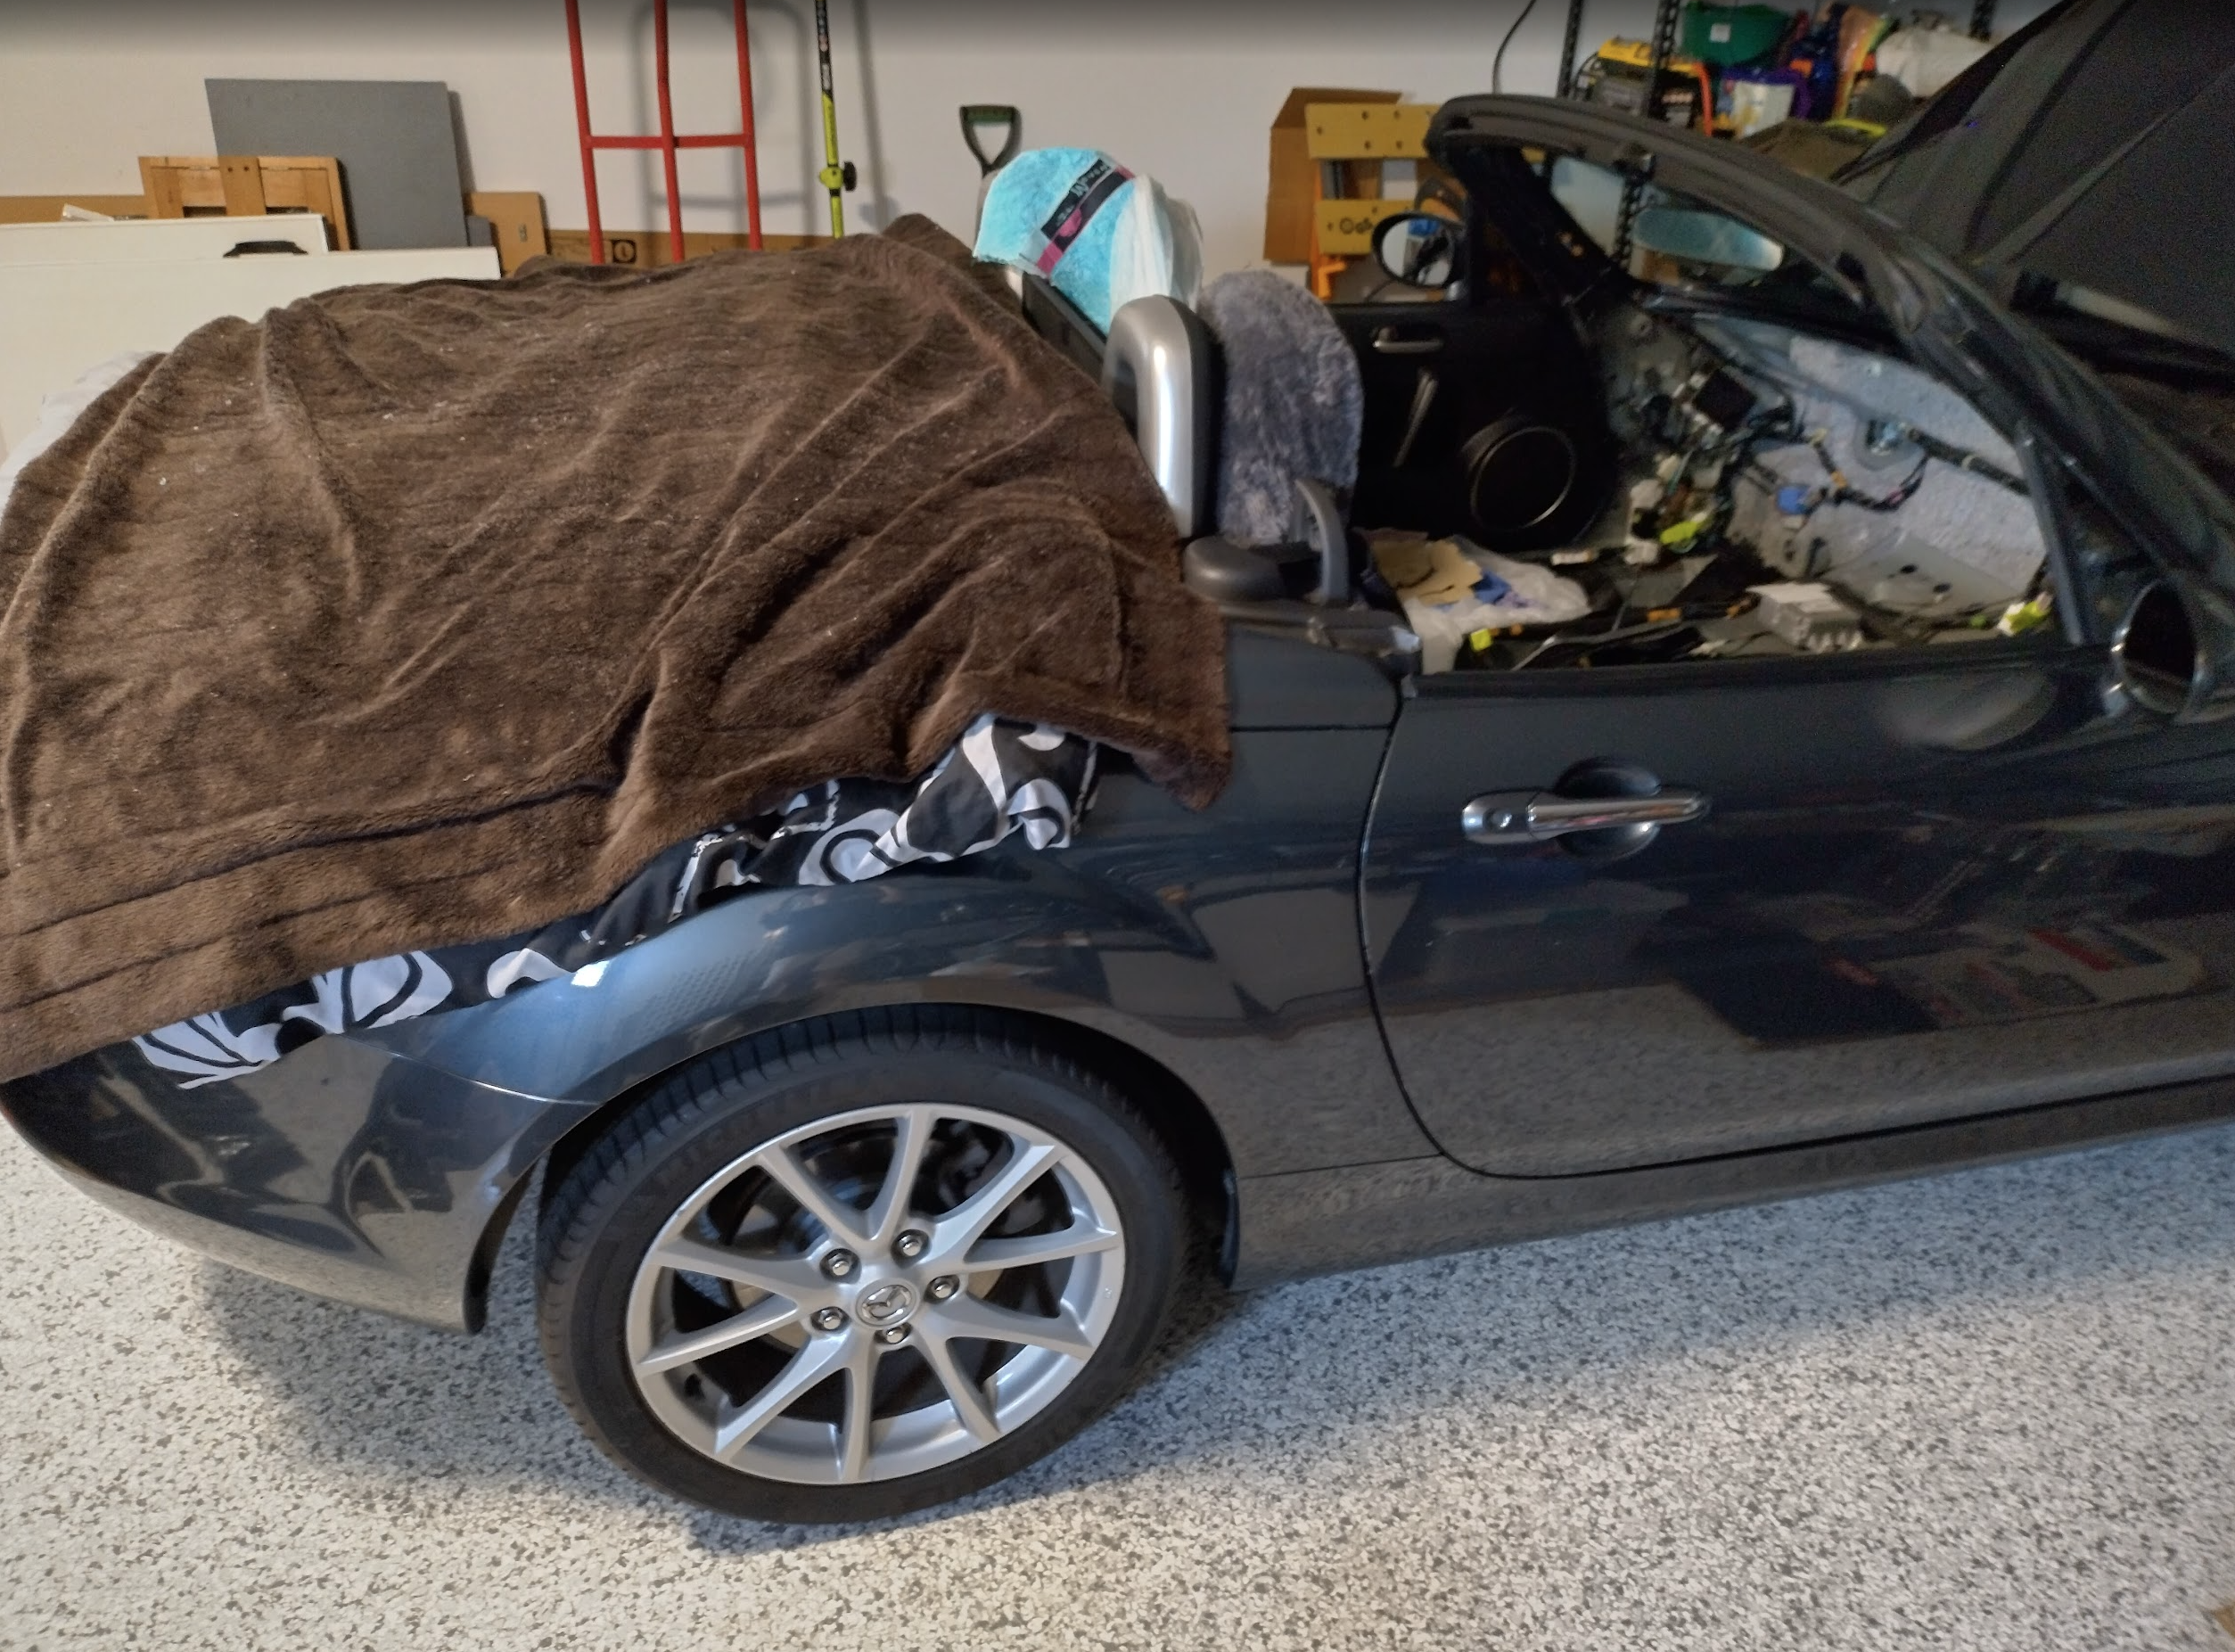
Congratulations your dashboard is now out and sitting on a luxurious bed of memory foam pillows. Make sure to have something underneath the centre console steel bar (that had two bolts) as it sits lower than everything else so the dashboard tends to want to balance on it.
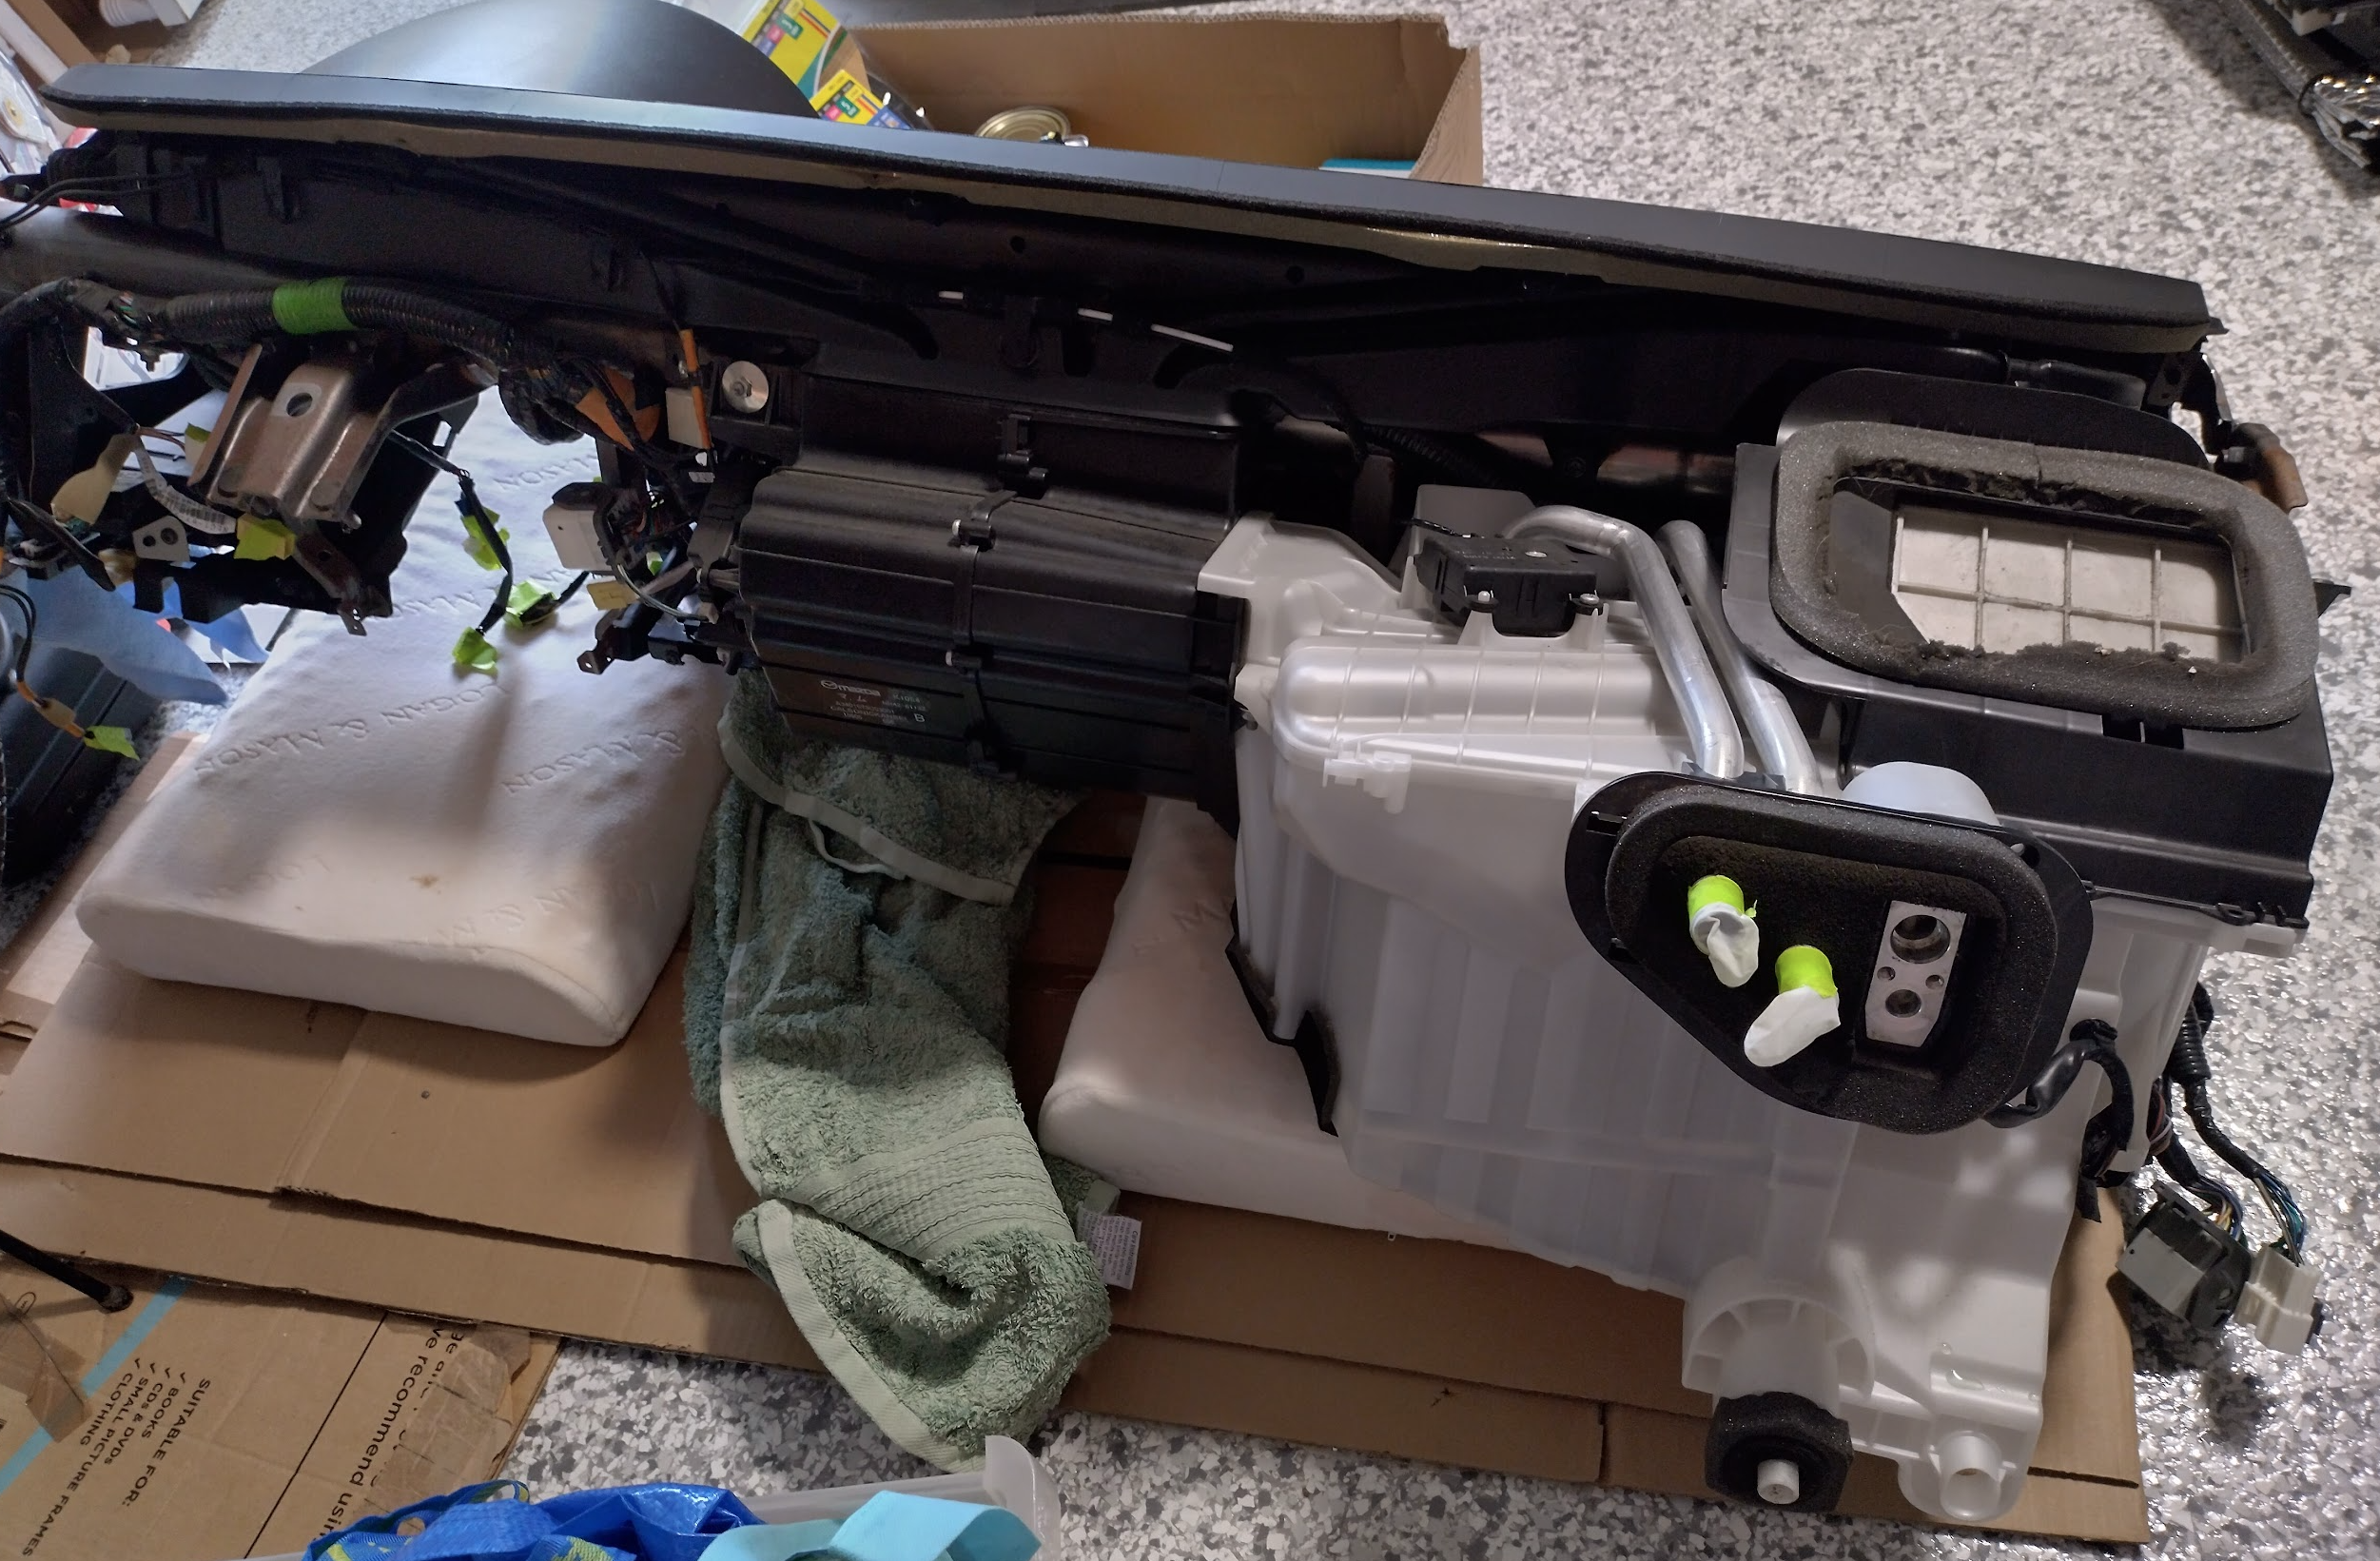
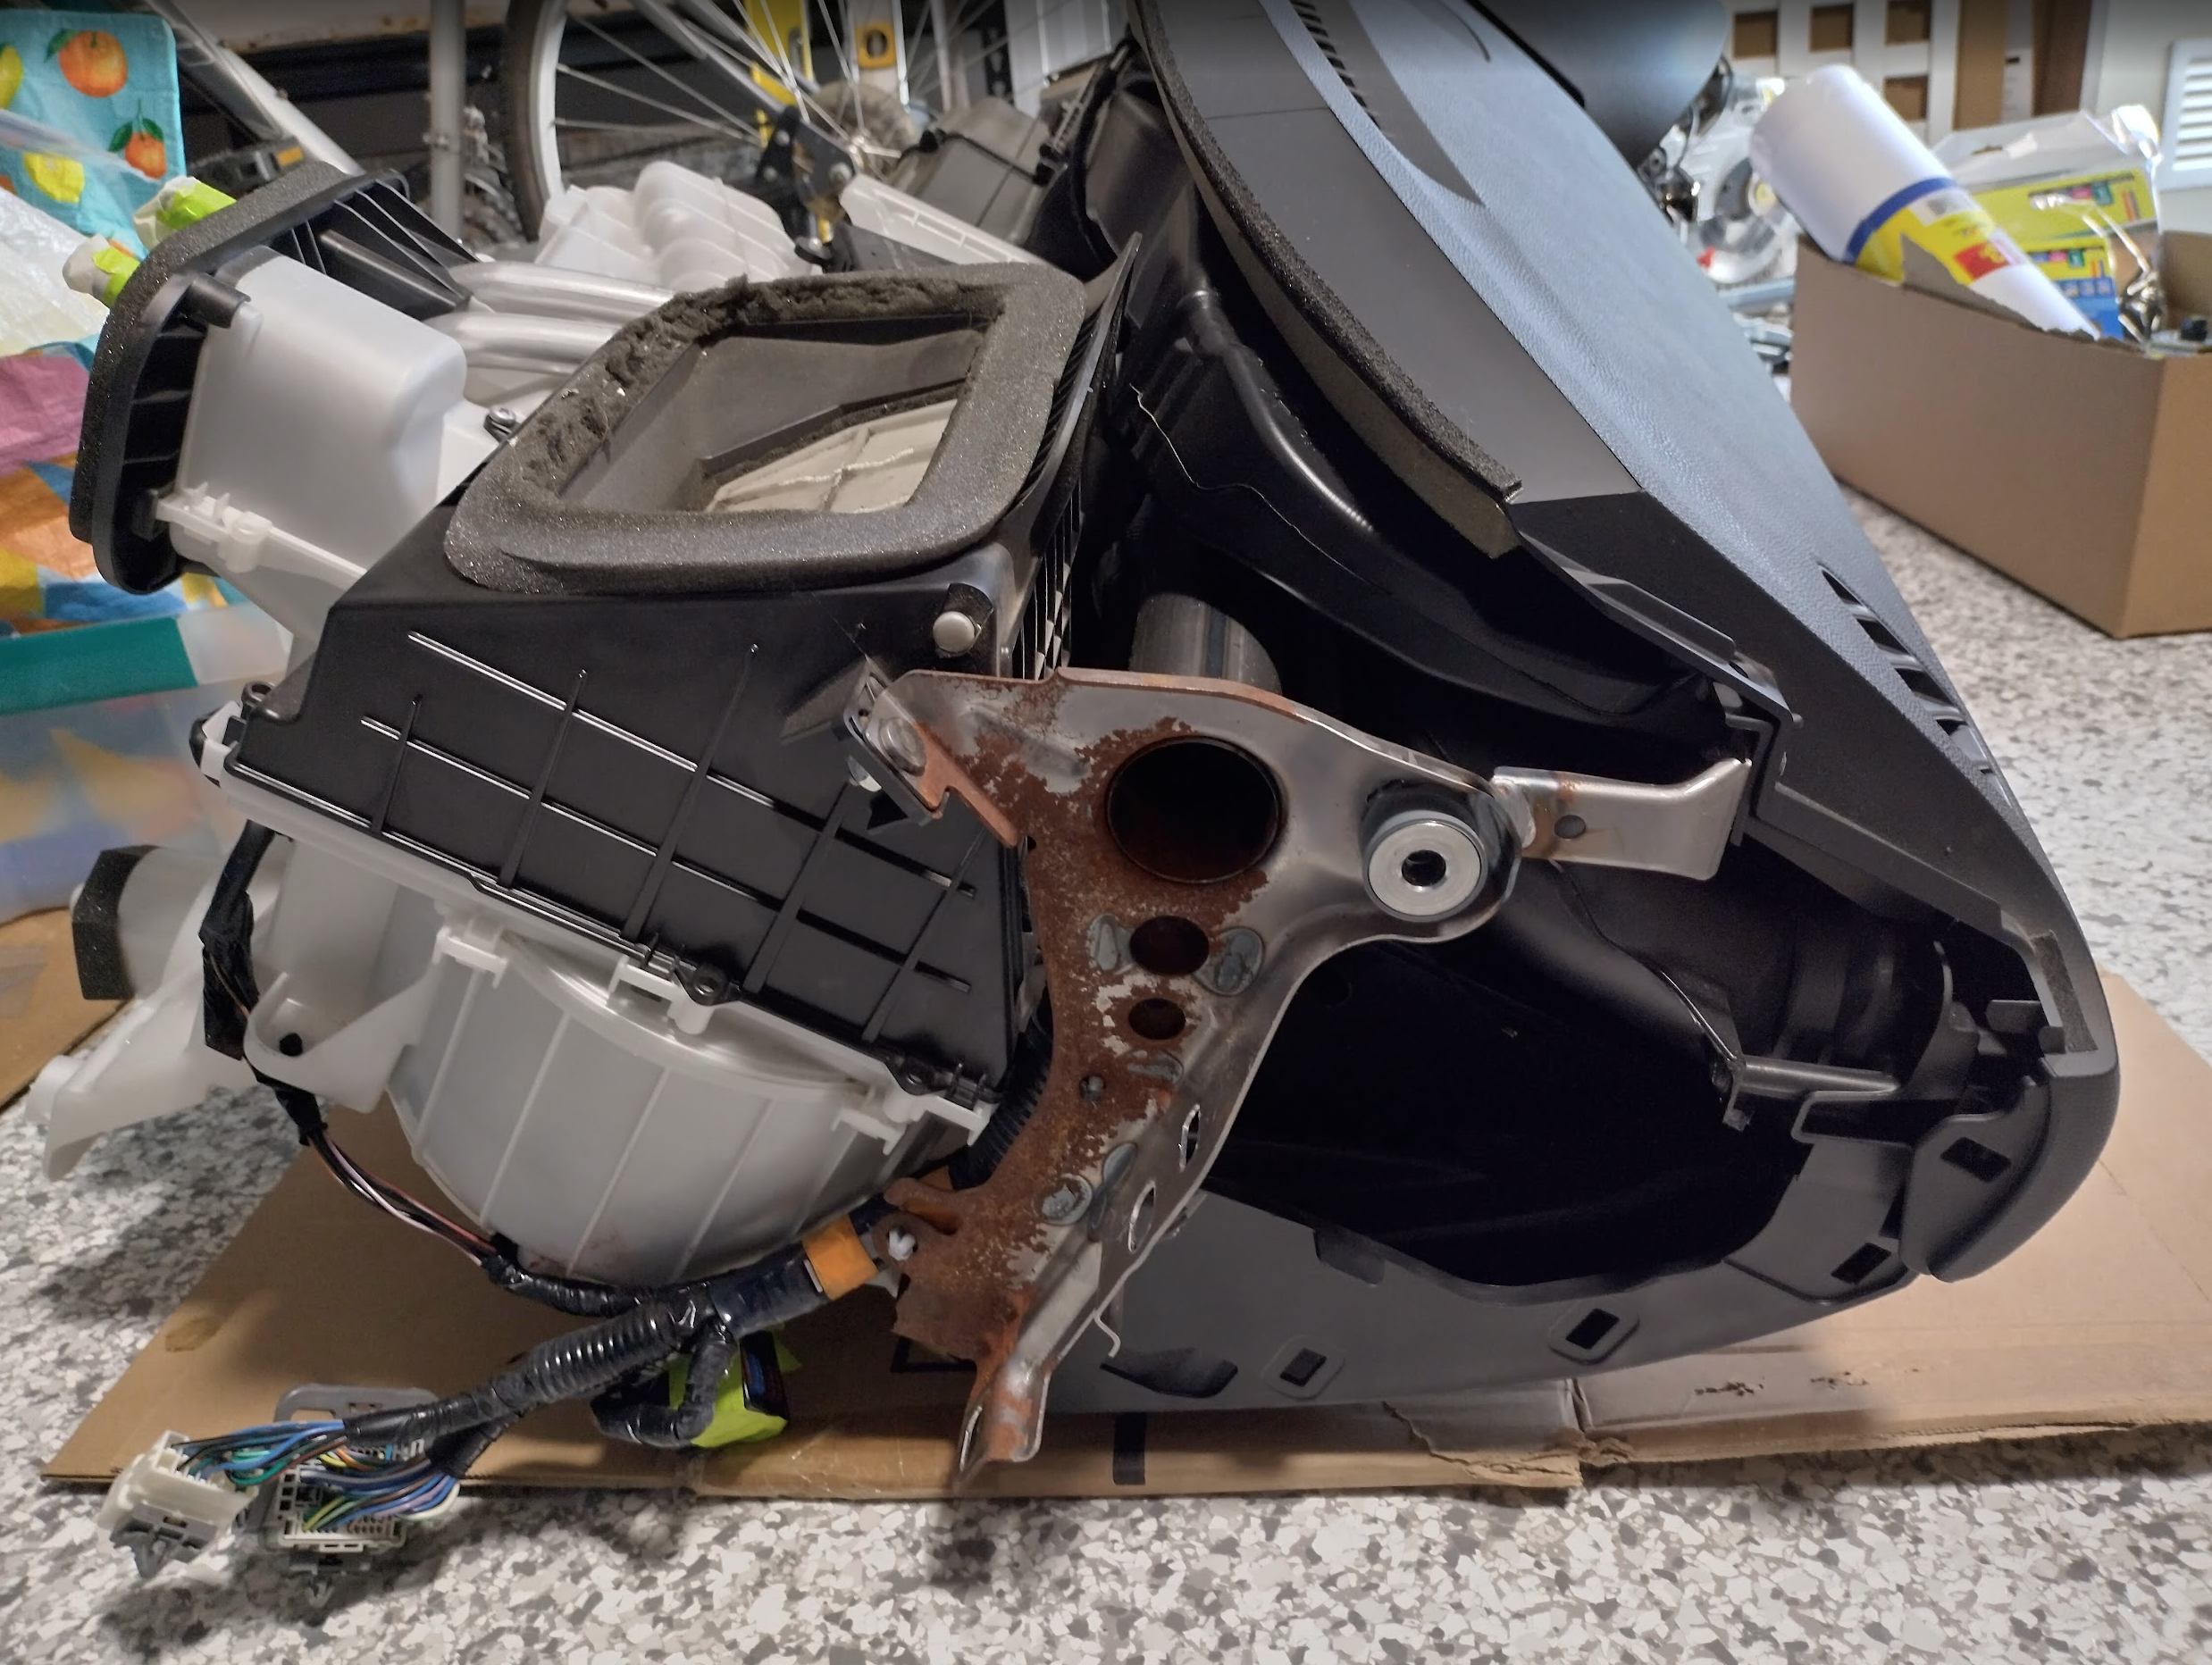
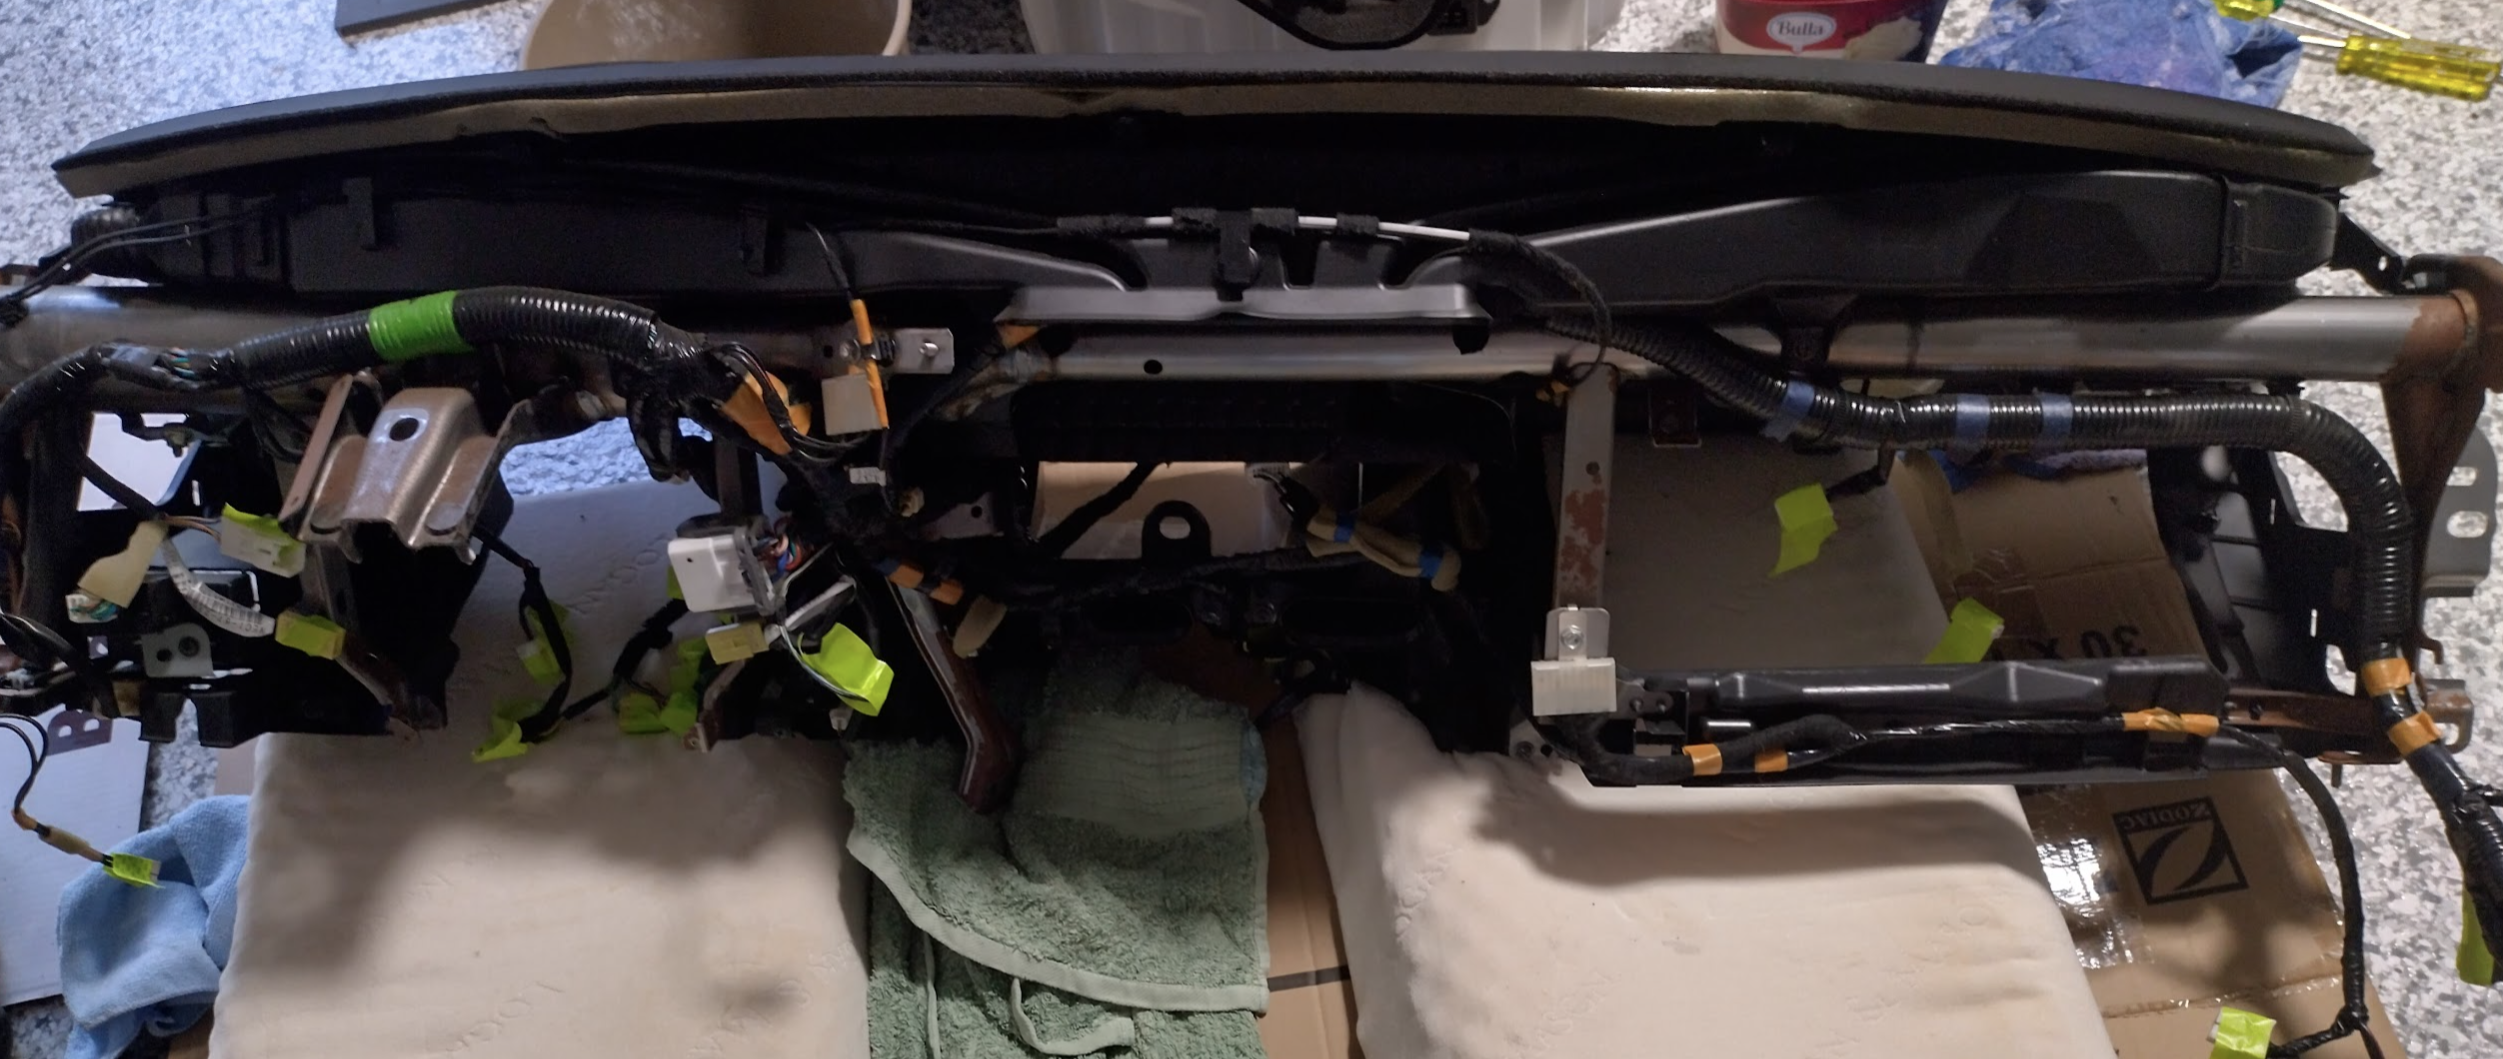

What now?
Your reason for doing this is probably the same reason as everyone else – the aircon unit isn’t working properly due to a leaking evaporator, a leaking heater core, or you’ve had foam thrown at you from the vents or stuck inside the blower.