I have been looking at extending the ResourciBoard product to do more than just LEDs and signage, and recently adapted it to work with websockets in addition to polling at intervals. This keeps it’s energy efficient updates and posting, but also adds near instantaneous communication for those instances that need it. The best proof of concept I could come up with is a car that’s driveable from a mobile phone, from anywhere on the planet. The easiest way to achieve this is Lego!
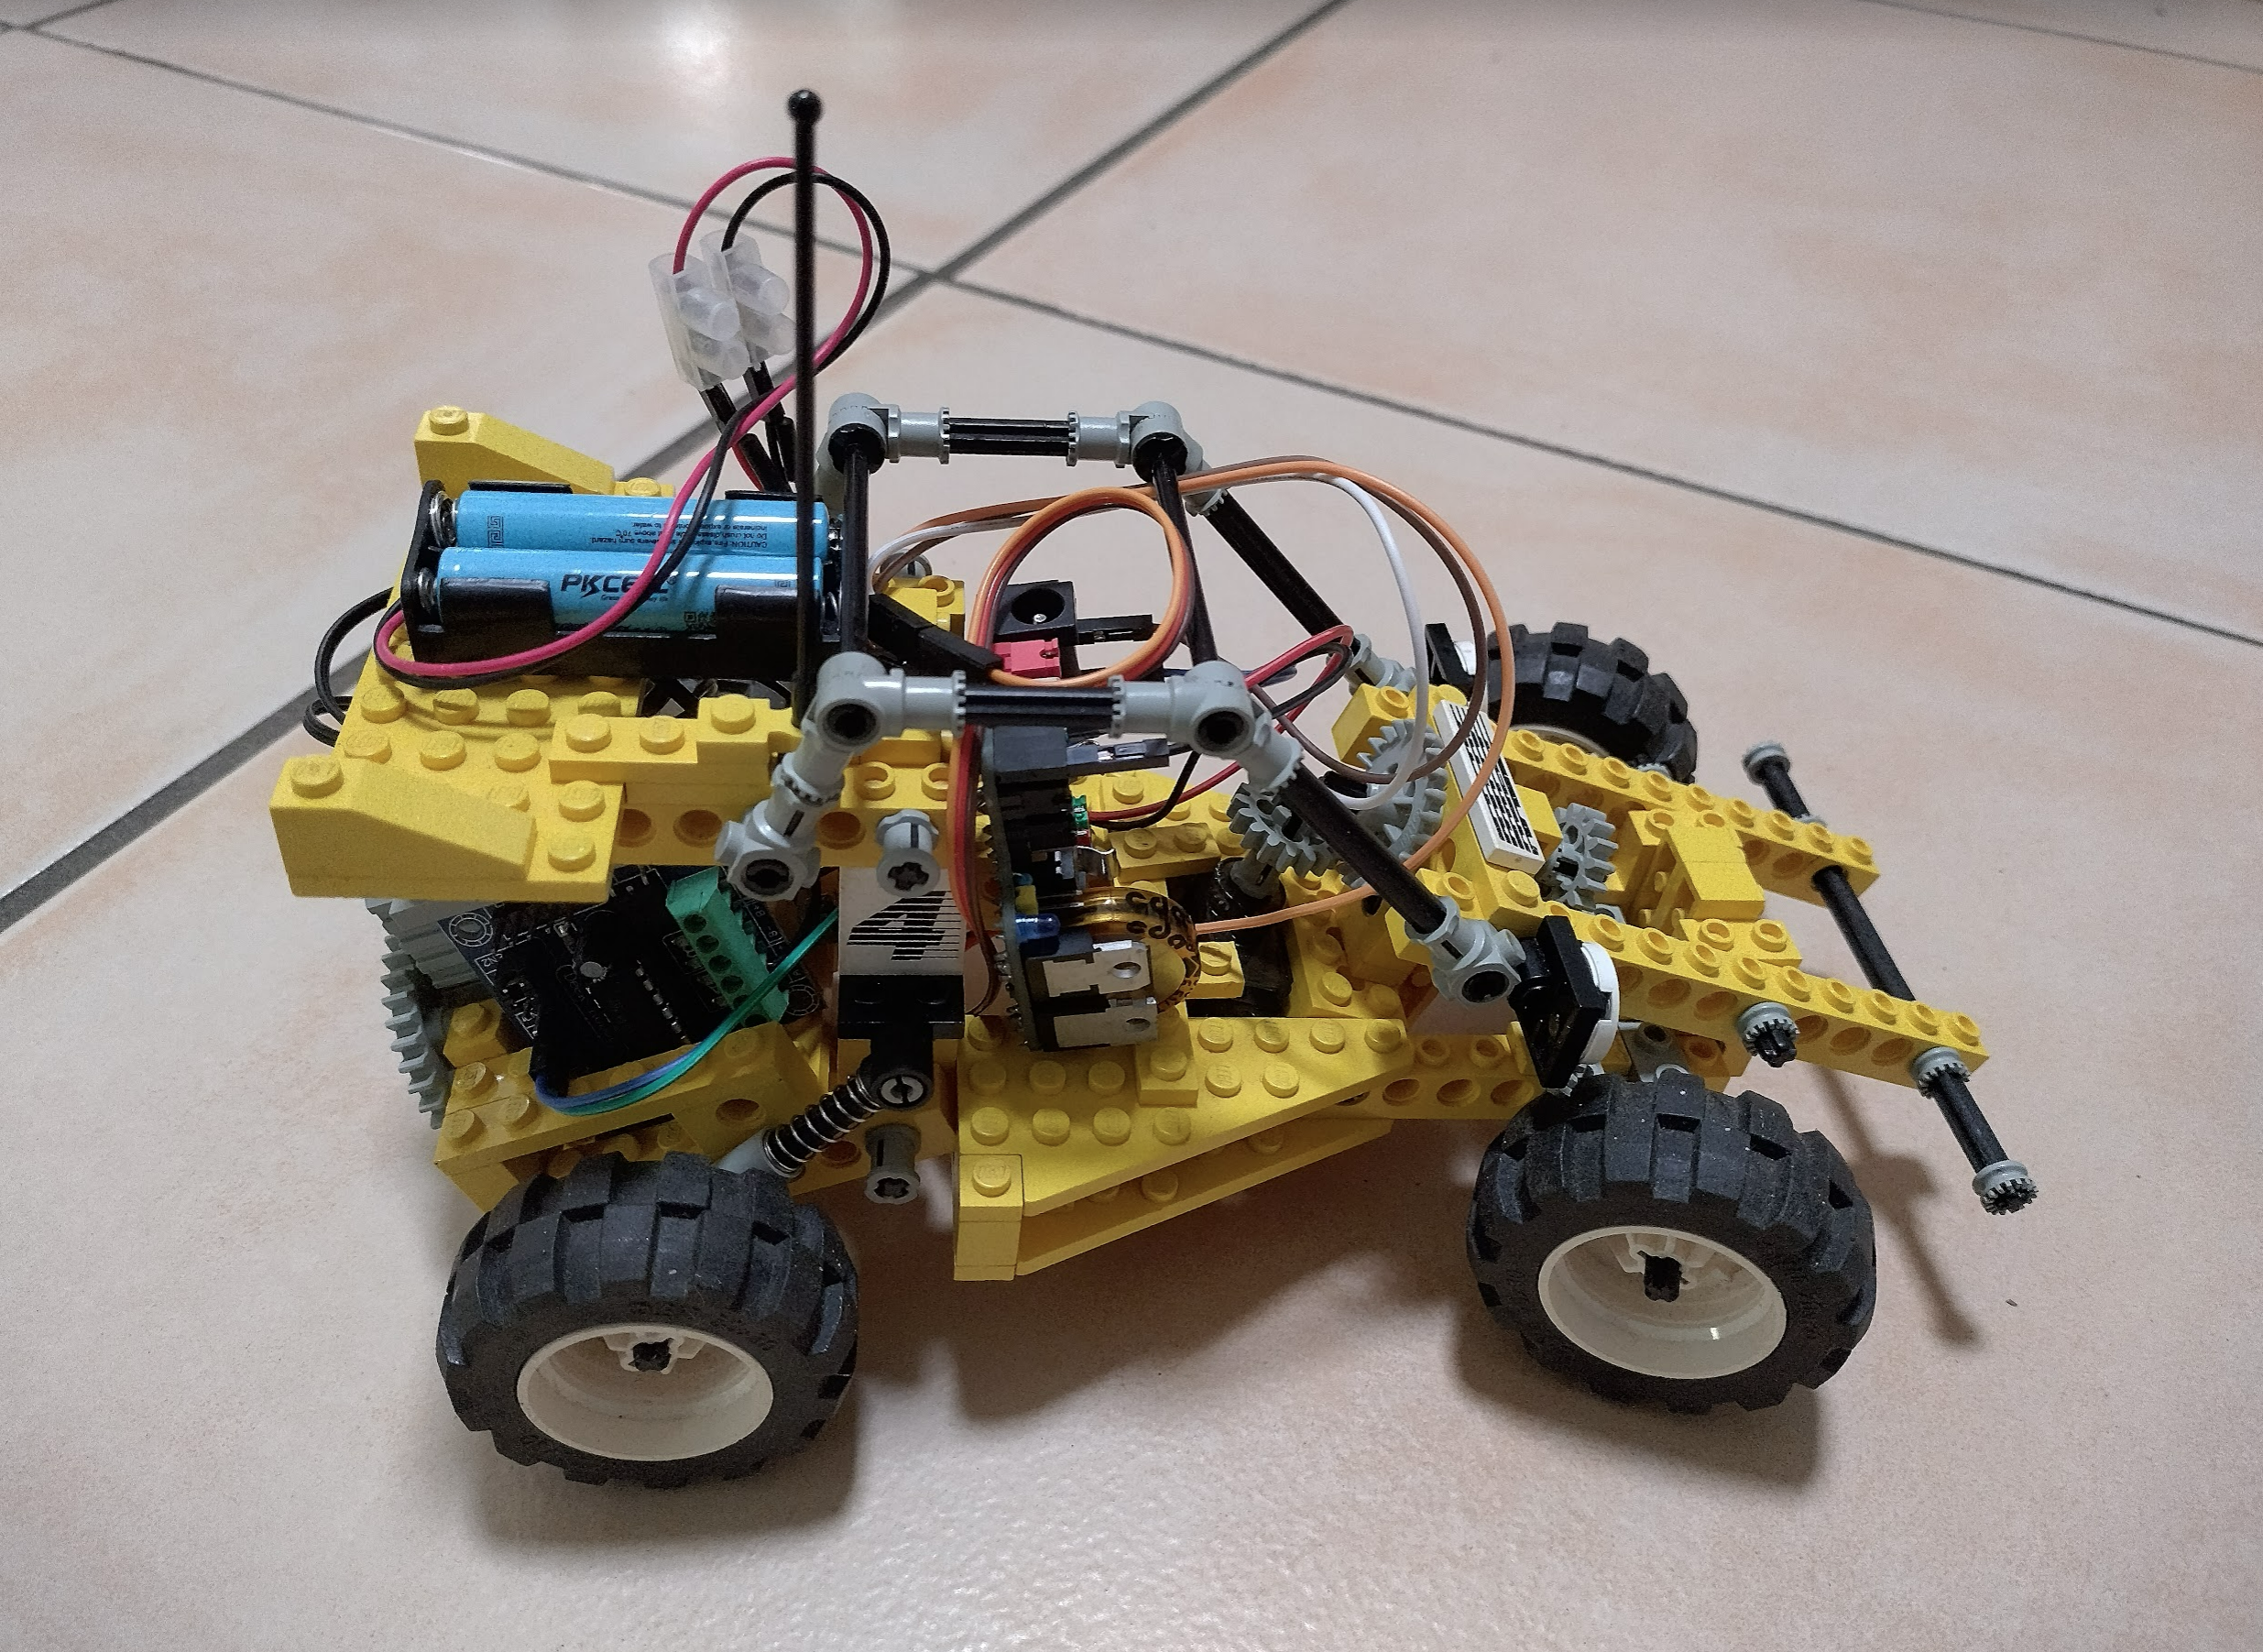
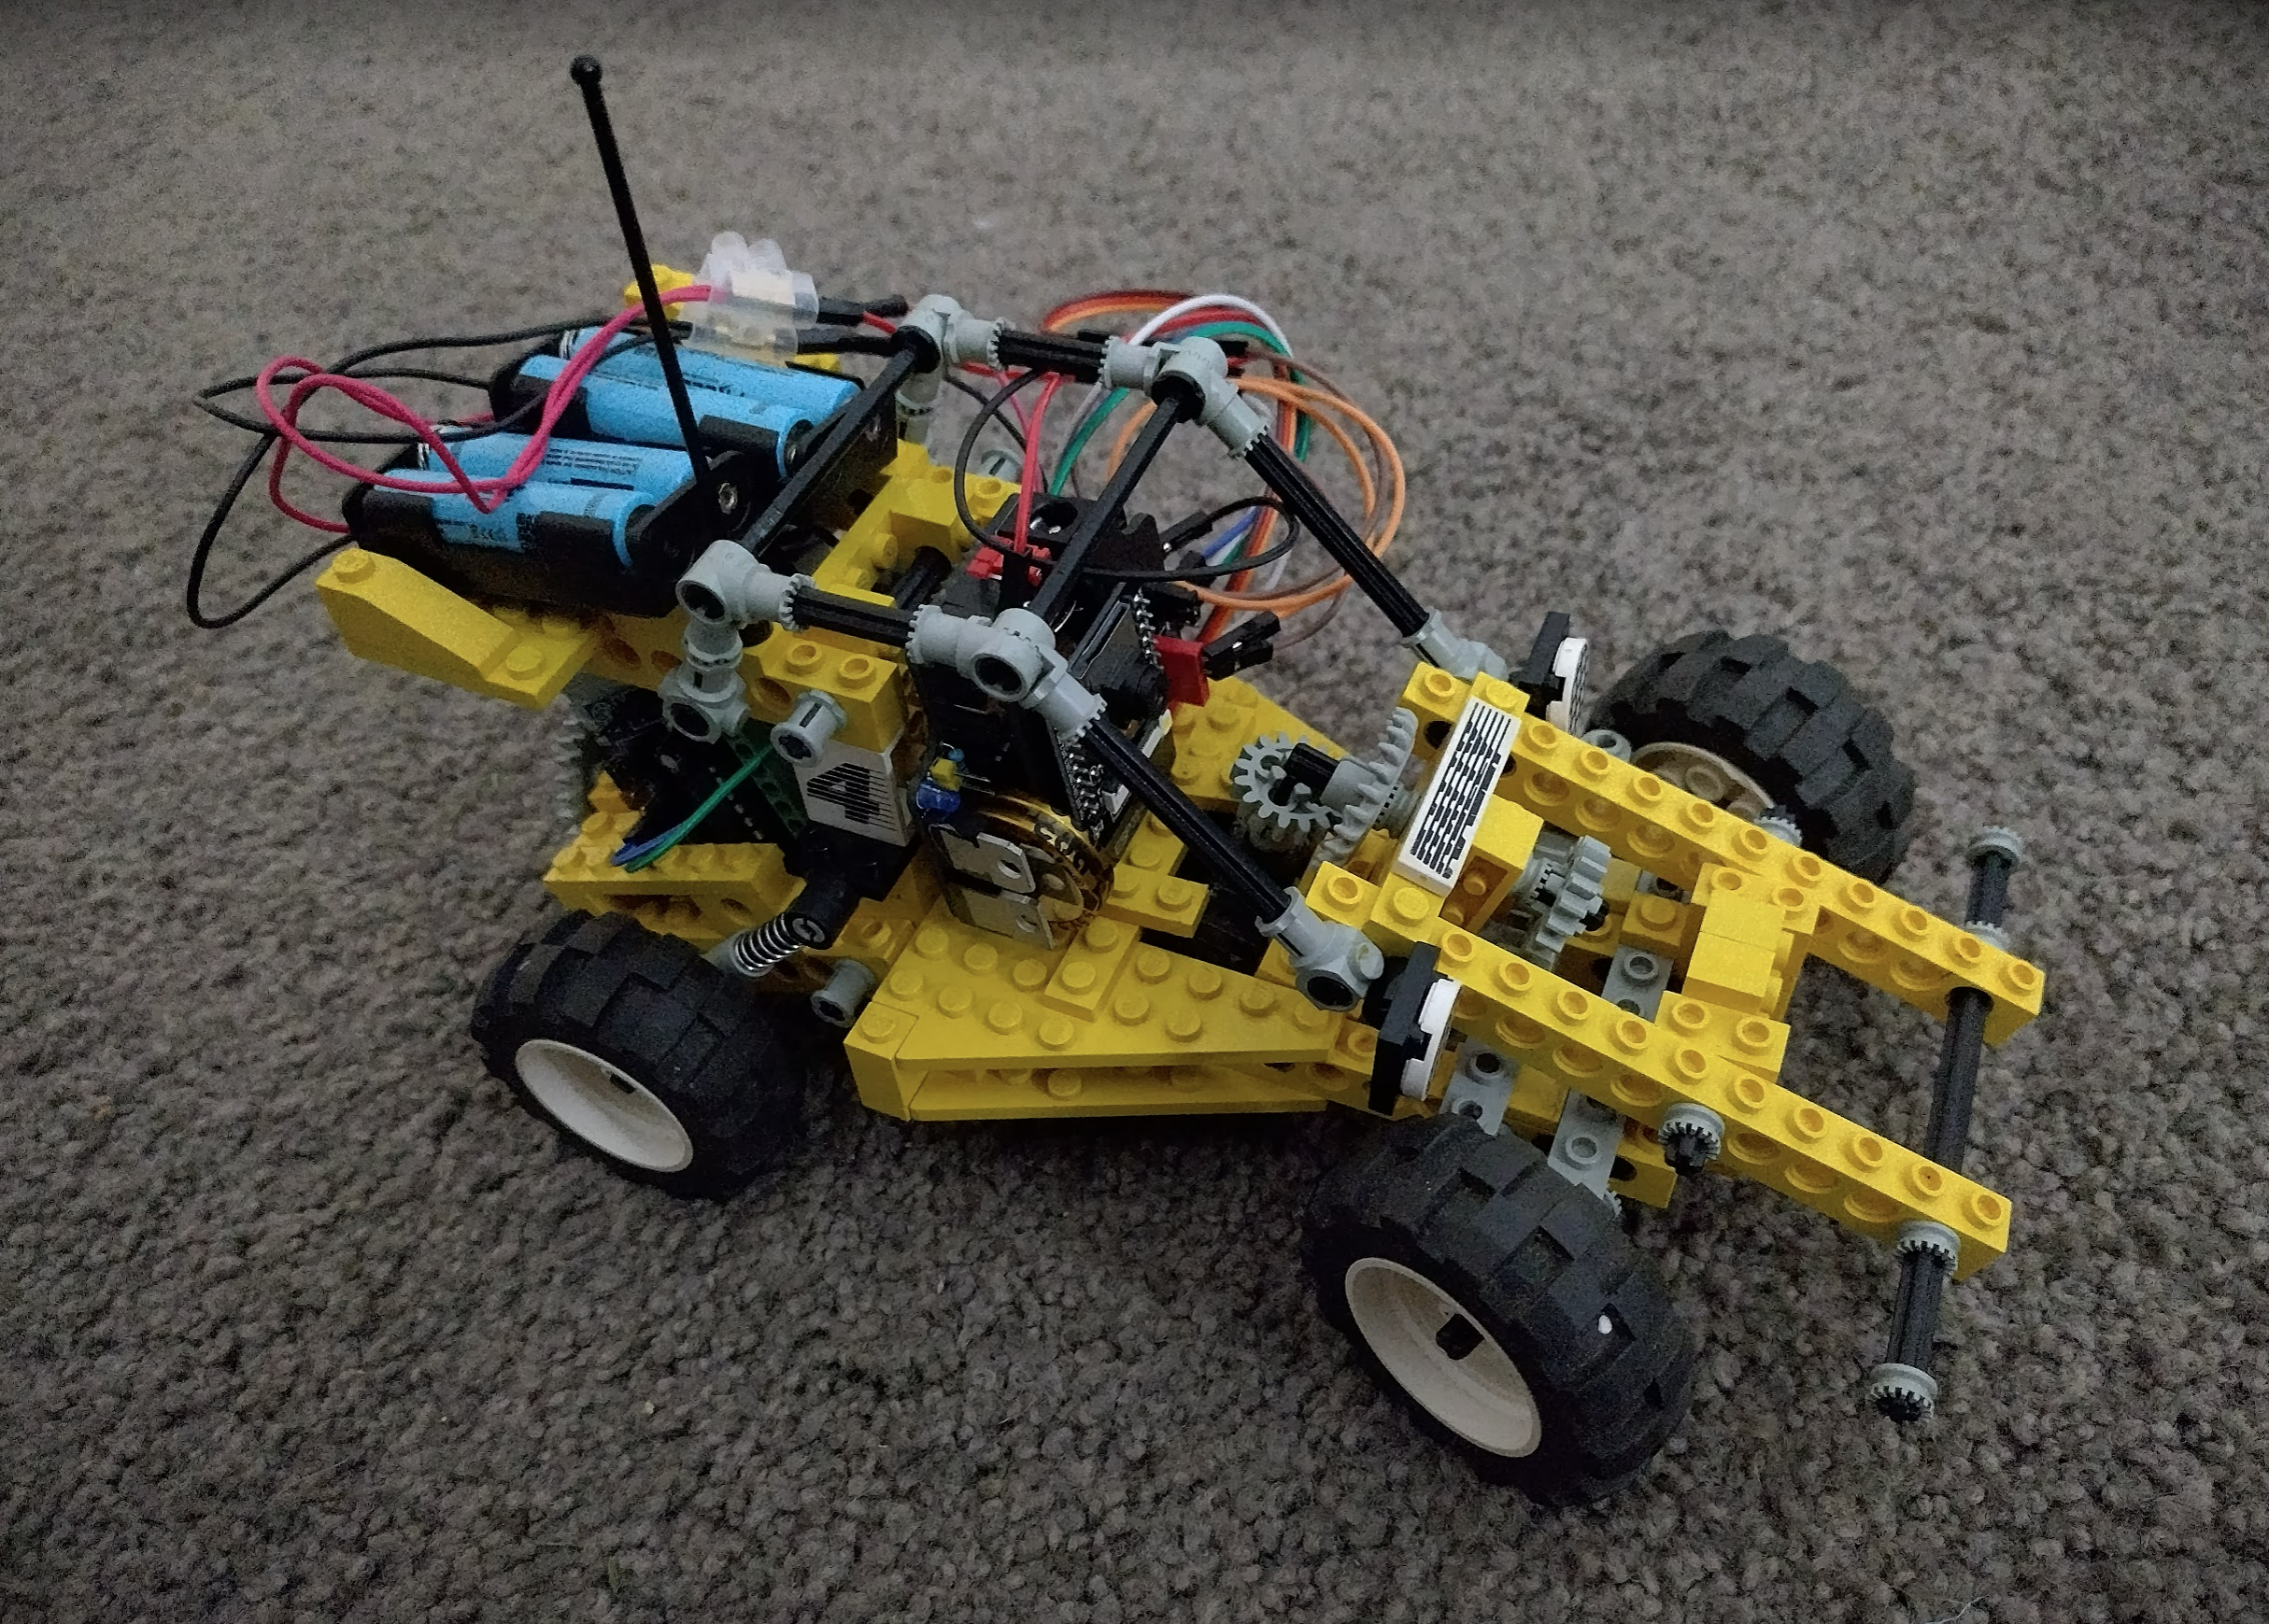
Lego Technic set 8840, rally car
This Lego set (8840) was released in the early 90’s, and it was always a dream of mine to make a remote controlled lego car – it was just outside of my knowledge of how to do that back then. Now with internet and wifi and discrete chips and mobile phones this is far more achieveable.
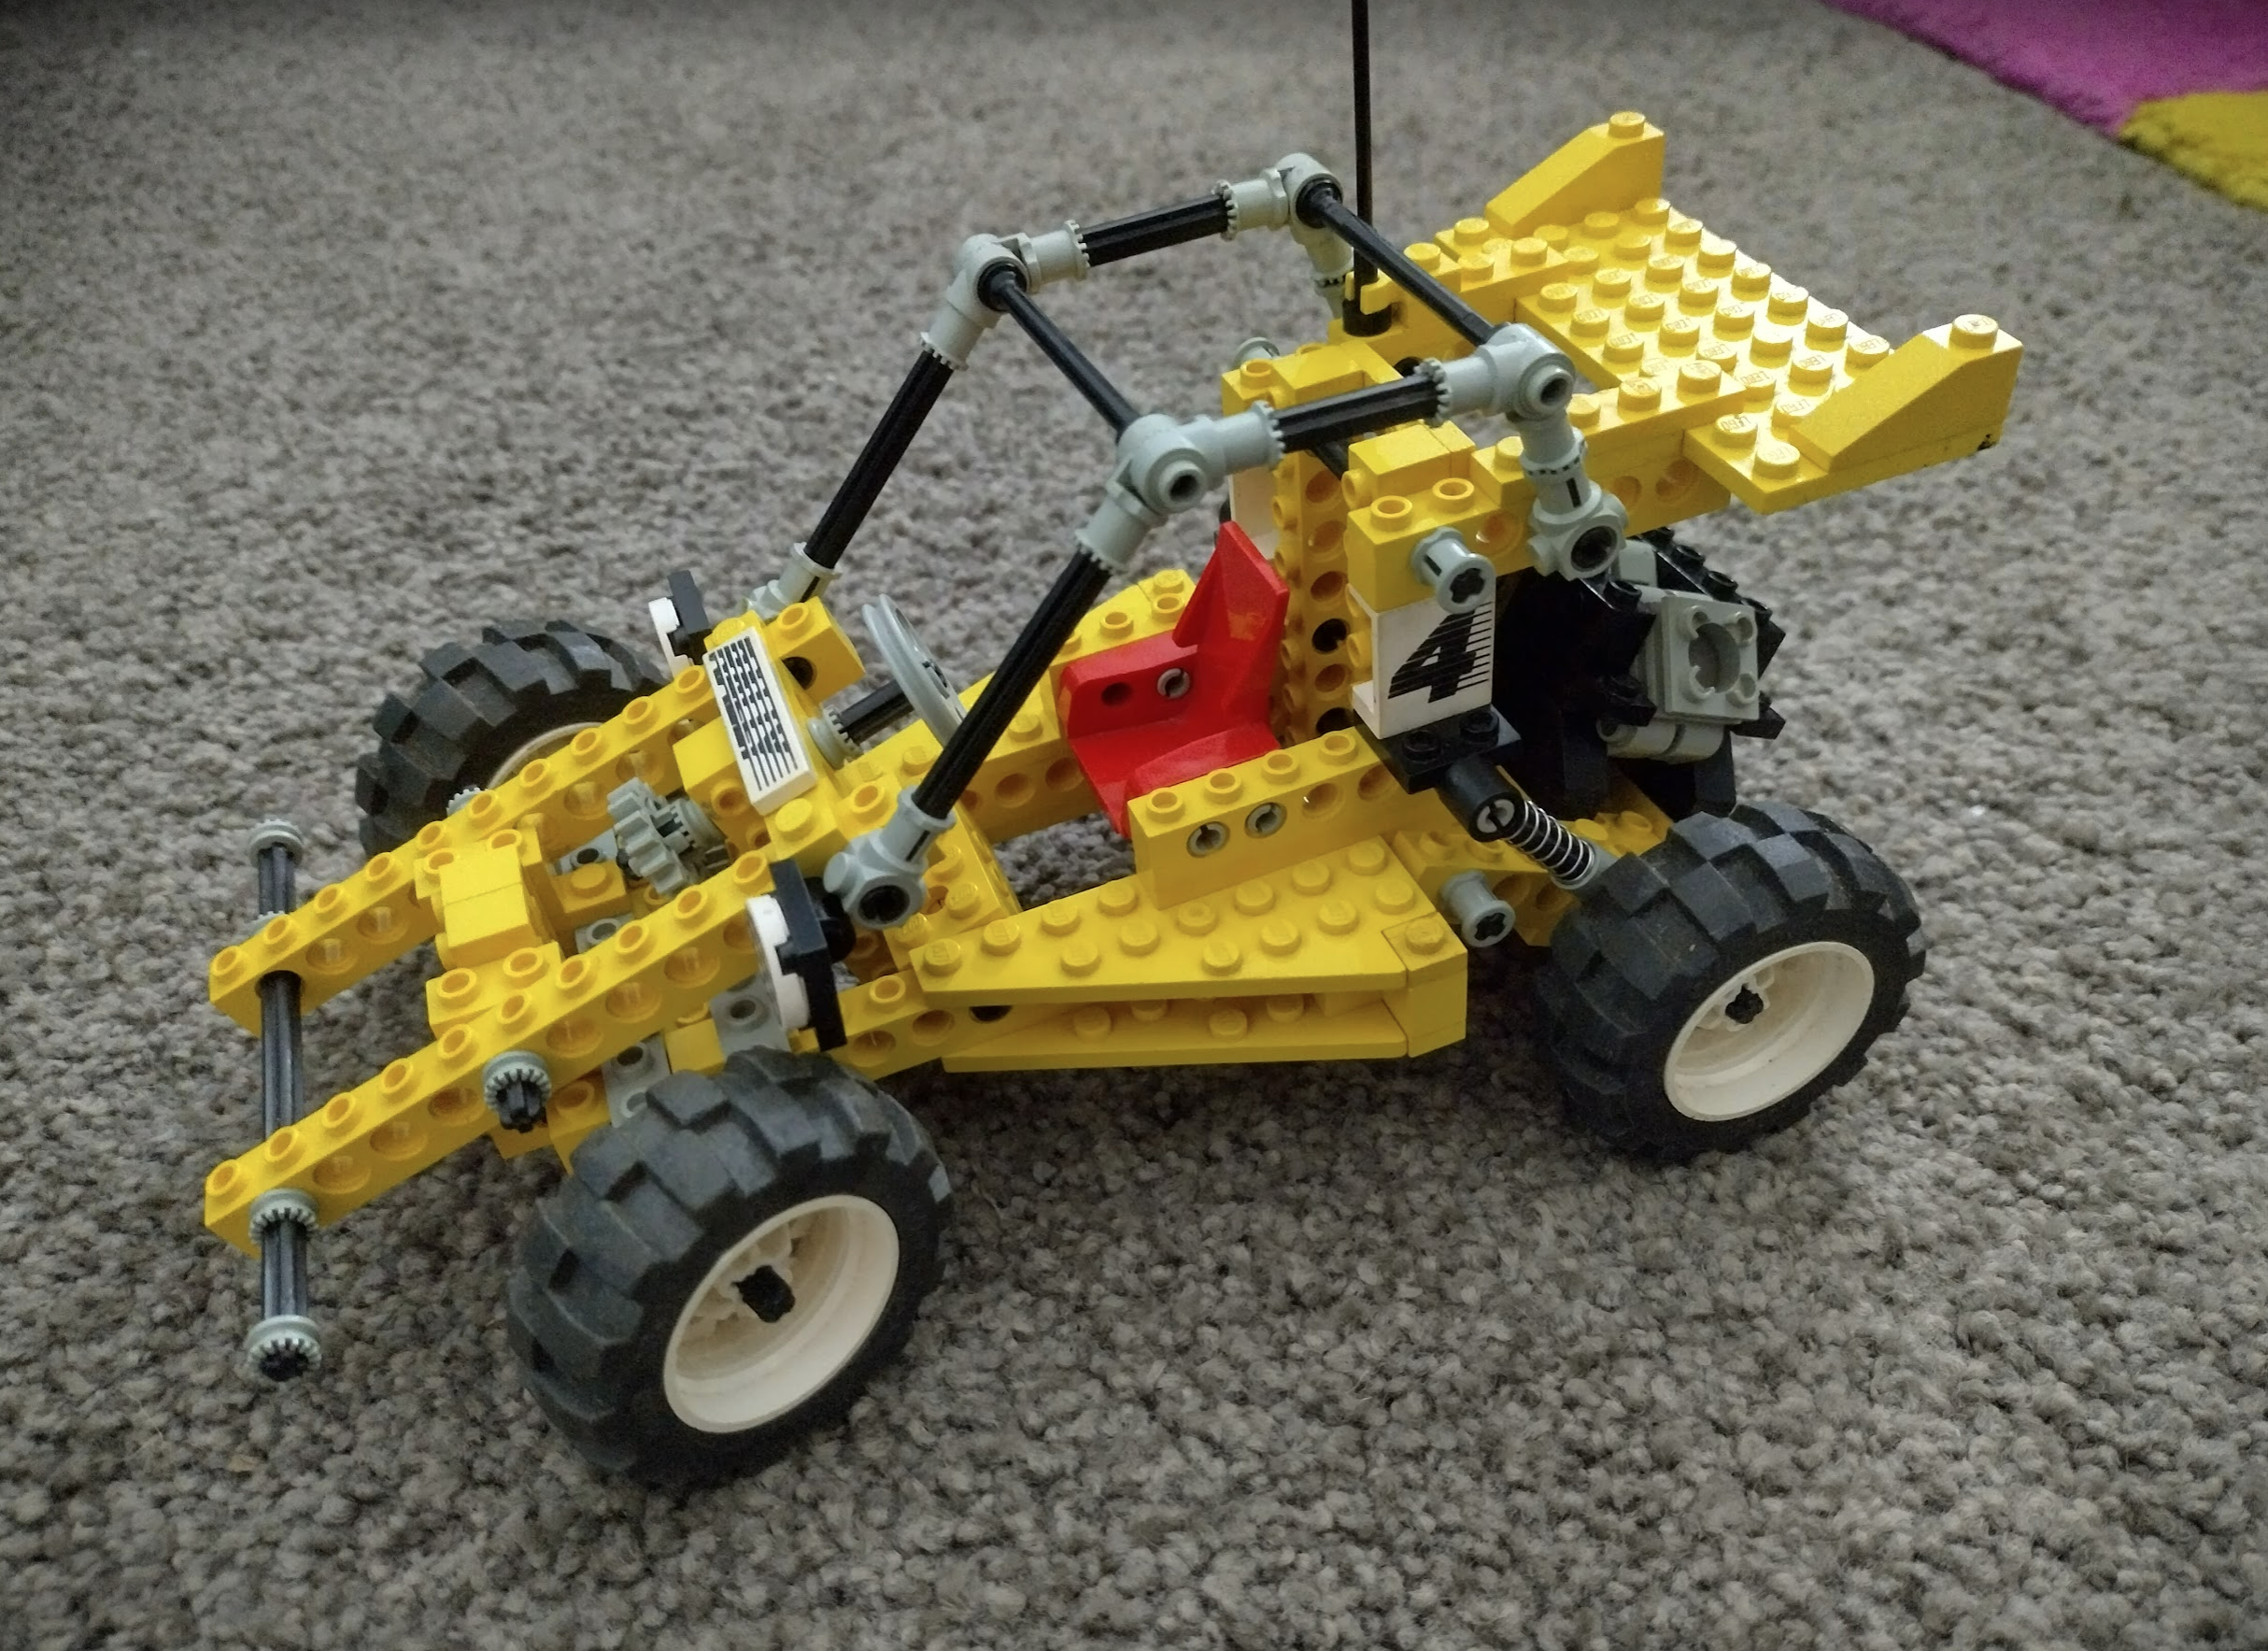
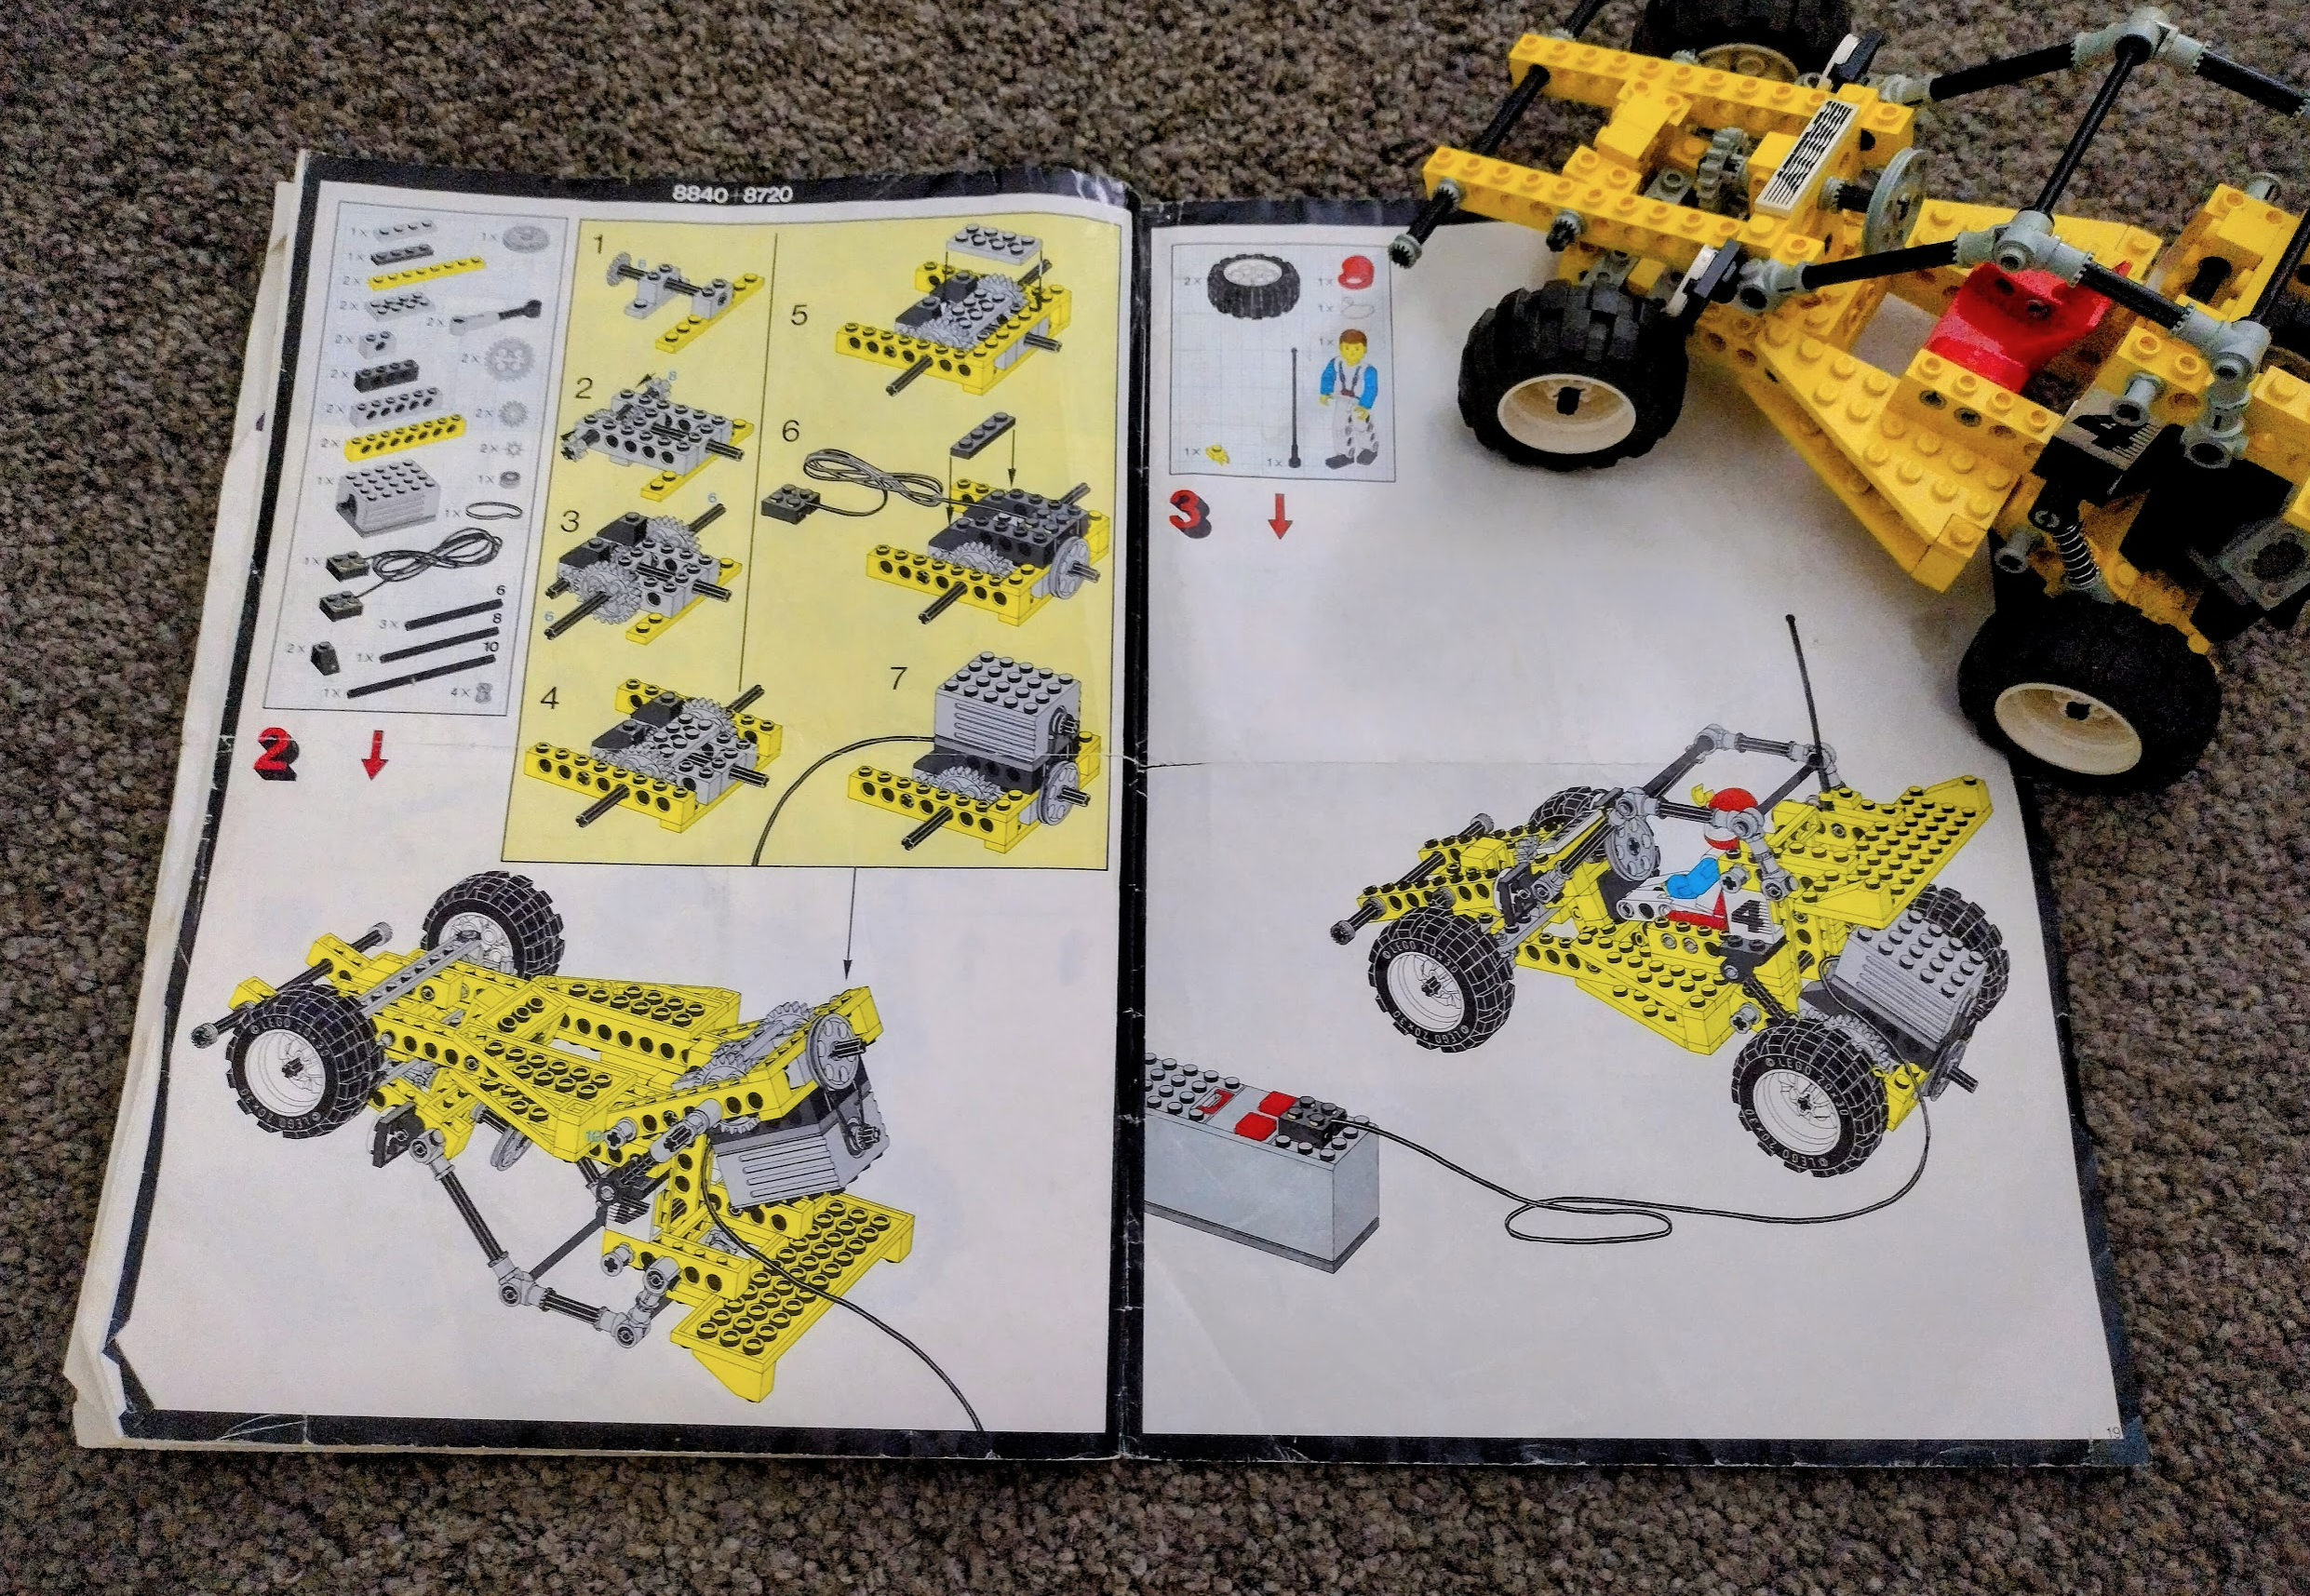
This car was released around the same time lego released the motor kit (8720). In the instructions for this model contains a section on how to adapt it with the motor kit.
Luckily I was a bit of a Lego fan growing up, so I still have all these parts. I tested the Lego motor and it runs at 9v. I then tested this with two 10440 batteries which would generate anywhere between 7.2v to 8.4v or so, and it worked. 30 year old Lego motor still works!!
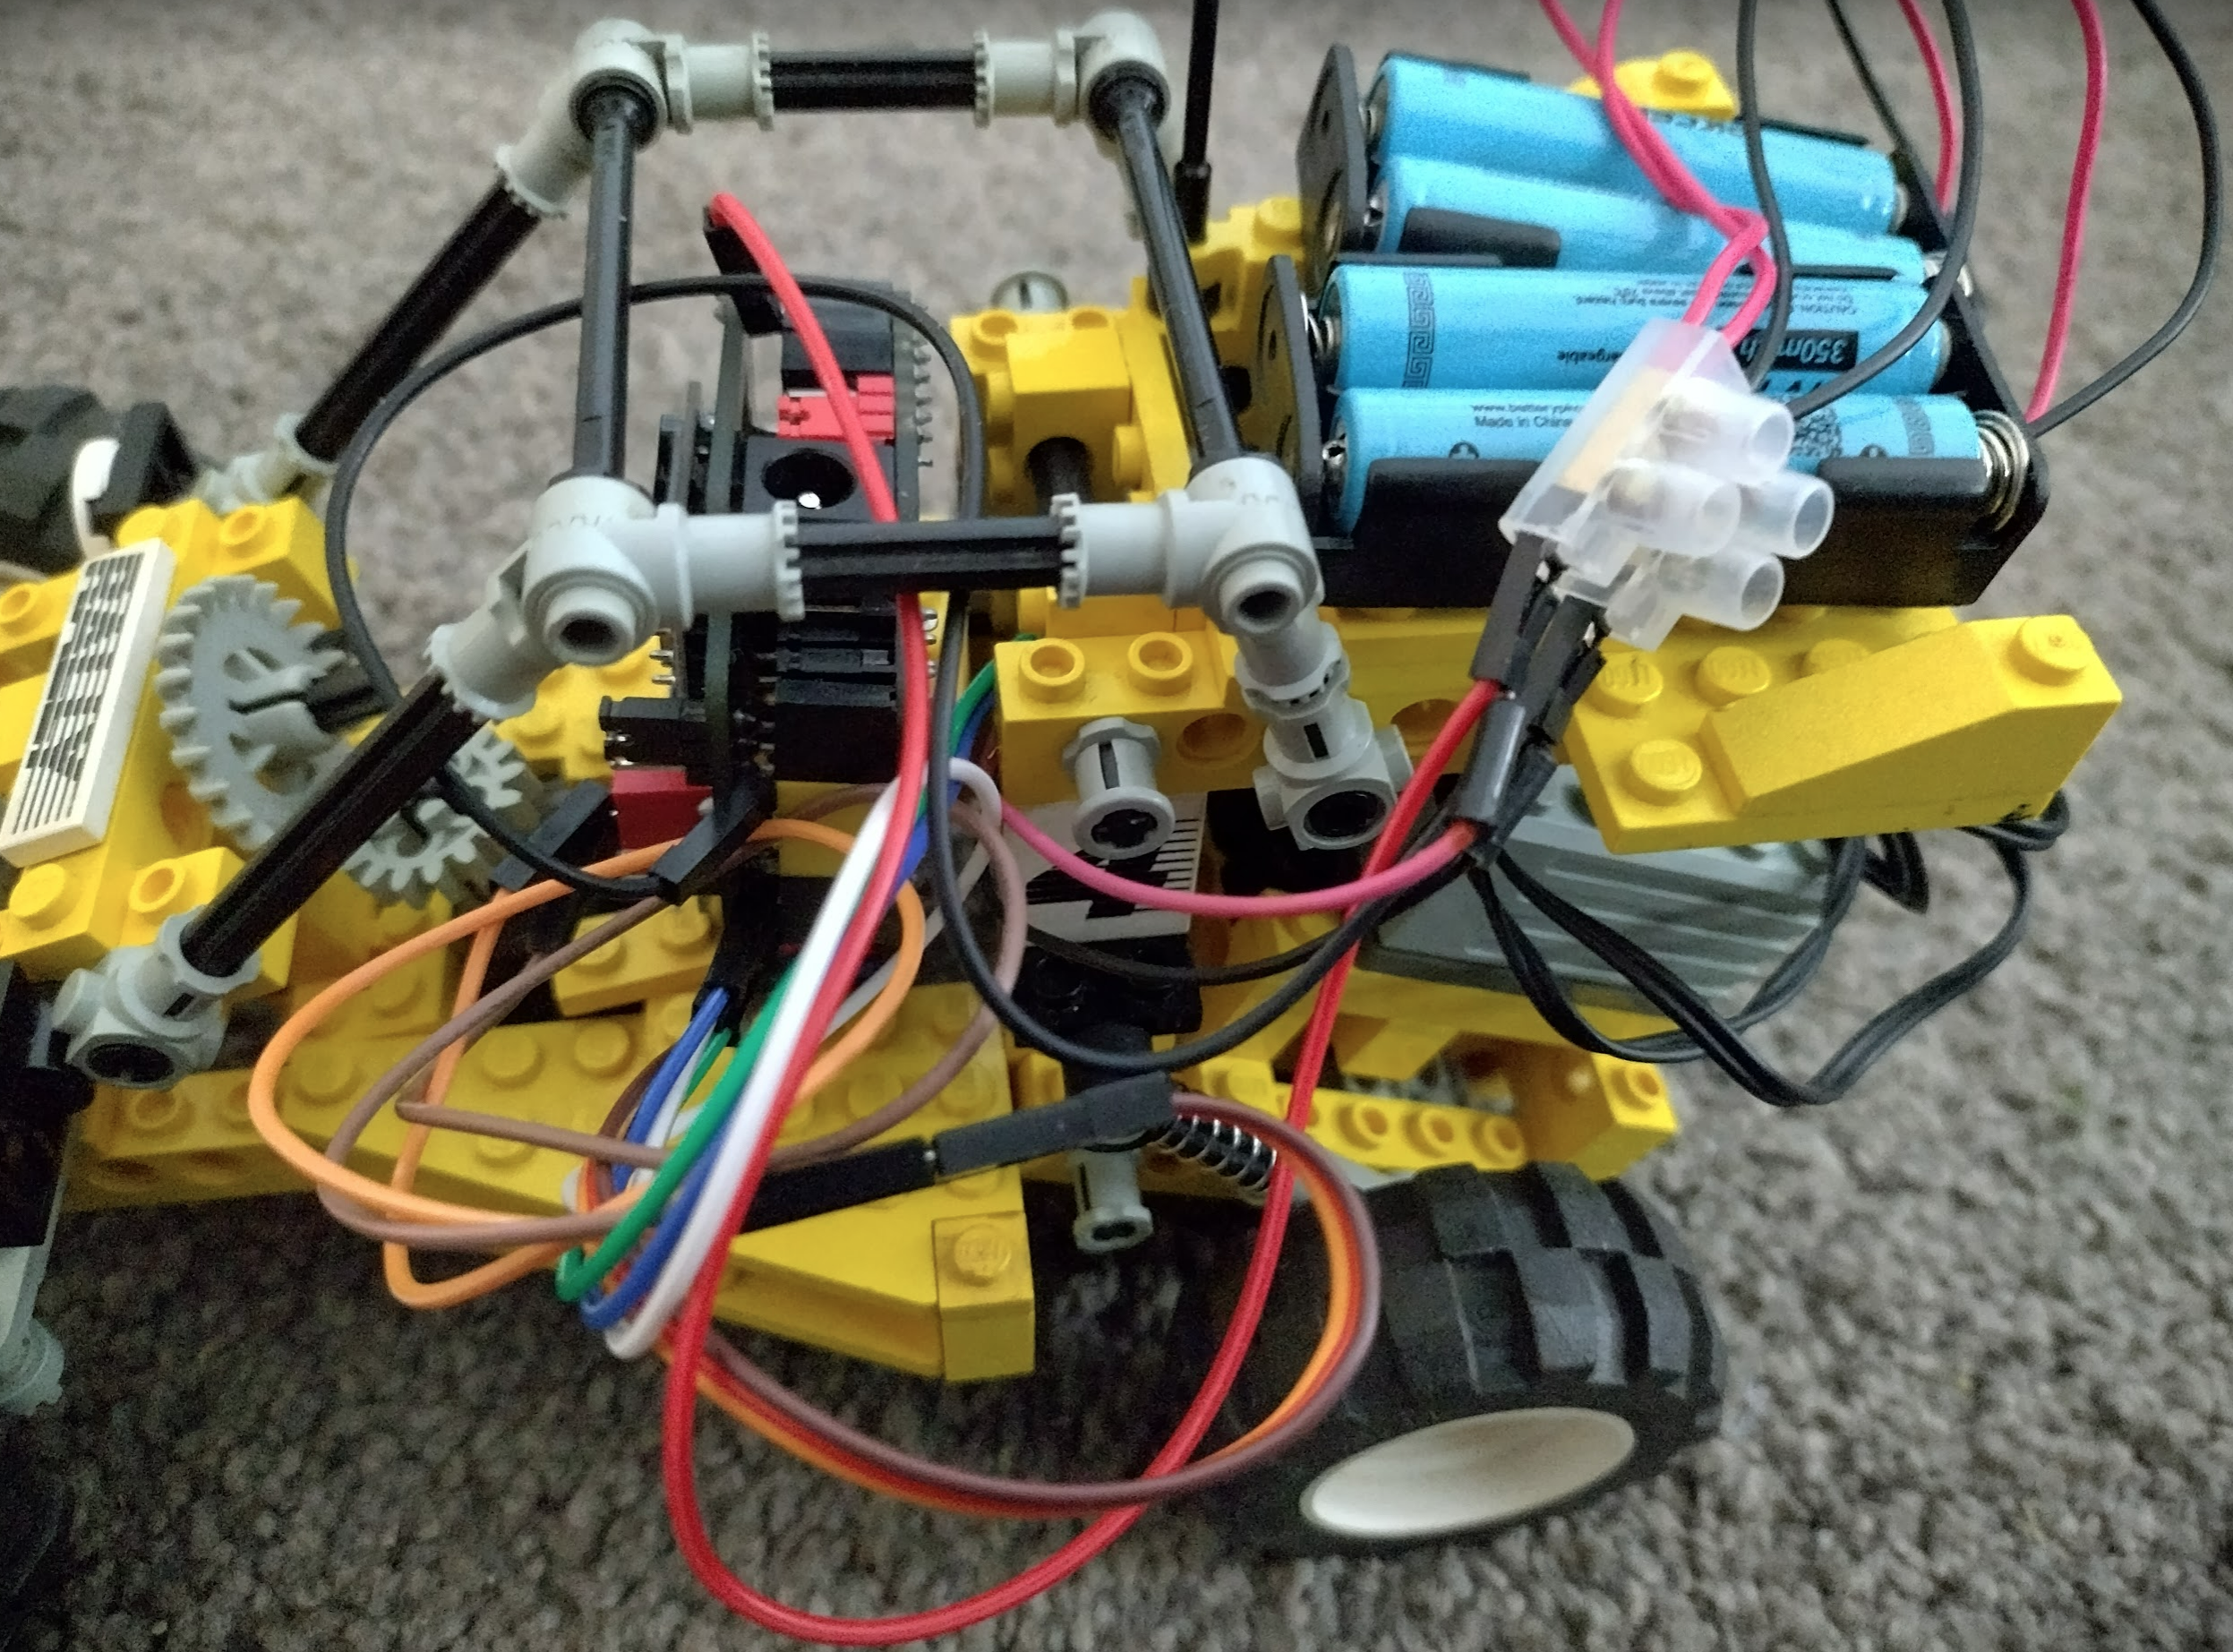
I am going to hook all of this up to a ResourciBoard which only has 3 pins available as I need a PWM pin for the stepper motor. This was tested successfully a few months ago. With the remaining two pins I need to make the 9v motor go forwards and backwards. This will be achieved with a L293 motor driver which will act as both a forward/reverse controller and a voltage changer. I can technically add a shift register on top of this using the 2 digital pins to control lights and such, but lets keep this easy for now!
Wiring arrangement
With the required parts all sorted, and a carefully adapted MG90S servo to a lego rod, I hooked up a test wiring arrangement so I can get to testing the code.

This will now be put through its paces and see if I can get it to act how it will within the car.
Eventual success!
It’s not glamorous but the above circuit was good so I made it all fit for a rough test run.
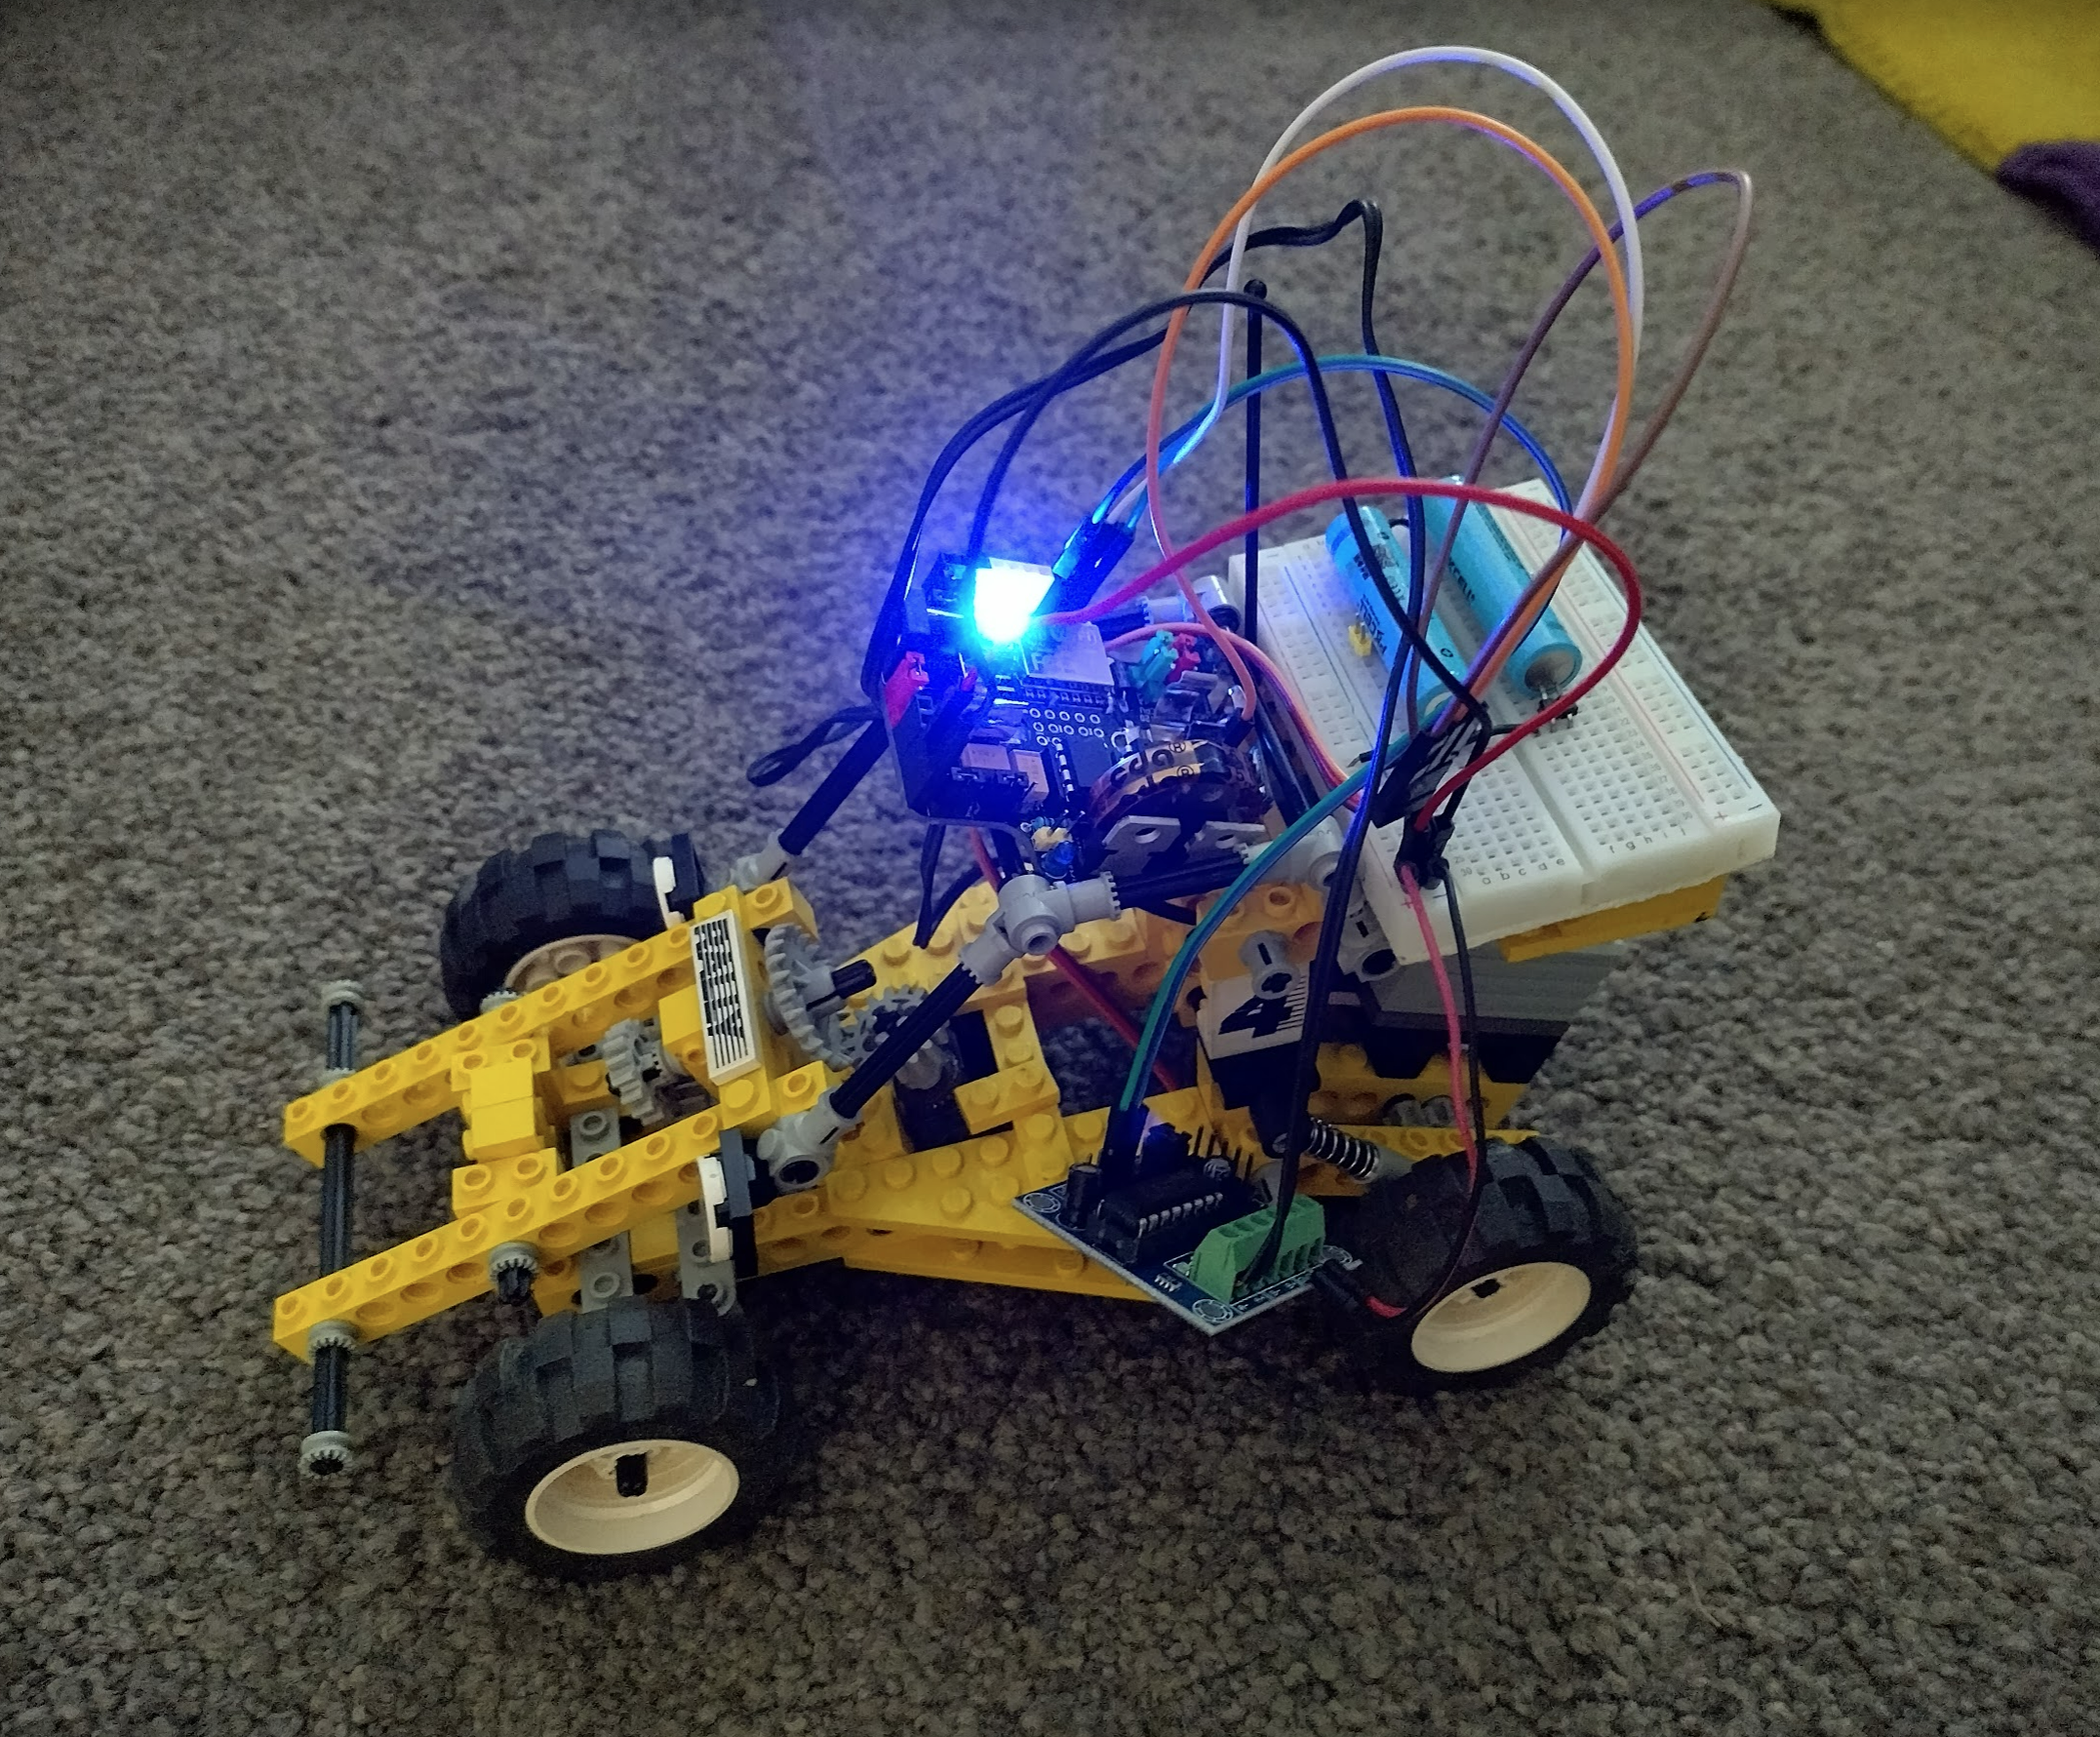
This was after a lot of rebuilding of the motor area due to these old lego motors really not being that powerful, and running it all from 8v probably doesn’t help. Removing a pulley and adding in a worm gear gave it a noisy but strong enough gearbox to move on carpet.
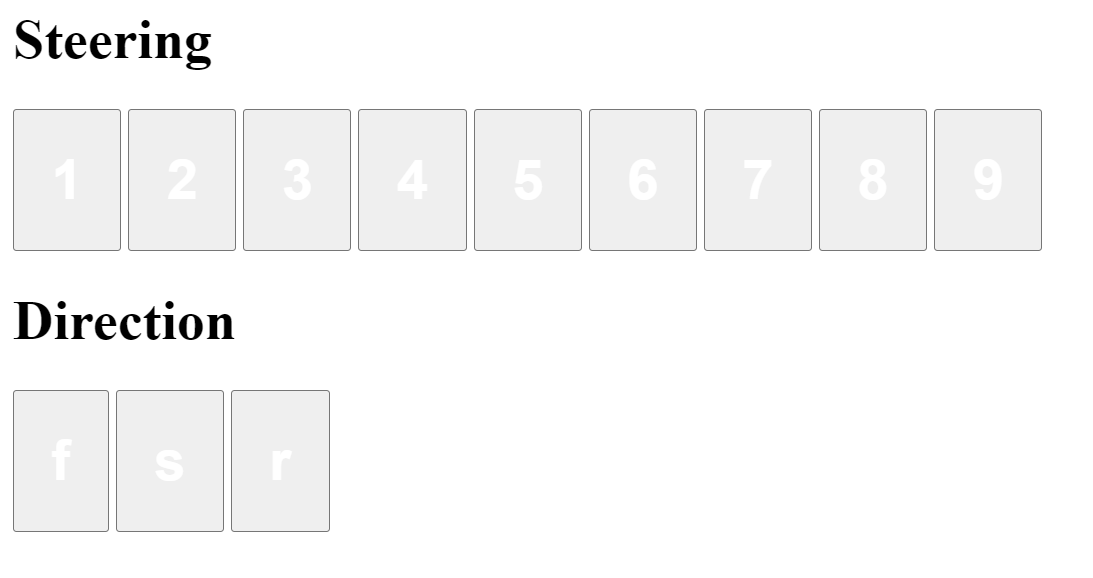
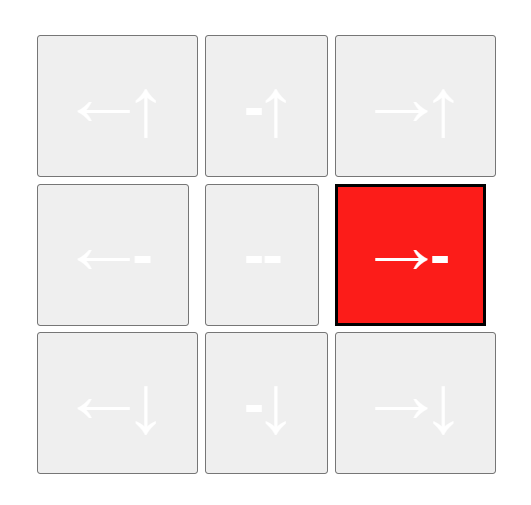
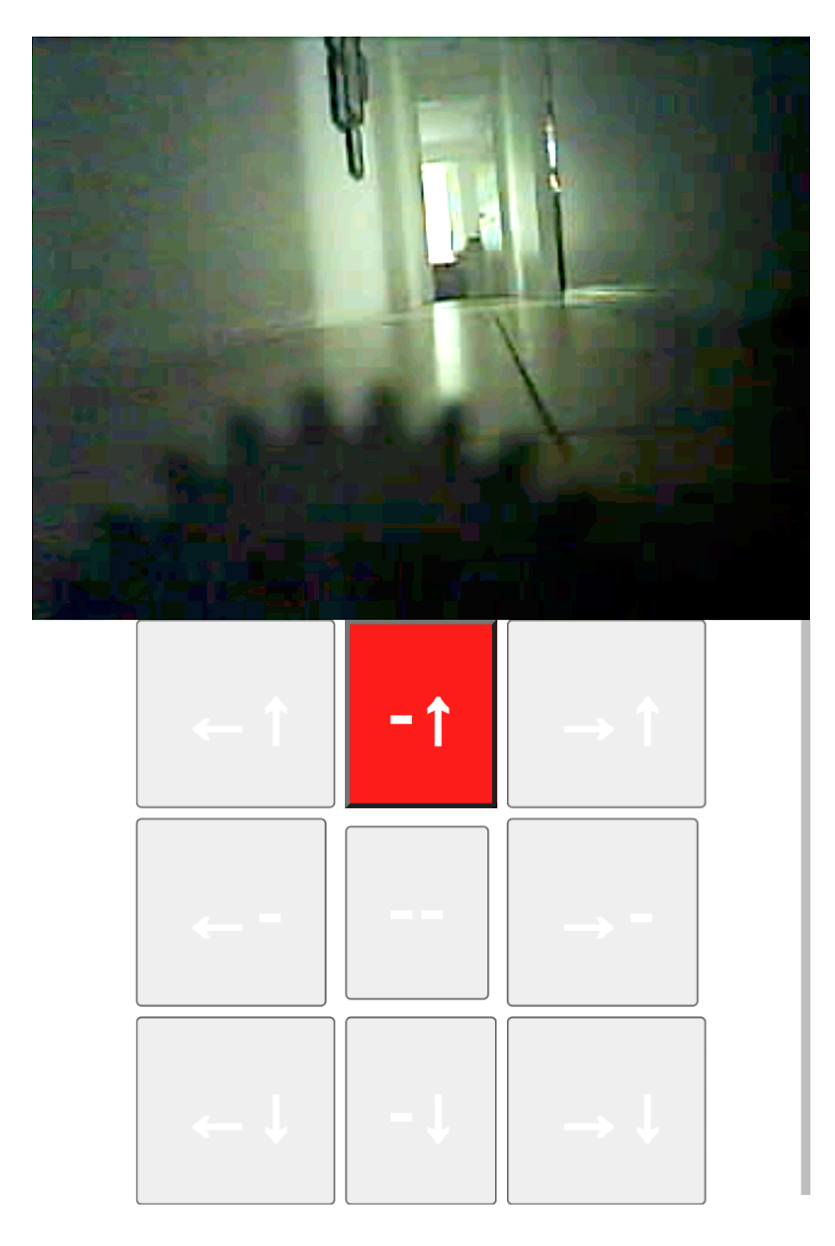
So the concept works, the fine steering controls aren’t required on this car, but here’s the quick test interface I used to do the inaugural drive around the hall.
This is using all 3 pins of the ATTiny85, however I have seen it is possible to control a servo with the L293 chip. I may be able to pair a 74HC595 with a L293 if that is the case, which would then give me the ability to have 4 extra pins for things such as lights, a horn, or even 2 more motors.
So the next steps are to clean up the UI and the wiring to make this look closer to the original Lego Technic 8840 set, see how long the batteries last, and then attach a camera to the ResourciBoard powering it all so it can be driven from anywhere.
Small refinement
I have received my battery clips so I can remove the breadboard from the equation. This has allowed me to test fitting all the components within the cage itself which looks doable.
I reworked the back area so the motor controller could sit there also, and to reduce friction in a few places to help the old motor drive.

It’s still gear driven which is noisy, but I don’t have any suitable pulleys to change it over yet. Unfortunately pulleys don’t seem to last 30 years.
For this model the accurate steering isn’t required, so I updated the UI a bit to make it easier to drive with just a simple forward, backwards, left, right type grid.
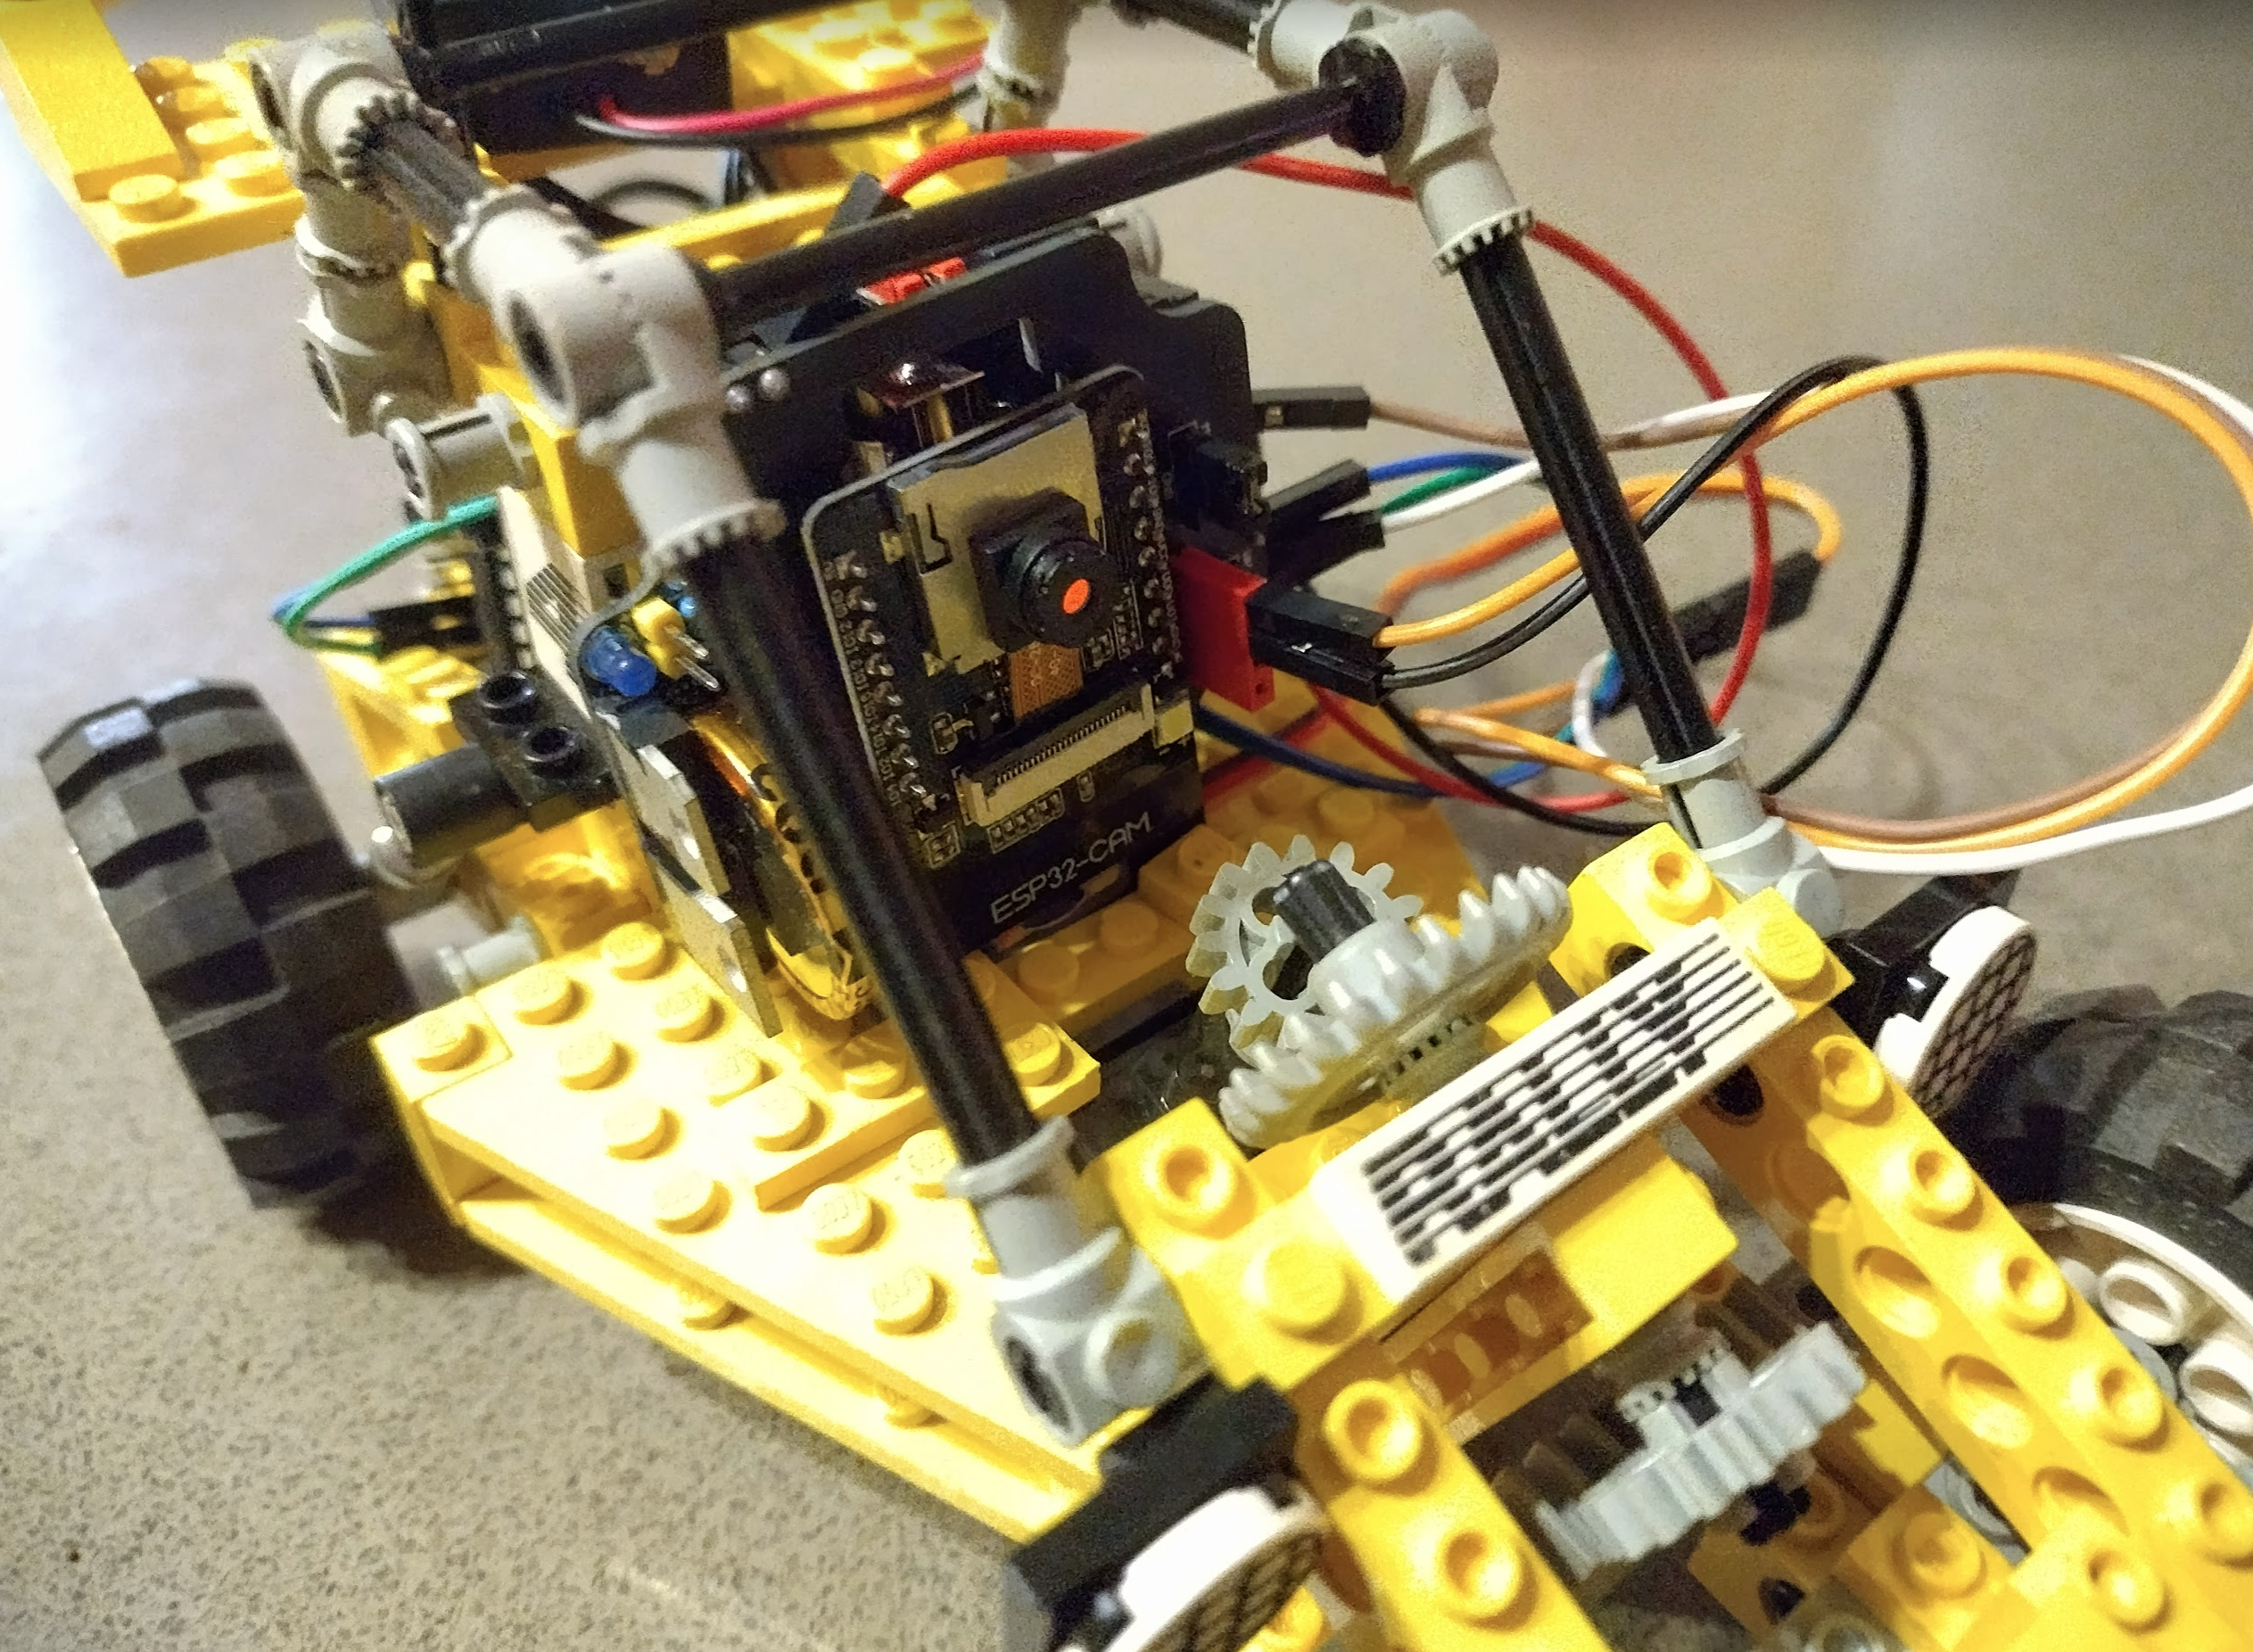
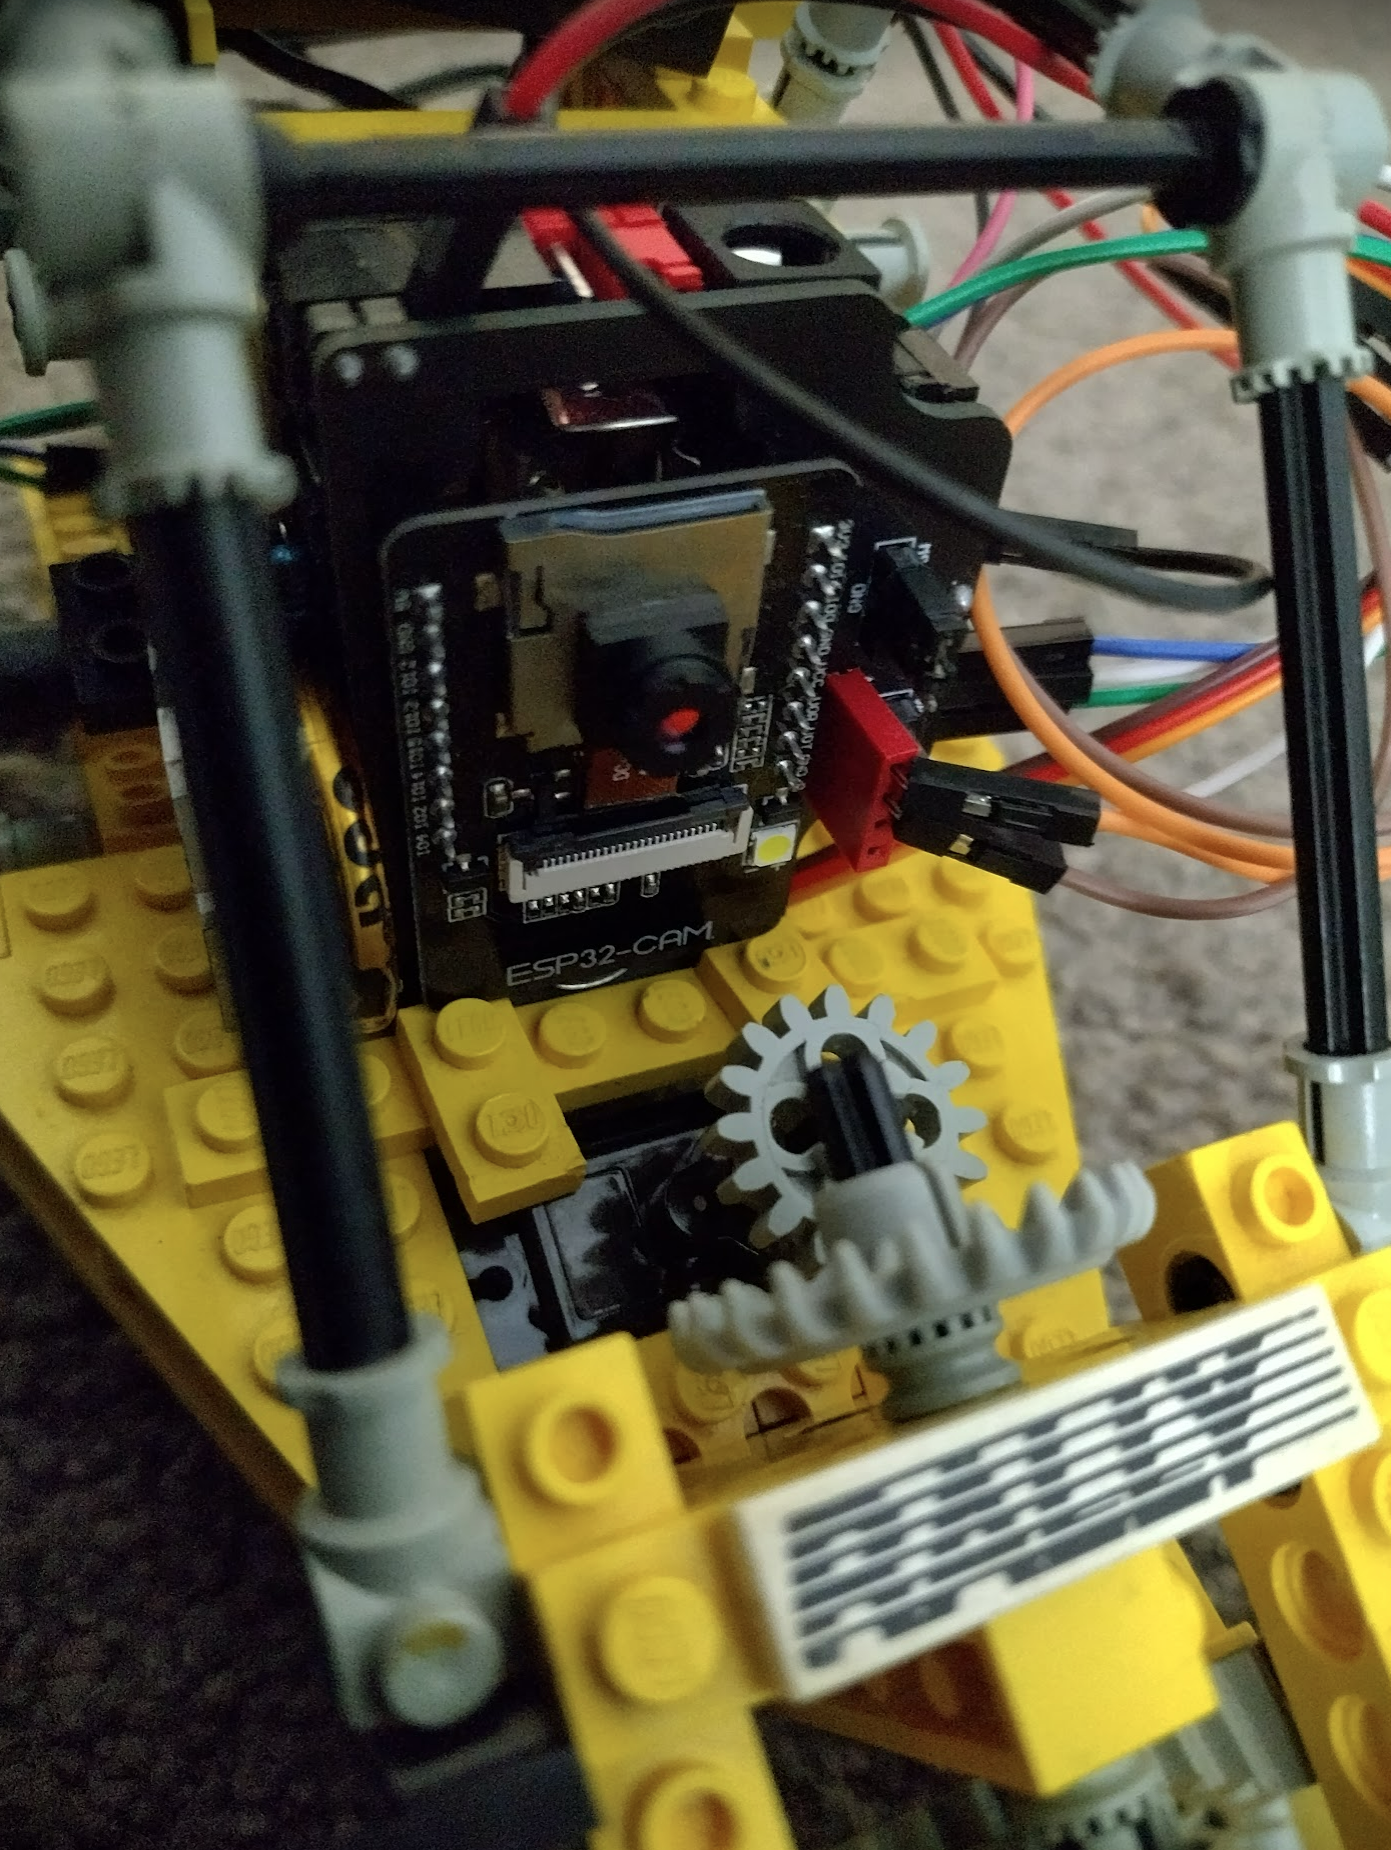
This setup has proven the batteries are ok for a fair while. The next step is to add a camera to it which I have been attempting to get the code right to show a stream, but hitting odd compile time errors. So once I solve those I can use the camera sub board and mount it all correctly and see how we go.
Once it’s proven it might be over to designing a sub board just for this purpose with possibly a pass through, so the camera can stack on top. A robotics subboard of sorts.
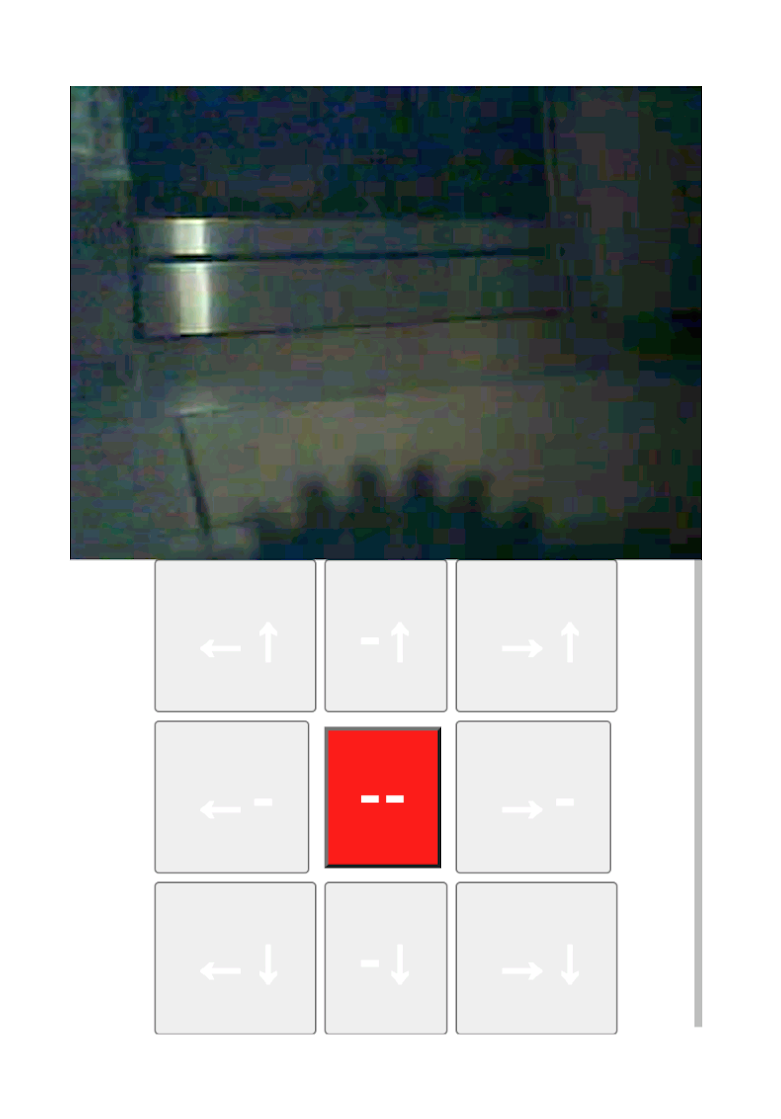
First person perspective
I managed to solve the compilation errors so now I have a camera stack in place and streaming, with the driving UI. This has bumped in to power issues however.
The issue being the camera draws so much current that when the motor is going at the same time it struggles to stay connected. The linear regulator is powerful so my guess is down to the 10440 AAA batteries hitting their limit.
I have two battery holders just incase this occurred so I’ll wire them up in parallel first to double the current which should fix it as it’s on the edge. Alternatively I can power the external motor directly from one pack and the camera + servo from another.
I am just in the middle of moving servers around, so after that I can give this a go.
More success!
I finally got around to testing double battery capacity which worked. The stream stayed connected and allowed for a full drive around the house.
Issues started occurring at between 15 and 20 minutes, a test of the batteries show they are all at ~4v, and there is the usual heat “smell” coming from the board but nothing dramatic. Overall it is a success for websockets, the ATTiny85, ESP32-cam, a servo, and forward/reverse motor control.

What’s next?
The next step will be to get some more outputs from this so I can beep a horn, switch lights on and off, control another motor, that sort of thing. And hopefully get it all made as a nice board to just plug in instead of the messy arrangement as above.
This can be done if I integrate a 74hc595 with the 2 wire timing shift trick, and an L293, and possibly a ULN2803 to allow for higher powered lights if it’ll fit. Hopefully making all of this with passthroughs for a camera will allow for a triple stack robot setup.
Then i’ll need to find a more robust lego victim.
Update: I have found my next victim! Click here to continue reading.